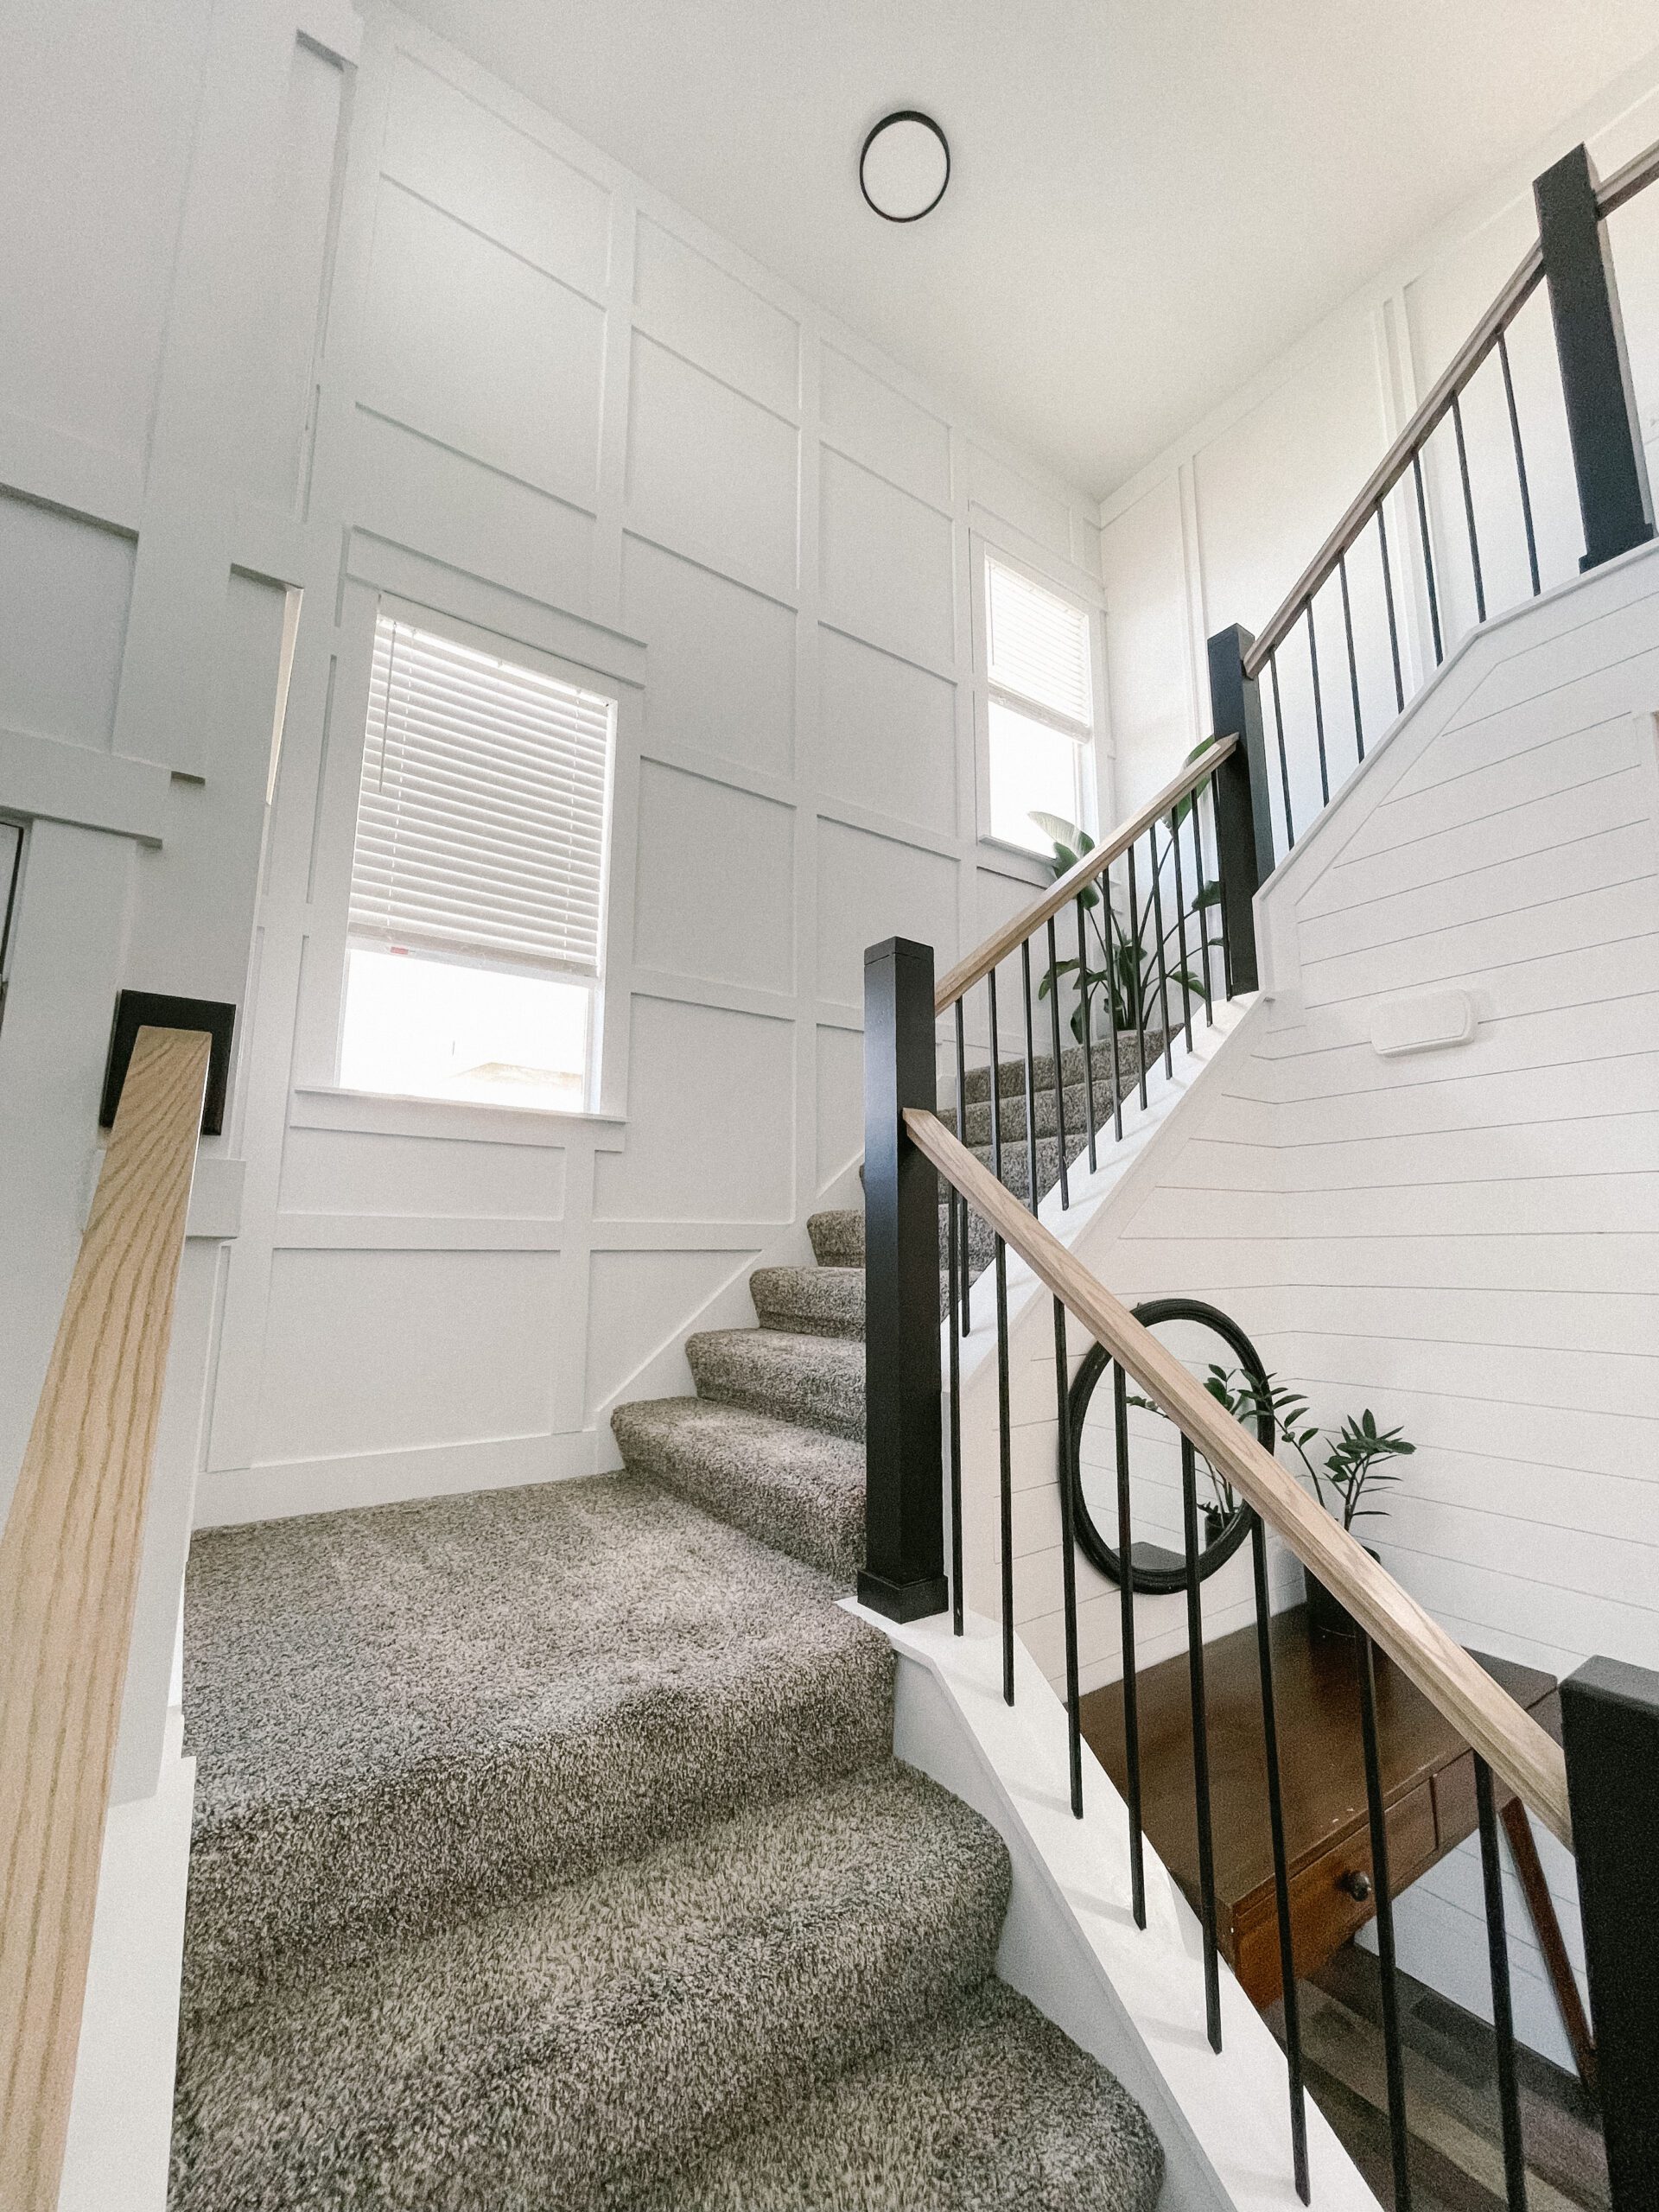
A Step Above: DIY Modern Farmhouse Staircase
My staircase is long, and the highest point is really high. I knew creating a custom modern farmhouse staircase banister was going to be a learning experience because, as with most of my projects, I have never done this before. I decided to start with just the bottom section of the stairs so I could figure out what I was doing before I ripped out the entire railing. Here is what I did and learned when creating my custom banister. I absolutely love the results and how they fit in with the rest of my entryway makeover!
Modern Farmhouse Staircase Banister Supplies:
- Railing (Ours is sold out, but I linked a similar option)
- Balusters
- Drill Bit
- Angle Guide
- Miter Saw
- Handrail Fitting
- Bondo
- Paint (The color I used is out of stock, but this is similar)
- Caulk
- Glue
- Wood Filler
- Blade to Cut the Metal
- Rubber Mallet
- Clear Coat
- Newel Post Caps
- 24-Inch Level
DIY Modern Farmhouse Staircase Step #1: Make a Template for Balusters
You can skip this step, but I found it much easier if I had a template. I taped several pieces of paper together end to end to make one long strip of paper. From there, I marked where the existing balusters were, so I knew where to put the new ones.
Step #2: Demo
Ok, ready to do some damage? Let’s demo! Take out everything you will not be using. I planned to use the existing newel posts, but I was replacing everything else, including the newel post caps.
I cut the caps off the newel posts, then took the balusters out first, then the handrail, and finally the medallion on the wall, where the handrail meets the wall.
Step #3: Install the Handrail
According to the instructions on the new railing, you should drill the hole in the ends of the handrail before cutting it at the angle, so that is what I did. Using the correct size drill bit, I drilled a hole in both ends.
I am not going to lie, trying to figure out what angle to cut the handrail at so that it lined up correctly intimidated me. I removed the original handrail and lined up my miter saw to the same angle, then used that angle to cut the new one. It worked perfectly.
Then, I installed the screws that came with the handrail into the banister and put the handrail on.
Step #4: Balusters
I started by drilling the holes in the base. Using the template I made earlier, I marked where I needed the holes to go and then drilled them all. I got this guide to make drilling at an angle easier. 1,000% recommend getting it!
Next, I cut all the balusters to the length I needed them to be. You want them a bit longer than the actual visible part, as it will slide into the holes. I used a jig saw blade that was for metal to cut through the balusters.
Time to drill the holes in the handrail! I put the baluster in the bottom hole, then used my level to make sure it was perfectly straight. From there, I was able to put a dot on the handrail where it needed to go. I repeated that on all of the balusters. Once I knew where they all needed to go, I drilled all the holes.
To install the baluster, I put glue in both holes and the top and bottom, then slid the baluster in.
Step #5: Fill Holes & Paint
Obviously, you will make mistakes when drilling your holes; it’s inevitable. But don’t worry, filling the holes is easy peasy! I recommend using Bondo on the base and wood filler on the tops. First, I taped around each baluster, then applied my Bondo and wood filler. Once that dries, sand it all down. If you need another layer of filler, do that, and then sand again.
Once that’s complete, it is FINALLY time to paint. I started with primer on any raw wood or Bondo, then painted it all.
My handrail was raw wood, so I applied a clear coat to protect it.
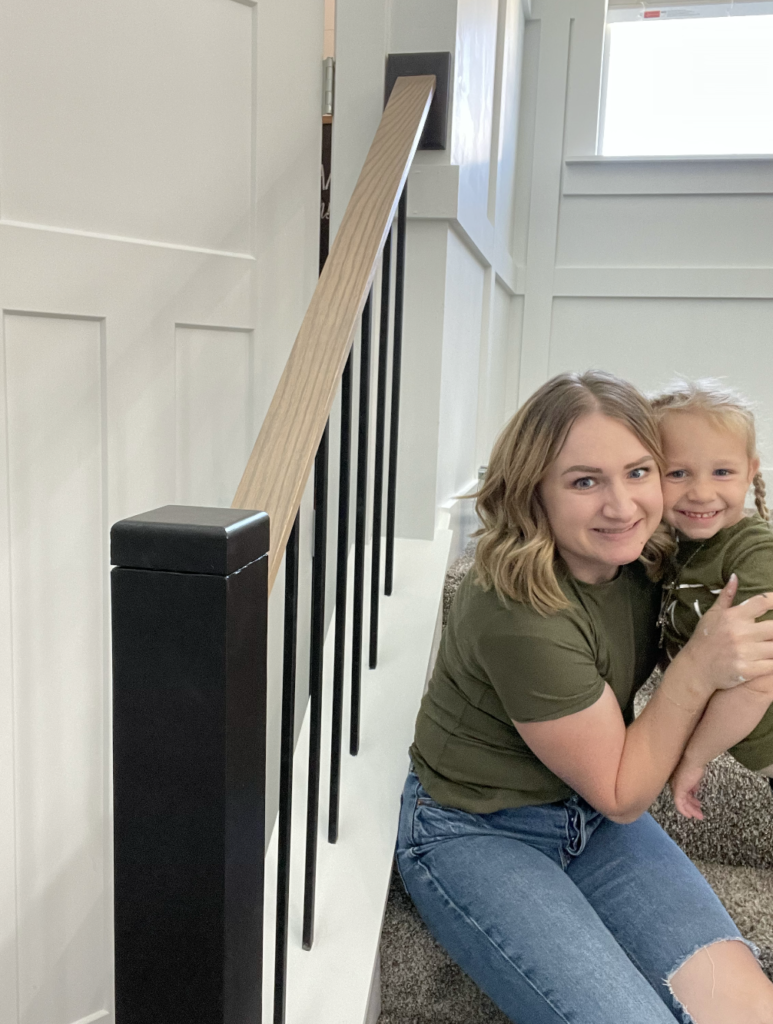
Step #6: Finish the Newel Posts & Reveal Your Custom Banister
Remember how I cut the tops of the newel posts off? Well, I was looking for something super low profile and sleek. I got these and they are perfect! I just had to screw them on and paint them.
Then I added some trim around the base of the posts, caulked and painted them black.
Repeat these steps over and over with however many sections you have on your banister, and then you have a gorgeous modern farmhouse banister!

Check out the plant wall I did to complete the look of the entryway.
What do you think? Is this a project you will try yourself?
Follow along for more DIYs and fun at…


One Comment