Welcome In Style: Three Steps To A Beautiful Custom Door Mat
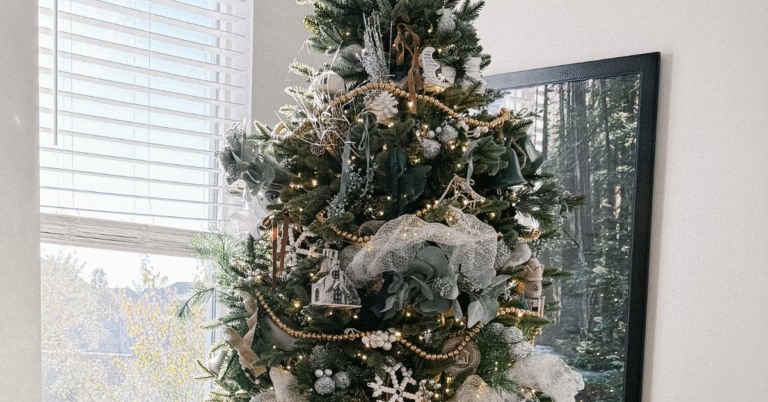
Do you know my favorite thing about this kind of project? You can tweak it as much as you want to make it work for you in whatever phase of life you are in. You can follow these three simple steps, apply whatever twist you want, and get your own custom door mat. It’s Christmas? Perfect, add “hohoho” or holly. Valentine’s Day? A collage of hearts would be so cute! You don’t have to do the same thing I did, but you can if you love it as much as I do! Okay, let’s get started!
Note: This post contains affiliate links. I may earn a commission at no extra cost to you. Thanks for supporting my content!
Supplies Needed:
Step #1: Choose Your Custom Door Mat Design
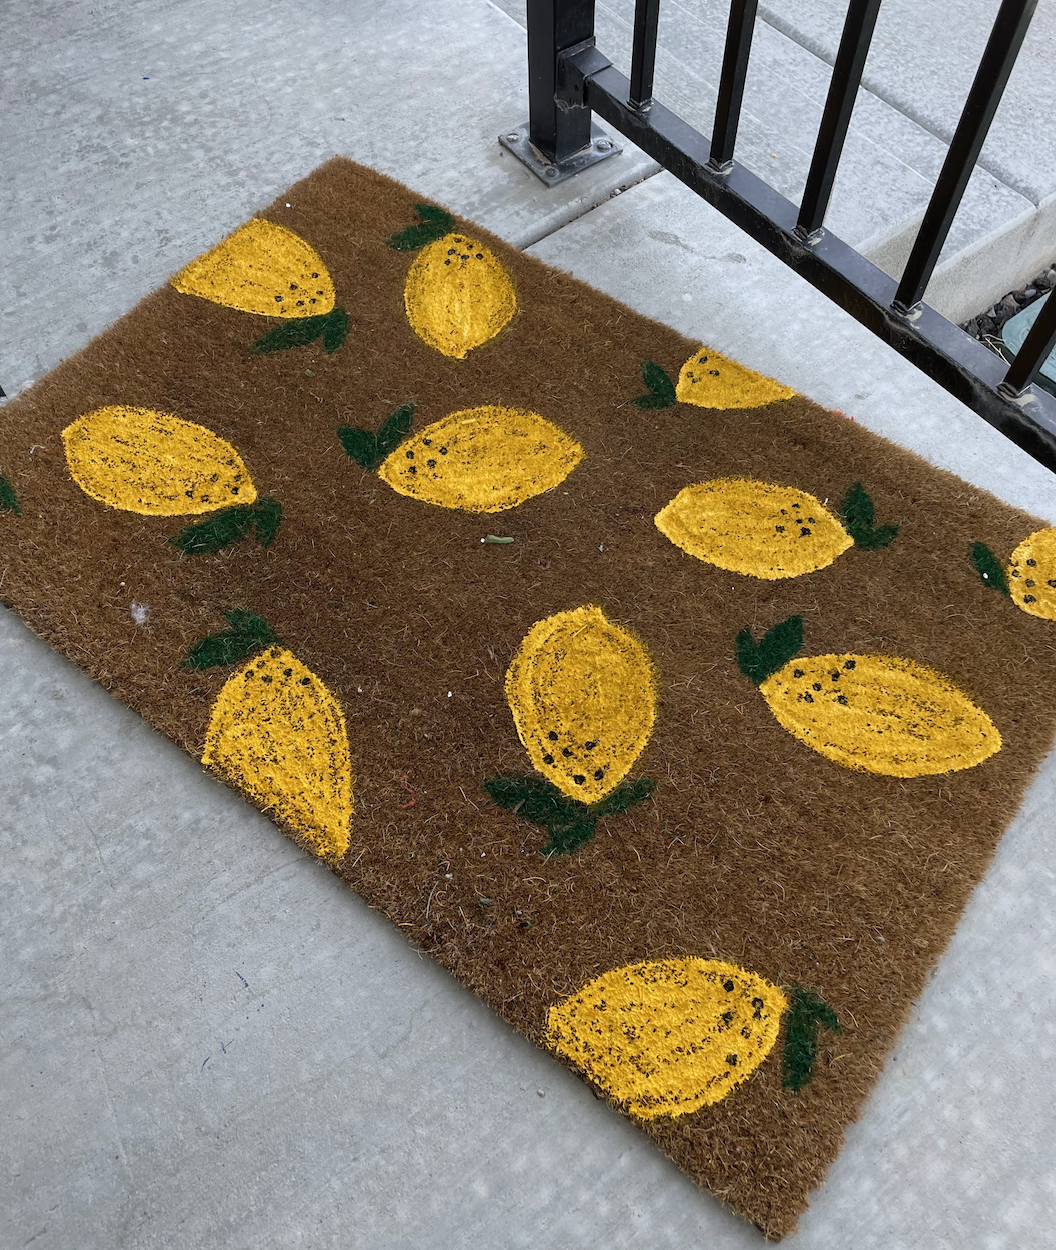
First things first: Decide what you want to paint on your mat! If you do a mat with words or more detail, it may be harder or take longer, but you can still follow the same steps, and it will turn out darling!
Step #2: Paint Your Custom Door Mat
I started by tracing out the shapes with a little bit of paint. Once I was happy with the overall design, I started filling them in. These kinds of mats require a lot of paint. I found it easiest to just pour the paint directly on the mat in the shape, then I spread it around with the paintbrush.
Wait for the first color to dry before doing the next color. Continue until your design is complete.
Step #3: Let it Dry… and You Have a Custom Door Mat!
Okay, this step isn’t really a step, but I hate waiting for the paint to dry, so it needs its own step here. 😆
If your mat will be in an area exposed to the elements, you may want to spray a clear coat on it to seal it, but that’s not required if it will be under a porch or covered.
What design would you do? And if you want a full summer porch update, check out how I did the Hello Sunshine sign!
Follow along for more DIYs and fun at…


One Comment