How to Update Your Shower Surround
I would love to take out the shower surround in my kids’ bathroom and tile the whole area. But that’s a project for another day. This project is an easier and more cost-effective way to update the builder-grade shower surround. Follow the steps below for an easy and budget-friendly way to update your bathroom!
Note: This post contains affiliate links. I may earn a commission at no extra cost to you. Thanks for supporting my content!
Shower Surround Update Supplies:
- Mussel Bound
- Tile
- Tile Cutter
- Grout
- Grout Float
- Sponge
- Shower Head (I don’t have the exact link, but you can find these at most hardware stores. Here’s a highly-reviewed Amazon option!)
- Automotive Primer
- Spray Paint
- Shower Curtain (Ours is sold out, but I linked a similar option!)
Shower Surround Update Step #1: Mussel Bound
The first step is to put up Mussel Bound. It’s an adhesive tiling mat that sticks to the wall. You peel off the back, stick it to the wall, and then, when you’re ready to tile, you pull off the front protective sheet. I love using it when I can in my tiling projects because it’s so much cleaner and easier to use than mortar.
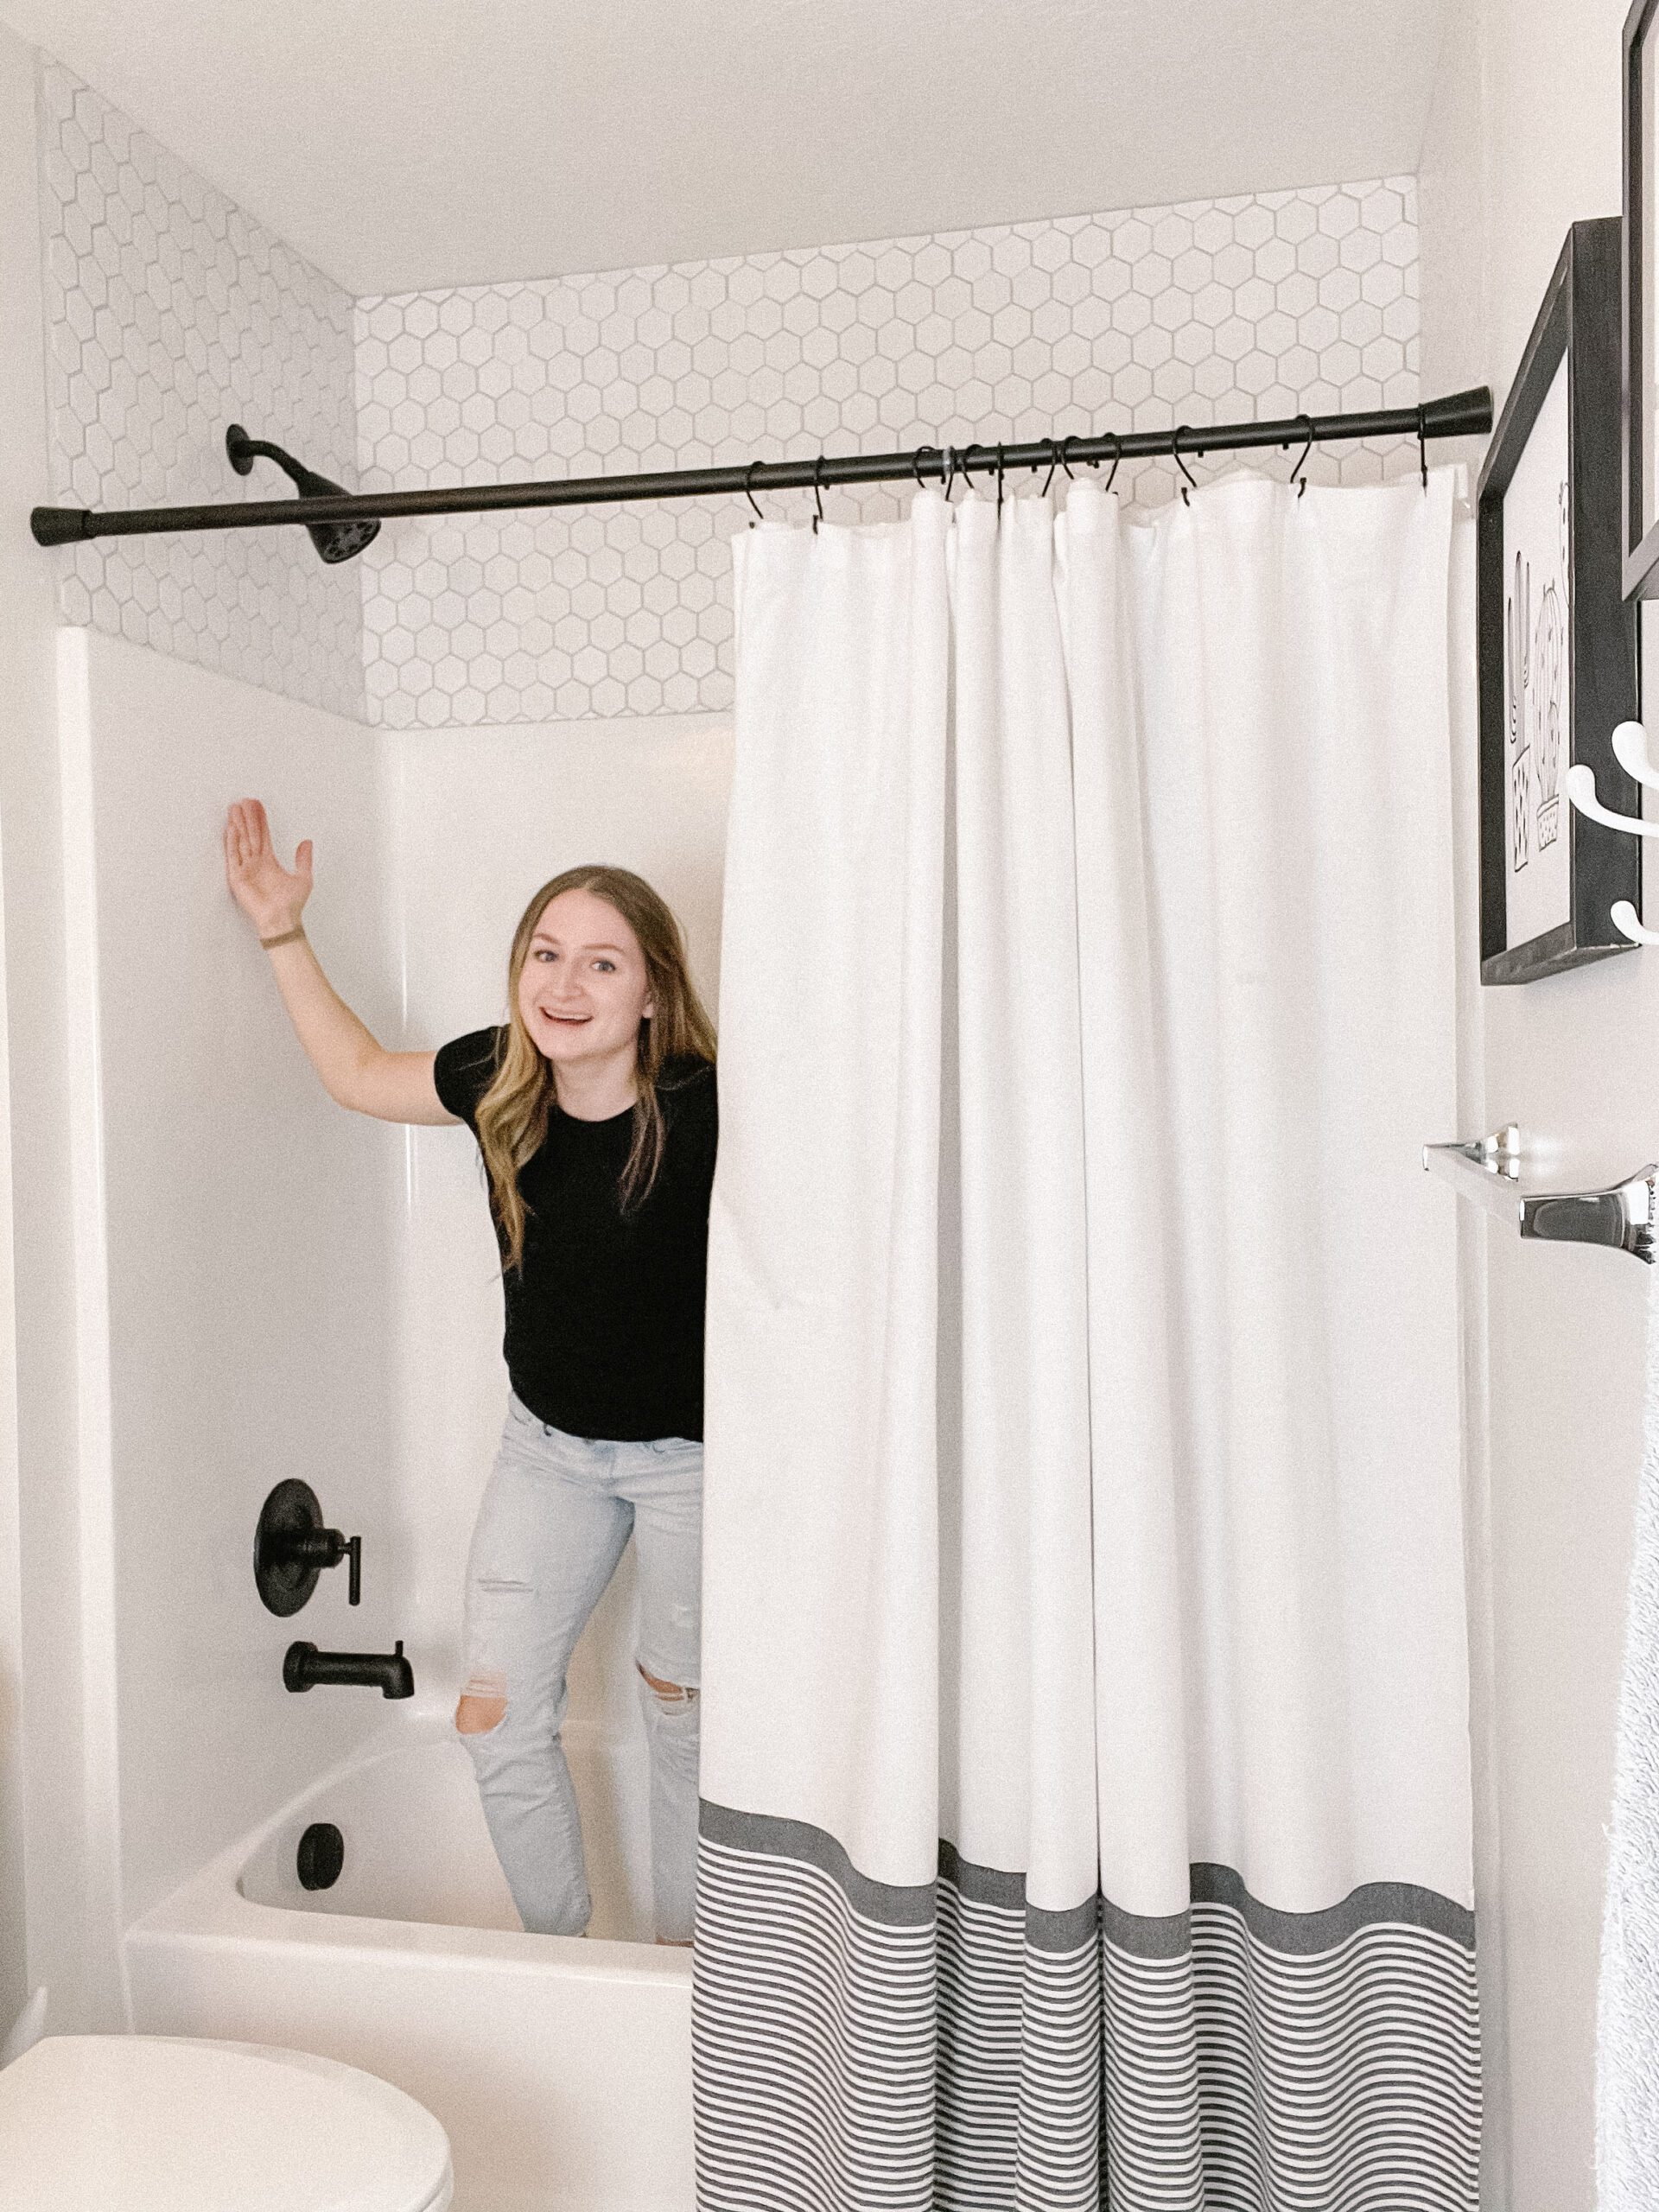
Step #2: Add the Tile
I chose a hexagon tile pattern for this surround. It came in sheets, so I put a sheet up at a time. Luckily, my surround was level, so I didn’t need to worry about lining them up level.
To cut the smaller pieces that I needed, I just used a tile cutter. It’s so easy to use! You just slide the cutter across the tile where you want it cut. It scores the tile, then you press down and snap it. The video below shows how to use it.
In case you’re ever wondering if I ever make mistakes in my projects, let me fill you in. When I bought these tiles, I found some on clearance, and I didn’t double-check that they were the same color. They are literally the same tile, just a shade different. Of course, I didn’t notice this until I put them up. So I had to take them off and redo it. It’s not very fun to take them off, but it can be done. Don’t be like me, double-check that all your tiles match!
Step #3: Grout
Once I had all of my tile pieces up, it was time to grout. I know, I know, you probably would have liked a darker grout than I chose. So many people, myself included, loved the idea of a black grout. That was my initial choice as well. But after tiling, I realized I had some imperfections in my tile and that the darker grout would likely show them more than a lighter color grout. I ended up going with the lighter color, and I honestly really like it too.
I prefer to buy the premixed grout—it’s so much easier. To grout, you put some on the float and then press it into the gaps in the tile to cover it. I like to do small sections at a time and clean them off as I go. The grout gets hard pretty quickly, and then it’s a lot harder to clean off. To clean it off, simply use a sponge and wipe it dry.
Step #4: Shower Head Update
With the new look in this bathroom, I decided that I wanted the shower head to be a different color. So I used some paint for the pipe that comes from the wall, and then bought a new shower head. I also spray-painted the shower handle, and I love the new look! I know there might be some questions as to whether the spray paint has held up to the water. Yes, it has! I think the secret to this is that I used automotive primer on it.
I started off by using painter’s tape to prep the area, and also used plastic sheets to avoid overspray. Then I used automotive primer and spray paint. Guys, it honestly works so well. I’m happy to say that everything still looks the same as the day I painted it. If you want a more in-depth tutorial about how to spray paint a fixture, click here!
Shower heads aren’t that hard to install. You will want to use some plumber’s tape and make sure you get it nice and tightly screwed onto the pipe. You will definitely need a wrench to loosen the old one and tighten the new one.
Step #5: Shower Curtain
The next step is the best step: time for finishing touches! I bought a new shower curtain, and it just completes the look in this bathroom. When you get all the finishing touches done, sit back and enjoy the view!
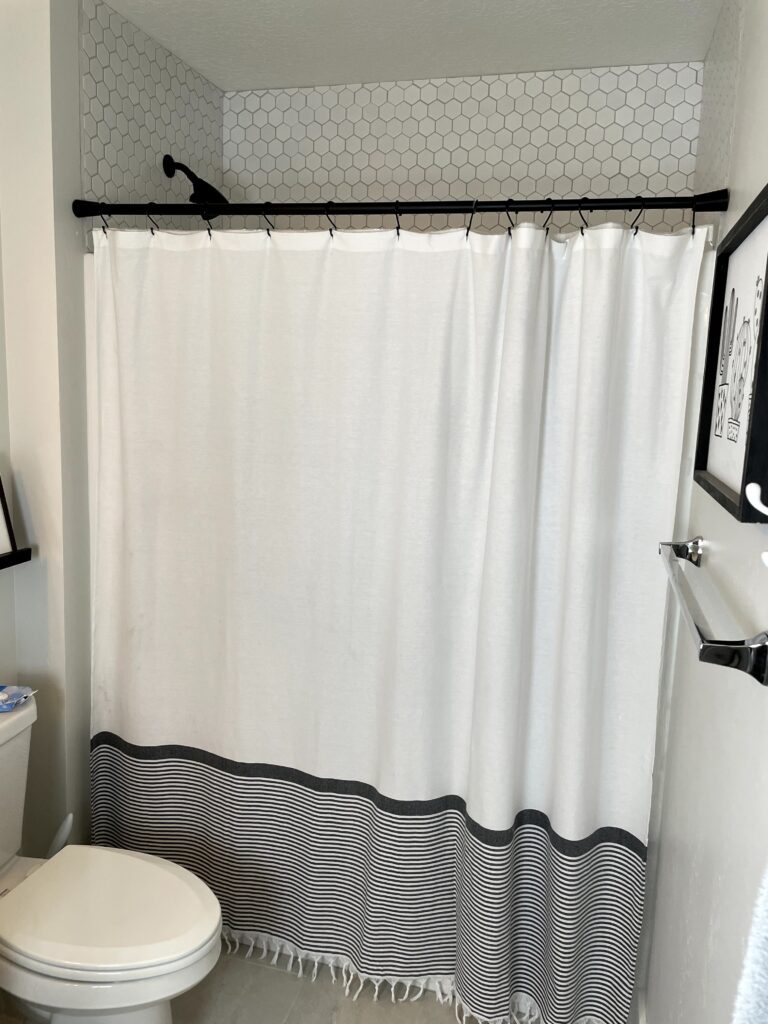
It’s amazing what some tile and a little bit of styling can do to a room. I’m loving the transformation of this bathroom! Follow me for more home DIY projects: @spetrichhome!