How to Tile a Shower Floor
Did you know that you can tile over tile? You absolutely can. There will be plenty of people out there saying that it won’t work, but I am living proof that not only is it possible, it’s still holding up great a year later. Follow along for these steps to see how you can tile a shower floor!
Note: This post contains affiliate links. I may earn a commission at no extra cost to you. Thanks for supporting my content!
Supplies Needed:
- Mortar
- Tile (I got mine at a local tile store, but here’s a similar one!)
- Tile Cutter
- Grout
- Screw Nuts
- Painter’s Tape
- Primer
- Epoxy Glue
How to Tile a Shower Floor Step #1: Rinse the Drain
One of the first issues I needed to figure out before tiling was raising the drain. When you add new tile to the existing tile, it raises the flooring a bit so that the drain doesn’t sit flush. There are drain extension kits that you can buy, but none of them fit my area. After consulting with multiple plumbers, their suggestion was to use screw nuts to raise it. I ended up putting screw nuts in all of the corners. It raises it just slightly to accommodate the new tile, but still allows everything to drain well. I glued the nuts down with epoxy glue and ended up using three nuts in each corner to raise it to the proper height.
Step #2: Prep for Priming
Let’s prep for priming! I just used painter’s tape to tape off all the areas I didn’t want the primer to go on. It’s a specific primer that helps mortar stick better, especially when tiling over tile. It ends up being a little rough and sandy, which helps with adhesion. After the primer dries, take off the painter’s tape.
How to Tile a Shower Floor Step #3: Lay Out the Tile
You don’t have to follow this step, but it helped me to lay out the tile before putting on the mortar. I was able to see all the cuts I needed. Once I got everything figured out, I laid all the tiles on the bathroom floor so they were easier to transfer.
Step #4- Grout Caulk
Did you know there is a specific caulking called grout caulk? I put it all along the edges because there were lots of holes where the builder missed, and water could get through.
How to Tile a Shower Floor Step #5: Mortar
It’s time to get that mortar on! I did put some paper towels in the drain so that nothing would get in it while tiling. To put on the mortar, I used a trowel with serrated edges to make lines in the mortar for the tiles to adhere better. I definitely started off putting too much mortar on, which took forever to get the excess out of the tiles. The important lesson here is that no matter what, you can always fix any mistakes that come up. It just might take a little more time and effort.
Step #6: Tile
Time to add the tile. This is the exciting part! I thought that this step would go a lot faster than it did. What I thought would be 30 minutes was more like two hours. Your back and knees will probably ache, but it is worth it! My least favorite part of this was when I had to get all the extra mortar out from around the tiles.
Step #7: Grout
If you have followed some of my other projects, you’ll know that I prefer to buy premixed grout. There’s nothing wrong with buying grout and mixing it yourself; in fact, it’s cheaper to do that. I just like the kind that is premixed because it saves you time and energy. But after trying several colors or premixed grout and not loving it, I ended up having to mix my own grout. It was totally worth the extra effort to find the color I loved.
Step #8: Seal
I needed to let the grout sit for at least 24 hours to cure before I put the sealer on it. The sealer is really easy to put on. Just follow the instructions on the container and you’re good to go!
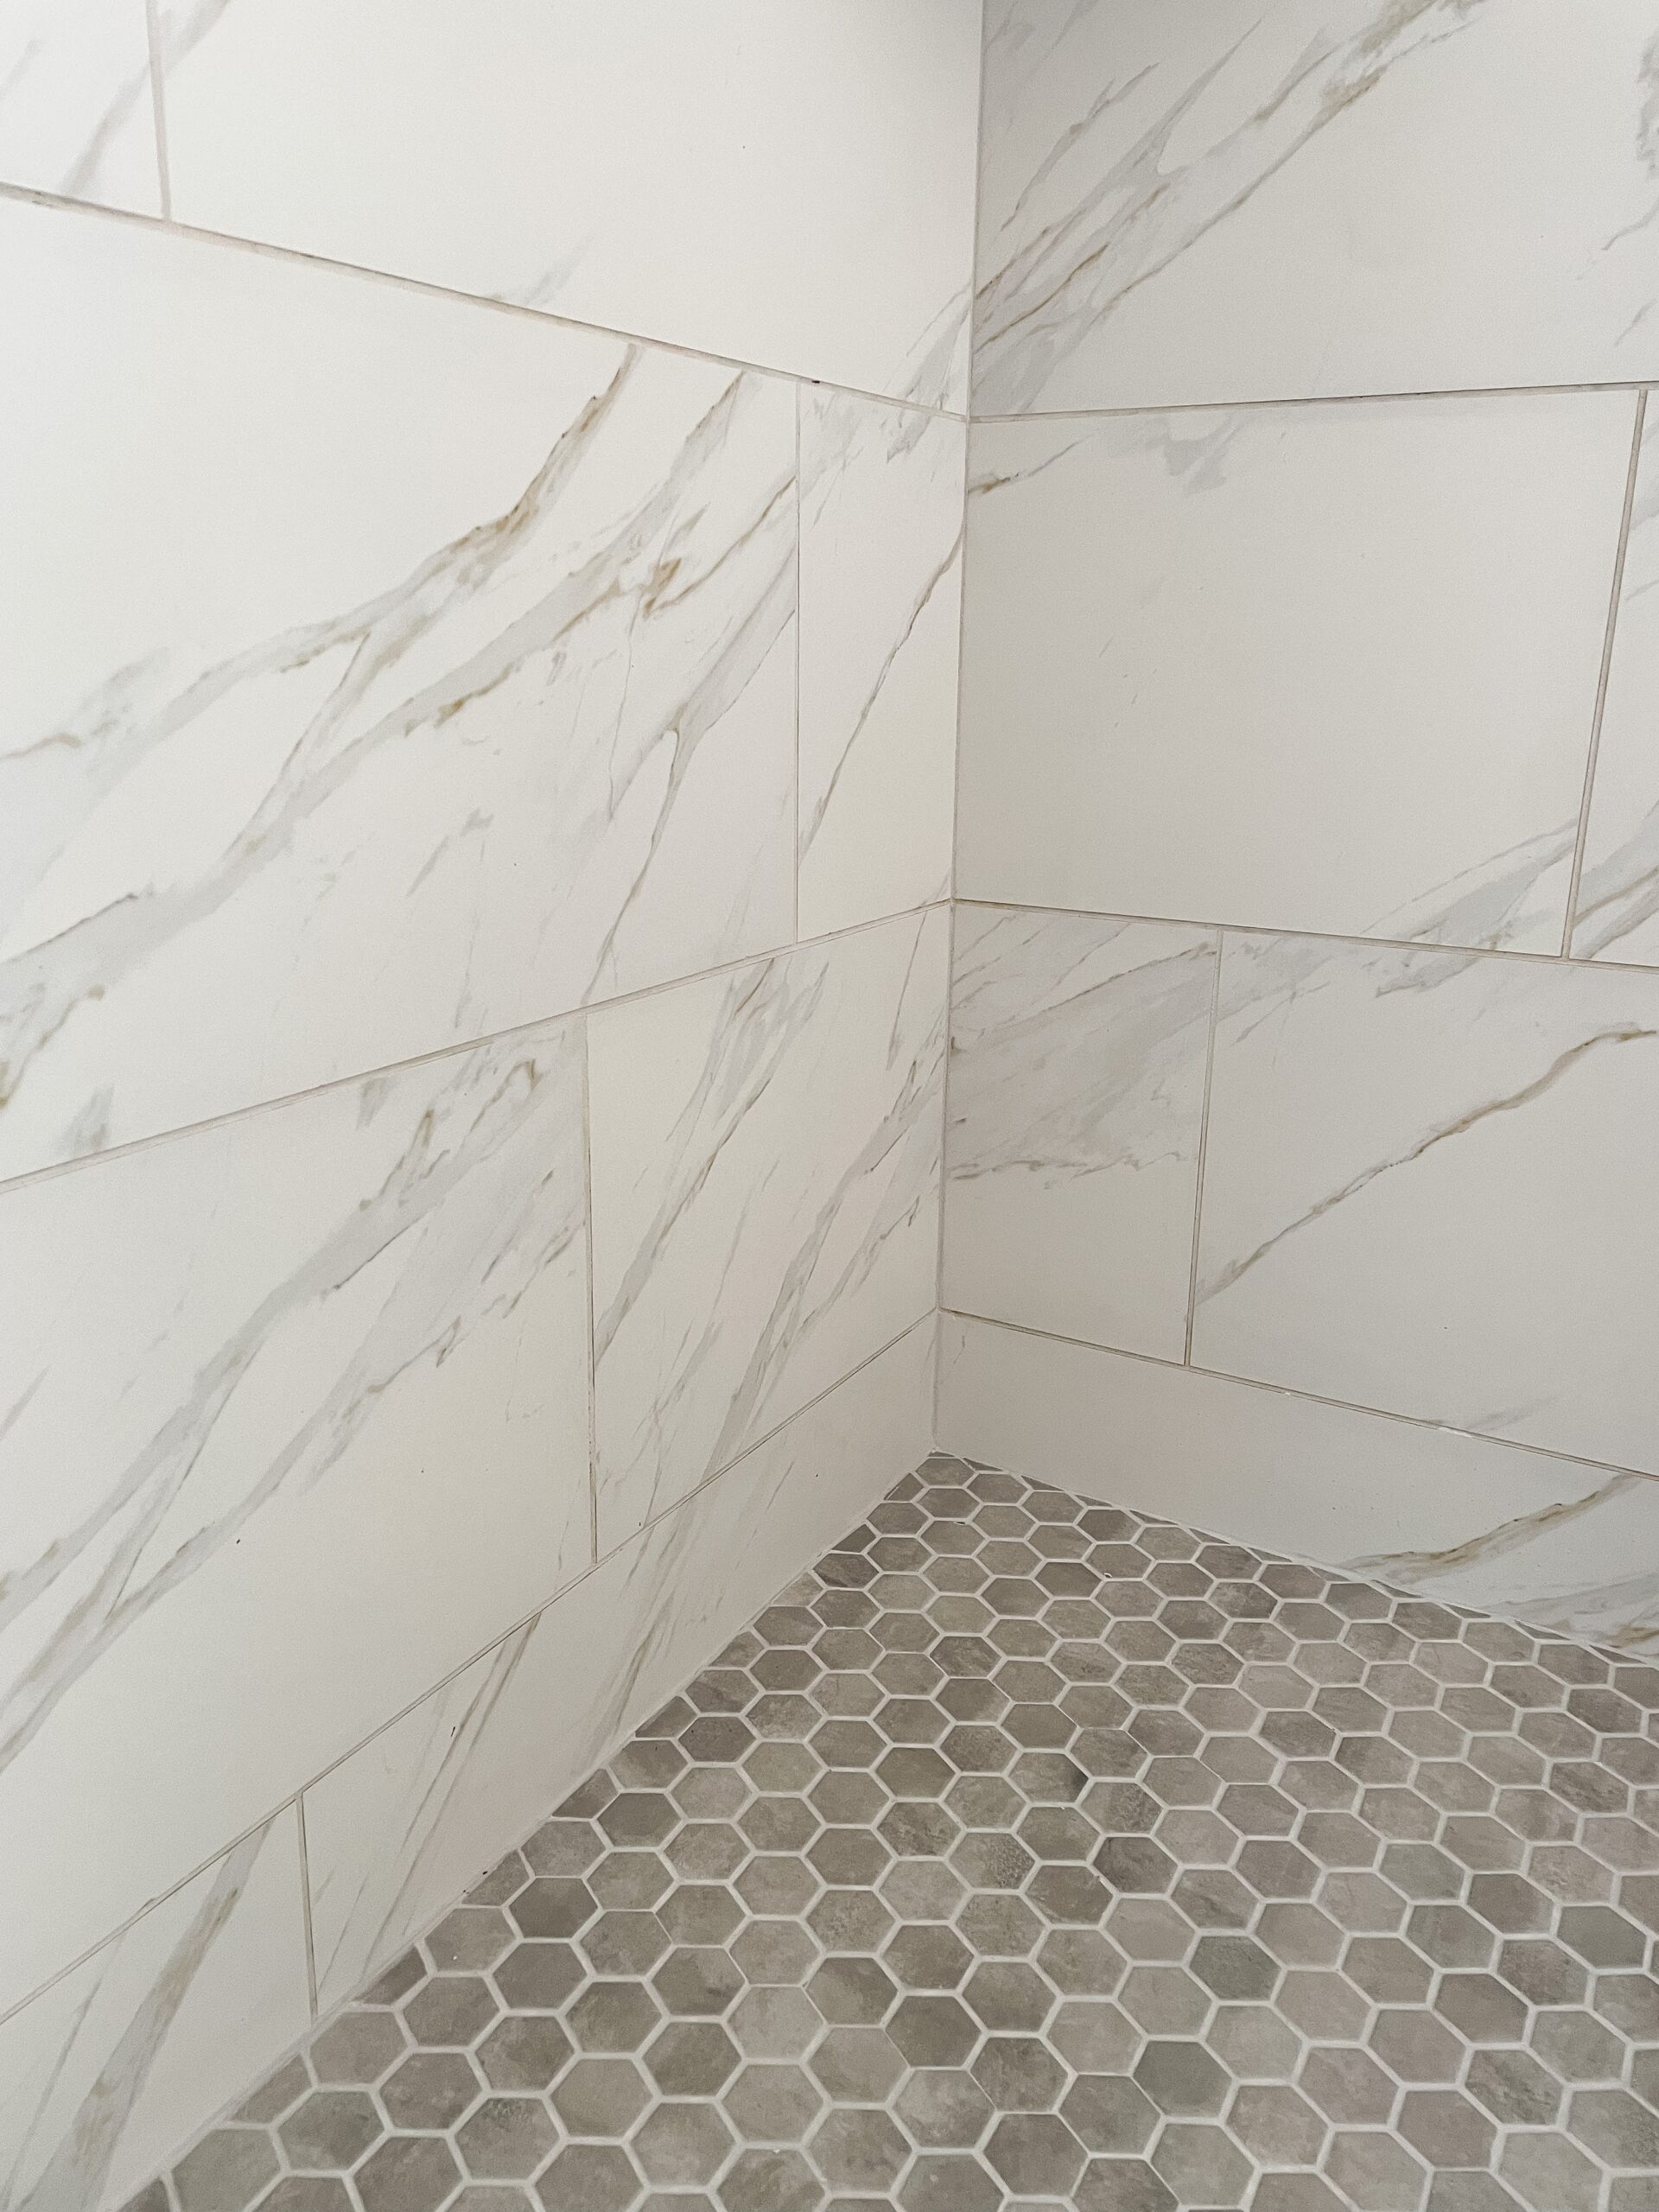
That’s it! I love how the tile looks in here. Even my husband likes how it turned out! His reactions are always honest and never staged. I love getting his opinion, even if it doesn’t always match my own. 🙂 Follow me on Instagram for more DIY home projects!


2 Comments