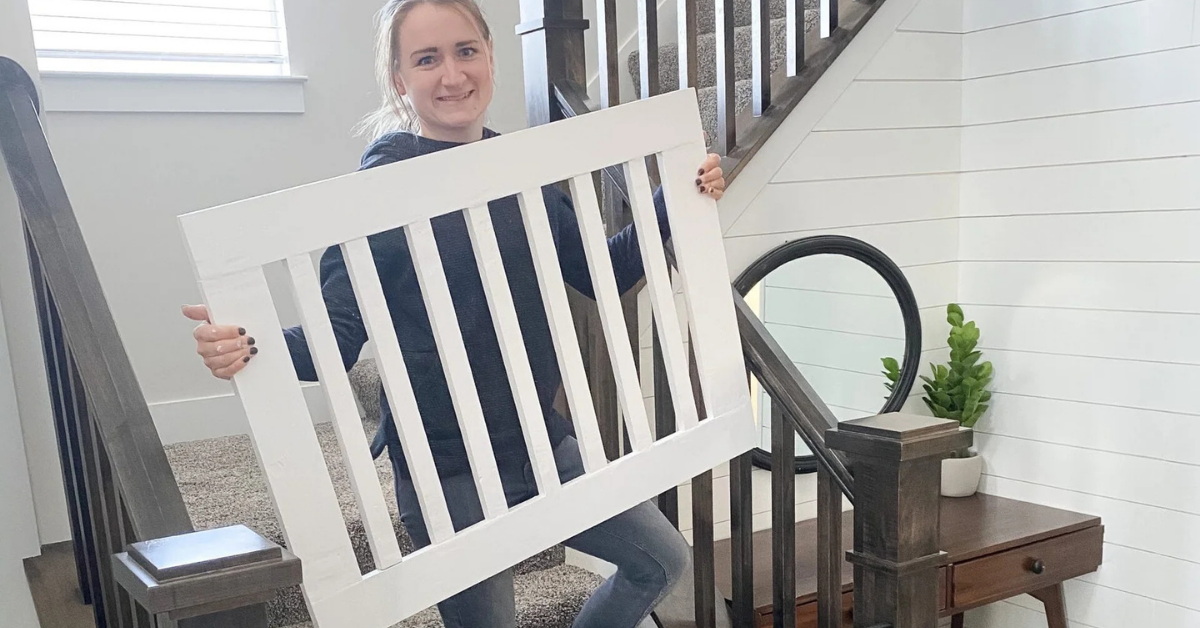
Stylish & Secure: DIY Baby Gate Design
When my friend asked if I could make a DIY baby gate, I immediately said yes! This baby gate design is super simple to make and so cute! The only tools you need for this are a miter saw (or you can have your local hardware store cut the wood for you) and a pocket hole jig. I have linked the one I like below, but you can get a manual, less expensive jig. Let’s get started on this gate!
Note: This post contains affiliate links. I may earn a commission at no extra cost to you. Thanks for supporting my content! 🙂
DIY Baby Gate Supplies:
- 1x4s
- 1x2s
- Pocket Hole Jig
- Pocket Hole Screws
- Pocket Hole Plugs
- Wood Glue
- Wood Filler
- 220-Grit Sandpaper
- Primer
- Your Choice of Paint
- Hardware Locks
Step #1: DIY Baby Gate Frame
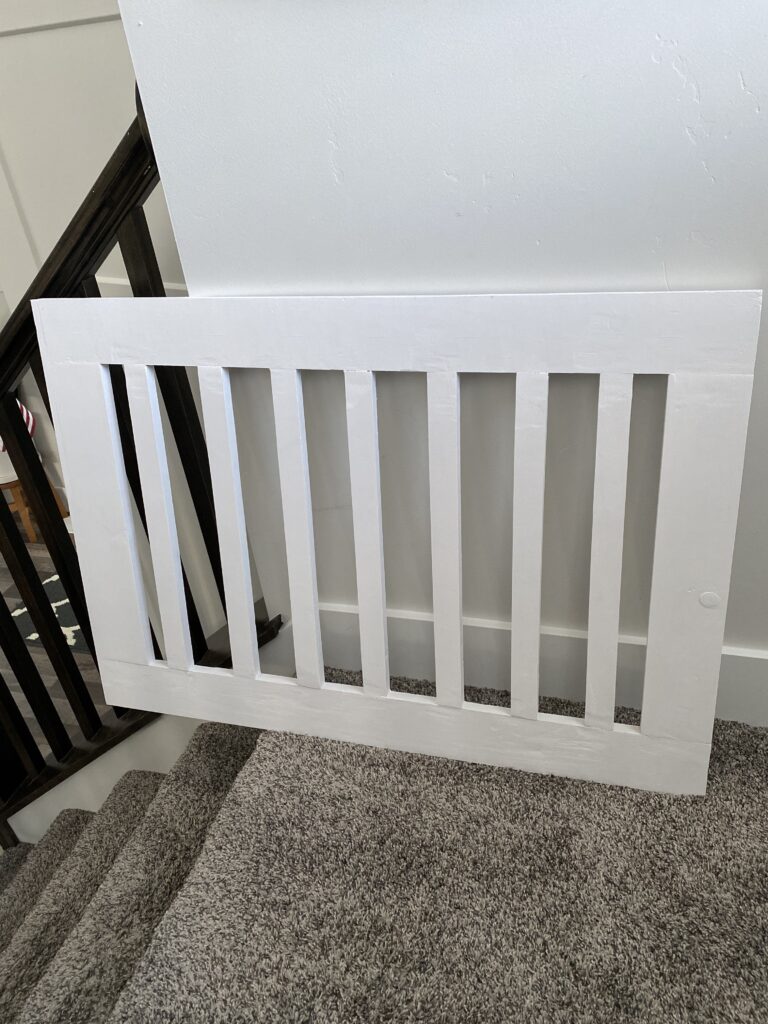
First, I assembled the gate’s frame. I made a rectangle using 1×4 pieces of wood—the top and bottom pieces are longer, and the side pieces are shorter. Next, I made two pocket holes on each end of the two side pieces. Then, I connected the side pieces to the top pieces.
Step #2: Middle Supports
Once the frame was assembled, I moved on to the middle support pieces. These are 1x2s and are the same length as the side pieces. I put one pocket hole in the top and bottom of each support. Then, using pocket hole screws, I secured them to the top and bottom pieces 3.5 inches apart, center to center (meaning the middle of one 1×2 to the middle of the next should be 3.5 inches).
When building anything for children or babies, ensure that the vertical pieces are close enough together that the child’s head can not get stuck between them. KidsHealth.org says to make sure the space between them is no more than 2-3/8 inches wide.
Step #3: Finish Work
Time to clean it up! To fill the pocket holes, I used these pocket hole plugs.
I put wood glue on the plugs, then put them in the holes. Then, I used wood filler on the seams to smooth them out. Once that was all dry, I sanded the whole thing down, including the corners, to be slightly rounded and not sharp.
Step #4: Paint & Add DIY Baby Gate Hardware
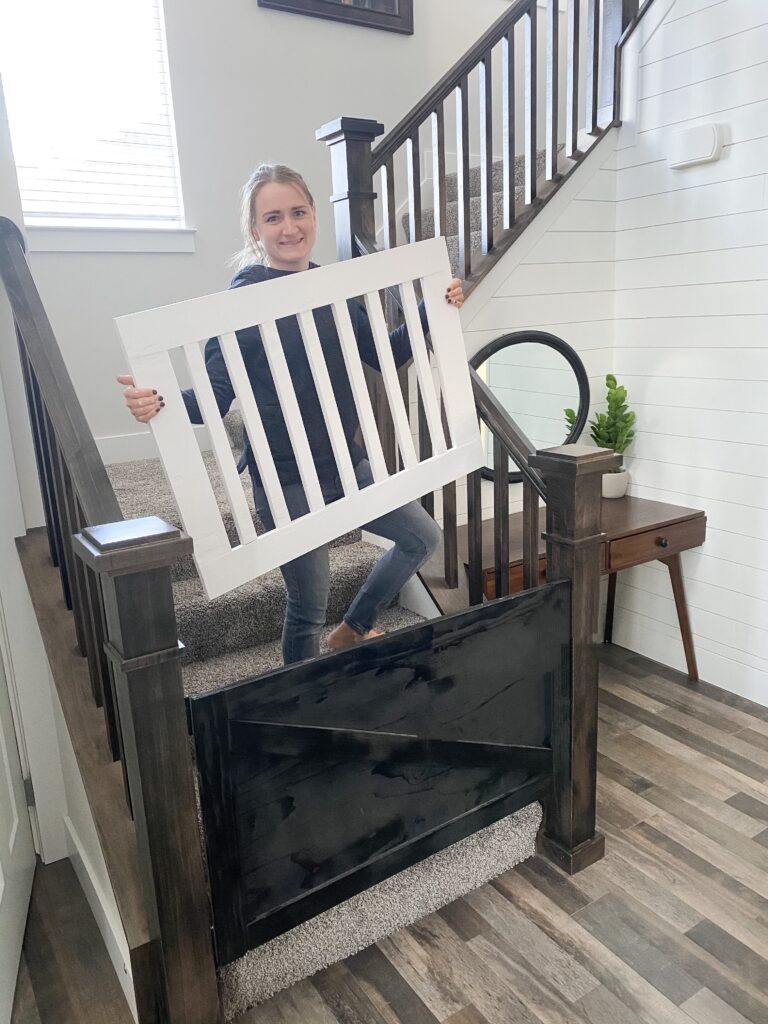
Because I used raw wood, I put primer on the gate before painting it. Primer leaves a texture, so I then sanded it down with 220-grit sandpaper. Next, I painted it.
Once it was dry, I installed the hardware to finish it up!
Follow along for more DIYs and fun at…