Water Closet Transformation
I’m in love with this water closet transformation. This was surprisingly simple but very impactful. This would make for a great beginner project if you’re looking for a place to start!
Supplies needed:
- Fluted trim
- Shelf brackets
- Poplar wood for shelves
- Stain (Early American)
- Sealer
- Nail Gun
- Caulk
- Caulking Gun
- Paint- I chose Peppercorn by Sherwin Williams
- Light
- Toilet Paper basket
- Ceramic vase
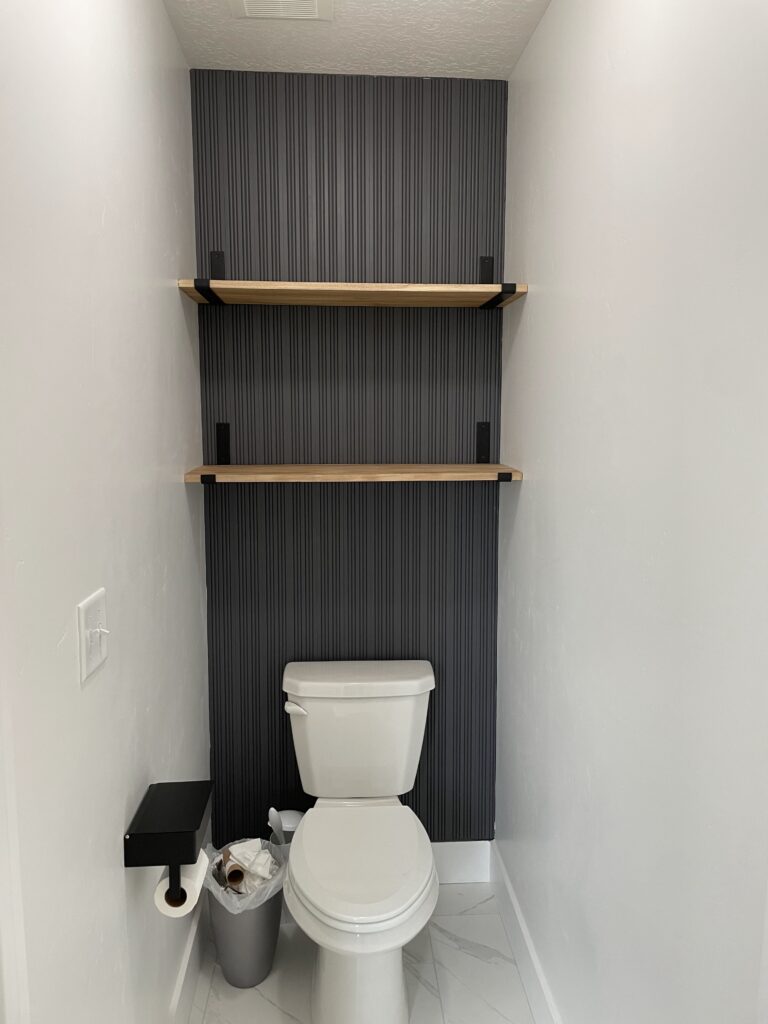
Step 1: Remove everything from the bathroom and add fluted trim
The first thing I needed to do was remove everything from the bathroom. That included removing the storage cabinet above the toilet. Once you have everything cleared out from the closet, you are ready to start! I love the look fluted trim can add to the wall. Fluted trim can be found at your hardware store in the trim and moulding section. The trim was pretty easy to install. I just used my brad nailer to nail it to the wall.
Step 2: Caulk
I caulked around all of the edges of the trim to fill any gaps. Caulking is a quick and easy way to make everything look seamless. It’s such a simple addition that makes any project look amazing. It’s definitely worth the time to caulk.
Step 3: Paint
After caulking, I painted the side walls white and the fluted trim Peppercorn by Sherwin Williams. I love the contrast between the walls. It makes that fluted trim stand out so much more. It definitely has a wow factor when you open the door to this water closet. Paint is such a great way to change a room or closet. If you didn’t want to do the fluted trim, you could always just paint the back wall and the result would be great!
Step 4: Add shelves & switch out the light
Aren’t shelves the best thing for storage in bathrooms? I got the brackets from Amazon and just added the wood to make the shelves. Then I removed the old light and replaced it with a much better looking light fixture. The thing I love about the new light is that it’s slim, modern looking, and gives off plenty of light.
Step 5: Add decorations
The next step was to decorate those shelves! Decorating isn’t necessary but it adds those finishing touches that make it look amazing. Just add some artwork, baskets, plants, and voila!
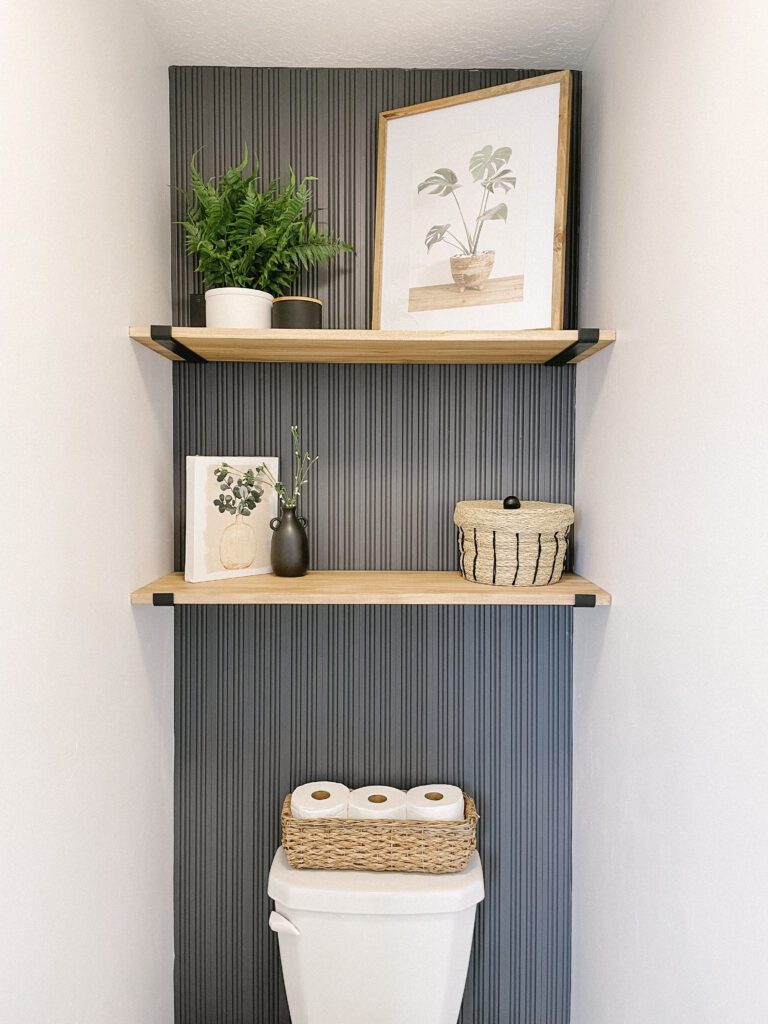
I am so glad that I took the time to transform this water closet. It’s an easy project that can be done in a day or two, depending on how many little helpers you have at home 🙂 Follow along for more DIY home ideas @spetrichhome


Looks lovely. What did u do behind the toilet? Did u cut the wood?