Built in Desk

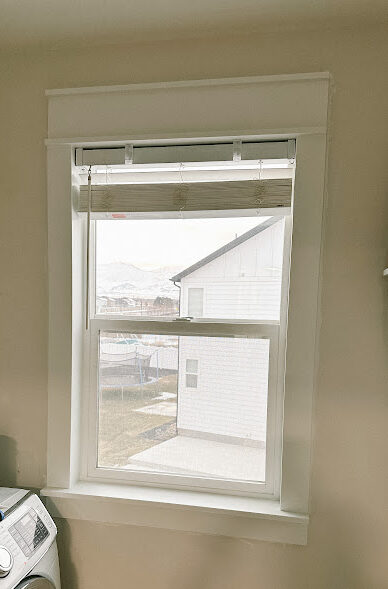
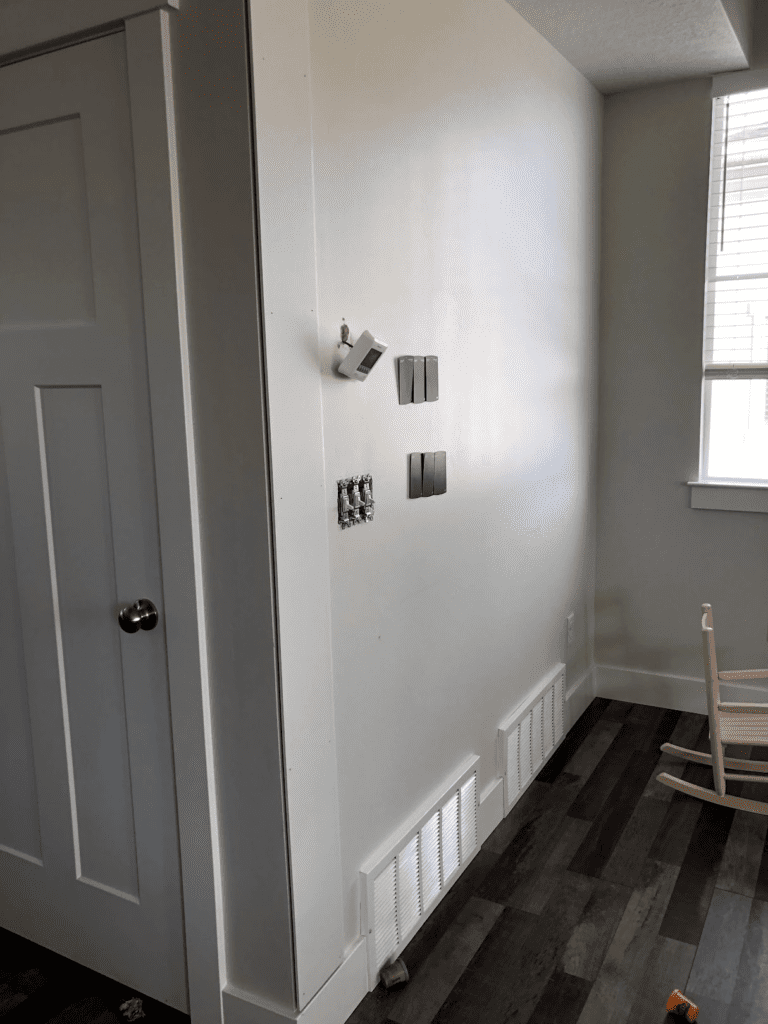
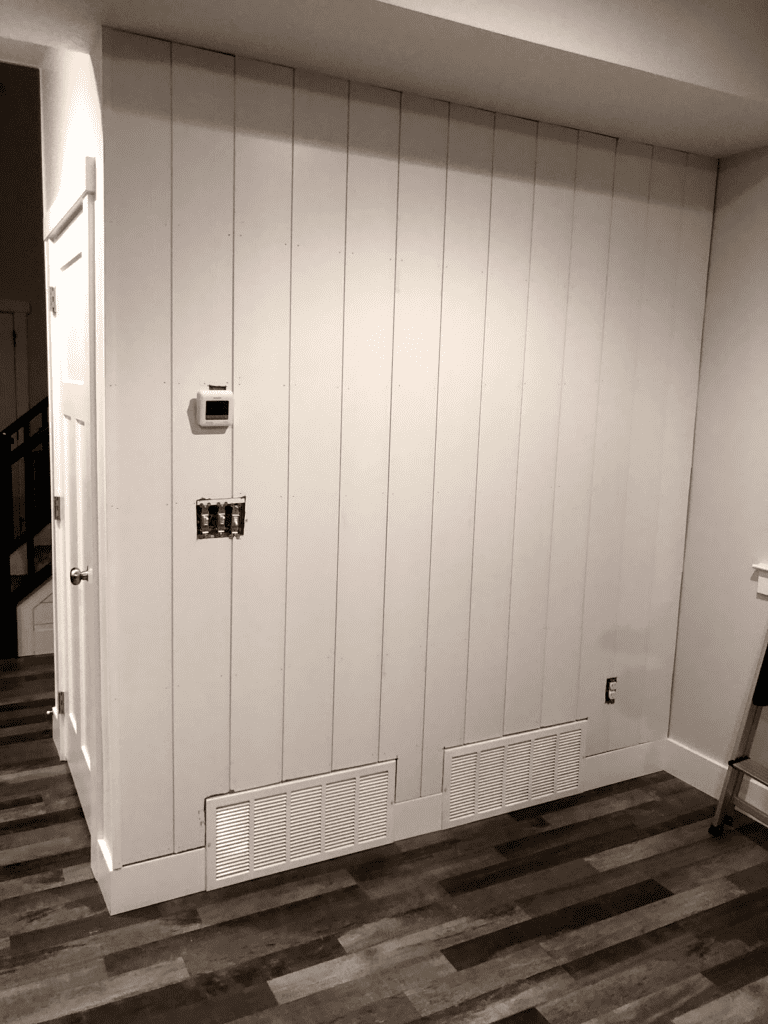
When we first moved into out house, there was a corner in our living room that was just empty space. I decided we could get the best use out of that space by turning it into a desk/command center.
I started by adding vertical shiplap to the wall. You can find pre-made shiplap at lowes or home depot. It’s worth the extra cost to get the pre-made and pre-primed shiplap in my opinion. I installed it on the wall using a battery operated brad nailer, linked here. For all the tricky cuts I used a jigsaw, linked here!
I filled in all the nail holes using spackle. My favorite spackle, linked here.
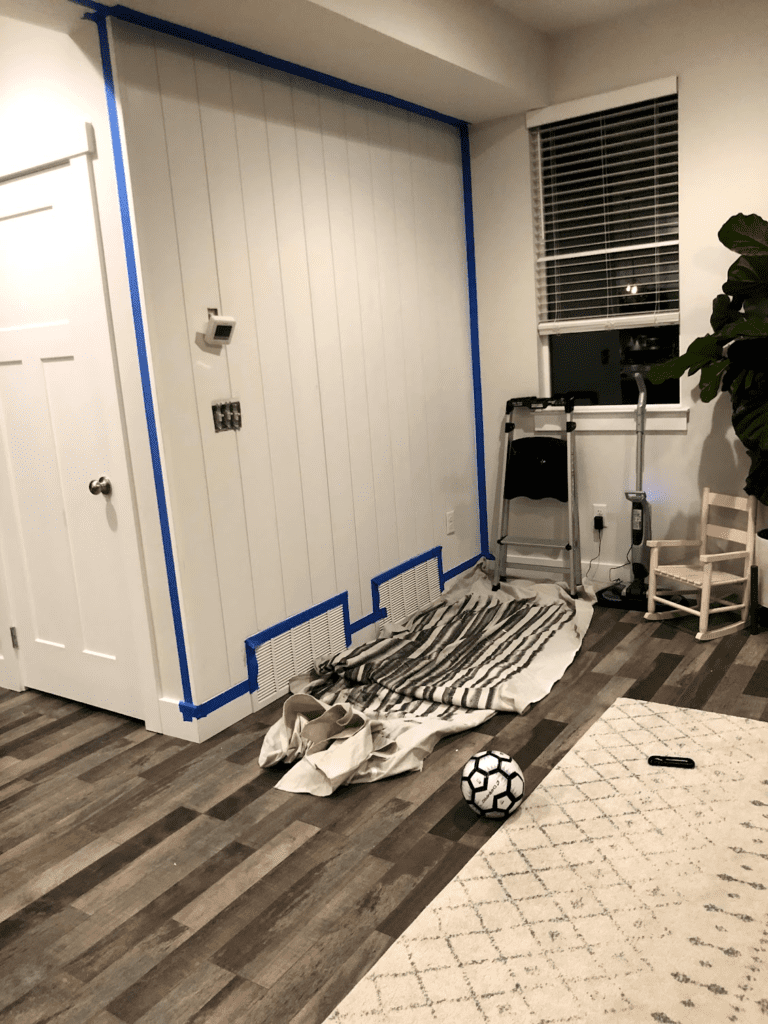
Then I sanded and caulked around the edges.
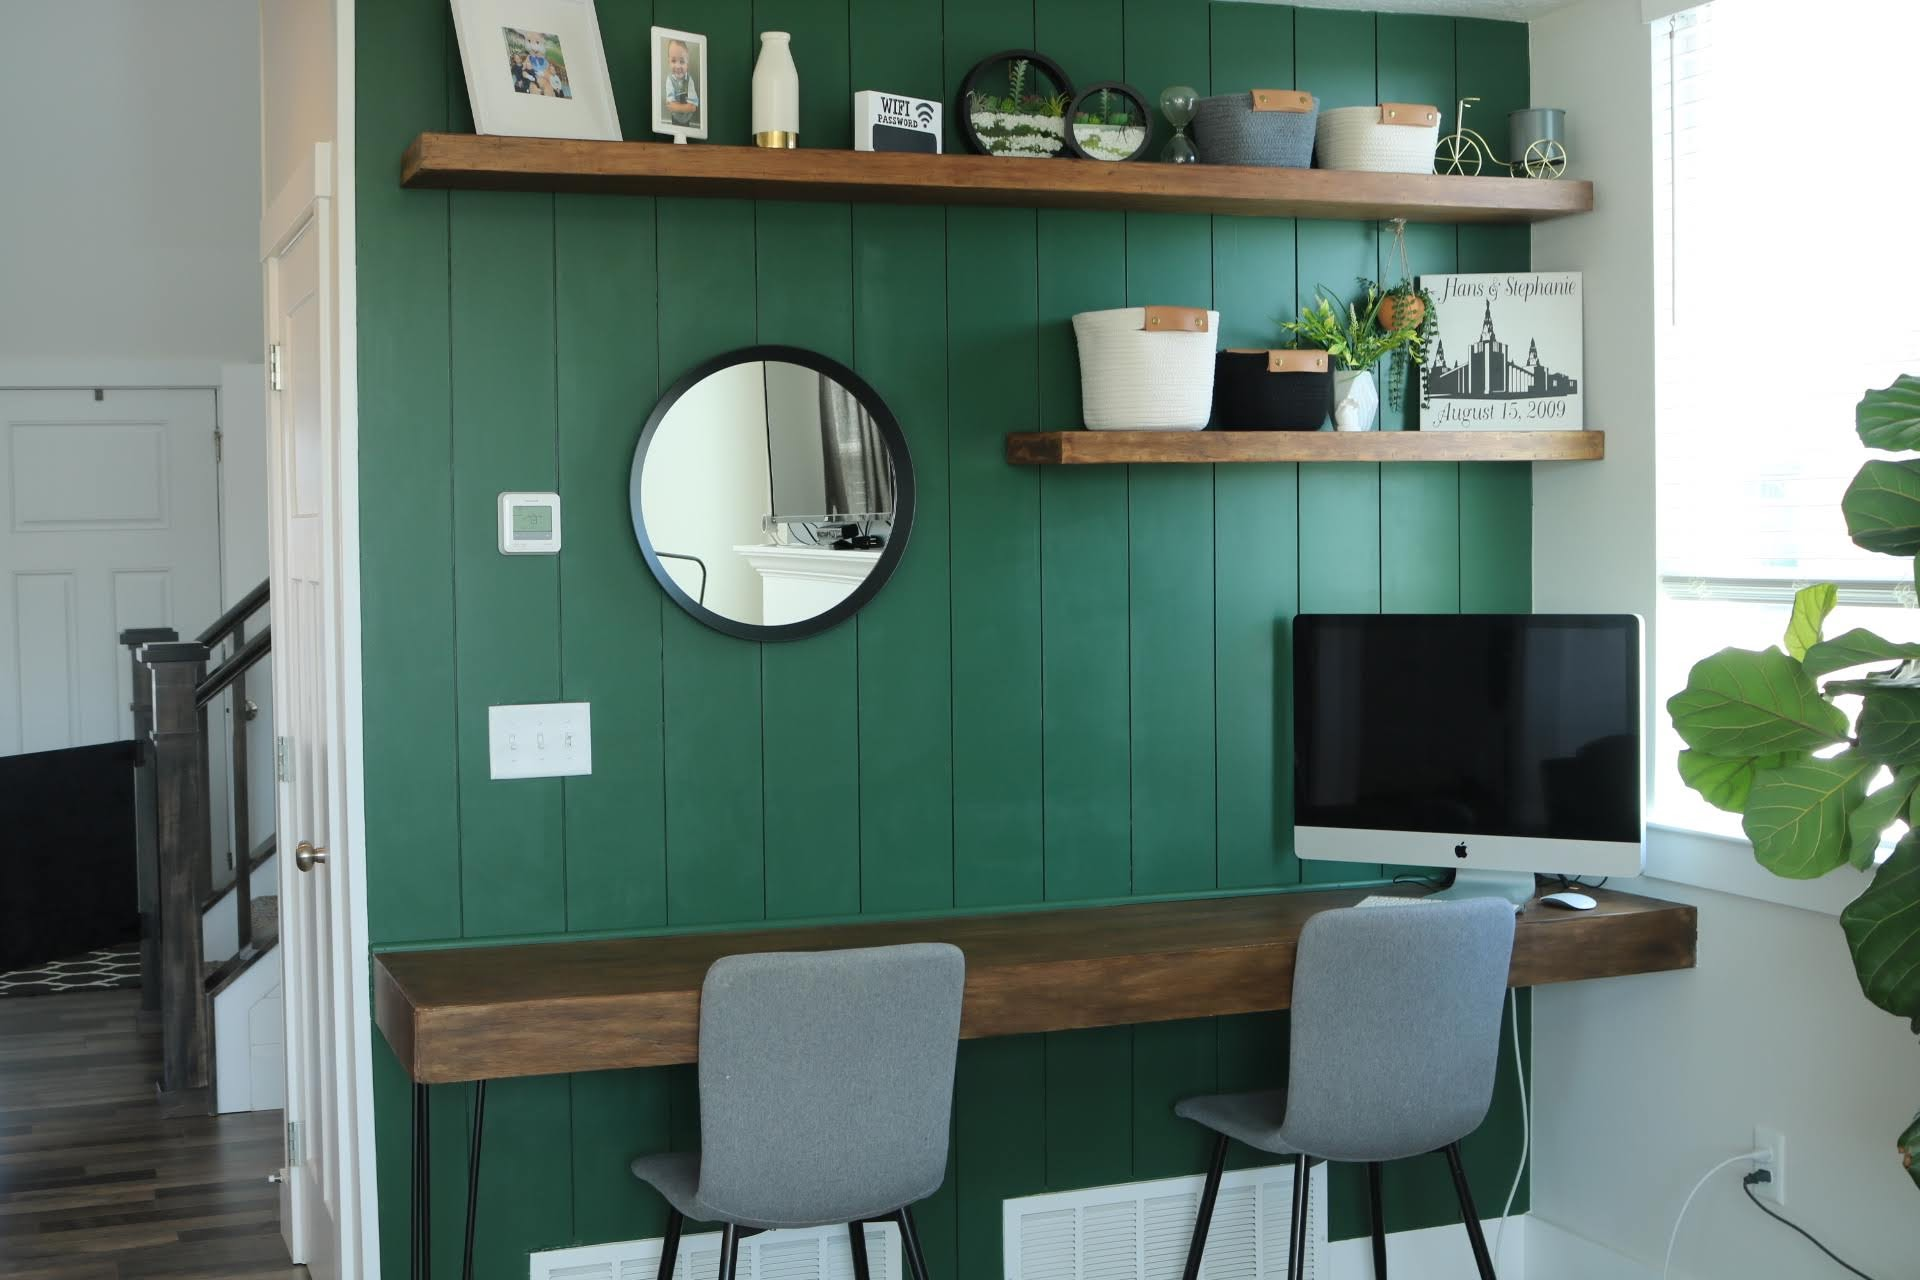
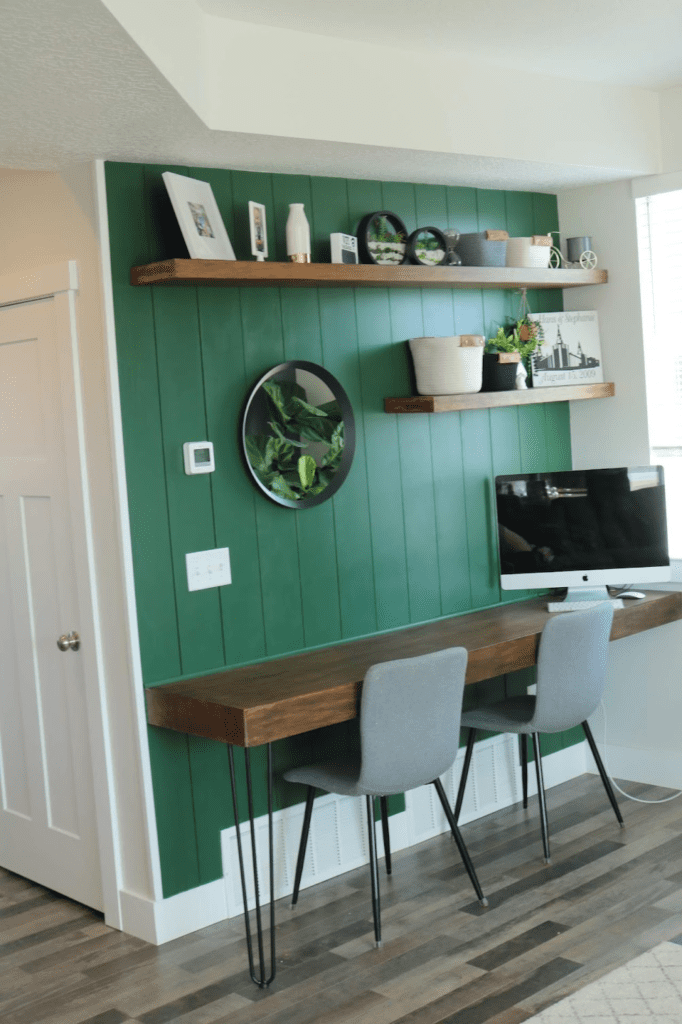
After the shiplap was up, I painted it. I went with the color “vine Leaf” by Behr. That being said, do yourself a favor and paint the sides of the shiplap before you install them. you will save yourself a LOT of time!

The next step was building the desk. I used 2x4s and created a rectangle box the size I wanted the desk to be. Inside the “box” I added supports ( like ladder rungs). I mounted the frame for the desk to the shiplap wall using 3″ screws, screwed into the studs. One of the corners of the desk needed additional support so I added a desk leg to that corner.
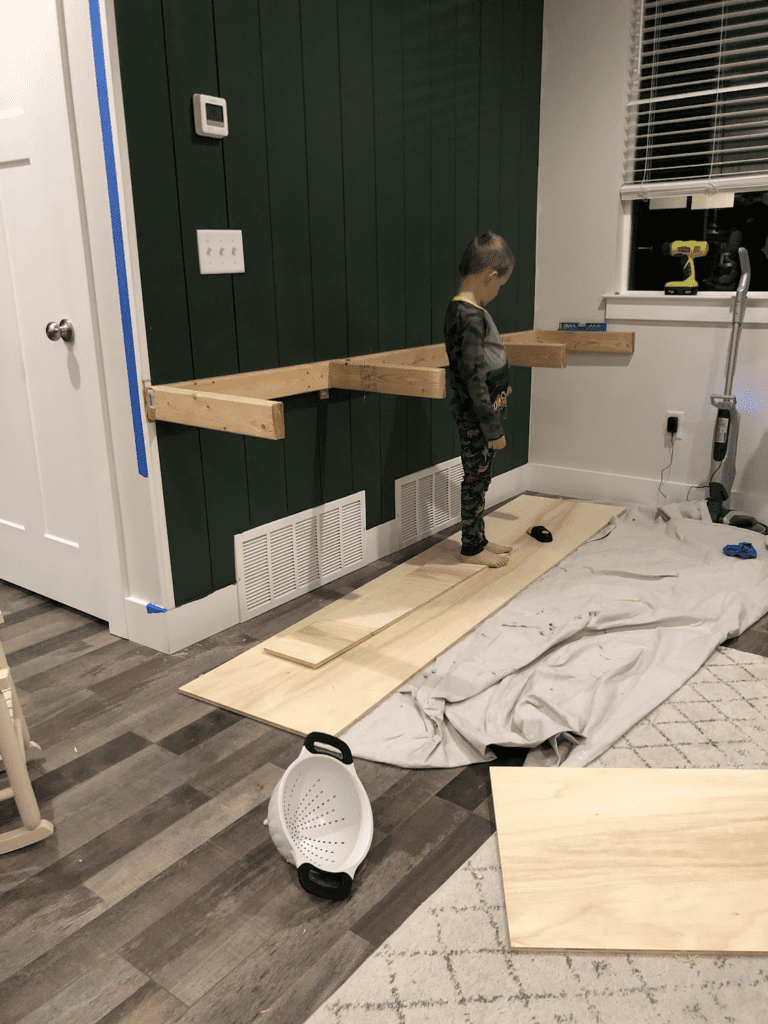
For the desk top, I cut a piece of plywood to size and mitered the edges. Then I added front pieces to the desk and also mitered them. When assembled, the mitered corners made the desk look seamless.


Wood conditioner linked here. Wood stain linked here. Polyurethane top coat linked here.
For the floating shelves on top of the desk, I used 1x2s as supports, and created a hollow box to slide over the supports. both the shelves and the desk I then used wood conditioner on, sanded with 220 grit or higher sandpaper, and then stained and sealed them.
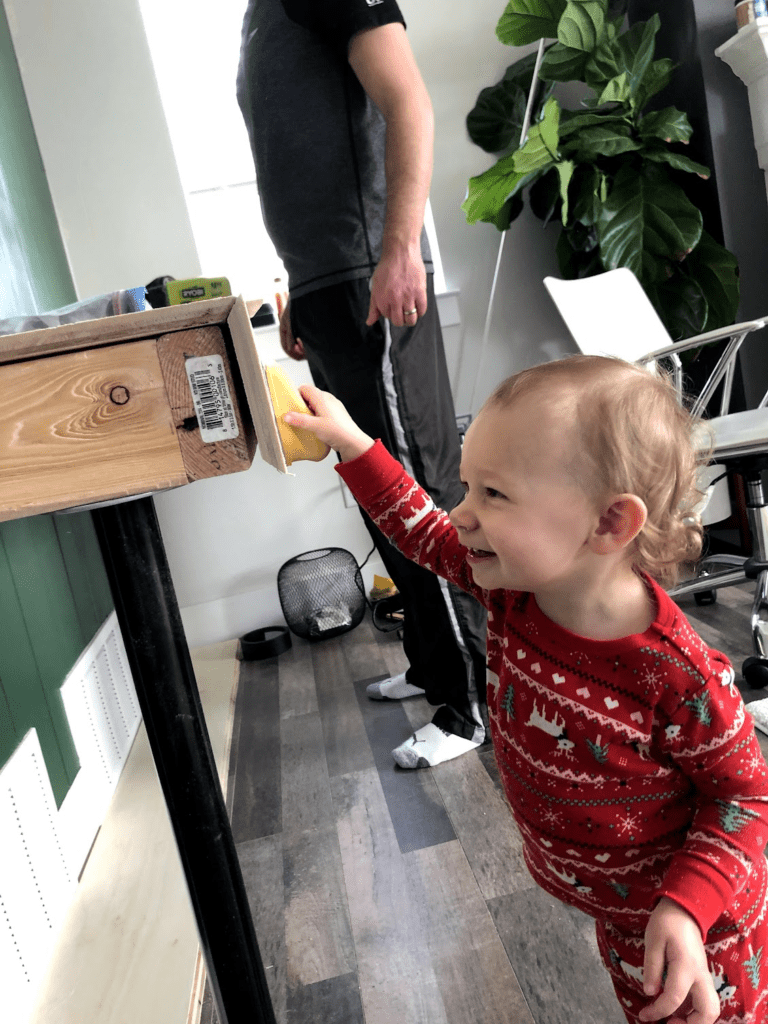
It was a bit of a process but in the end it was worth it. We use this space all the time!
Stephanie