The Ultimate Guide: Applying Peel and Stick Wallpaper Like a Pro
I think it is safe to say the mudroom is officially complete, now that the mudroom locker project is completed! We have loved the lockers! Would you believe me if I told you my kids have actually been really good at keeping their lockers clean and the doors closed? Definitely a winner of a project, for sure! But that is not what you are here for; you are here to learn a few quick peel-and-stick wallpaper tips and tricks. I love when you can completely transform a space with minimal effort, and peel-and-stick wallpaper can definitely make that happen!
Note: This post contains affiliate links. I may earn a commission at no extra cost to you. Thanks for supporting my content!
Peel-and-Stick Wallpaper Supplies
- Primer
- Wallpaper Smoothing Tool Kit
- Peel-and-Stick Wallpaper of Your Choice
- Laser Level or Regular Level
Peel-and-Stick Wallpaper Tip #1: Create a Smooth Surface
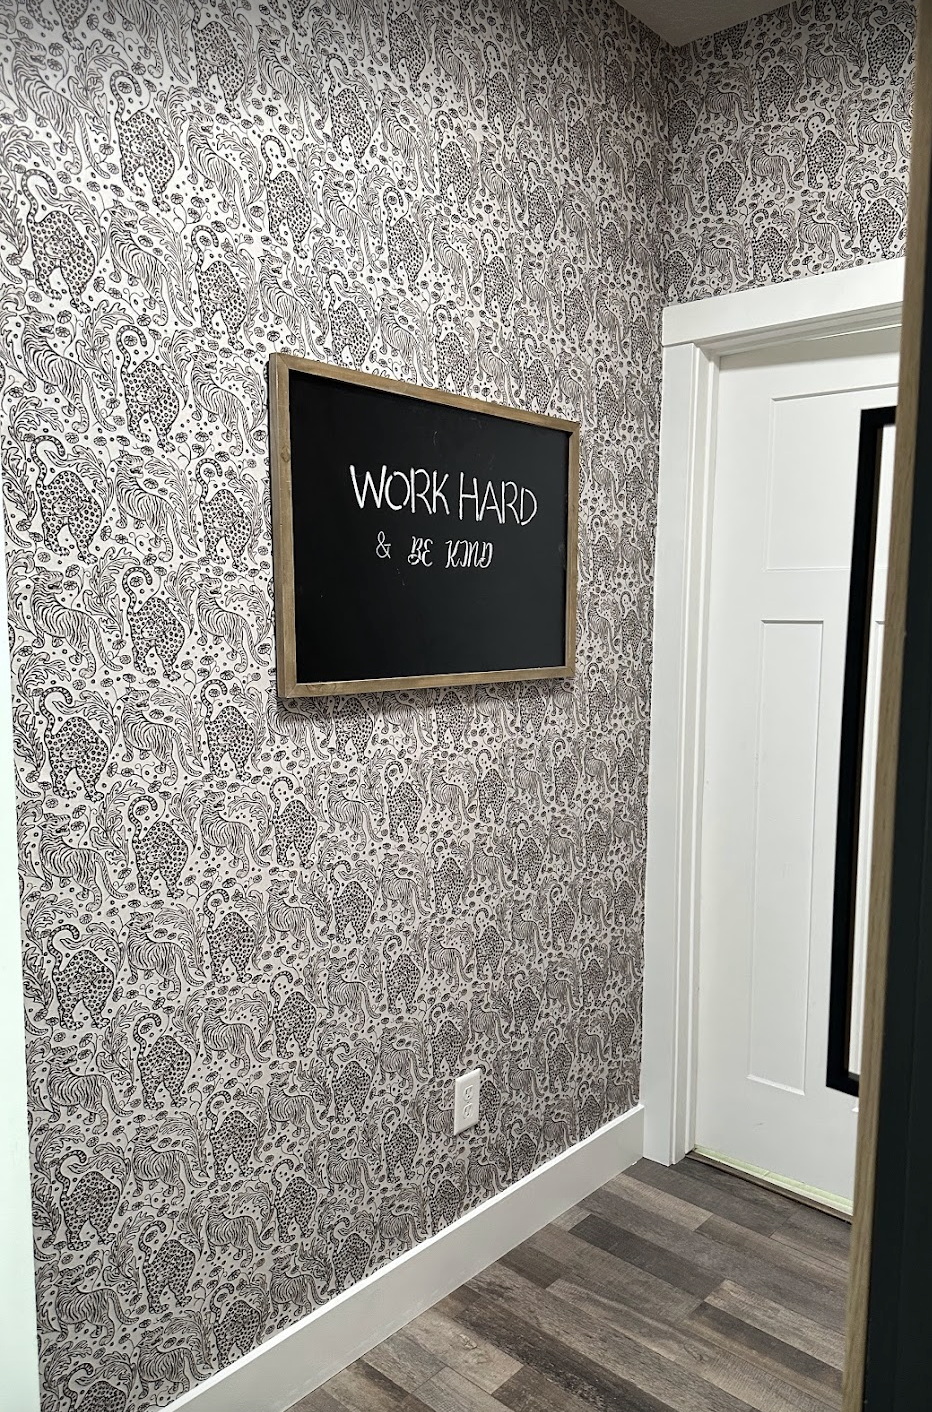
The wall where I’m installing peel-and-stick wallpaper used to be a chalkboard wall, so I had to sand it down a bit to make sure it was smooth. Applying peel-and-stick wallpaper to textured walls is generally not recommended. You can occasionally see the texture through the wallpaper, or it just kinda sticks out odd. In addition, it will not have complete adherence, so it may not last as long or look very good.
Once the wall is smooth, prime the wall where the chalkboard paint was. Which leads us to tip #2!
Tip #2: Paint & Prime
Be aware of the color of the wall and the color of the wallpaper you are applying. If the wall is dark, and you’re applying a light-colored wallpaper, you may need to prime the wall first, so that the wall does not show through the wallpaper. Even a thick, high-end wallpaper may show a dark color.
In my case, I wanted to prime it because only part of the wall was black and the rest was white, and I did not want there to be a visible difference. It was easier to just throw a coat of primer on and rest assured knowing the final product would look great!
Now that the walls were all clean, smooth, and primed, I was ready to get started with hanging the wallpaper.
Tip #3: Keep it Level
Make sure your first row of peel-and-stick wallpaper is perfectly straight. That does not mean lined up evenly with the corner of the wall or the ceiling, because most of the time, your walls are not perfectly straight/square. There is always some variation. So instead of lining the edge of the wallpaper up to the corner of the wall, use a laser level or a regular level and draw a line that is perfectly level. Then, use that line to apply your first piece. Keep in mind, it is completely normal for the first piece to take you a while. It is important that you take your time on that piece so the rest line up correctly.
Tip #4: Leave Overhang
You’ll want to leave 2-3 inches at the top and bottom as overhang. This goes back to what we talked about before—your walls probably aren’t completely straight. If the ceiling line is off, you want to have slack that you can use to accommodate that. This will give your wallpaper the best chance of being beautifully seamless.
Tip #5: Remove Bubbles & Creases
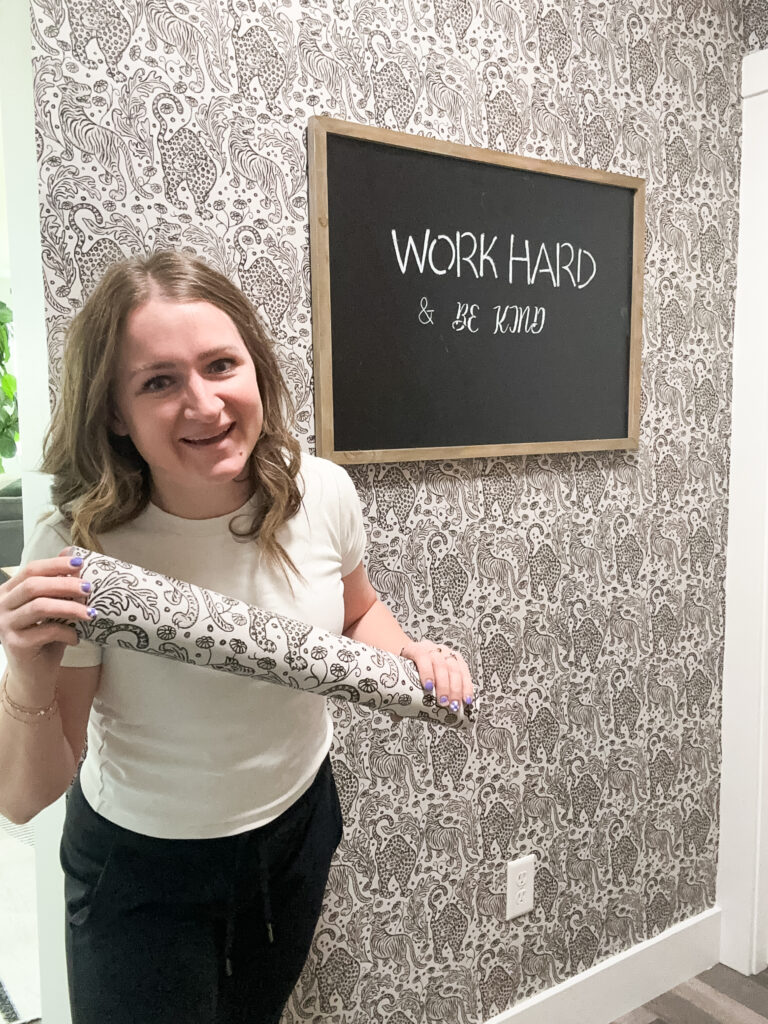
When applying peel-and-stick wallpaper, start at the top and peel off 12-18 inches of backing, leaving the rest on. Line it up, then press it onto the wall starting in the middle and moving toward the edges. I like to use this wallpaper smoothing kit to press out any bubbles and get a bubble/crease-free finish. Continue peeling the backing as you move down the wall. Don’t rush the process—you’ll be done before you know it!
I absolutely love how this wallpaper turned out. After adding a piece of artwork I made a while back and swapping out the rug, it was complete! What do you think? Would you try applying wallpaper?
Follow along for more DIYs and fun at…


2 Comments