Powder Bathroom Revamp: DIY Makeover Ideas

The best part of DIY is that if you do something and do not love it, you can change it yourself! You don’t have to worry about wasting money paying someone to change it for you. This half bath, much like the art closet, has undergone several makeovers, and each time, it gets better and better! So come along as we go on the journey of the powder bathroom revamp!
Before: A Builder Grade Powder Bathroom
This journey starts with a builder-grade bathroom. It was basic, boring, and sterile. Nothing but white walls and baseboards, a white pedestal sink, a builder-grade mirror, and a light fixture. Very blah… Obviously, that was not what I envisioned, and I knew just what I needed to do!
Powder Bathroom Revamp Idea #1: Board and Batten


The first update I completed in this powder bathroom was to frame out the window, add board and batten, paint, and obviously add some decorations. This was all completed before my days of sharing my DIY projects, so I don’t have many videos and pictures of it. But I loved it! I have done different variations of board and batten in other areas of my home. Check out the grid wall in my entryway or the double board and batten I did in my hallway.
Powder Bathroom Revamp Idea #2: Faux Tile Wall

This update happened because my kids broke the pedestal sink, so I had to replace it… and you know me, I can’t just change the sink… I have to change all the things. So that’s what I did! I started by changing the color of the board and batten to this gorgeous green. It is called Dard Hunter Green by Sherwin-Williams.
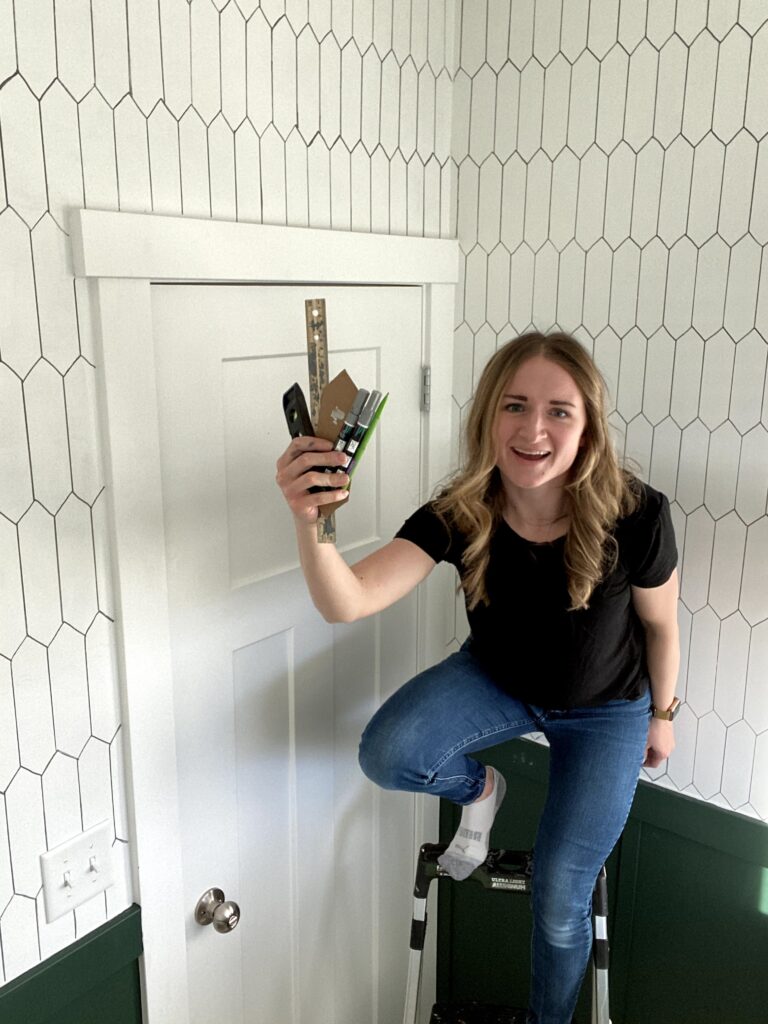
Next, I did a faux tile wall. After a lot of trial and error, I concluded that the easiest way to do it was to make a pattern with cardboard and trace it with a pencil. After that, I went back over everything with a paint pen. I recommend starting with a pencil, so if you need to change it, you can do so easily. However, once I finished hours and hours of measuring, cutting, taping, drawing, and erasing, I found the same pattern as a stencil. I’m sure that would have been way easier!
For fun, check out this video to see the process of figuring out how to do it. It took so, so long!
After that, I replaced the pedestal sink with this sink/cabinet combo, installed a new light fixture, and a new mirror.
And it was perfect—until I was ready for another change. Enter, the final and most recent update!
Powder Bathroom Revamp Idea #3: Wallpaper

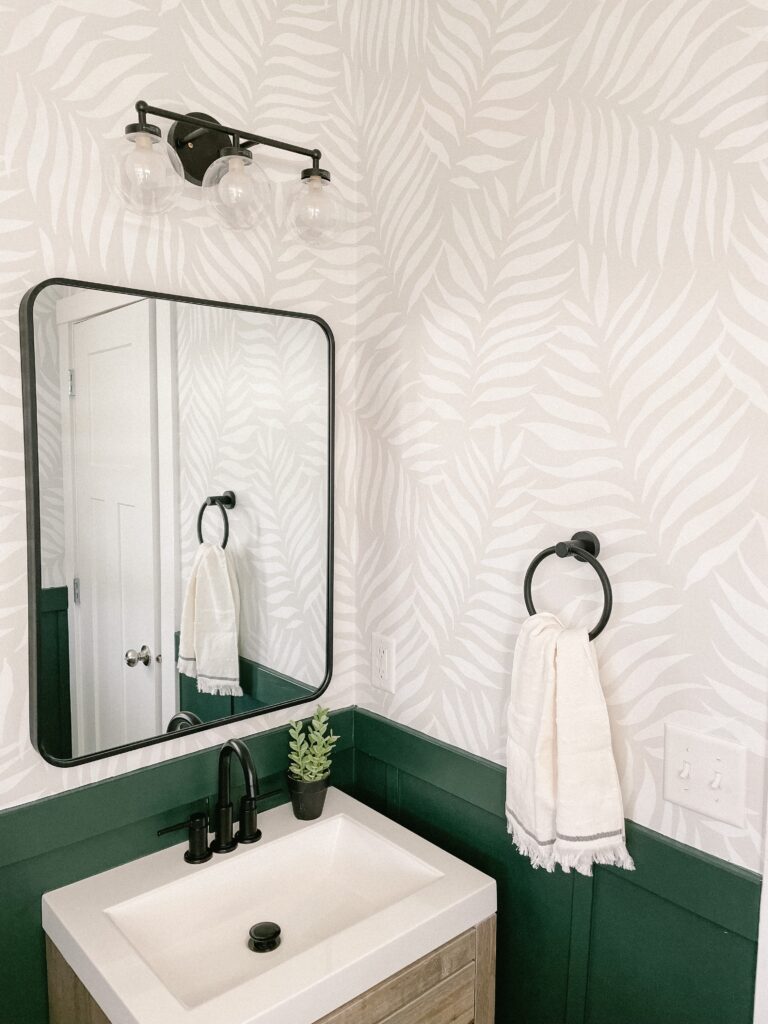
This update was simple but impactful. And by simple, I mean all I did was install wallpaper over the faux tile and add a few small decoration updates. The wallpaper I chose is called “Patterned Fronds Wallpaper” by Love vs Design. Get 15% off your order using promo code LVE15F
Okay, I lied. Installing wallpaper is not simple, at least the first few times you do it. I have a full post with tips about installing peel-and-stick wallpaper. Check it out HERE!
I got a piece of highland cow artwork. I cannot find the exact one that I used, but Amazon has a bunch of options. Here is another one I really like. You can do my canvas art frame hack, and it will look amazing! I added a few decorations to one of the existing floating shelves, and it was complete.
Which of the three updates is your favorite? Have you ever created faux tile or installed wallpaper?
Follow along for more DIYs and fun at…