How to Add Window Trim: Beginner-Friendly DIY
I’ve been making my way around our home, updating builder-grade finishes one DIY at a time. Now, I’m on to the windows! Our builder put a window ledge on all of them, and they looked okay, but I knew they could be better. I’ve started slowly ripping them out and reframing them, so I wanted to share some step-by-step instructions on how to add DIY window trim. I really think it changes the look of the whole room!
Note: This post contains affiliate links. I may earn a commission at no extra cost to you. Thanks for supporting my content!
Supplies Needed:
- 1×6– I used MDF boards that were already primed.
- 1×4
- 1×2
- Spackle
- Caulk
- Razorblade Knife
- Mallet
- Paint – Whatever color you want! I chose Bright Ceiling White by Sherwin-Williams for my trim.
- Nail Gun
- Miter Saw
- Paint Brush
- Foam Roller
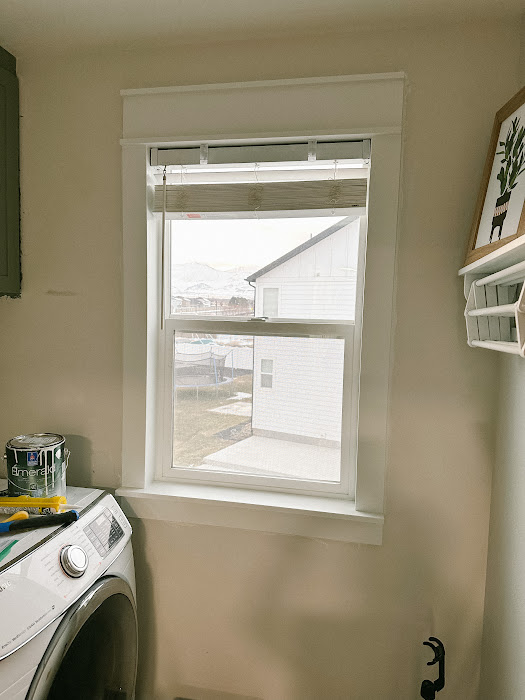
Step #1: Remove the Existing Ledge
First things first: Take the existing ledge off, if you have one. If you don’t have one, skip this step. 🙂 I used a razor blade knife to score where the caulking was, and then used my mallet to get the ledge off. Try to keep it in one piece if you’re able to, because it’ll be a pattern for your new ledge!
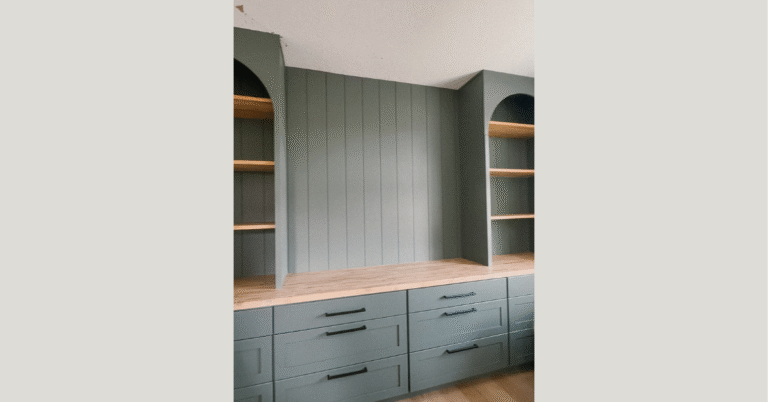
Step #2: Cuts
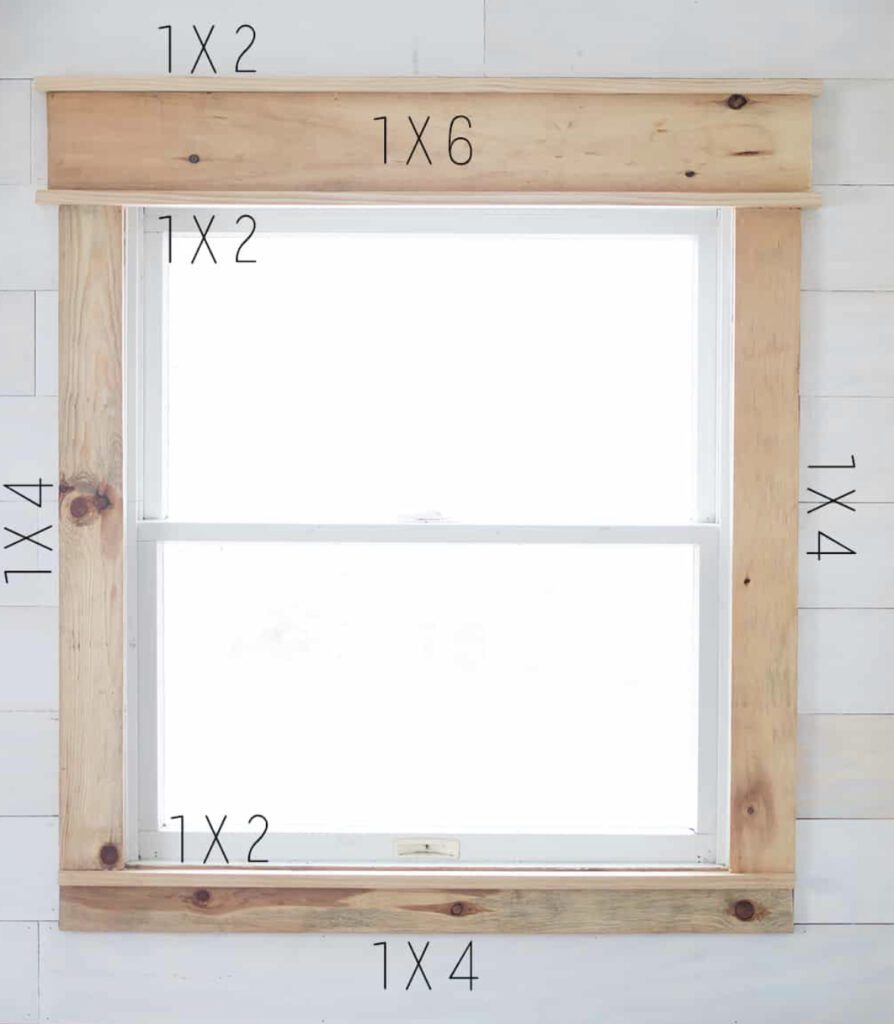
Next, get your miter saw and make all of your cuts. I used the old ledge as a pattern for the new one so that I knew where to cut it to make it fit, and it was perfect! I used a 1×6 board for the ledge and 1×4 boards for underneath and the sides. For the top, I used a 1×2 ledge, then a 1×6, and finally a 1×2 on the top. Here’s an inspiration picture I found that shows the look that I was going for.
Step #3: Secure the Boards to the Wall
I started with my new ledge first, then underneath it, then the sides, and lastly, the top. Just use a nail gun to secure it into place! With the very top 1×2, I found I didn’t have enough room for my nail gun to nail it in place. So I took down the 1×6 and nailed it to that first, and then put it all back up.
Step #4: Caulk & Wood Fill
Next, it’s time to caulk and fill all the wood holes. I used my favorite spackle for wood filling. It’s super lightweight and you only need a wet wipe to wipe it off—no sanding required! Caulking all those gaps makes so much difference in creating a clean, polished look.
Step #5: Painting the Trim
Time to paint! Here’s one of my favorite painting hacks: I like to brush it on first and then go over everything with a foam roller. It helps the finish look nice and smooth!
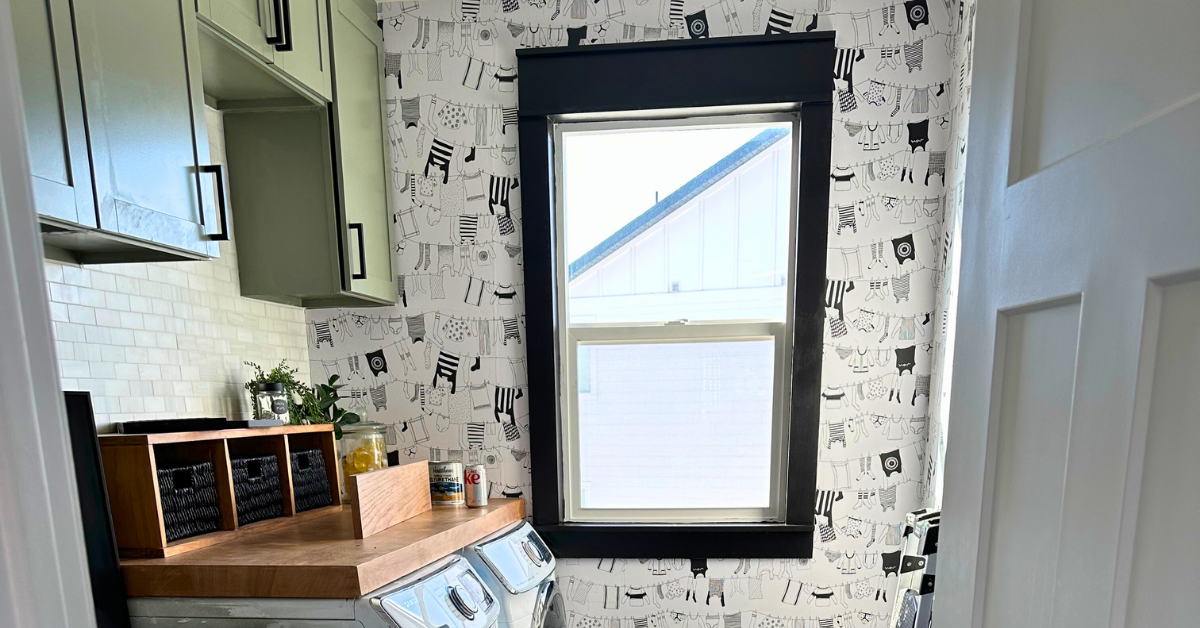
Sit Back & Enjoy Your New DIY Window Trim!
Enjoy that beautiful window! It is simply amazing what a little bit of wood and paint can do. Windows bring so much light and life to a home. When you frame them out, they draw your eye to the light, and the effect is amazing. This project always turns out great, and I love it so much! Follow me on Instagram for more simple, beginner-friendly DIY projects.