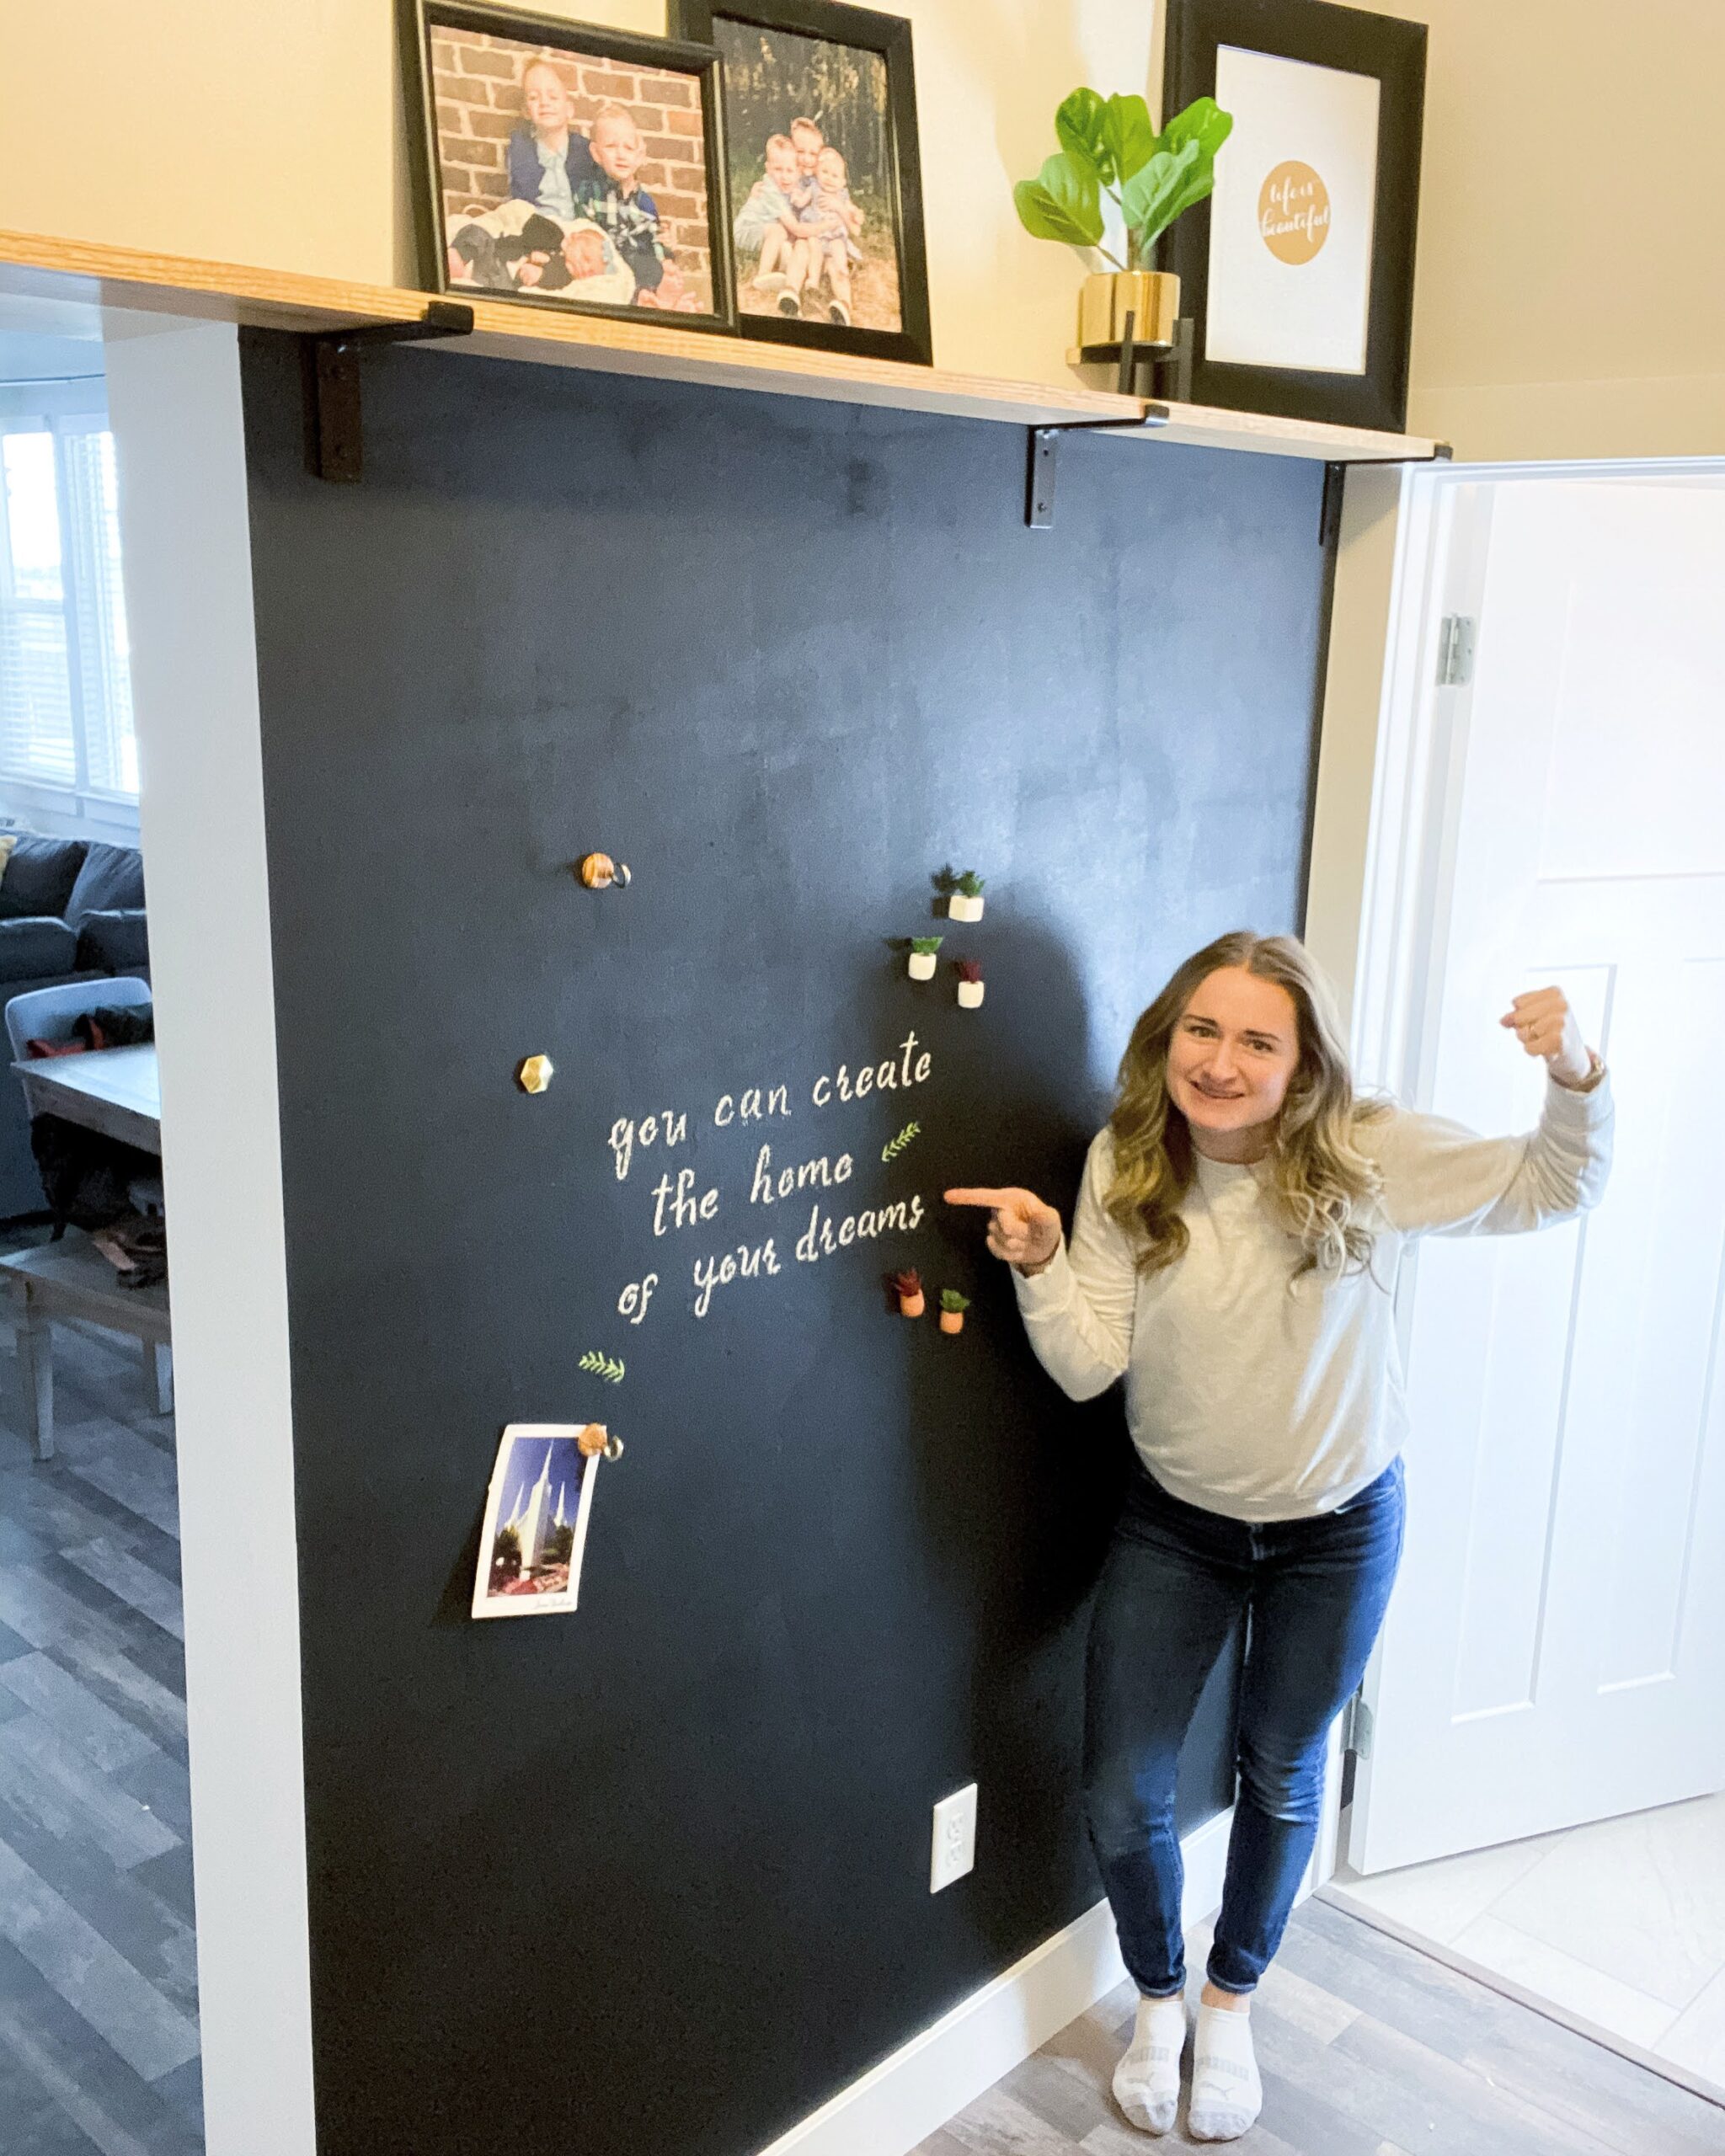
Magnetic Chalkboard Wall: Where Function Meets Fun
Are you ready for a fun, quick, and easy project that your kids will absolutely love? Warning: Doing this project may make you the best parent ever, and you may have kids occupied and busy for hours. In addition, you may suddenly be the best house in the neighborhood, and all the kids will be at your house. In all seriousness, my kids did love the magnetic chalkboard wall! They had so much fun with it, and I also loved it. It was super easy, and was perfect for this wall in my mudroom.
Magnetic Chalkboard Wall Supplies:

Step #1: Prep the Magnetic Chalkboard Wall
Oftentimes, people want to skip the prep step because they want to get right to the fun stuff. But it is so important that you don’t skip the prep. I love the saying “slow down to speed up”. It is so true! Take the time to do the prep work, and the rest of the project will go so much faster!
Remove outlet covers and tape the remaining outlets. Fill any holes. Tape baseboards, walls, and ceiling (I am guilty of this one. I don’t always tape… shhhh….). Even primer is a prep step that often gets skipped! Don’t skip it.
Step #2: Magnetic Primer
We are making a magnetic chalkboard wall. So I used THIS magnetic primer on the whole wall, up to where the shelf was going.
Tips and Tricks for Using Magnetic Primer:
- Stir the primer really well before and while using it. You may need to scrape the bottom of the can to loosen any pigment that has settled and mix it back into the primer.
- You want a uniform application on the wall to increase the strength of the magnet.
- Use a dense foam roller.
- The more coats you do, the more magnetic the surface will be.
- Rust-Oleum recommends using one quart of primer per 16 square foot area… I will be honest, I did not use that much, and it was still magnetic, but it could have been better.
- Allow it to dry for at least four hours before applying your paint over it. They also recommend not doing more than two coats of paint over the primer.
- Keep in mind, this is not a sheet of metal, so get the stronger magnets. They work best.
- Magnetic primer does have a texture, so it will not be super smooth.
Step #3: Chalkboard Paint
After the magnetic primer dried, I did one coat of chalkboard paint over it. Before the chalkboard paint dries, remove the tape.
Step #4: Add a Shelf to Your Magnetic Chalkboard Wall
I got THIS wood and THESE brackets for my shelf. I stained the shelf and then put it all together.
Remember, when hanging shelves, always screw into the studs. If you cannot screw into a stud, use an anchor.
Add any decorations you want, and you are done!
See, I told you this was an easy project! Just painting, and you have the best wall in your house.
What do you think? Would you make a magnetic chalkboard wall? If you do, I would love to see the space and how your kids love it. As you can see, my kids really did love this wall!
Follow along for more DIYs and fun at…


One Comment