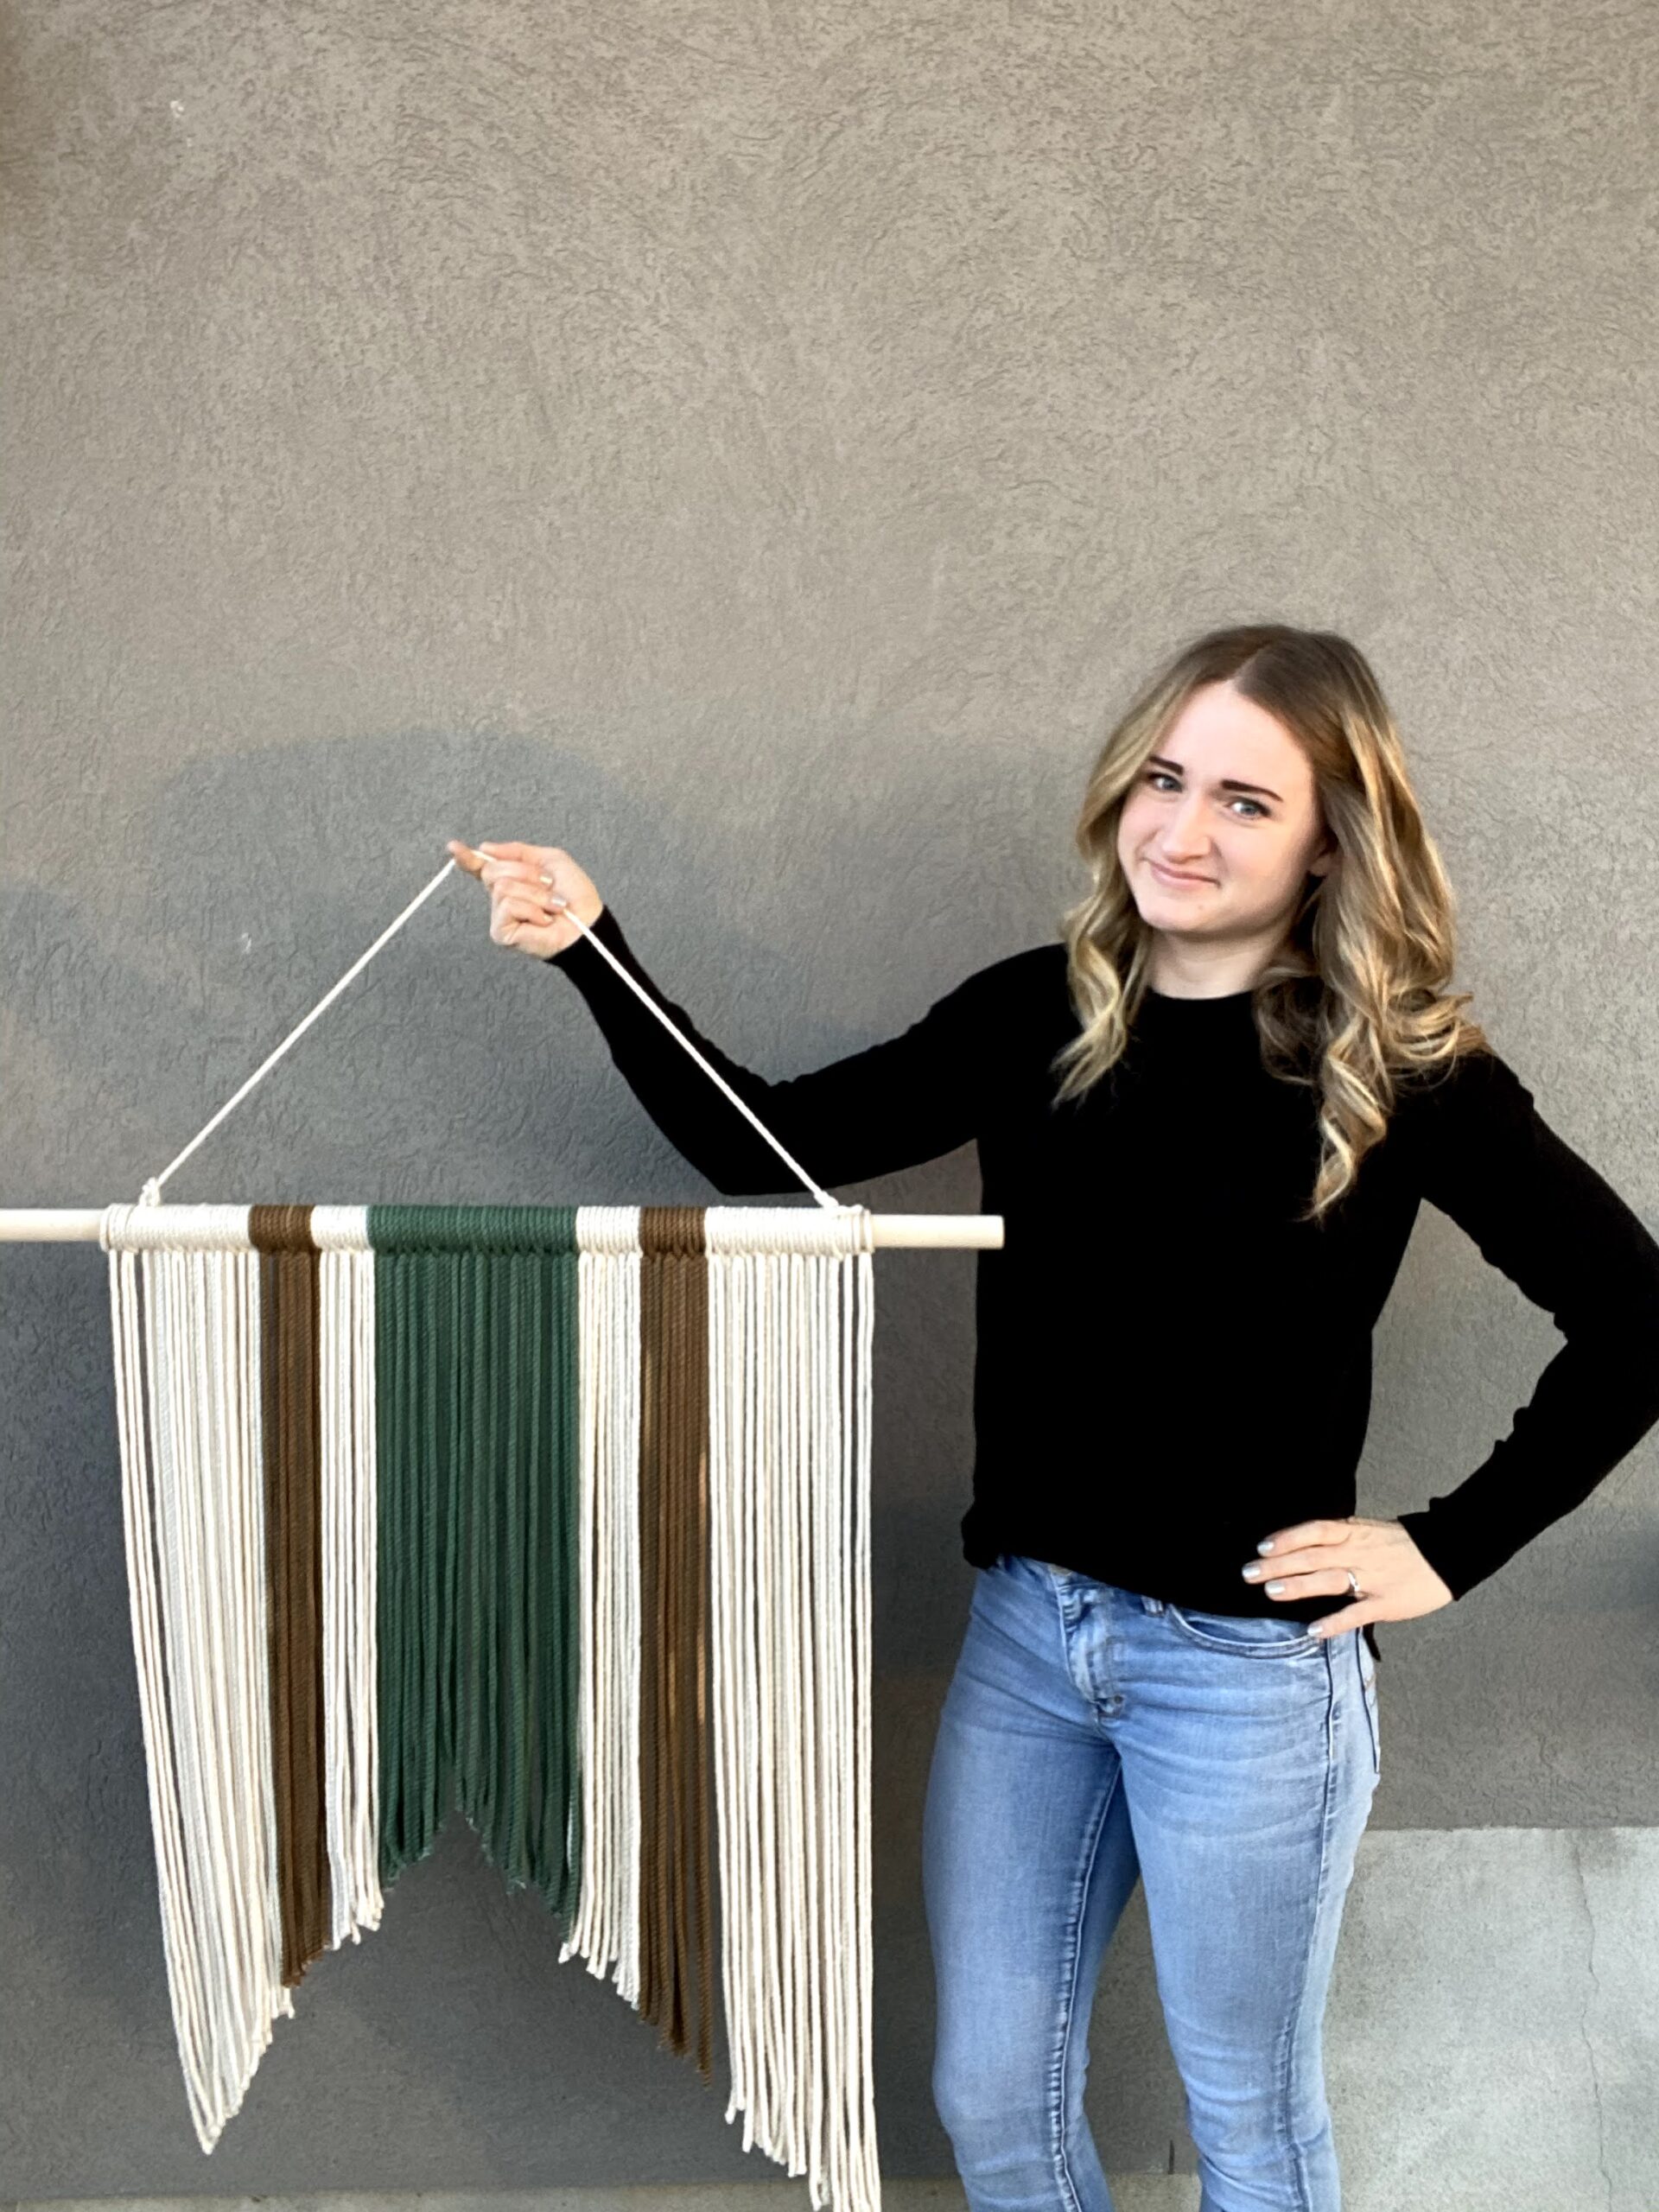
Beginner-Friendly Macramé Wall Hanging
My sister was moving and wanted a macramé wall hanging for her new home. I had never made anything like this, so when she requested it for a Christmas gift, I was so excited to try it out. It was so simple, just a little time-consuming. She loves it and is so excited to hang it in her new place!
You can find premade macramé online for about $20+, depending on the size and complexity. This one cost me about $50 to make. So it was on the more expensive end, but it matches her home perfectly and is exactly what she wanted. So that was totally worth it to me. Let’s get started!
Macramé Wall Hanging Supplies:
- Dowel
- Hand Saw (for Cutting the Dowel)
- Cording
- Stock Pot
- Cooking Thermometer
- Salt
- Dawn Dish Soap
- Tie Dye
- Painter’s Tape
- Hot Glue Gun and Glue
Step #1: Dye the Macramé Cording
First, we’re going to dye the cording. You can follow the instructions on the dye bottles, but this is what I did. Fill a bowl with water and put some Dawn dish soap in it. Soak the cord in the water for a few minutes to clean it.
In the meantime, warm up more water to 140 degrees. I did this on the stove using a large stock pot. Pour the warm water into a bowl, and add your dye, 1/2 cup of salt, and a squirt of Dawn dish soap. The dish soap and salt help the dye soak into the cord. Use tongs or another large mixing spoon, because the water is really hot!
Put the cord into the water and let it soak for 10-60 minutes, depending on how dark you want it. I wanted it really dark, so I left it in for a little longer.
Repeat this process for every color. I wanted green and burnt orange. To make the burnt orange, I combined brown and orange dye.
Rinse the cord until the water is clear, then let it dry.
Step #2: Make the Dowel
Take your dowel and cut it to whatever size you want. If you’re going to stain the dowel, do so now. We wanted a natural, raw wood dowel, so we did not stain it.
Next, tie some of the cord on both ends to make the hook. I put a staple in the dowel on the cord to hold the cord in place.
Step #3: Tying the Cord
Cut your cord to double the length you want the longest piece to be. So if you want your cord to hang 24 inches, cut it to 48-inch pieces. The amount you need will vary depending on how large your dowel is.
Now it’s time to start tying the cord on the dowel. We are making what is called a Lark’s Head Knot.
Fold your cord in half, hold the loop, and place the strand in FRONT of the dowel. Take the hanging part of the cord and wrap it down and behind the dowel, and pull it up and through the loop. Position the loop securely at the bottom of the dowel.
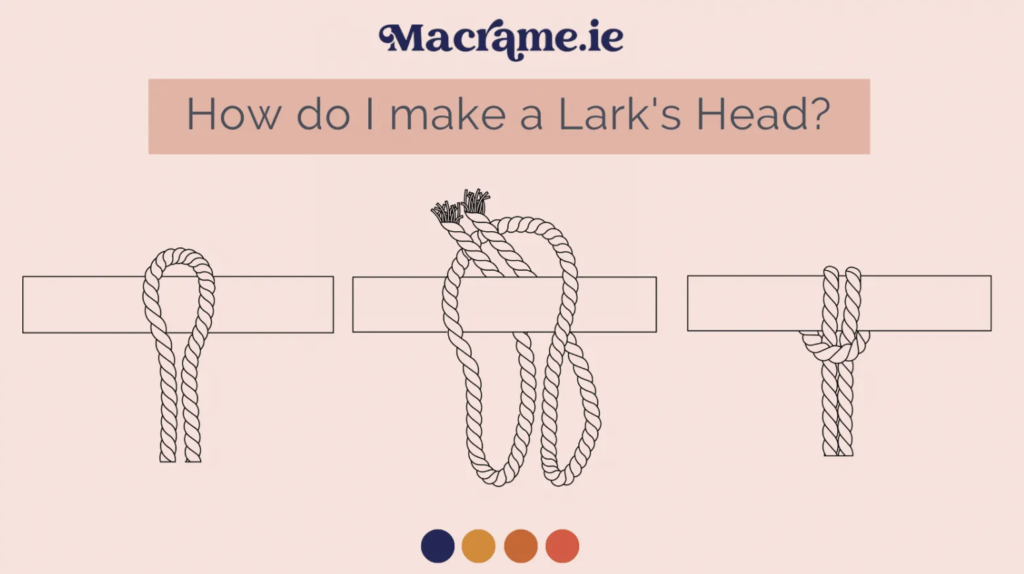
Repeat this a bunch of times over and over in whatever pattern you want your colors to be until you fill the entire length of the dowel.
Step #4: Cut the Cord to Shape
The easiest way I found to cut the cord straight is with tape. Take a long piece of painters’ tape and position it where you want your line to be. Then cut below the tape. Once it is cut, remove the tap,e and it will be a beautifully straight line.
Step #5: Seal the Ends to Reveal Your Macramé Wall Hanging
The final step is to “seal” the ends so they do not fray. There are so many ways you can seal it, but I decided to apply hot glue at the ends. It worked perfectly, and you cannot even see it.
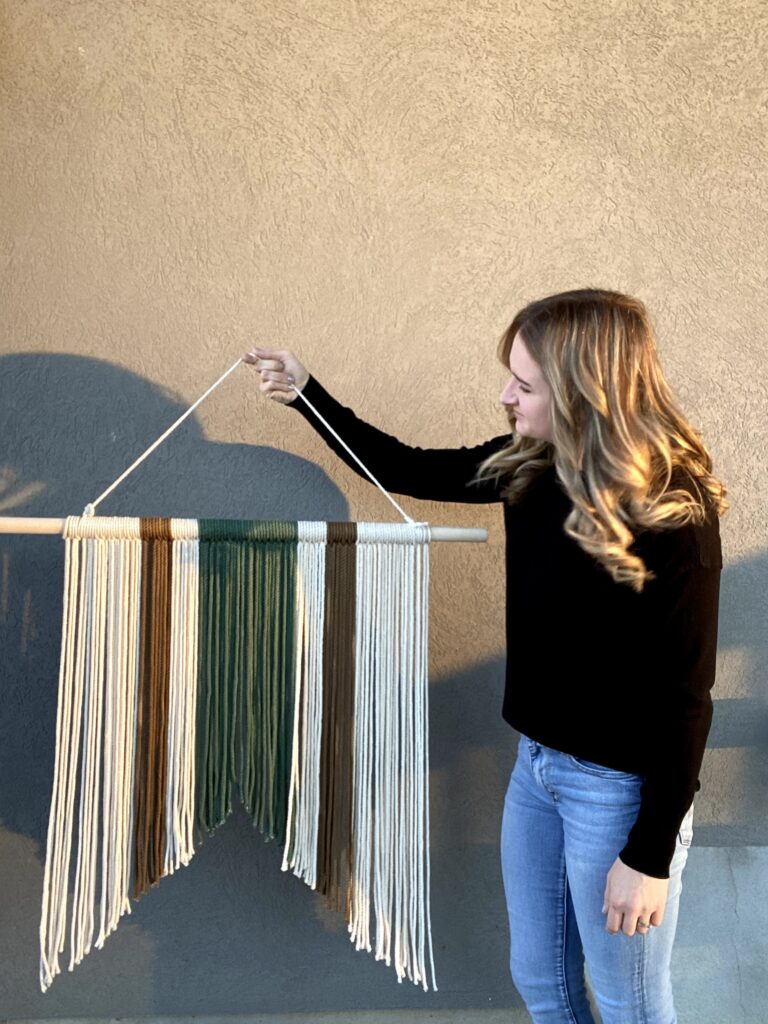
The orange was a little more brown than I wanted it to be, but I still love how it turned out—such a fun, simple, rainy day project. If you are looking for another simple but impactful DIY that you can gift, check out my custom Letter Board tutorial here!
Follow along for more DIYs and fun at…