The Ultimate DIY Deck Building Checklist: Start to Finish
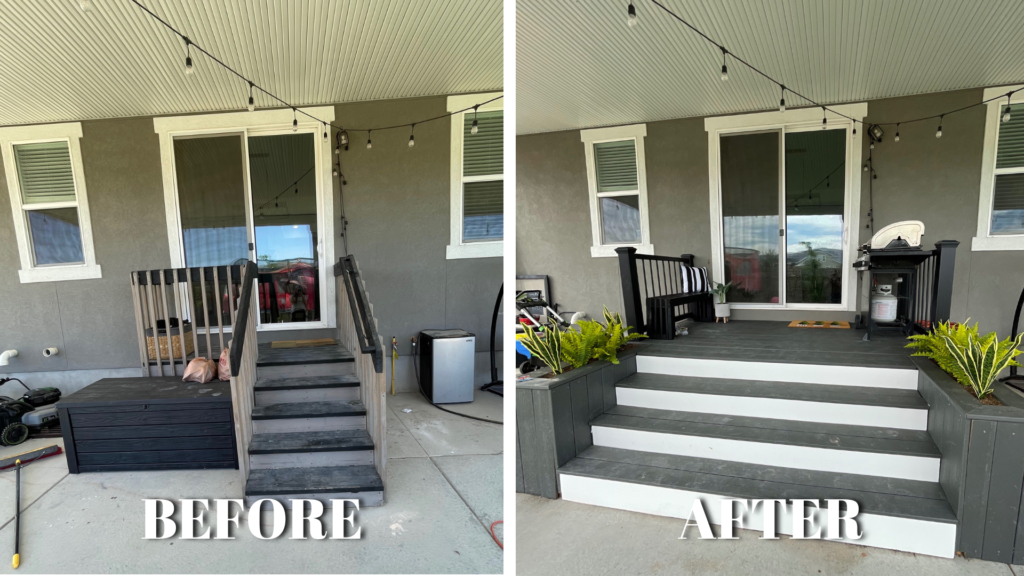
Last summer, I finally decided to replace the back deck that came with my house. My old deck worked okay, but it wasn’t very effective and didn’t look the best. I did get a bid for a new deck, and it was $20,000. So in true Stephanie fashion, I decided to build a DIY Deck!
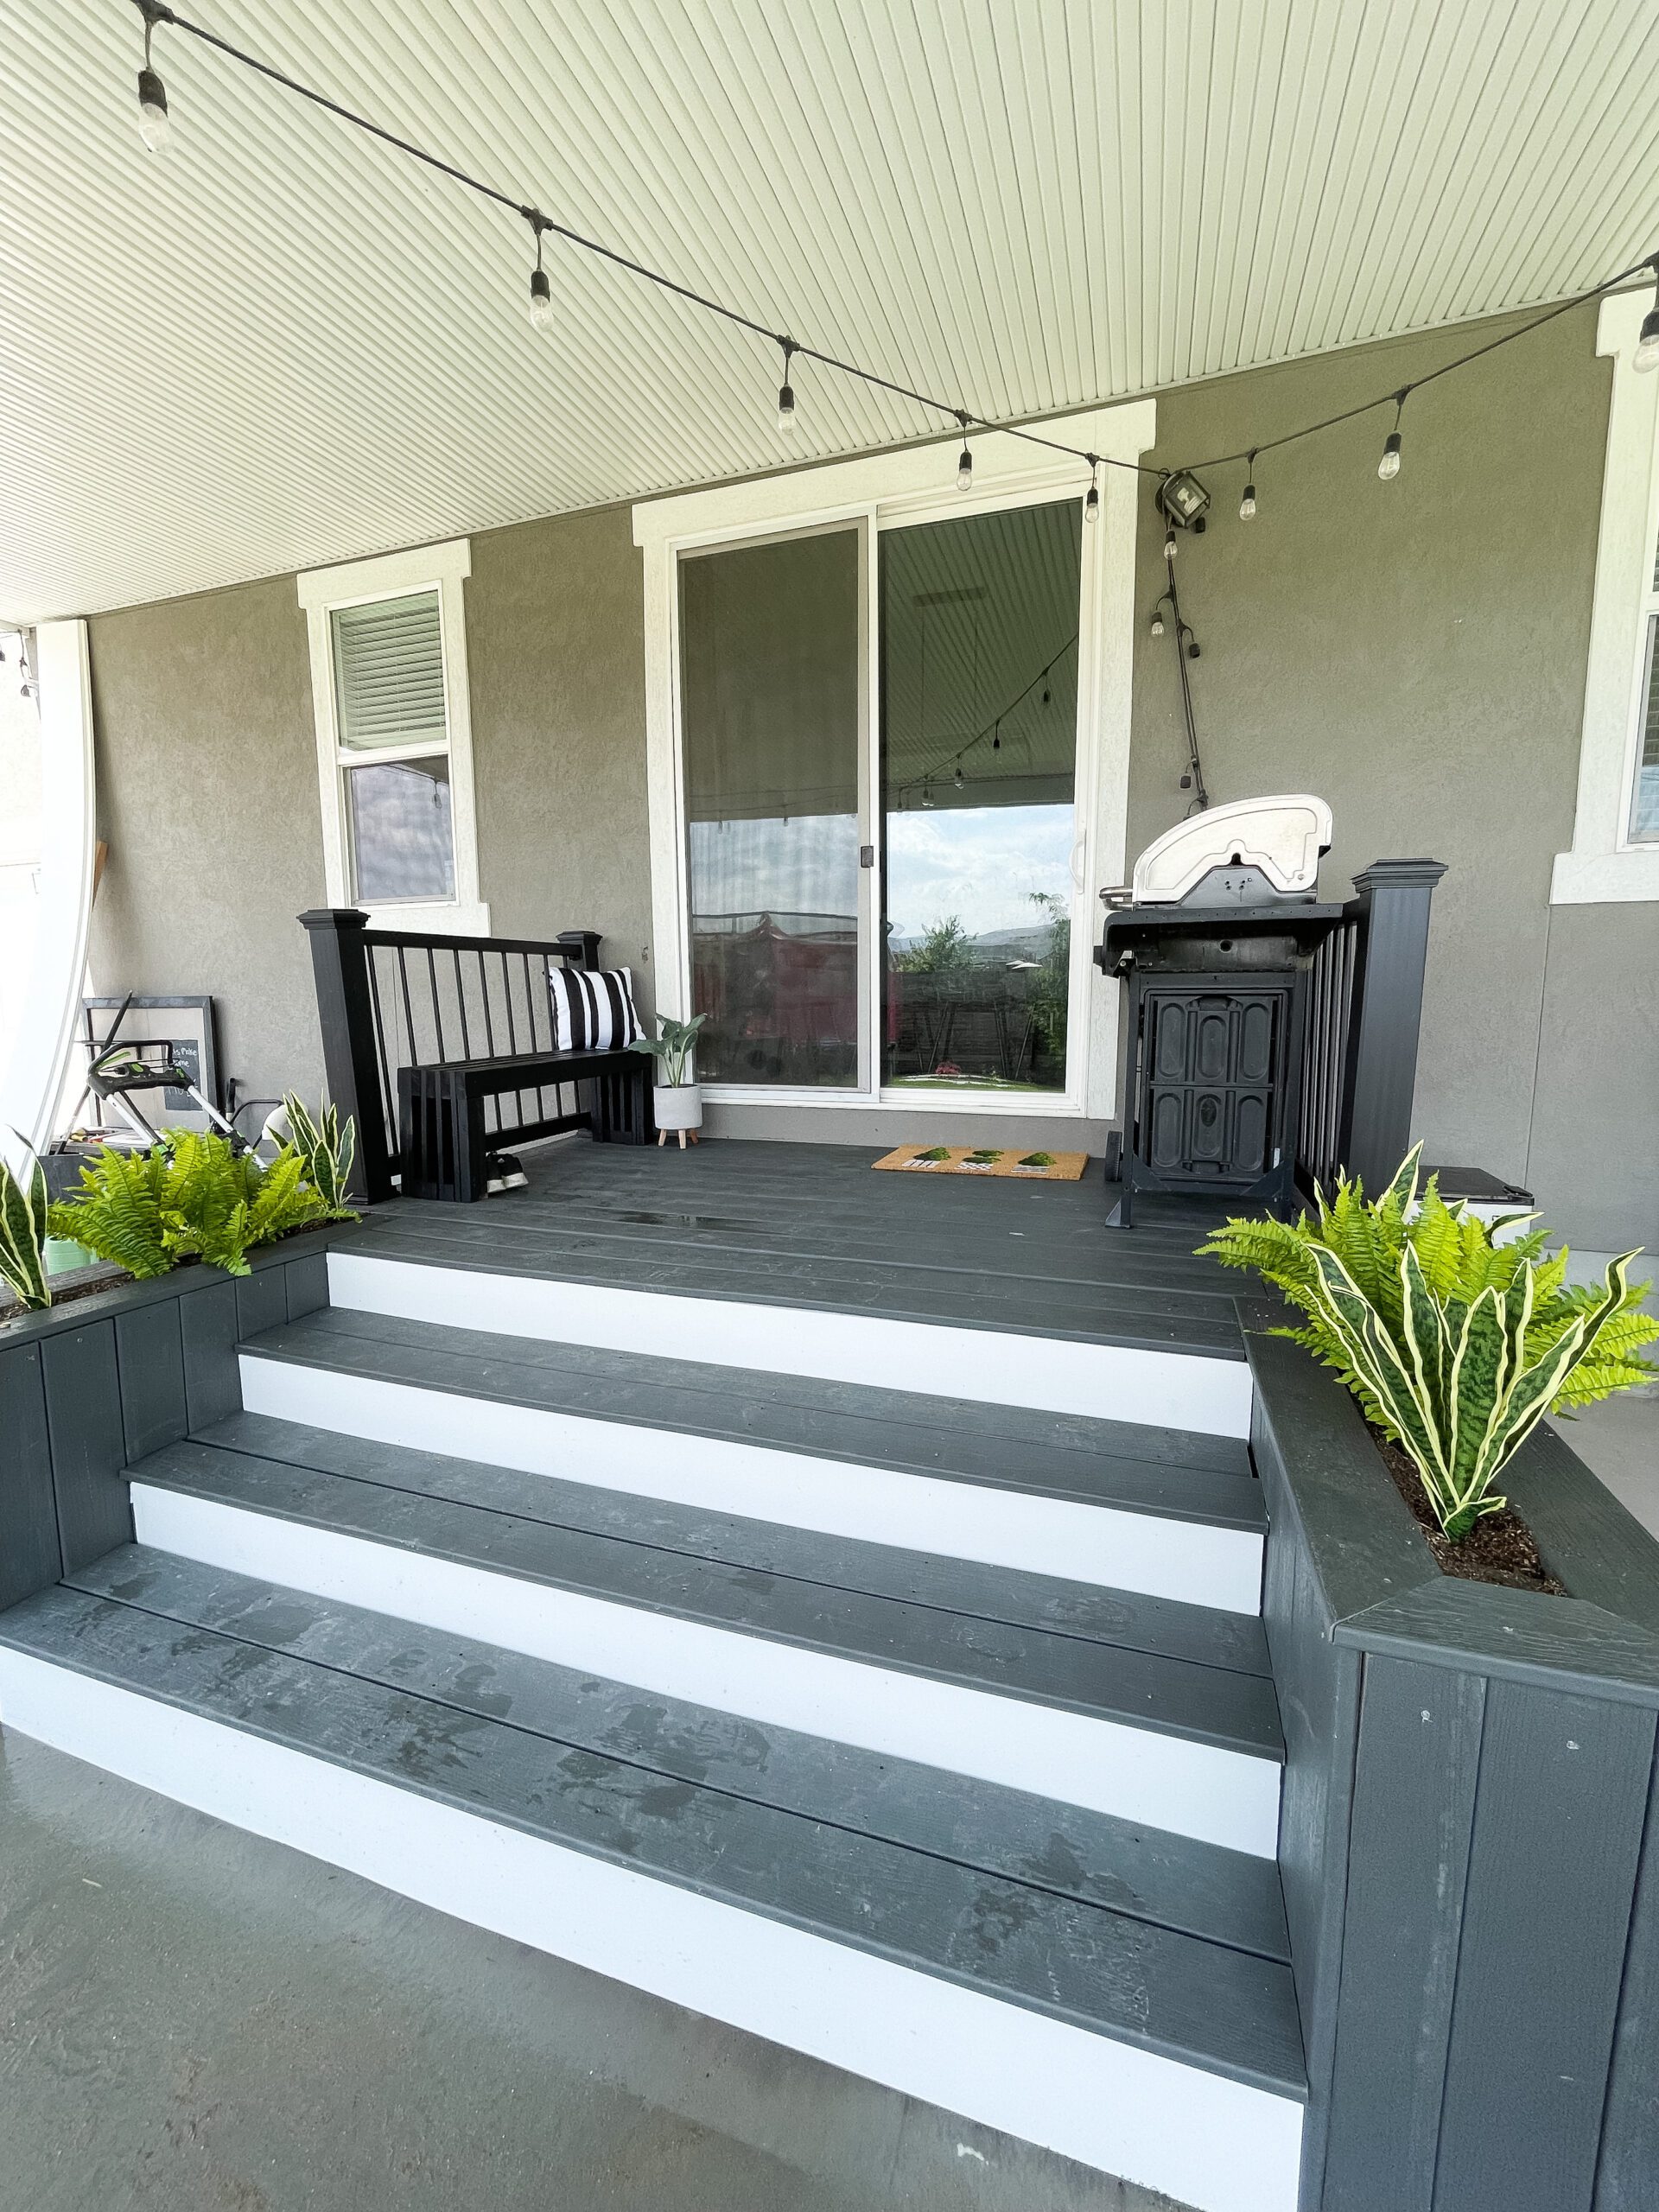
I wanted something that would last longer and look a lot nicer. Building a DIY deck seems intimidating, but if you break it into one step at a time, it makes it so much more manageable. I love the way it turned out. Every time I look at it, I can’t believe I built this! The best way to tackle a project like this is just to start! So, follow these steps and start creating the deck of your dreams.
Note: This post contains affiliate links. I may earn a commission at no extra cost to you. Thanks for supporting my content!
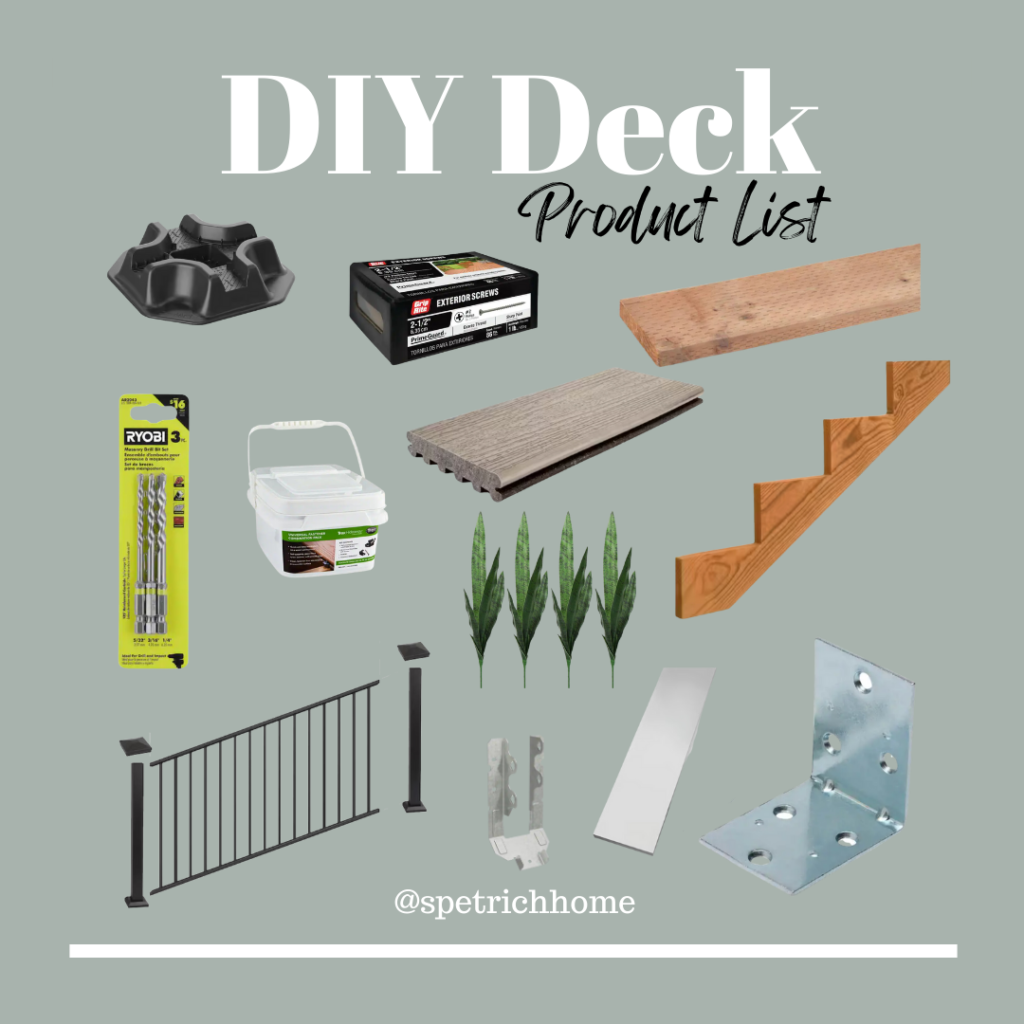
Supplies:
- Trex Decking
- White Trex Fascia Board
- Railings
- Substructure wood
- L Brackets (The ones I used are no longer available, but I’ve linked a similar option!)
- Deck Block
- 4×4 posts
- Stair Stringers
- U Joist Hooks
- Screws
- Hidden Screws
- Masonry Drill Bit
- Faux Plants
Step# 1: Make Room for the DIY Deck by Removing the Old One
The first step is to get rid of the old deck. The pieces are just held on by screws, so just grab a drill and start unscrewing! I did have to dig out compacted dirt and sand out of some screw holes to get to the screw. I was going to try and reuse the stair treads, but there was no salvaging them for this new project.
Step #2: Set Up the New Substructure
This is probably one of the most important parts of a deck build. You want your deck to be stable and structurally sound. I made sure that my new substructure was all level and that the boards were the same size. The front and back pieces were the same size, and so were the sides.
Instead of drilling into the concrete (that did not go well for me), I got these feet for the posts. I also put some metal braces in the corners to make them extra secure, and added support beams and joists to it. The metal braces help a lot to add support. I used a masonry drill bit to drill the support beams into the stucco.
Step #3: Attach Stair Stringers
I ended up attaching six of the stair stringers to the deck. You want to make sure that the stair stringers are level when you put them in, or else you’ll have some wonky stairs. I connected the bottoms and tops to the base with these brackets and hooks.
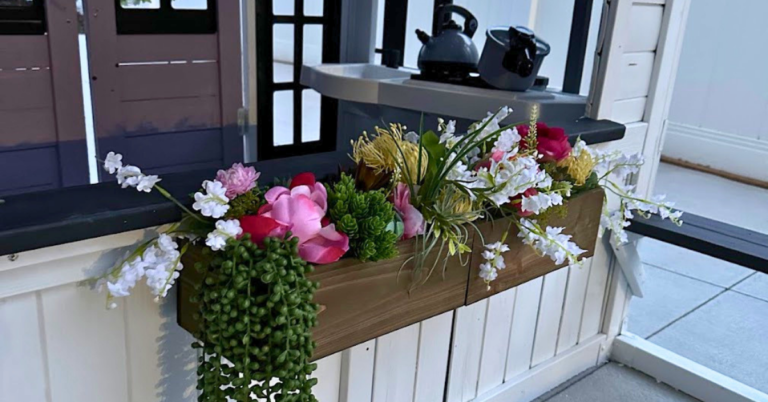
Step #4: Build DIY Deck Planter Boxes
The best part about this step is that I reused a lot of wood for it! I wanted a planter box on each side of the stairs to act as a railing. So I just made boxes (the same height as the deck) and screwed them to the deck. My plan with these is to cover them in decking so they match the rest of the deck and put faux plants in them.
Step #5: Add Posts for the Railing
In the corners where the posts will go, you will add a 4×4 to the height you need it to be. Your railing kit will cover this post, so it’s okay if it is not pretty.
Step #6: Attach the Trex Decking
I started by putting the deck boards on the main portion of the deck. The stair boards are going to touch the planter boxes, so I had to cover the planter boxes before I completed the stairs.
Step #7: Add Stairs to Your DIY Deck
I started with the stair risers, AKA the vertical part, using this white Trex siding. Then, I put the same decking as the rest of the deck on the stair treads, AKA the tops of the stairs.
Step #8: Railing
It was time to install the railing on the top of the deck. I bought this kit. Just follow the instructions to assemble it, and it’s not super difficult to do. Just make sure you measure twice and cut once. This is not cheap, and you don’t want to mess up… like I did. 🙂
Step #9: Fill the Planters
I put a bunch of the scrap wood in the bottom of the planters so I would not have to use as much dirt. I then filled them the rest of the way with dirt, and put my faux plants in.
And it was complete. Was this project perfect? Absolutely not. But I learned as I went, and I am so proud of the job I did. What do you think?

Follow along for more DIYs and fun at…


2 Comments