DIY Halloween Village: Create Your Own Spooky City
Usually, I’m tackling major projects, like this Pantry Makeover, or this Laundry Room Overhaul. However, I recently had surgery, and the doctor told me to take a break from heavy lifting and climbing on ladders for a little while. But you know me… I cannot sit still for long, so I found a project that I could do while sitting down: a fun DIY Halloween village! To do this project, all you need is a few crafting supplies, time, patience, and a little imagination.
Note: This post contains affiliate links. I may earn a commission at no extra cost to you. Thanks for supporting my content! 🙂
Supplies I Used for the Halloween Town:
- Wood Bird Houses (Amazon: Option 1, Option 2; Michael’s: Option 1, Option 2, Option 3, and Option 4)
- Acrylic Paint
- Paintbrushes
- Glue (I used a glue gun)
- Any other mini decorations you want!
First, I want to start by saying: This project is all about what you’re envisioning! Let your creativity flow!
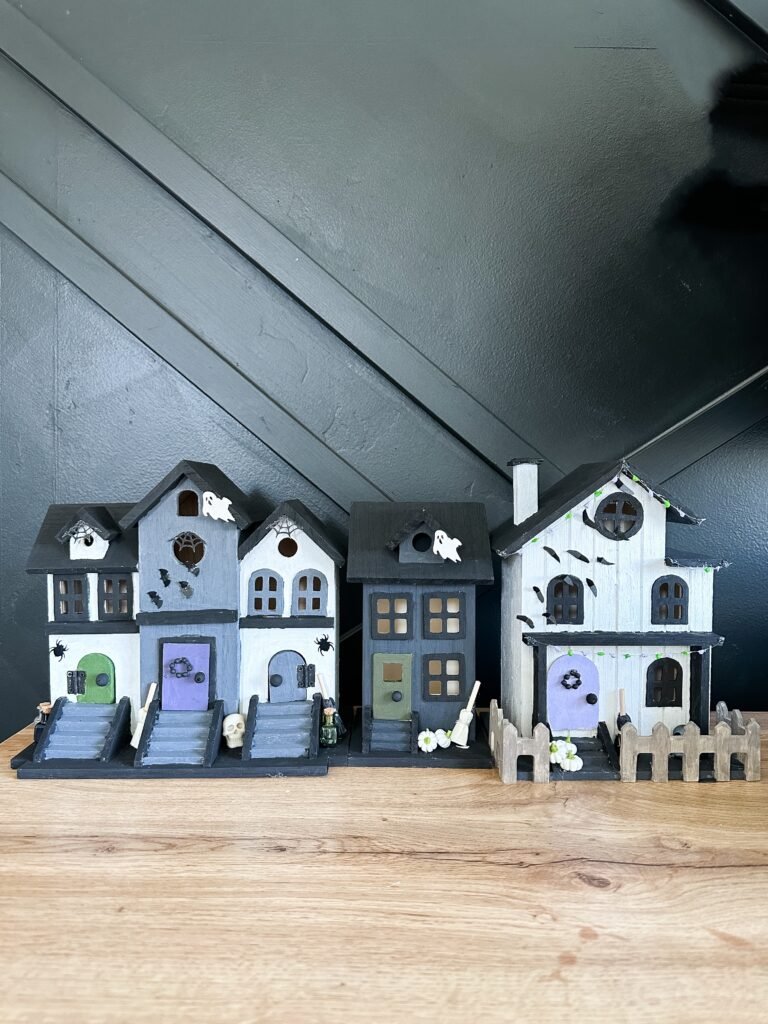
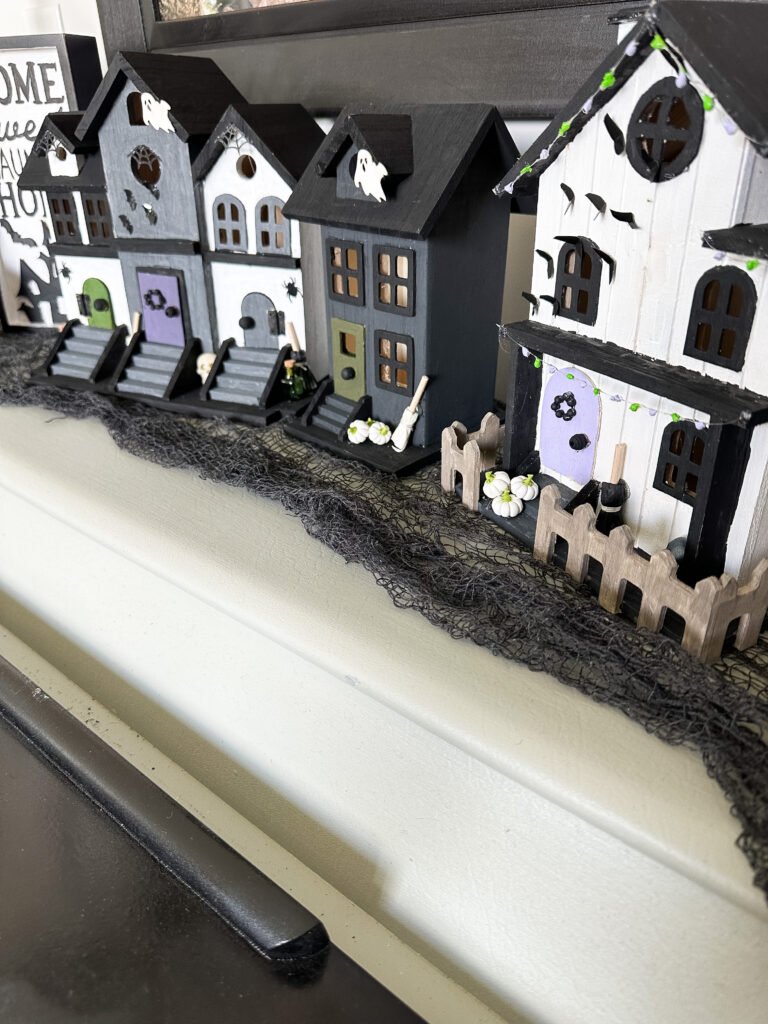
I started with the most time-consuming part of this project, which was painting the houses. However, once the houses received their fresh coats of paint, the real fun began. Adding all those tiny decorations with my glue gun turned out to be an absolute blast and allowed me to be as creative as I wanted!
I made some of the tiny decorations with supplies I already had, and others I bought. Here are some of the things I used.
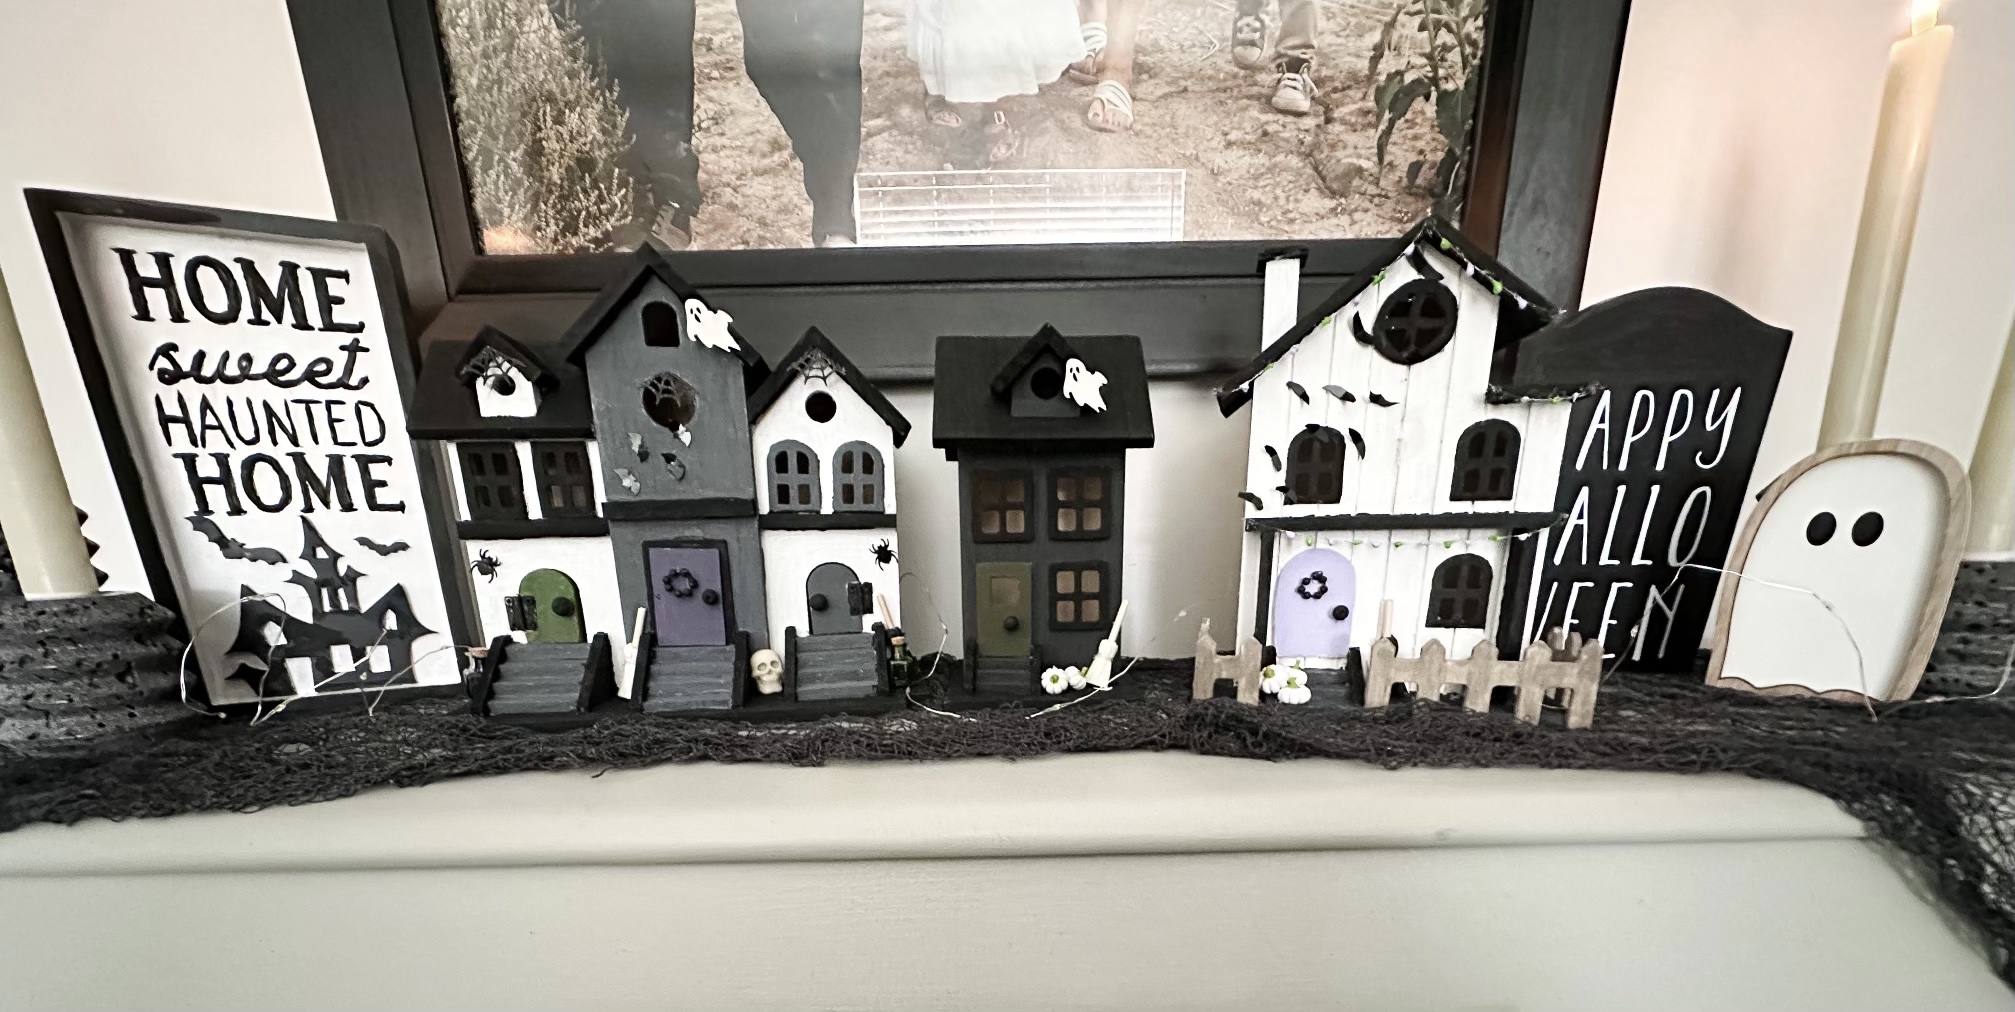
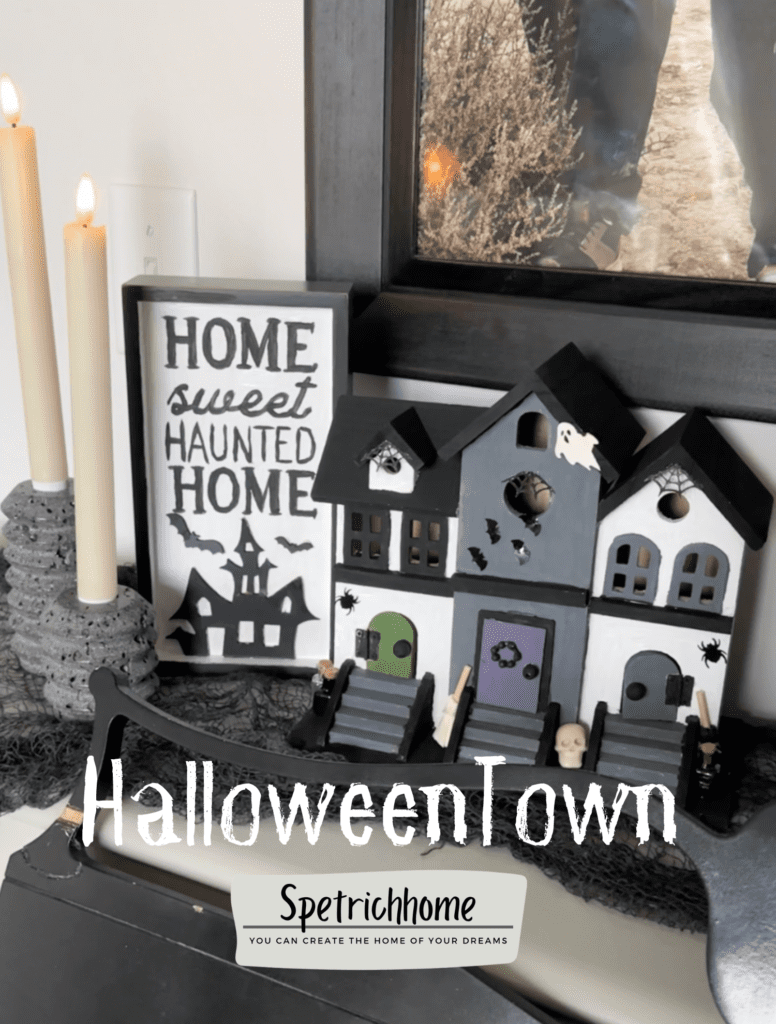
After the painting was finished and decor was added, I just needed one more thing to finish off my DIY Halloween town. I found this sign, which I loved—minus the colors. But that’s an easy fix! I just painted it.
I think it was the perfect final touch to the Halloween Village. What do you think?
Follow along for more DIYs and fun at…


One Comment