Design Hacks: Creating Built-Ins from Dressers Like a Pro
Do you love the look of built-ins, but the thought of turning a pile of lumber into a built-in intimidates you? I am here to tell you that it is not as difficult as you think—if you create built-ins from dressers! If you have never done it before, it may be a journey and may feel scary and intimidating, but I promise that if you follow my tips and tricks, it will not be as difficult as you think!
Note: This post contains affiliate links. I may earn a commission at no extra cost to you. Thanks for trusting my recommendations!
Tip #1 to Creating Built-Ins from Dressers: Use a Saw
First things first: You will need a saw. You can make a circular saw or jig saw work. They are much more cost-effective. But if you have access to a miter saw and table saw, they will make the job much easier.
Tip #2: Get Pre-Made Dressers
If you buy premade dressers, you can build or frame around them so that you do not have to build the drawers from scratch. You may need to put the dresser together, but it is much easier to put furniture together than to build it from scratch!
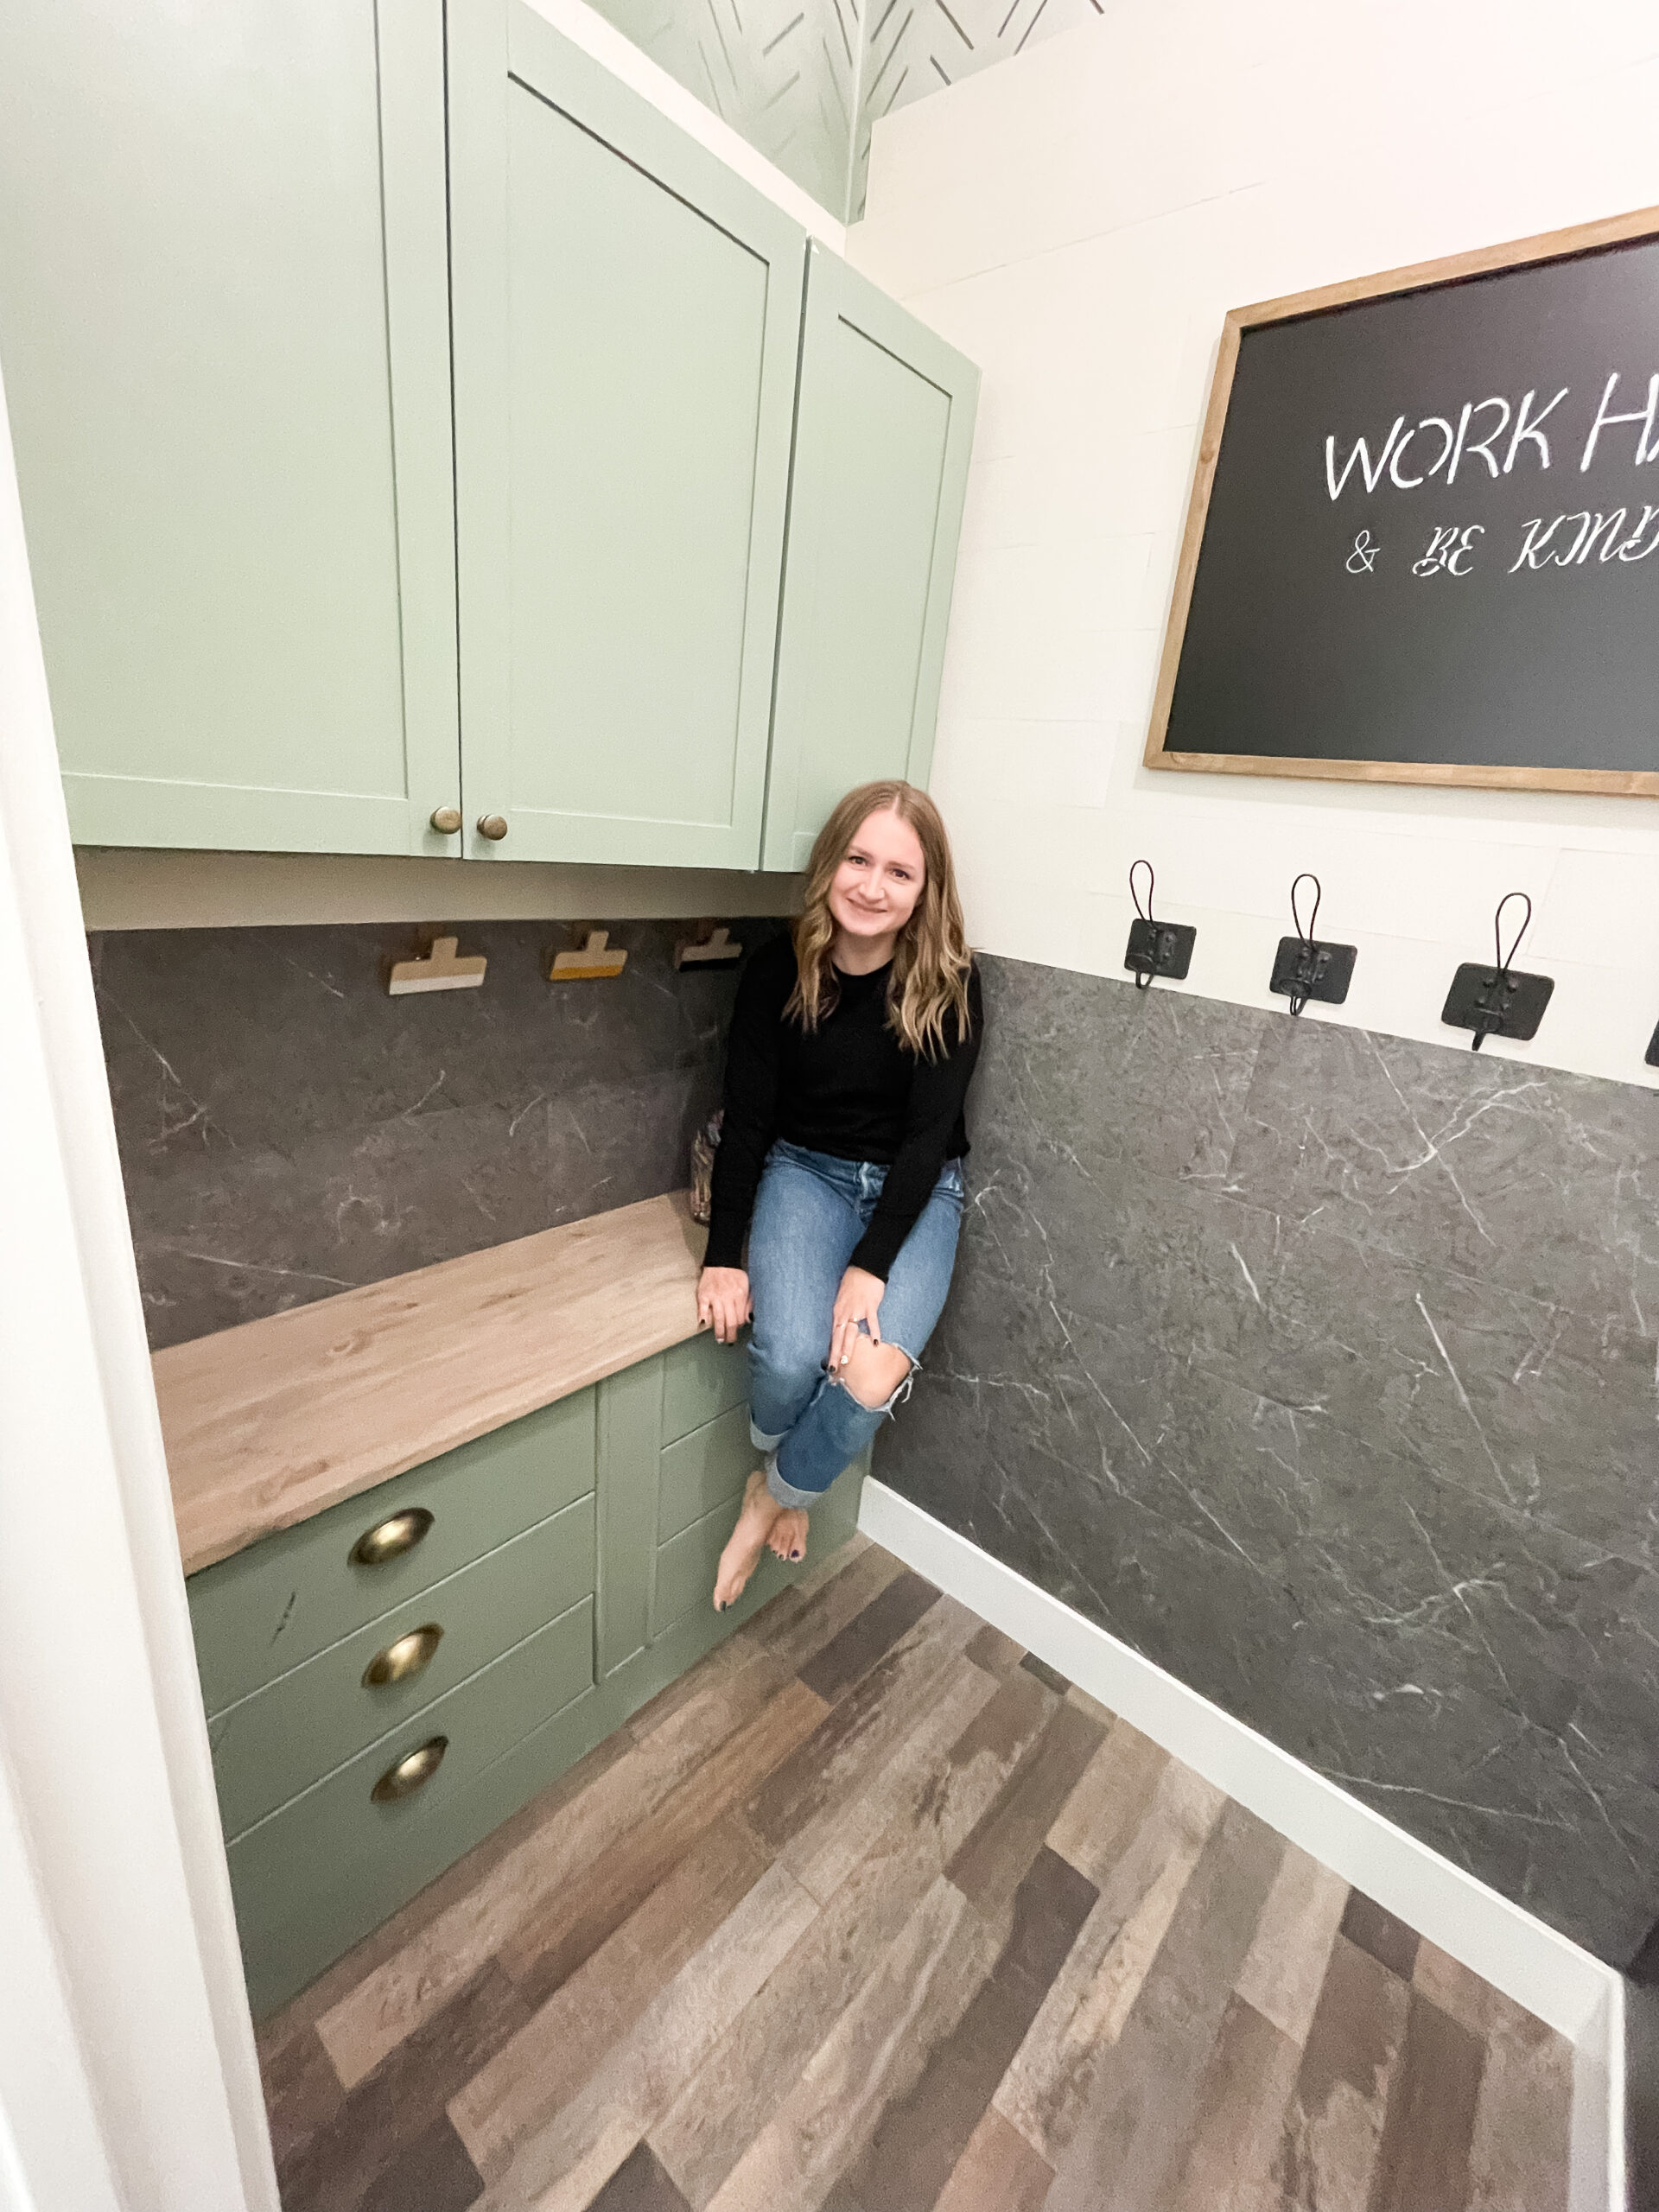
For the built-in drawers in my kids’ art closet, I used these IKEA dressers. I got two of them and put them together to create one long built-in.
Tip #3: Remove Existing Baseboards
When installing built-ins, always remove the baseboards in that area. This will allow your built-ins to go all the way to the wall, so it looks like an extension of the wall and like it was always there. I used my multi-tool to cut the baseboard, then a box cutter and a crowbar to remove the baseboard.
Tip #4: Build a Base
The best tip to make a dresser look like a built-in is to add baseboards to the front of it. Continue the baseboards on the wall next to the dresser to be in front of the dresser. To do this, you will probably need to add a base to raise your dressers up. Otherwise, the baseboard will likely run in front of the dresser, making it so you cannot open it.
I used some 2x4s and made a square, then added a couple of pieces of wood in the middle to act as support. You then stack your dresser on top of that. Depending on how tall your baseboards are, you may need to add additional layers or use smaller boards so the baseboards you add to the front of your dresser match the existing baseboard AND fit the dresser.
Tip #5: Secure the Dressers to the Studs
This tip is 100% a safety thing. Doing this helps the “built-in” aspect, but it definitely is for safety! Locate the studs behind where the dresser will go and secure the dresser to the studs. If you are using multiple dressers, they will be touching sides, and you will also want to screw them together. Essentially, you are connecting them so they do not move.
Tip #6: Frame it Out
Depending on the width of your dresser compared to the space you are working with, you may need to frame out the sides and between the dressers. You want to make sure the built-ins fill the space you are working with. You do not want there to be a random 2-3 inch gap between the sides of the dressers and the wall.
In my case, I decided to place the dressers so they touch the side walls and there was a gap between them. To close that gap, I installed strips of wood between the dressers, attaching them to each dresser and connecting them. I then placed a nice piece of trim on those strips, and it created a solid surface between the dressers. Be sure to set the strips back far enough so that when you frame it out, the trim piece sits flush with the front of the dressers.
Tip #7: Don’t Skip the Finish Work
I think this is the part that seems to take the longest and feels monotonous, but it gives the built-ins a clean, professional look. This is where all the little mistakes disappear! Caulk wherever two things meet at an angle, fill any nail holes and the butt joints, sand it all, and prime.

Once all that is done, you are in the home stretch. Just paint it, add hardware and any decorations, and you are done. Keep in mind that creating built-ins from dressers is not a quick or simple project. But it’s absolutely doable! Take breaks, plan out your steps, and put your heart into it, and you will love it! I would love to hear if you tried to create your own built-ins! Let me know in the comments below.
Follow along for more DIYs and fun at…


One Comment