Mirror Makeover: How to Repurpose a Bathroom Mirror
A while back, I renovated my kids’ bathroom. When I did that, I removed the builder-grade mirror and installed a new one. However, I could not bring myself to just toss out the mirror. So, I had the idea to repurpose a bathroom mirror into a full-length standing mirror!
I wanted to do this in a way that people who do not have special tools could still do it. So I will show you how I suggest doing it if you don’t have tools, and how I actually ended up doing it. Let’s get started!
Note: This post contains affiliate links. I may earn a small commission if you choose to purchase. Thanks for supporting my content!
Mirror Makeover Supplies:
*Read Step #2 to determine what kind of trim you need!
- Painters or Masking Tape
- Thin Trim
- Large Trim
- Oak Frame
- Screws
- Pocket Hole Screws
- Liquid Nails
- Braces
- Fluted Trim
- Spray Paint
- Wood Conditioner
- Stain
- Polyurethane
Tools:
How to Repurpose a Bathroom Mirror Step #1: Remove the Mirror from the Wall
When removing a mirror that is glued to the wall, I recommend putting painter’s tape all over it. I do this because if it breaks, the tape will prevent it from shattering and getting glass everywhere.
My mirror had those plastic hooks on the sides. I just unscrewed them and they came right off. Then, I used a crowbar and gently started prying it away from the wall. Again, be gentle. You don’t want it to break!
Step #2: Frame It!
Cut your frame pieces to the sizes you need. You will miter the ends so the corners fit together at 45-degree angles.
If you do NOT have a router, this is the way you will do this. Take a thin trim piece and glue it on the edges of the BACK of the frame so that it has a little overhang. You want to have half the trim glued on and the other half hanging over and visible from the front. I use Liquid Nails.
Then, take your larger trim and screw it to the trim you just glued on from the back. See the video.
If you have a router, this is how I did it. Router out about 1-1 1/2 inches of one side of the back side of the trim you are using for the frame. The lip you just created will act as a support for the mirror.
Then, using pocket holes, assemble the frame. After that, apply wood conditioner, stain, and seal it with polyurethane.
Once the frame was complete, I gently inserted the mirror into the frame. The edges of the mirror rested on the lip I created with the router, securing it so that it does not fall out the front. On the back side, take some thin trim and braces and secure them across the mirror onto the frame. These mirrors are super heavy, and we want to make sure it is extra secure.
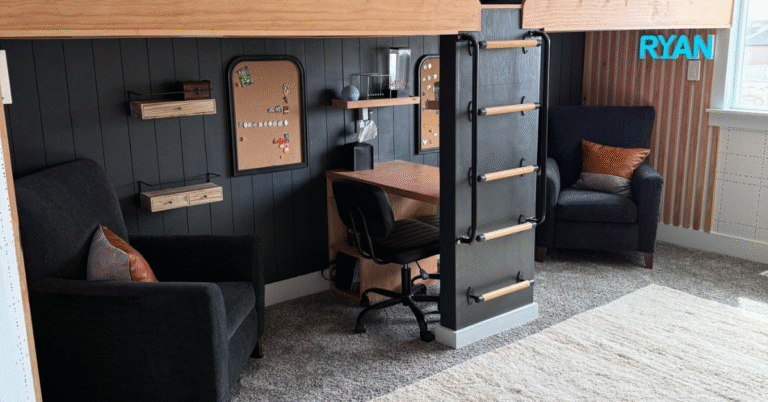
How to Repurpose a Bathroom Mirror Step #3: Decorative Additions
This part is completely optional, and you can customize it however you want! I had a few different ideas of what to do here, but landed on this. I took a piece of square trim and installed it on the top of the mirror using pocket holes. Then, I extended the frame up about 5 inches, leaving a gap, and finished the frame.
Next, I took a scrap piece of wood and screwed it onto the back of the frame. I got THIS fluted trim and cut a bunch of 5-inch pieces. I painted them black and glued them in the gap to complete the mirror!
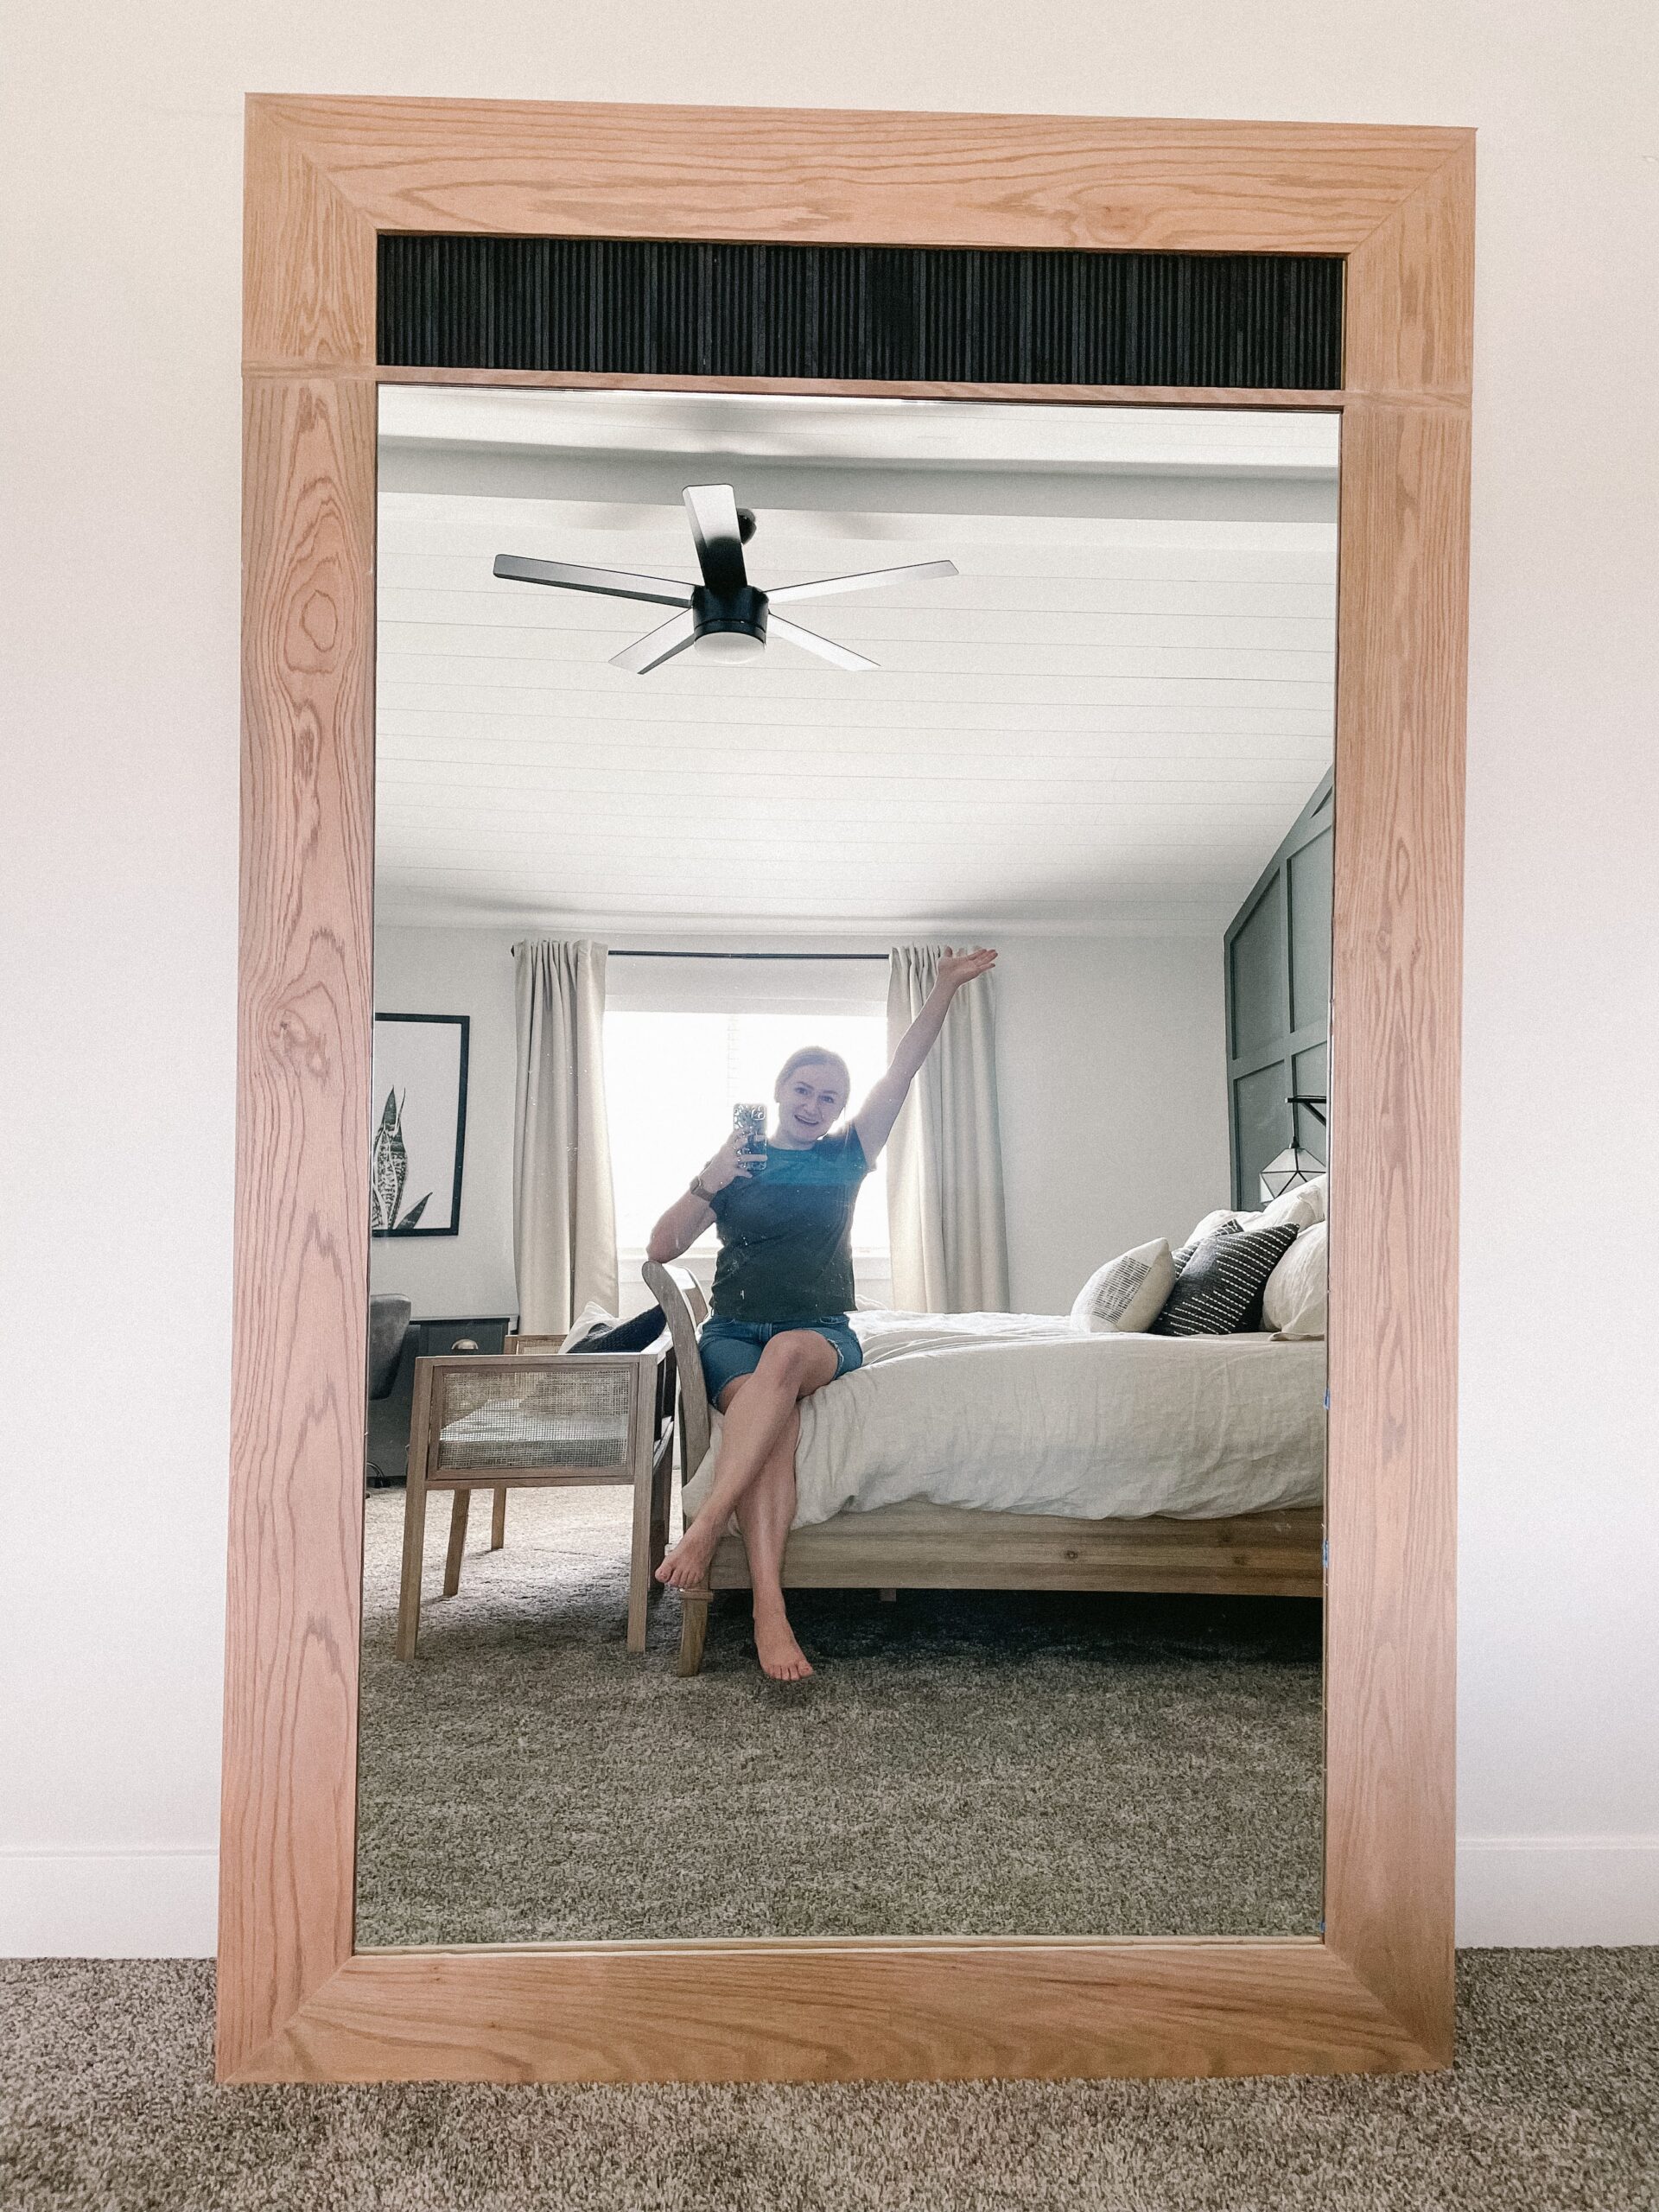
This thing is HUGE and heavy. I initially planned on hanging it in my room, but it is so heavy that I decided that it probably would not be safe. Instead, I got a furniture anchor to put on the back and attach to the wall so that it could not get knocked over.
I love this mirror and use it every day! Is this something you would make? I would love to see your project!

Follow along for more DIYs and fun at…