Affordable Fireplace Makeover Tutorial: A Cost-Effective Update
My friend was renovating her living room and called me to step in and help her! I love it when friends ask for my help with their projects. Working with friends is so much more fun than working alone. So when she asked me to help her with her affordable fireplace makeover, I jumped at the chance. The thing I always want you to remember is that you can completely change the entire look of a space with just cosmetic upgrades and without spending a fortune! That is exactly what we did here. Follow along, and you can do this to your space too!
Note: This post contains affiliate links. I may earn a commission at no extra cost to you. Thanks for supporting my content!
Affordable Fireplace Makeover Step #1: Remove Existing Mantle
To start, we removed the existing mantle and surround. Removing it is not that difficult. It’s usually held on with a few nails or screws, but sometimes it may be glued on. We were planning to reuse it, so we took it off carefully.
Step #2: Prep, Prime, & Paint the Tile
As always, when you are painting something, you have to prep it. And painting tile is no different. The goal is to get the paint to STICK and stay on the tile. We do not want it to peel off! The two things you can do to increase your chances of it staying are to SAND and PRIME! So we grabbed the sander and got to work sanding down the tile. Sanding scuffs and creates a rough surface for the primer to hold on to. Then we prime it so that the paint has something to stick to.
We used a spray paint primer. Because it’s a spray, we used THIS tape and plastic in one to cover the walls and floors around the tile.
Then we painted it using THIS paint. And by we, I mean she painted while I was gone. Haha!
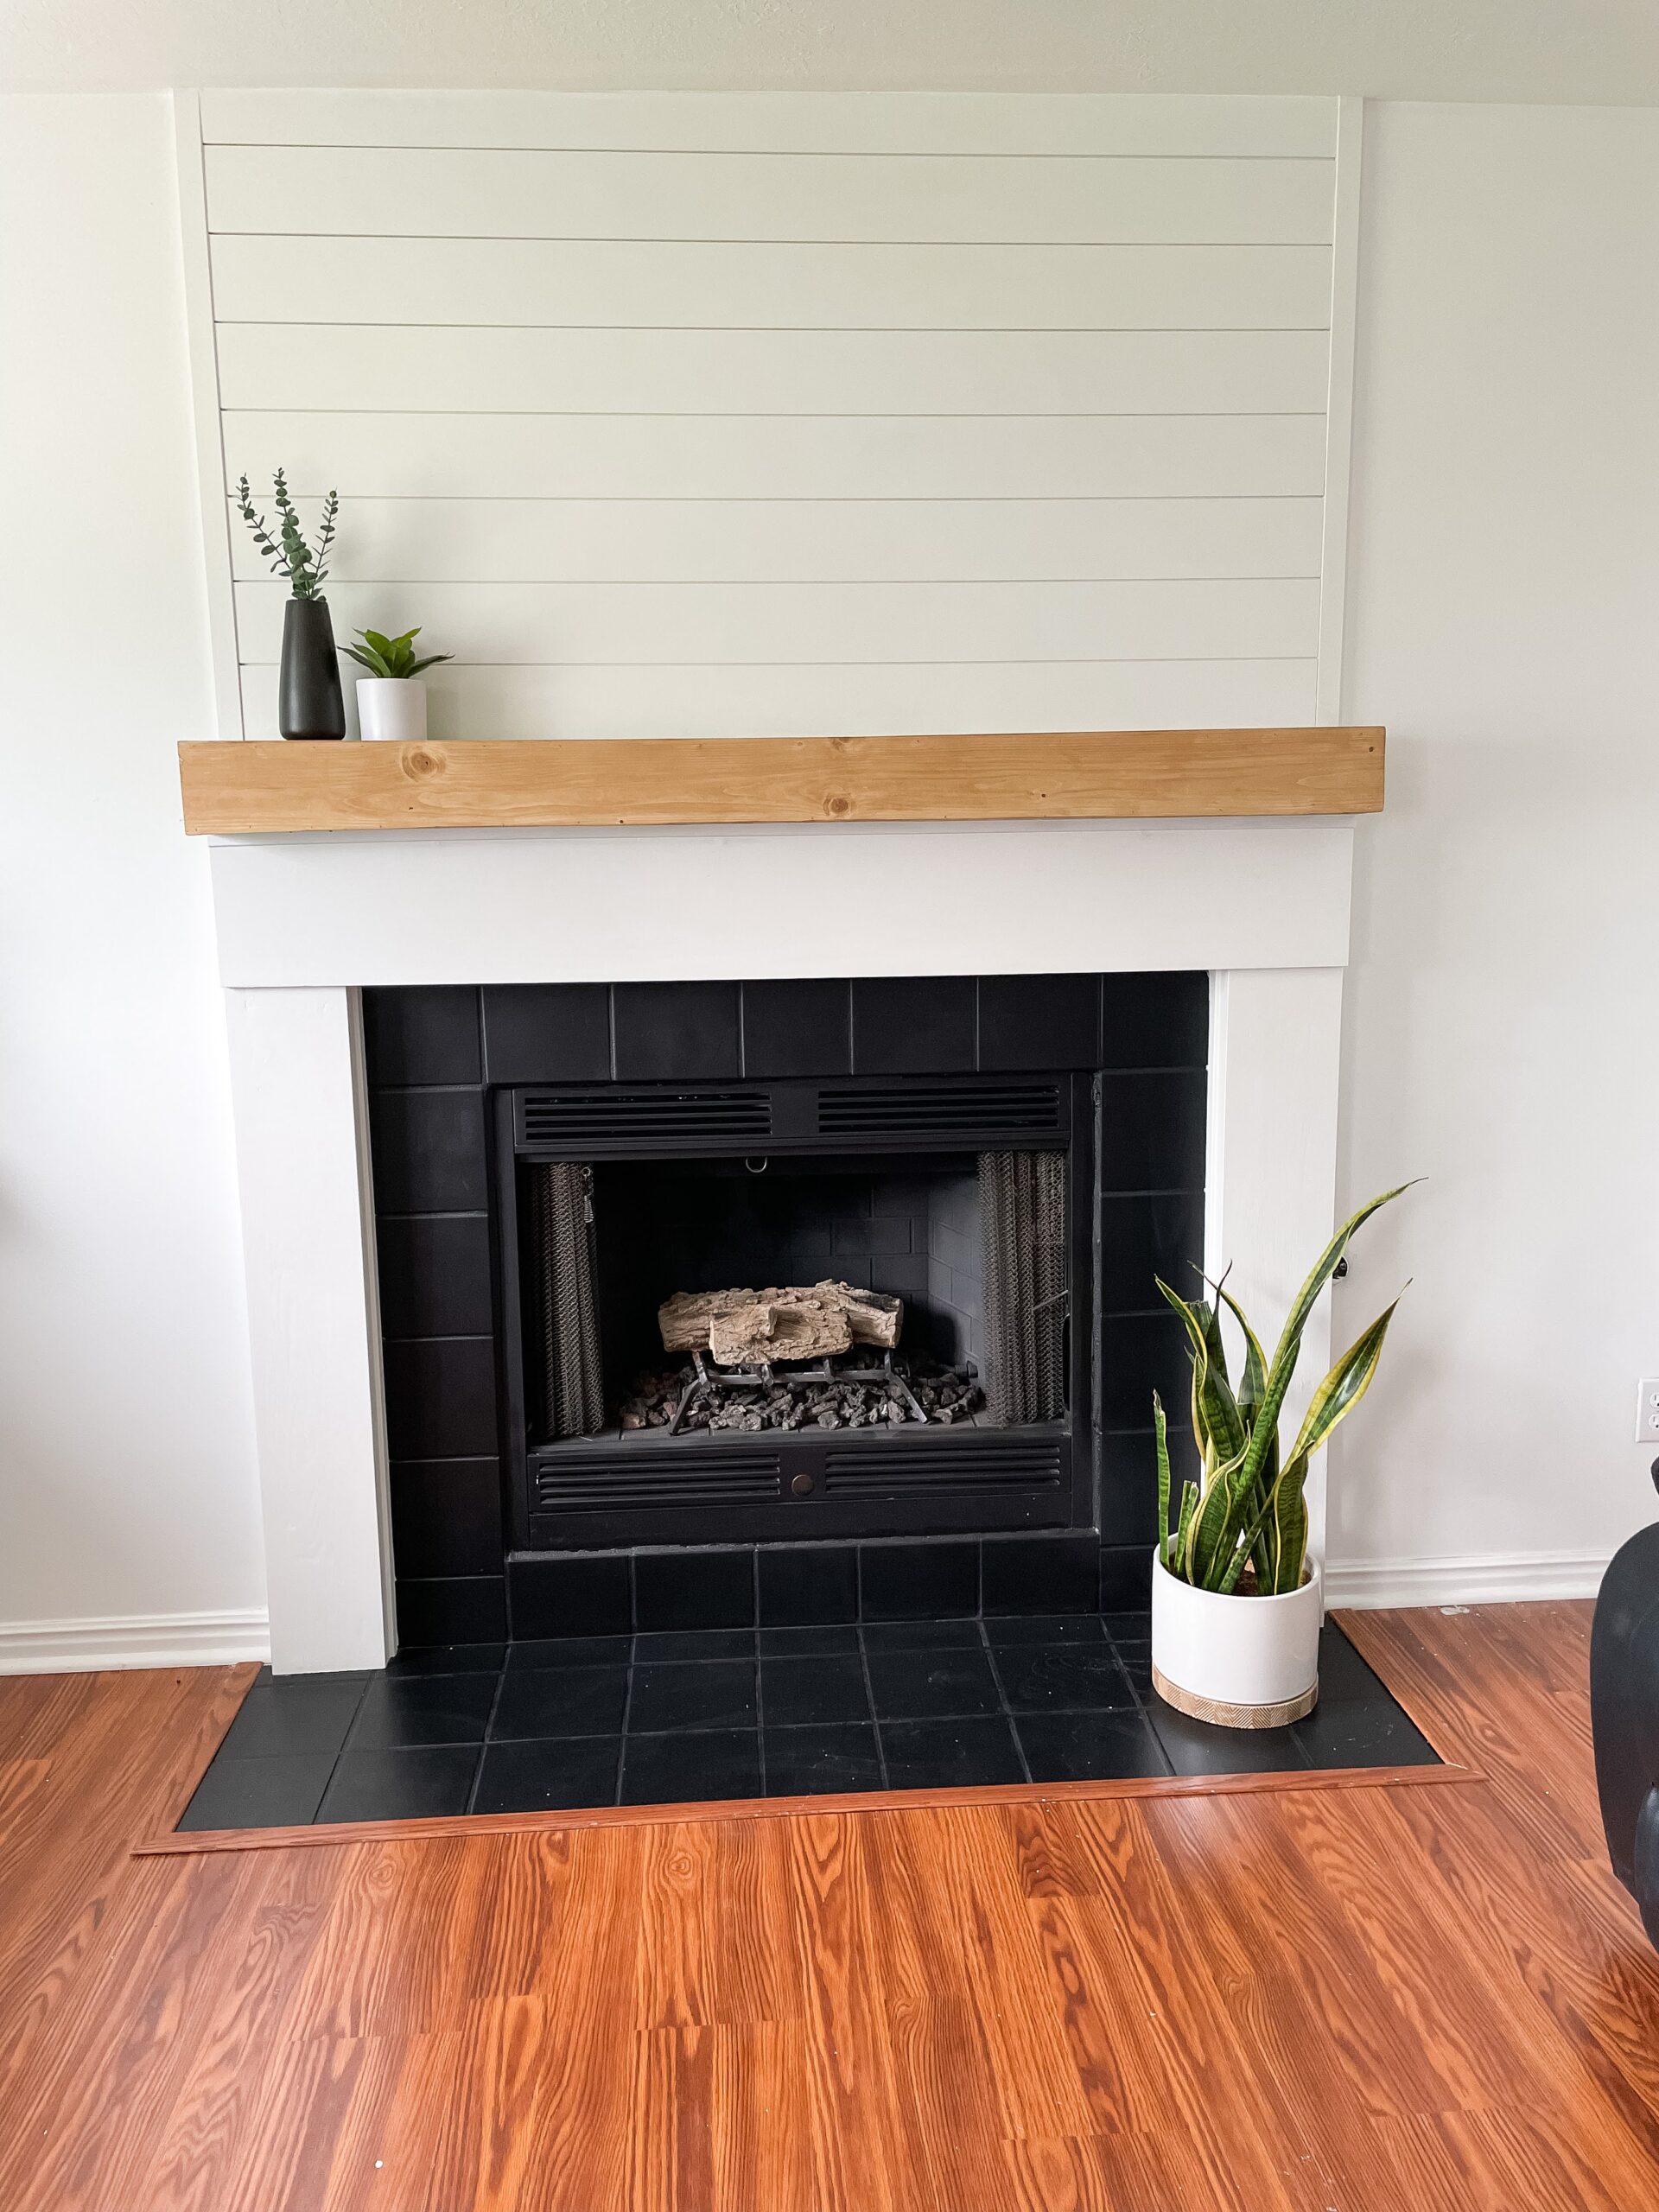
Step #3: Build the Mantle for Your Fireplace Makeover
We are reusing the fireplace surround, but not the mantle. So we had to make a new one. To do that, I got THIS wood and ripped it down on my table saw. Some lumber stores will cut it for you, so check your local store. I cut two pieces that were 8 inches by 5 feet. One piece that was 5 inches by 5 feet, and 2 that were 8in x 5in.
I then used my nail gun and nailed them together to look like a box with one side open. See the video. The open side will be going against the wall. Then we wood filled all the spots where 2 pieces of wood met, and all nail holes. Then sand the whole thing down. We were staining the mantle, so we first applied a wood conditioner (that’s like a primer for stain), then stained it.
Step #4: Update the Surround
Like I said a moment ago, we were planning to reuse the fireplace surround. All the decorative pieces were just glued or nailed on, so they were fairly simple to remove. We removed everything we did not want, then wood filled everything.
Once that was dry, we sanded it down, cleaned it off, and primed it. We used THIS primer. I always like to sand my item after the first coat of primer, because the wood grain likes to show through, and the primer leaves a texture. After the first coat of primer was dry, we sanded it with 220-grit sandpaper, then applied a second coat of primer.
We then painted it white, and it was ready to install!
Step #5: Install the Mantle & Surround
Start by installing the surround. There are many ways to install it, but we decided on this way. We took some scrap pieces of 2×2 and screwed them into the studs behind where the surround will go. Then, we secured the surround to those scrap pieces with screws.
Next, install the mantle. We used French Cleats for the mantle. Basically, you screw one half on the mantle and the other on the wall. Then they simply slip together. This holds it up well and is a very secure way to attach the mantle. It is super important that you get it plumb and level. You may need to use shims to raise it wherever it needs. We just used scrap wood as shims, and we got it perfectly level.
To finish it up, we added a thin piece of trim under the mantle where we put all the shims to close off the gap and make it look perfect!
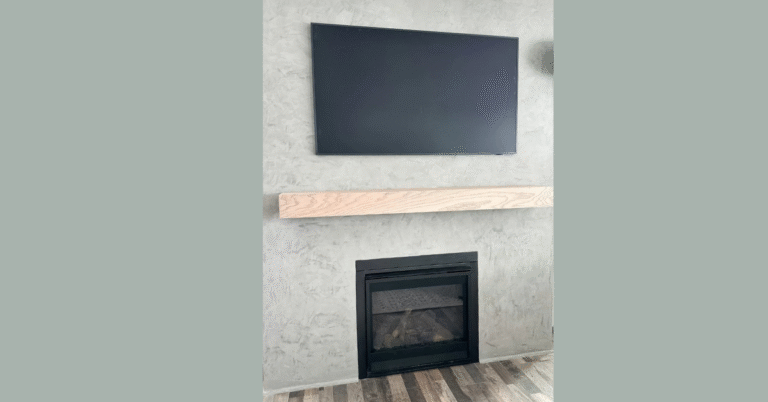
Step #6: Add Shiplap to Complete Your Fireplace Makeover
The final step to this project is to add the shiplap accent above the fireplace. We started by hanging two pieces of trim on either side of the fireplace to give the shiplap a nice, clean ending spot. After making sure they were level, we nailed them into the wall with my nail gun.
We then installed the ship lap up the wall. Remember, offset your seams. Put nails in the lip of the ship lap. And measure twice and cut once!
Wood fill all your holes, and paint the wall! If you are adding any decorations, go ahead and do that now, and then stand back and admire the work you just accomplished! Your fireplace makeover looks great!!
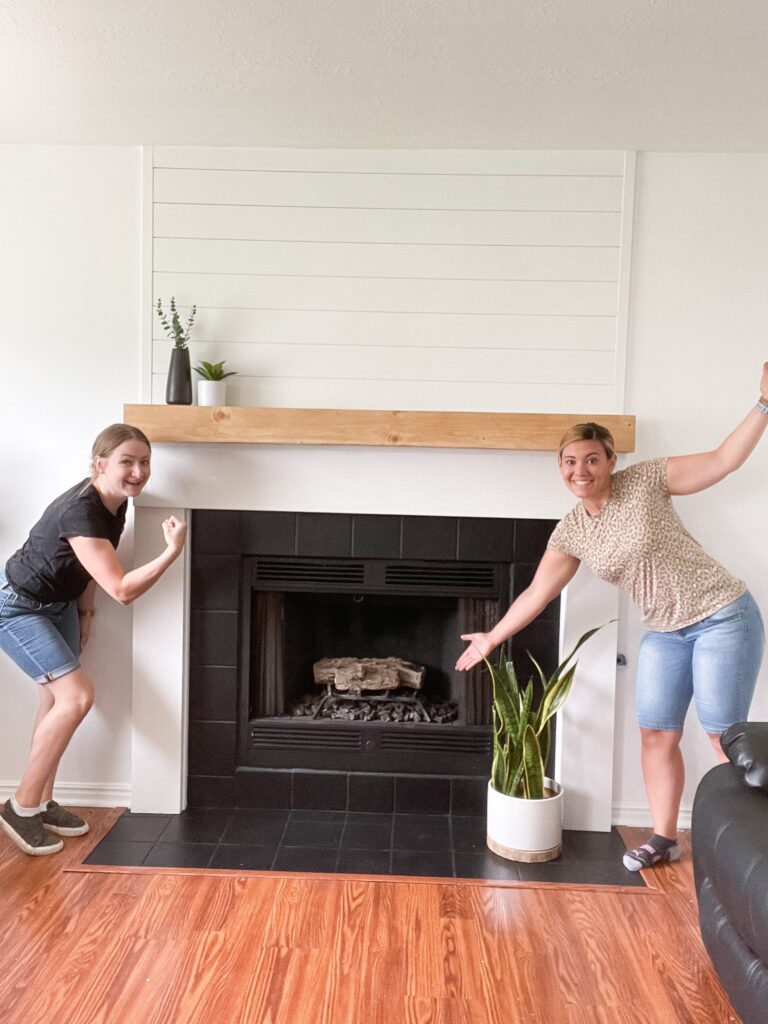
Have you ever done an affordable fireplace makeover? I would love to see what you did! Show me in the comments!
Follow along for more DIYs and fun at…