Master Bathroom Makeover: DIY Tile Backsplash
I’ve added tile to my kitchen, bathrooms, a friend’s fireplace… the list goes on and on! So when I started my master bathroom makeover, I knew that I was going to add a DIY tile backsplash. If you want to see how I refaced my bathroom vanity, find that tutorial here!
Side note: I’m still so shocked and proud that I was able to complete this project with a newborn! Kids can slow you down, but you can still complete projects with them around. I absolutely love the way this bathroom came together. Here’s my step-by-step process of how I did it!
Note: This post contains affiliate links. I may earn a commission at no extra cost to you! Thanks for supporting my content.
Supplies Needed:
Step #1: Remove the Old Mirror & Backsplash
I started by taping the mirror in “X” patterns with painters’ tape, just in case it breaks. The mirrors were only held up by two screws and some glue, so I figured it was better safe than sorry! I removed the screws and used a pry bar to dislodge it from the wall.
My husband wouldn’t let me take it down on my own, though I did remind him that I took the other mirror in my kids’ bathroom off by myself. But he still insisted. Not that I minded his help, because these mirrors are super heavy. We got it all down in one piece!
Then I took off the quartz backsplash. It may seem intimidating to do, but it’s not hard. You simply score the caulking with a razor blade and then pry it off. You don’t have to do this, but I like the look of the tile meeting the counter instead of meeting the backsplash. After I took off the backsplash, you can see that the countertops didn’t meet the wall perfectly; there was a gap. I took my razor blade scraper and scraped off the excess caulking. After that, I caulked the gap between the countertop and the wall.
Step #2: Mortar (And Why I Chose it Instead of Mussel Bound)
I prefer to use Mussel Bound, an adhesive tiling mat, for most of my tiling projects. It’s just so much easier and cleaner, in my opinion. But Mussel Bound does have a weight limit, and this tile barely hit it. It’s cement and pretty heavy, so I decided to use mortar.
If mixing mortar is intimidating or you don’t want to mix it, you can buy pre-mixed mortar. That’s what I decided to use. I spread some mortar on the wall where I wanted to put my tile. After I spread it on the wall, I used the trowel to make little grooves in it. I also back-buttered the tile as well. Back buttering is when you spread some mortar on the back of the tile, like how you would butter bread. I did my grooves on the back of the tile in the opposite direction from the grooves of the mortar on the wall.
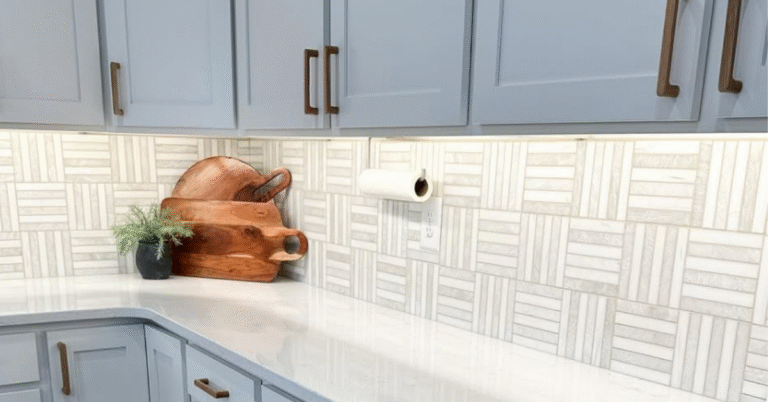
Step #3: Tile
To get even spacing, I used tile spacers in between each of my tiles. For any cuts that I needed, I just used a tile saw and cut as I went. You can rent a wet tile saw from your local hardware store, or you can buy one. I ended up buying one because I DIY enough that it was worth it for me.
There are always a lot of questions about getting the tiles level. I started tiling on top of my counter, which was level. If you don’t have a level space to start off with, you can use a laser level or draw a level line to make sure your first line of tiles is level and straight.
When I tile, I prefer to start in the middle of where your eye goes. So when looking at my vanity, behind the faucet was the center. I started there and fanned out to either side. When the tiling got closer to the light, I took off the light fixture and tiled around that area.
Step #4: Seal the Tile
With the type of tile I used, I needed to seal it first. It wasn’t going to be in an area where it would get really wet, but I still had to seal it because it’s natural stone. I ended up sealing the tile and then waiting 6-12 hours before grouting. After the grouting was finished, I sealed it again. To seal it, simply brush it on, wait 3-5 minutes, and then wipe it off with a clean, dry towel. It definitely makes the tile look better!
Step #5: Grout
I was fairly certain that grouting all of this tile would make my arms fall off. I have double vanities in my master bathroom, which means double the tile. It turns out that with a natural stone tile, you have to use a light grout and one that doesn’t have too much color in it. If you don’t, it could stain the tile. But I actually ended up loving the white grout! To grout, I did a small section at a time because it’s so much easier to clean off excess grout this way. I put the grout on using a grout float and then wiped it off with a sponge.
Step #6: Seal Again
After the grouting is all done, it’s time to seal the tile again. It’s the same process as before: just brush it on, wait 3-5 minutes, and then wipe off using a clean, dry towel.
Step #7: Replace the Light Fixture & Mirror
When my tiling was complete, it was time to replace the light and mirror. I used a diamond drill bit to drill into the tile to hang these. You can find the drill bit in the tile section at your hardware store. Just be sure to spray with water while drilling to prevent cracking. It does take quite a bit of upper arm strength, but once you get the hang of it, it’s not too bad!
Step #8: Replace the Faucet & Hand Towel Rack
I changed out my hand towel rack so that everything would match. Those small details make a big impact. To replace the hand towel rack, simply unscrew it and take it down. There’s usually a little screw underneath that you need to take out first, and then everything will come off easily. If you want more details on changing out a faucet, you can check out this blog post that shows the step-by-step process!
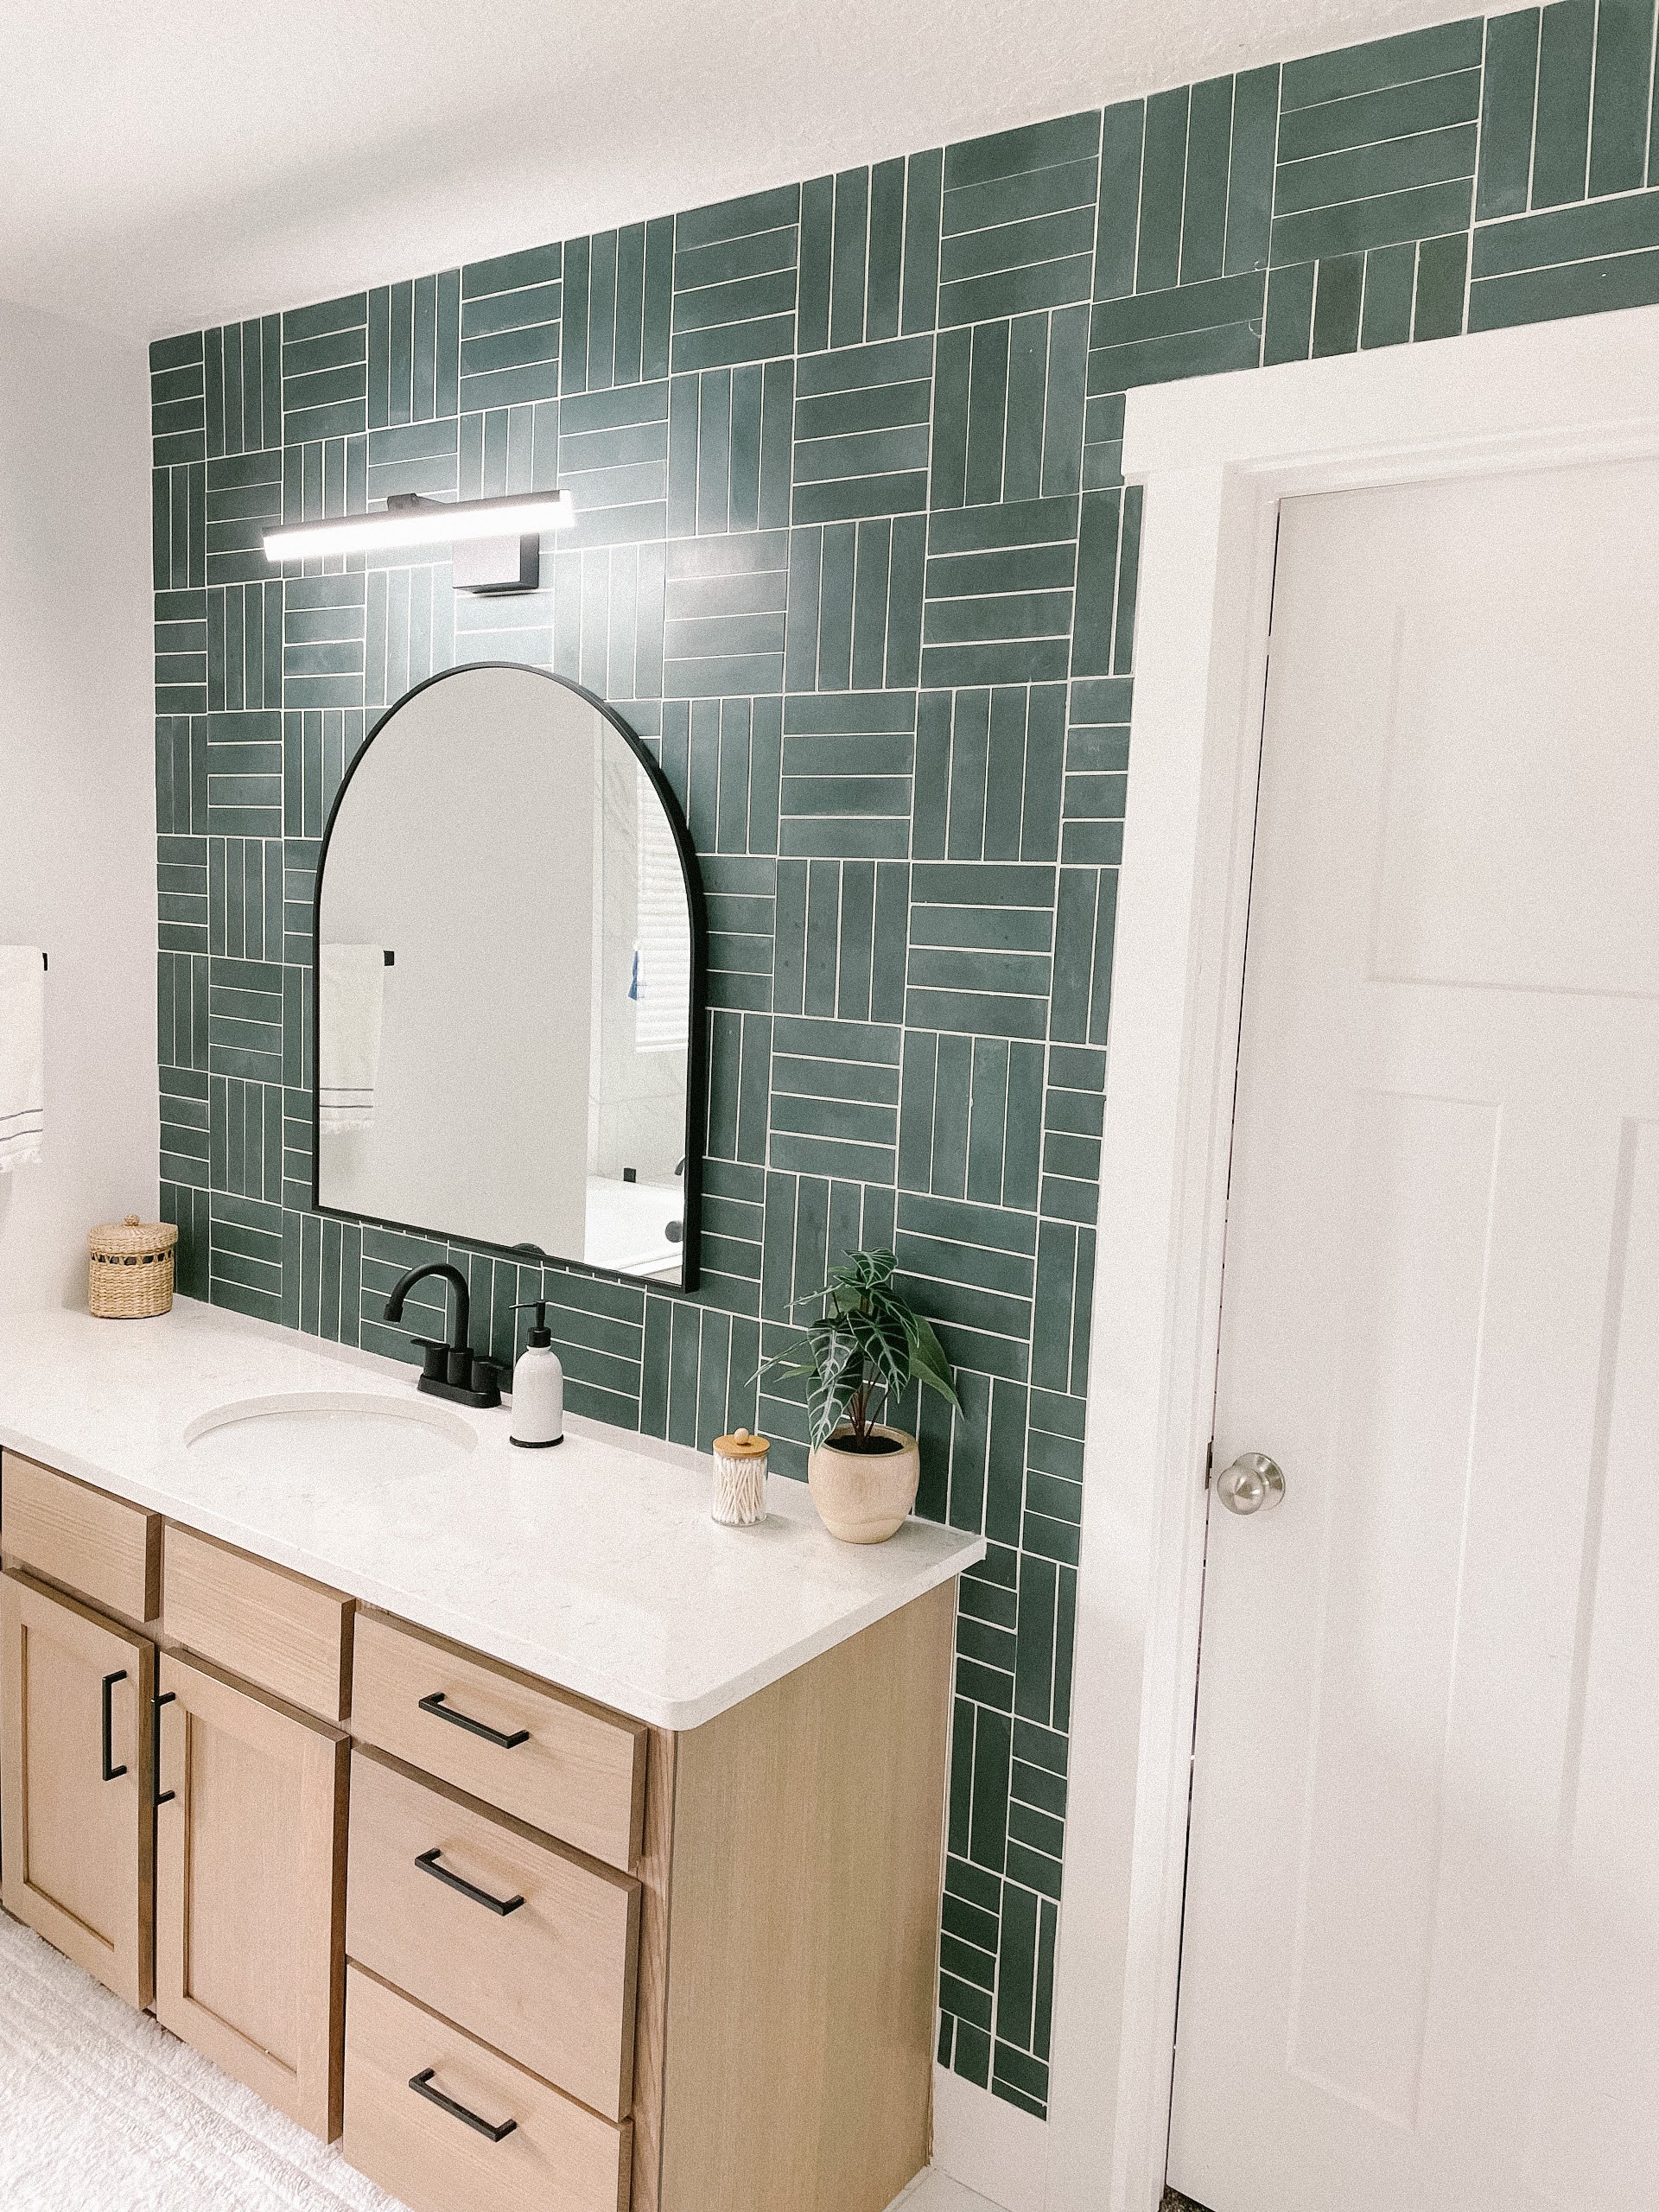
The Final Reveal
This master bathroom is absolutely stunning! I can’t believe that I was able to create all of this with a newborn! Doing projects helps my mental state all the time, but especially postpartum. If you’ve been looking to make over a room in your house, just know that you CAN do this, even if you have little ones at home! Anything is possible. Follow me on Instagram for more DIY home projects!


One Comment