
Beaming with Pride: How to Create a DIY Ceiling Beam
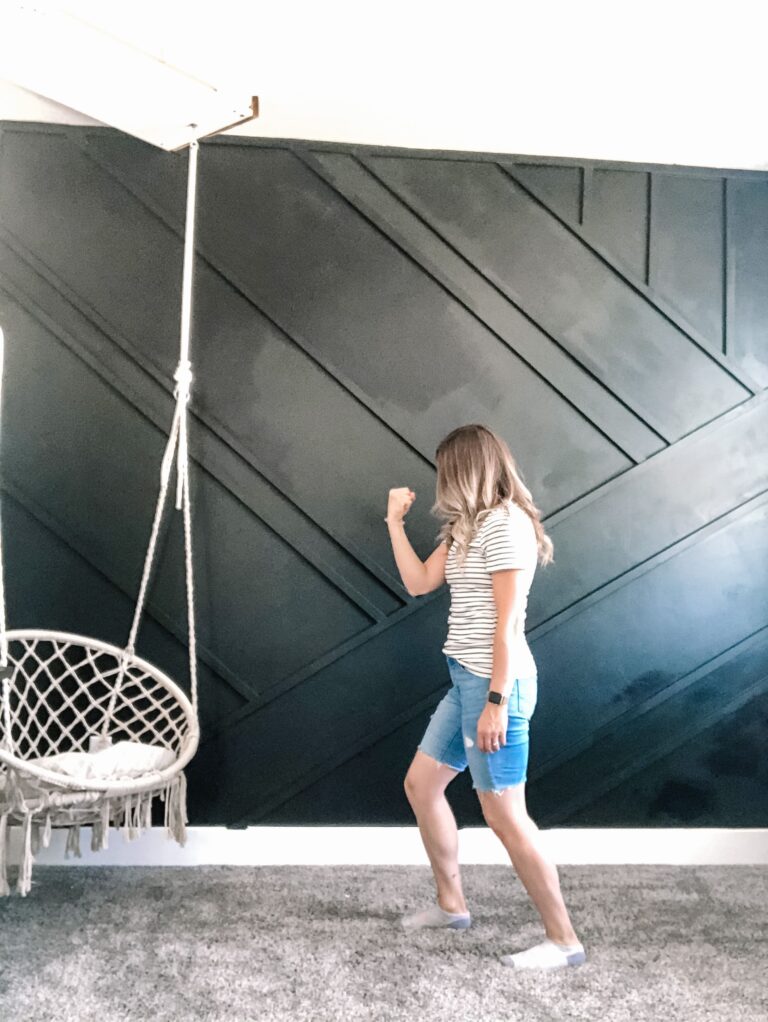
As part of my primary bedroom makeover, I wanted to add a DIY ceiling beam along the vault line. This was a really scary project for me, but I learned a lot and was so proud of myself as I completed each step! I absolutely love the finished product, and still to this day, I love it!
Note: This post contains affiliate links. I may earn a commission at no extra cost to you. Thanks for supporting my content! 🙂
DIY Ceiling Beam Supplies:
Tools:
- Drill
- Jigsaw
- Stud Finder
- Miter Saw (could potentially only need one of these saws)
- Nail Gun (could do it with just the drill)
- Paintbrush
- Paint Roller
Before I got started…
My ceiling had this box (is that even what you call it?) that the fan/light was attached to, so before I could even start the beam, I had to remove the fan and the drywall that made the box. I had no clue what was behind the drywall, so I started by cutting a small portion of the box to see what was behind it. Once I saw what I was dealing with, I was able to cut the rest of it out. This was the first time in this project that I was so proud of myself. Watch this video, and ignore my messy hair and face. I did it!
Okay, now I had to fill this in with drywall, then tape and mud it. I am very glad my first time with drywall was in a spot that was going to be completely covered, haha! Once that was done, it was ready to start on my DIY ceiling beam.
Step #1: Find the Studs
Whenever you hang beams, you MUST find the studs and install your DIY beams into them. Think of all that weight of the wooden beam (real or fake) coming crashing down, because it was not secure on the ceiling! Screwing the beam into the stud is the best way to ensure it is solid.
I used this stud finder, then put a piece of tape to mark the spot where the stud is. Tip: Mark the stud a few inches away from where you will actually install the beam, so you don’t cover the line and then not know where the studs are.
Step #2: Make Your DIY Ceiling Beam
There are a few ways you can make a beam. First, the easy way: Gluing and nailing three pieces of wood together to make a U shape. OR the hard way, which is beveling the long ends, then gluing them together so the beam looks like one solid piece of wood. This is much more complicated, but it looks incredible when finished. I did option one.
Remember how I said the light is going on the beam, and how I did the hole in the 2×4? I did basically the same thing with the beams. I created two and cut a hole on the ends of each, then put them together to allow for the wires and light to be installed.
Step #3 – Install a 2×4 as an Anchor
Let me preface this by saying that I used a 2×4; however, you may need to get a larger piece of wood to use as an anchor. Whatever the width the bottom part of the beam is, that is the size you want the anchor to be.
We are going to install a 2×4 directly on the ceiling where the beam will go. This 2×4 will be screwed into the studs that you marked. You will be attaching the beam to the 2×4. So it is very important that it is straight and secure.
I drilled a hole in the 2×4 to feed my wires through because my light will be attached to the beam. My ceiling is 14 feet long, so instead of messing with one 14 piece and having to drill a hole and feed the wires through, I used 2, 7-foot, 2x4s. At the ends of each, I drilled a hole, then cut the 2×4 at the hole to create a half circle. Then, I repeated this on the second 2×4. When I put the two pieces together, it allowed me to feed my wires through the hole easily. Is that clear as mud? If so, watch this video. Hopefully it helps! 🙂
I also plan to put a new fan back in, so I installed the fan brace again.
Step #4: Hang the Beam
Once the beam is assembled and your anchor is installed, it’s time to put the beam together. You can either use a nail gun and nail the beam to the 2×4, or you can use a drill and screws. If you do screws, I recommend pre-drilling the screws into the beam, so once you have it in place, you just finish drilling them in, instead of having to get the screw started.
When hanging the beam, I encourage you to get help: Someone to hold it while you work the nail gun. Remember how we created a U-shaped beam? The open end of it will be placed over the anchor, and you will then drill/nail them together. Be sure to use multiple nails so that it does not move or fall.
Step #5: Finish Work & Paint
You can complete some of this finishing work before you hang the beam, but I waited and did it all once it was up. Because I made the beam the easy way, I had more finish work to do here. I wood-filled the cracks on the bottom of the beam and where the two beams meet in the middle, then sanded it all down.
Caulk where the beam meets the ceiling and walls, and finally, put on a coat of primer. Once everything is cleaned up and sealed, paint it whatever color you want. I was going with white, so I painted it the same color as my ceiling.
Step #6: Hang the Light & Admire Your DIY Ceiling Beam
The last step is to hang the light. I got a light/fan combo and installed it. Make sure you always turn the power off when you are working with electricity!
And then step back and admire the gorgeous work you have done! I am so proud of this project. I love how it turned out.
Follow along for more DIYs and fun at…


One Comment