Tile Over Tile Backsplash: Easy Kitchen Upgrade Without Demo
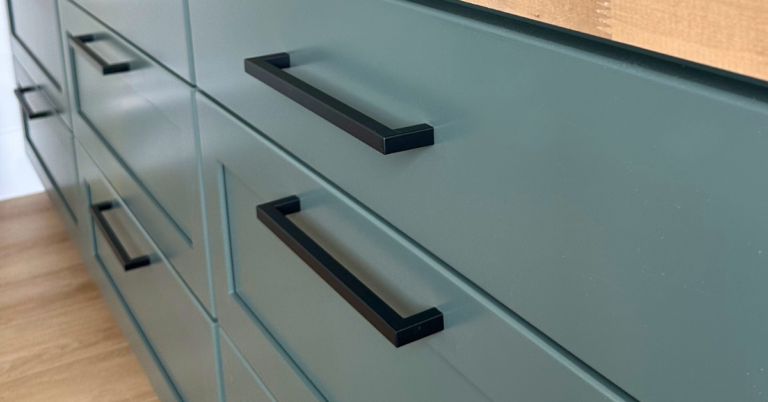
You know that book “If You Give a Mouse a Cookie”? Yeah… that’s how I felt with my flooring project that spiraled into painting my cabinets, new hardware, new wall paint, updating my bar stools, and now the tile-over-tile backsplash. You cannot just update the floors!
When I decided to update the backsplash, I didn’t want to take out what was already there. That would cause a huge mess, so a ton of damage to the drywall, and make the project much bigger than it needed to be. So I decided to put tile over tile! Very controversial, but it works perfectly.
There is absolutely nothing wrong with installing tile over tile, as long as what you are covering does not have cracks, water damage, or imperfections, and everything is sealed. I don’t recommend tiling over tile several times, but I have done this method in my bathroom shower, and it has held up great over time.
In addition, I decided to use Mussel Bound instead of mortar. That was also a controversial decision. But it works great and is a fantastic option! The thing to remember is that there is a weight limit on the Mussel Bound. I also would not use it in a wet area, like a shower floor. However, Mussel Bound is incredibly strong and a great alternative to mortar. With that in mind, let’s get started on this backsplash makeover!
Supplies Needed:
Note: This post contains affiliate links. I may earn a commission at no extra cost to you!
- Your Choice of Tile (Mine was on clearance, which made the project much more cost-effective!)
- Mussel Bound
- Score and Snap Tile Cutter
- Premixed Grout
- Tile Spacers
- Outlet Spacers
- Caulk
Step #1: Tile Over Tile Prep
Prep is so important to ensure that you have the best result! Wipe down the surface you are covering and make sure it is clean from any food remnants or cooking oil splatters. You’ll also want to remove the outlet covers (we’ll come back to those later!).
Step #2: Mussel Bound
Once your surface is clean, you can start adding the Mussel Bound. Reminder: Mussel Bound is like a double-sided sticky paper, but way stronger! I applied the material to the wall and left the top protective layer on. Be sure to cut away the Mussel Bound in the space where your outlets go.
Step #3: Apply the Tile Over Tile
Remove the top layer of the Mussel Bound and put the tile on. Seriously, it’s that easy! Just stick it on the Mussel Bound, and it is not going anywhere! As you continue, use spacers to keep your lines straight. Proceed to cover the surface.
When it came to cutting the tile, I didn’t want to pull out my big cutter, and this was easy enough to cut with my Score and Snap Tile Cutter.
Step #4: Grout
Once it’s all installed, you’ll want to grout it! If you know me, you know I love using anything that will make DIY easier. Premixed grout is one of those things. Another thing about me: I like to do things in a way that works for me. I don’t care what is the right or wrong way to do it. Case in point: Applying grout with my hands! That’s something that people say is wrong, but it works for me, gets the job done, and looks just as good as if I used a float. This is what I want you to remember: Do what works for you! If you decide to use your hands, be sure to wear gloves!
Apply the grout in small sections, then use a wet sponge to wipe off the excess, and dry with a towel. Repeat the process all over your project.
Because of how amazing the Mussel Bound is and how easy it is to use, it took me longer to grout than it did to put up the tile!
Step #5: Outlets
Because we just added a layer to the wall, you will need to bump the outlets out a little so they remain flush with the new tile. I use these outlet spacers, which were super easy to install.
Step #6: Caulk
You’re in the home stretch! Caulk the edges of the tile where it meets the wall, cabinets, or countertop. Use the same color caulk as the grout.
Step #7: End Cap
I wanted to finish off the tile with an end cap, and I found an affordable solution by using a couple of marble tiles from Floor and Decor. I used my Score and Snap Tile Cutter again and affixed the pieces with mortar.
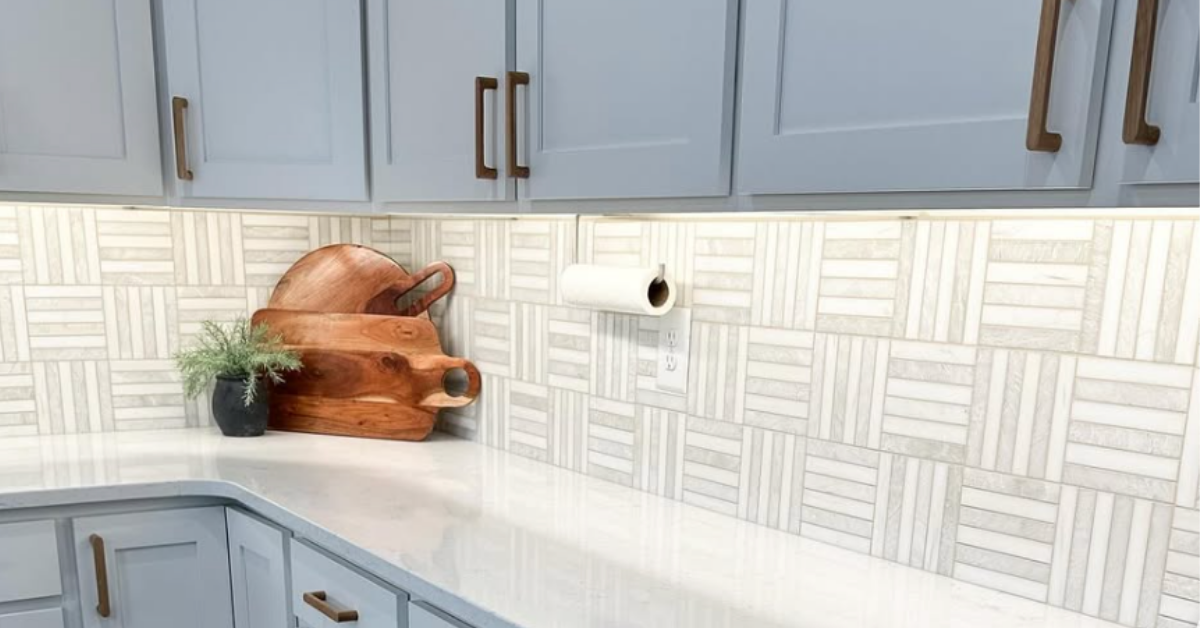
Step #8: Styling & Tile Over Tile Kitchen Backsplash Reveal
After styling the space, it was all done! Check out this before and after!


I LOVE the way it brightened up our kitchen and feel it fits the space so much better! This project is so versatile and can be done throughout your home! Be sure to leave a comment telling me what you think and if this has made it onto your DIY to-do list!
Follow along for more DIYs and fun at…