Our DIY Princess Castle Got a Dreamy New Makeover
Have you seen the darling DIY princess castle I built a few years ago for my girls? You can read about it here and here. This castle is truly one of my girls’ favorite spots in the house. If I can’t find them, they are usually in here playing! They absolutely LOVE it, and it makes me happy that even after all these years, they still do!
Well, it was time to do a few updates to it! Some things were no longer working for us, and some things just felt unfinished. This was a fun, quick project. Let’s get started!
Links to everything used in the
DIY Princess Castle Update are listed below!
Both the photo and title below the image are clickable and will take you directly to the item on Amazon to purchase. I may earn a small commission – thanks for supporting the content I love to share!

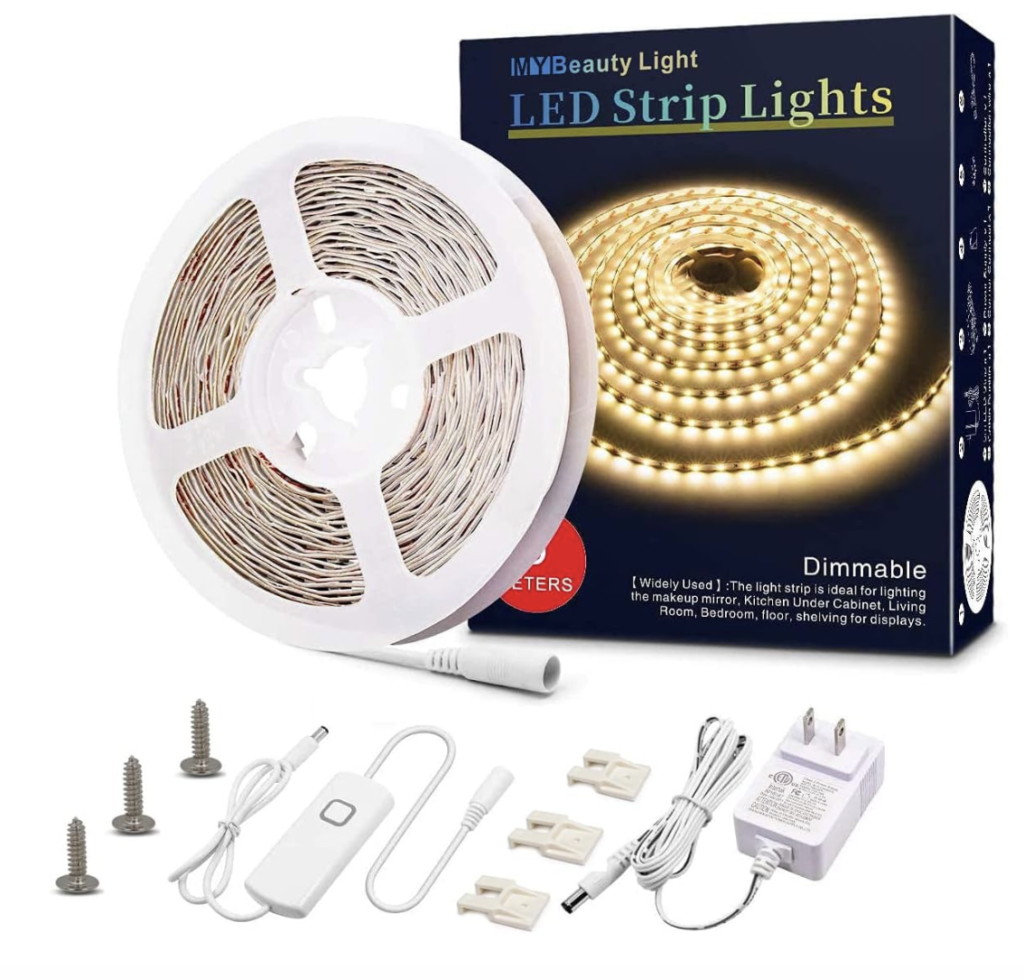


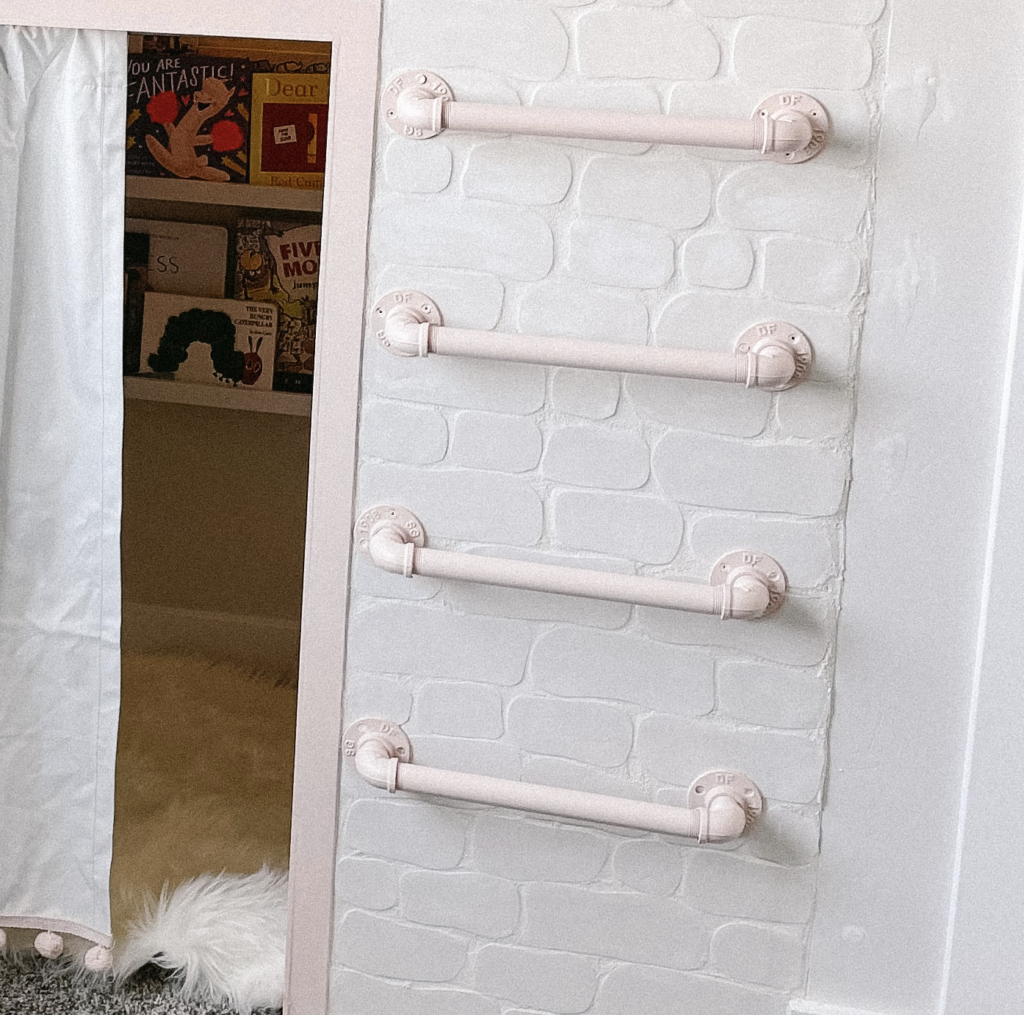
I made the ladder. Click HERE and go to step 6 to see how I did it using these these pieces.
Corners
Pipes
Flange

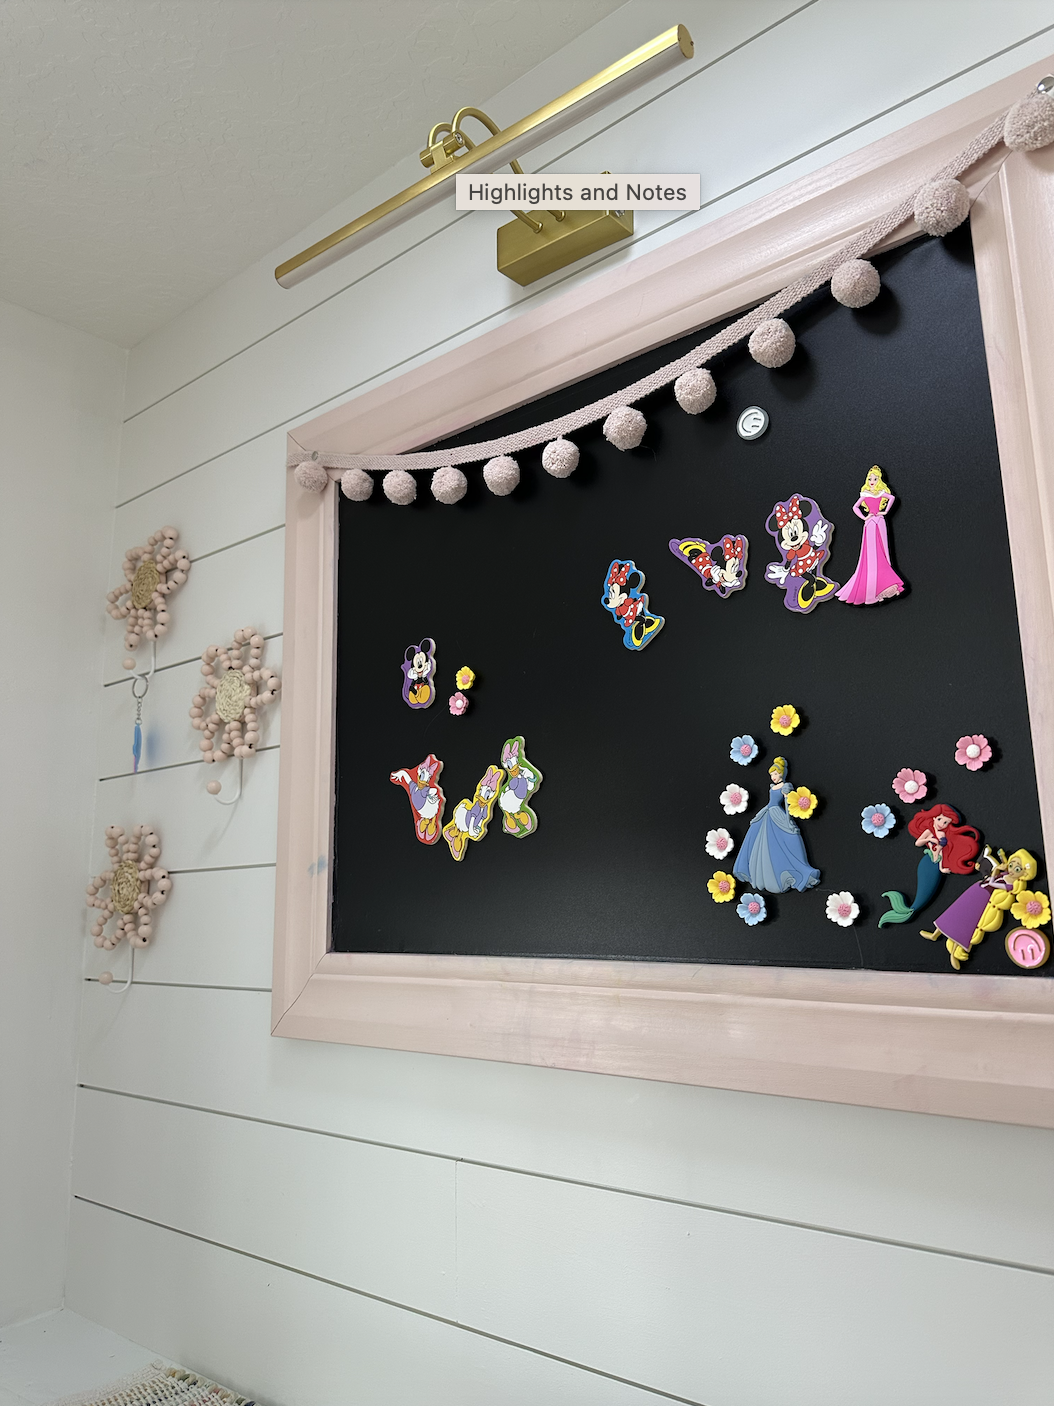
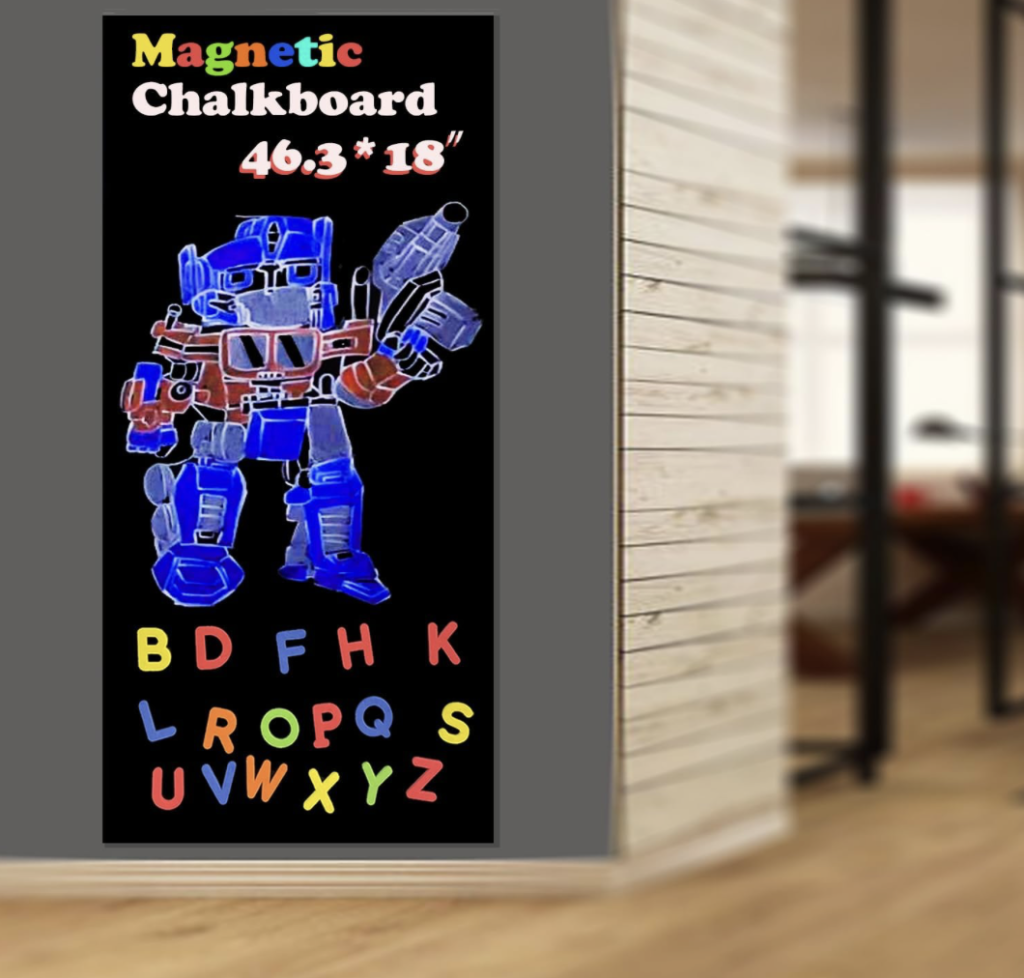
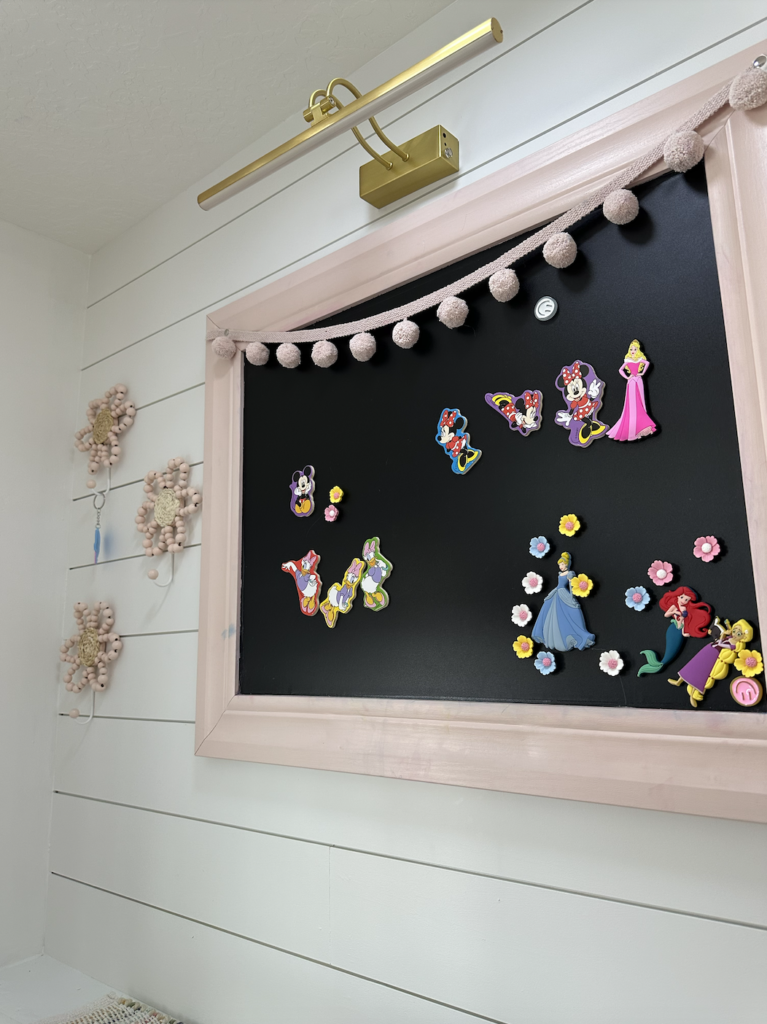
I made this sign; here are similar supplies I used.
Heart Sign
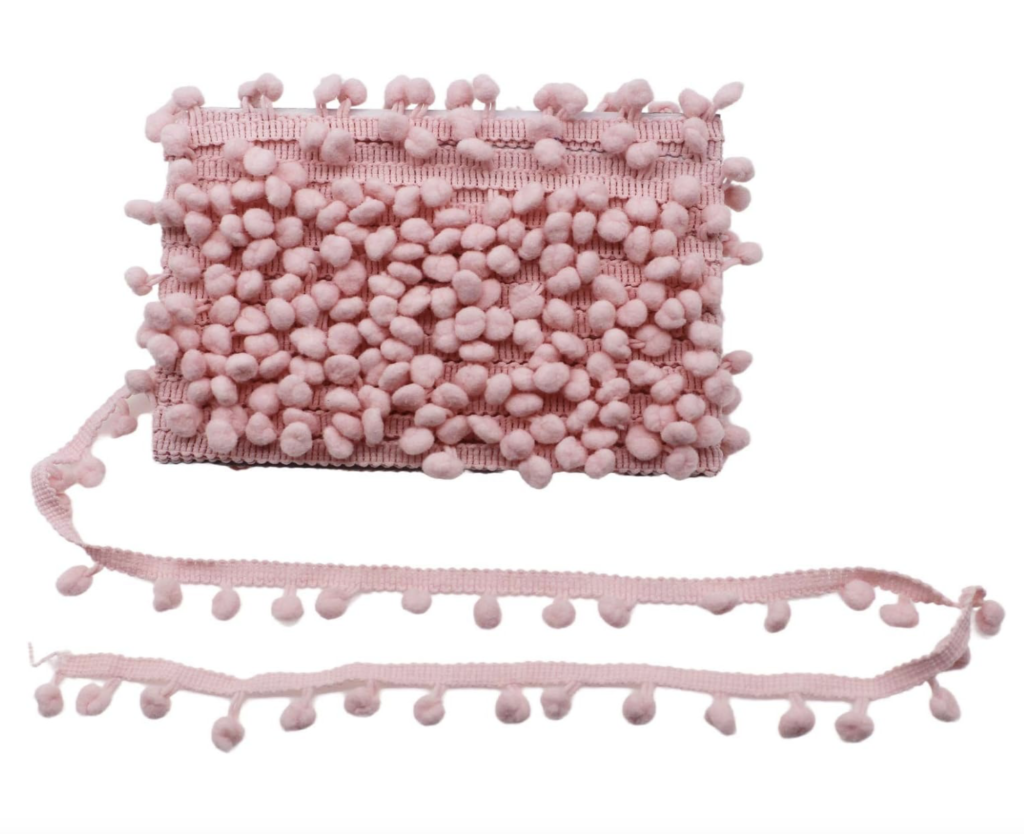
Bead String
Letters
DIY Princess Castle Update #1: Adding More Shiplap
On the initial princess castle, we added shiplap to the wall on the top, but did not add any to the bottom. I felt like it needed it so that the top and bottom matched better. So, the first thing I did was remove everything from the bottom. I then installed the same ship lap to the bottom that I had on the top.
A couple of reminders about installing shiplap:
- If you will be painting it a different color, paint the top and bottom as you go. It is much easier to paint it as you go rather than to do it once it is installed, because then you’d have to paint in all the cracks.
- Stagger the planks so the seams do not all line up. It just makes it look better.
- Put a nail in the little lip – it gets covered by the next row, and that is half as many nails you have to fill!
I then filled all the nail holes, caulked the corners, and painted the wall.
DIY Princess Castle Update #2: Remove the Wall Ladder
The girls don’t need two ladders to get to the top level, and they don’t use the one inside anyway. So I removed it! I took the ladder off the wall, filled the holes, and repainted the wall.
To close the hole, I took a few 2x4s and screwed them to the sides of the opening. I then put some plywood over it and secured it with my nail gun. I then wood filled and caulked it. Once it was dry, I painted it. It looked like the hole never even existed!
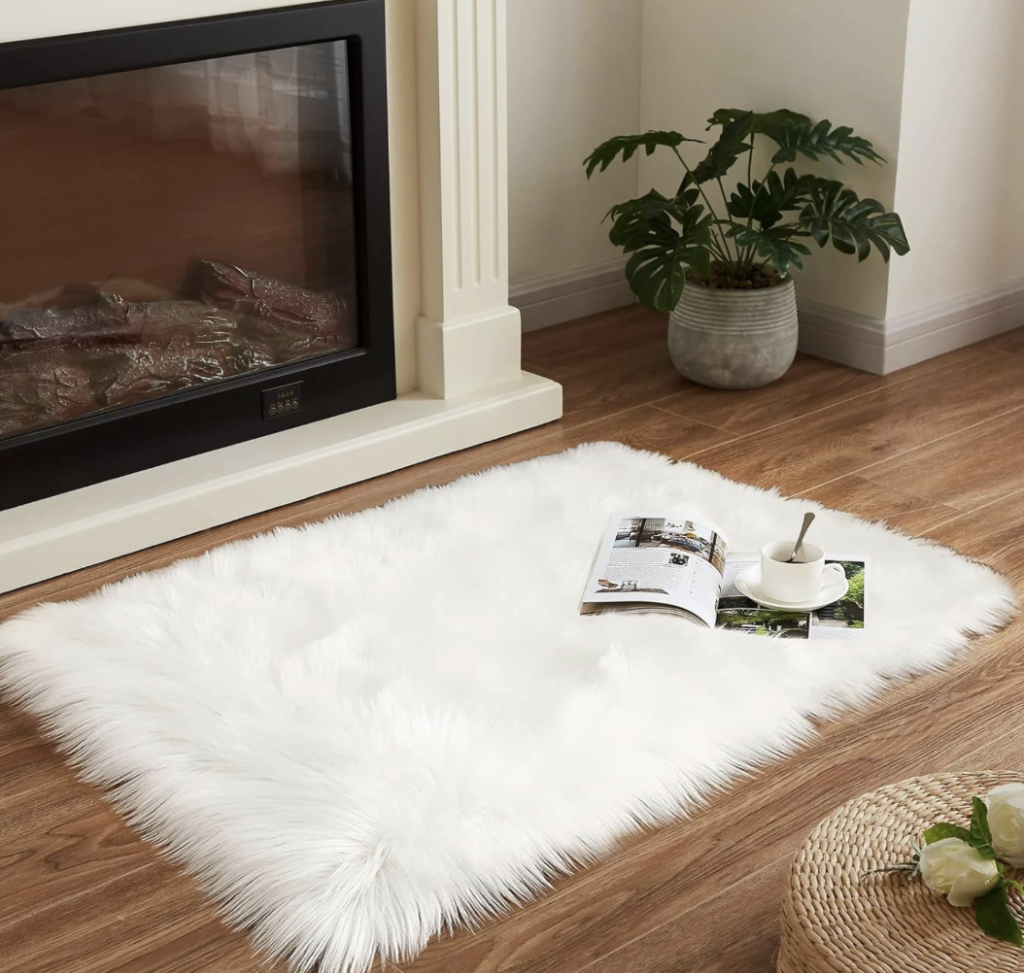
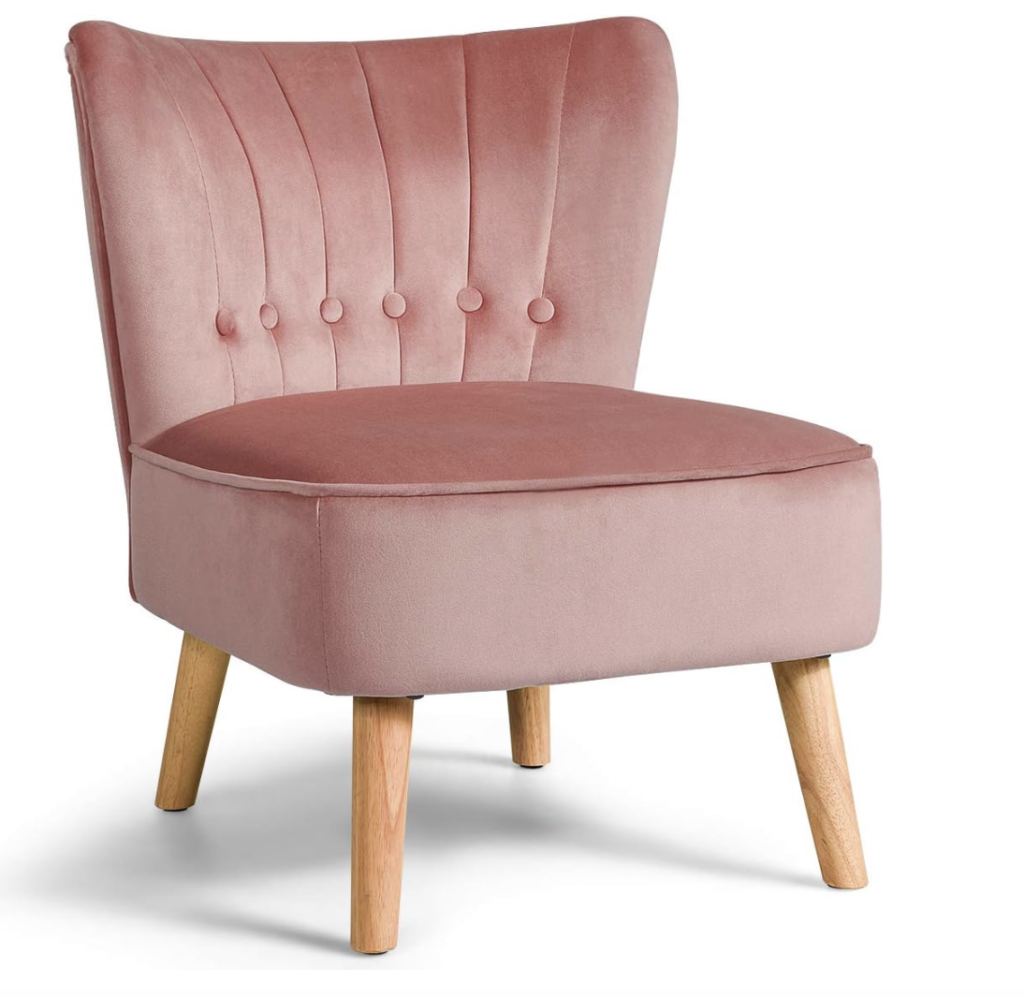
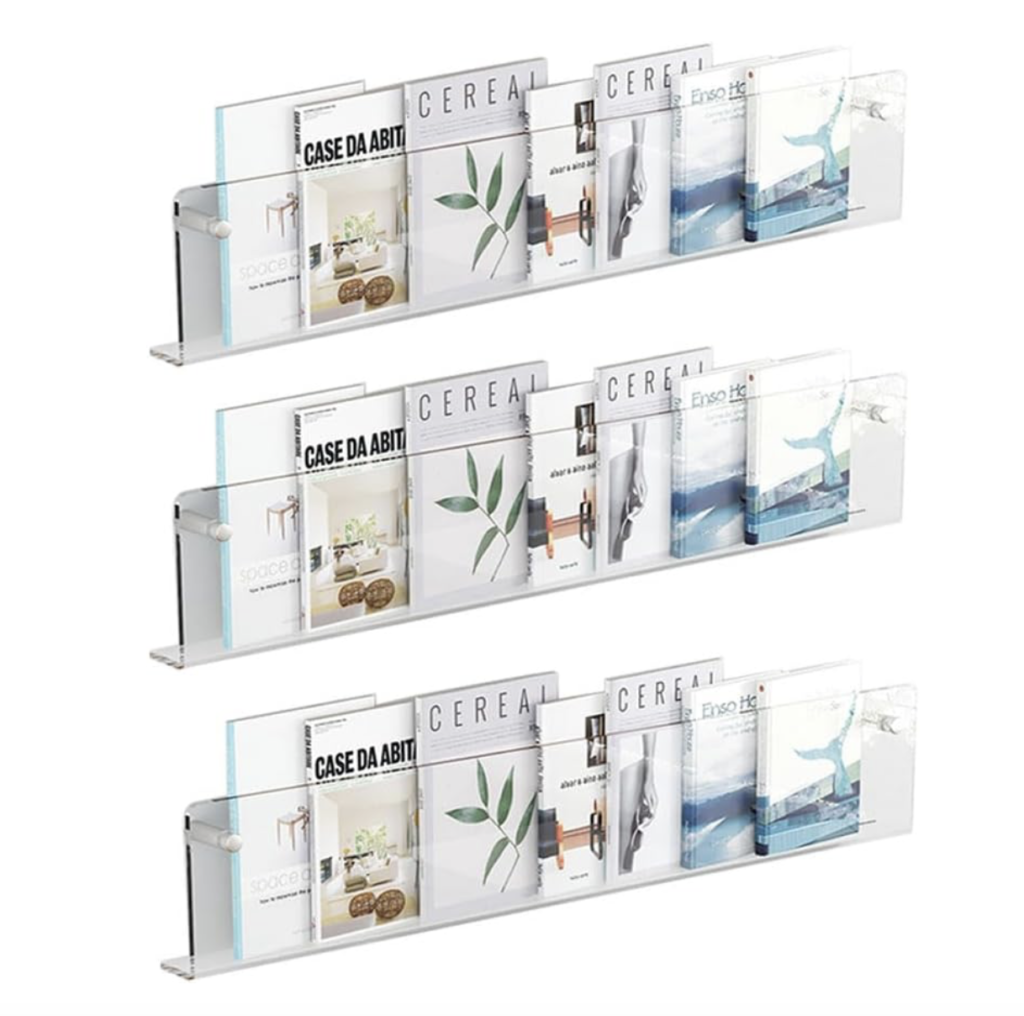
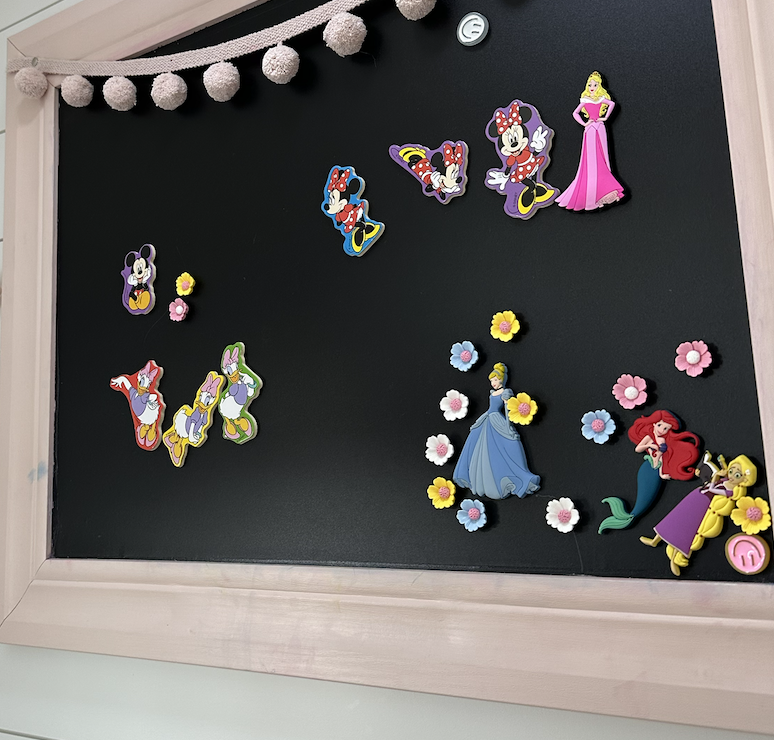
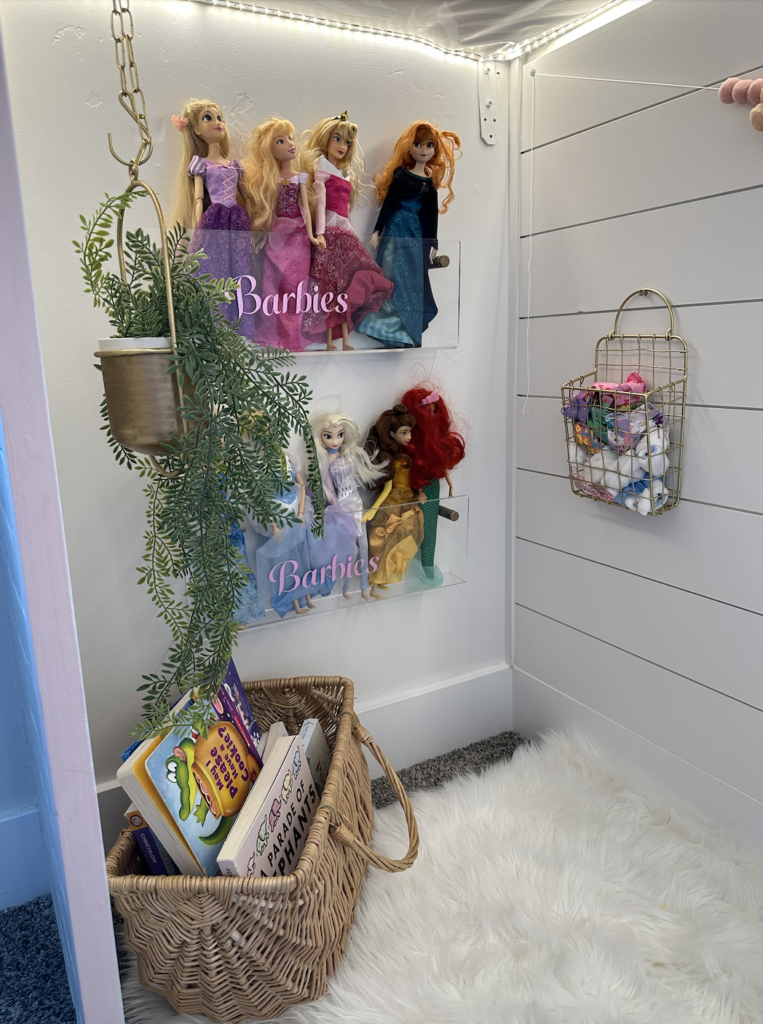
DIY Princess Castle Update #3: Redecorating the New Princess Castle!
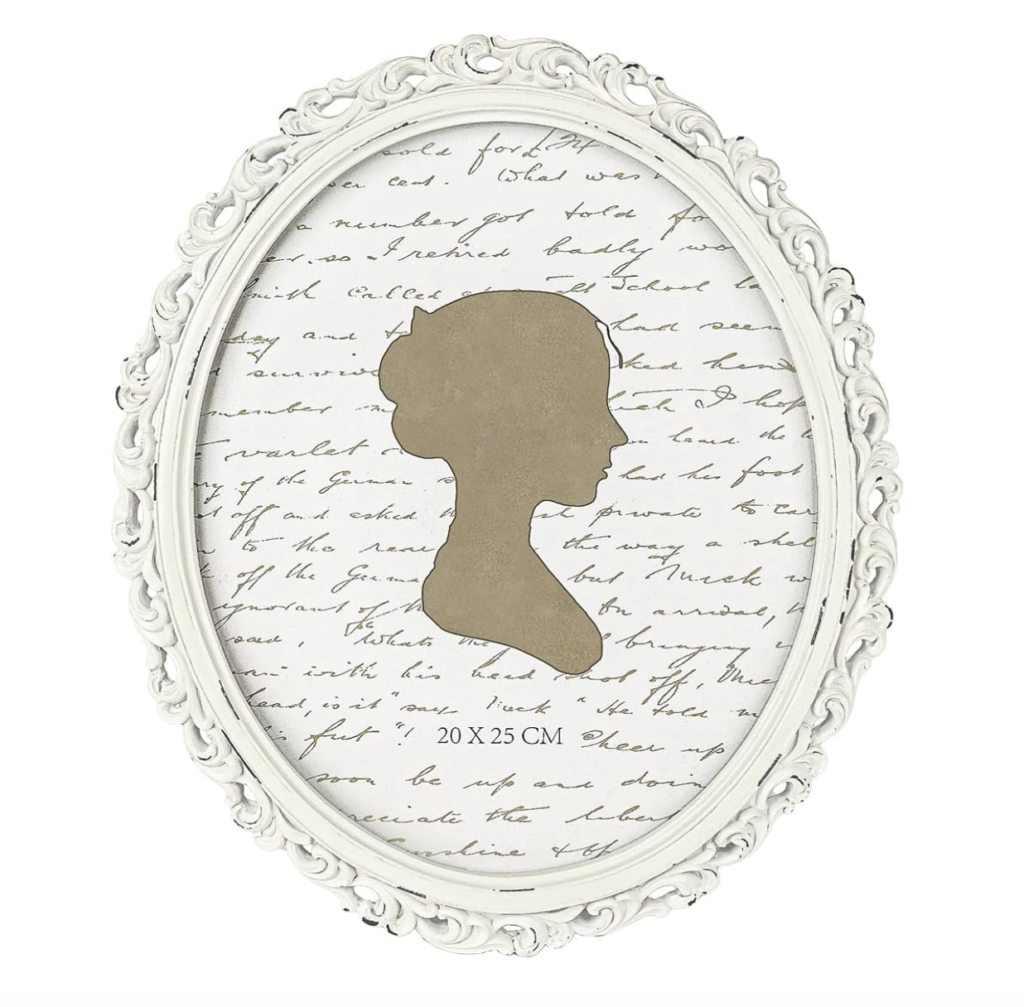
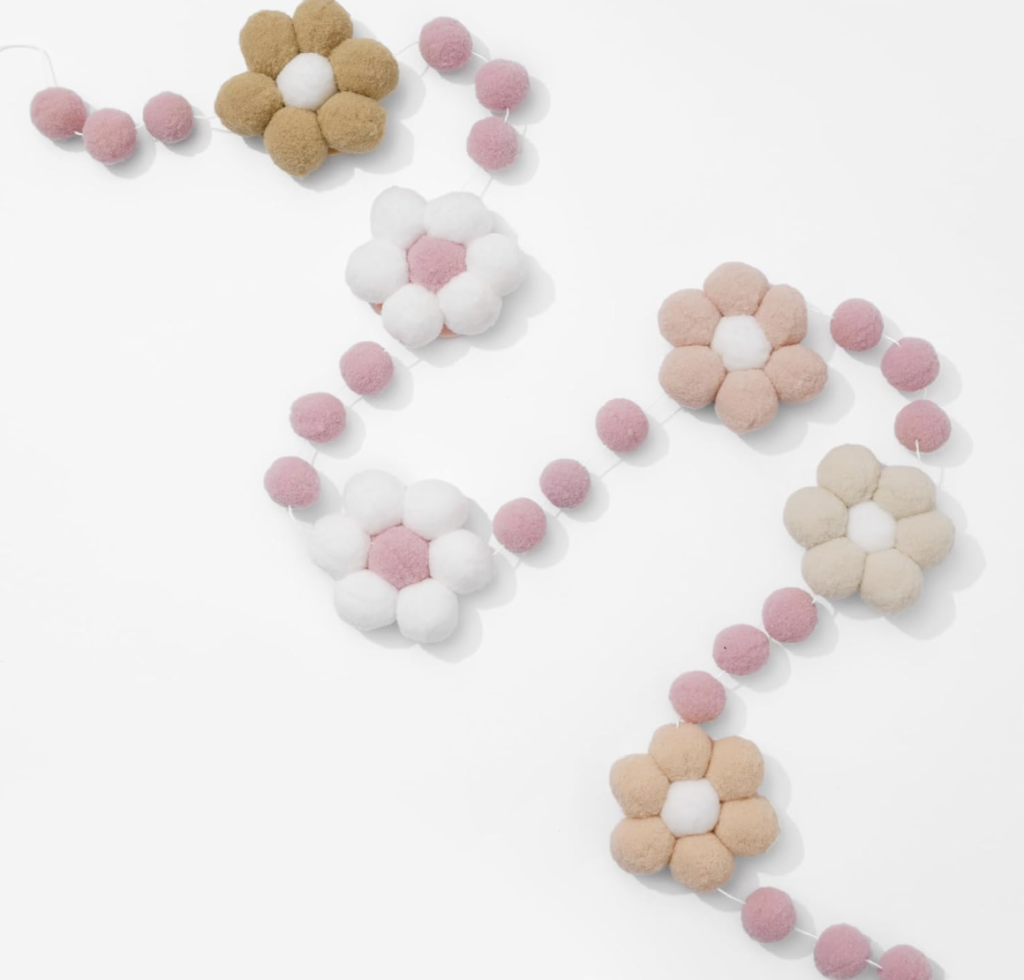
I used all the items listed above and added them all to the space to give it a fresh, new look.
A little note for you: This project could have easily been a one-day project, but life got busy, and I had to do it in all the little pockets of time during my days. It would have been easy to put it off and wait to do it until I had a full day to commit. However, doing projects is more than just the reveal. It’s my happy time, my me time, and the time for me to fill my cup. We have to remember that even when life is hectic, your happiness is still important. So even if you don’t have a full day to commit to your self-care, find the time. Even if it’s a little here and there. Something is better than nothing at all!
If you try to create your own DIY princess castle, I would love to see what you did! Share it in the comments! And if you aren’t already, follow me over on Instagram so you stay up to date on all my DIY projects!
Follow along for more DIYs and fun at…


2 Comments