From Drab to Fab: 9 Tips for the Ultimate Playhouse Makeover
This post is not going our typical tutorial post, because you probably will not do a playhouse makeover on this exact playhouse. But I am going to give you my tips and tricks to giving your outdoor play structure a fresh makeover! Whether you are jazzing up your cozy coop car (have you seen the epic Mater-inspired ones?), bringing life back into your swing set, or doing your own playhouse makeover, I’ve got you covered! It is all about having fun, so let’s dive in!
First thing in your playhouse makeover is to take it apart.
If you will be painting different colors, always take it apart first. For example, I painted the windows black and the structure white. It may take a few extra minutes, but trust me, it will be worth it. Your end result will look so much cleaner!
Tip #2: Replace any broken or missing pieces.
I feel like this one is a no brainer, but its important. If slats of wood are missing, you obviously want to replace them. I get it; finding an exact match is like hunting for a unicorn at the end of a rainbow. But just find something similar.
I recommend taking a piece from the structure that you are trying to match to the store with you. This way you can be sure to find the best option. Also, different hardware stores have different selections. Do not hesitate to visit different hardware stores to find the perfect item.
Tip #3: Take a Deep Breath and Prep
I get it; prepping can be a drag when all you want to do is dive into the fun stuff. But remember, slowing down to speed up is the name of the game. Put in the time for cleaning, sanding, and taping – it’ll make the rest of the makeover a breeze.
Tip #4: Choosing the Right Paint
Before you pick up the paint, evaluate your project. Is it wood, plastic, or both? Inside or outside? Will it face the elements? Once you know those things, you can confidently pick the right paint.
For plastic, go with spray paint. If it is an outdoor wood structure, opt for durable exterior paint. ALSO, if you are dealing with raw wood, don’t forget to prime first, then apply the paint + primer.
Tip #5: Get this spray can attachment
Pull trigger spray paint cans are way more comfortable on your hand and forearm, especially if you have a lot to cover. Have you ever sprayed several cans of the normal kind in one session? Your forearms hurt for days after! However, pull trigger spray cans are almost twice the price, and when you need several cans, it adds up quickly. Instead, get this attachment. You simply put it on the normal can, and it turns into a pull trigger spray can. Now you can say goodbye to those aching forearms and fingers.
Tip #6: Get a mask.
Spray paint fumes are no joke! Grab yourself a trusty mask to keep those fumes at bay. Your head will thank you for it.
Tip #7: Add fun upgrades to your playhouse makeover!
Get creative here. How can you upgrade your structure fun ways. For example. I got this battery powered pump that we installed on the playhouse kitchen sink. This way they can have real running water. My kids love it!
Tip #8: Get Fancy with Decorations
No space is complete without a little extra touch of accessories! Throw in some faux flowers, artwork, or cute accessories to breathe life into your play paradise. It’s the little things that make a big difference!
FINALLY! Get creative and have fun! It is your Playhouse Makeover!
Last but not least, remember, the most important tip is to enjoy the ride! There’s no right or wrong way to do it. Follow your heart, let your imagination run wild, and have a blast making your play space uniquely yours.
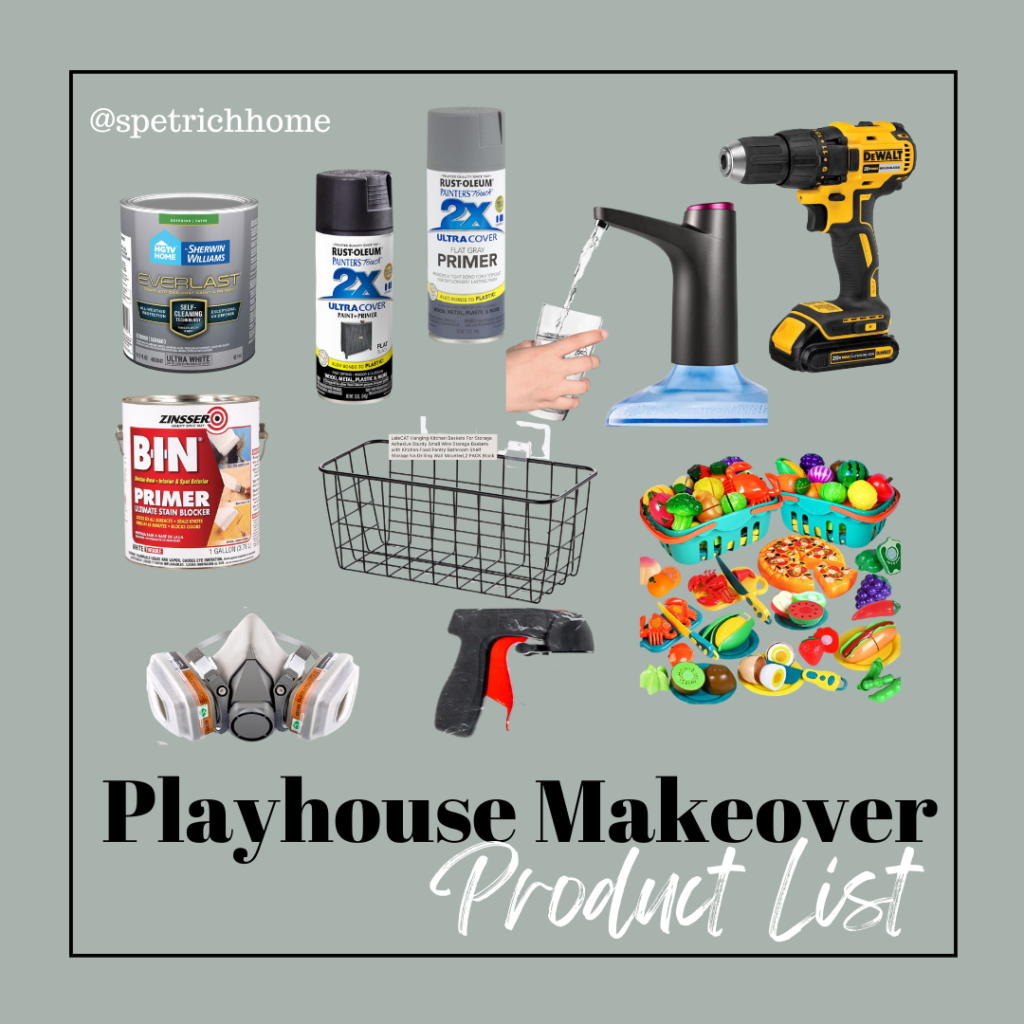
Here is a list of products I used on my Playhouse Makeover.
Spray Paint
Spray Primer
Spray Paint Attachement
Mask
Primer
Paint – I used purple, Black and White
Battery operated faucet
Welcome Mat
Food Basket
Play food and this one
Of course my favorite drill.
So, what are you waiting for? It’s time to start your makeover. Don’t be afraid to get a little messy, experiment, and make your outdoor space an oasis of fun and creativity!

Follow along for more DIY’s and fun at…