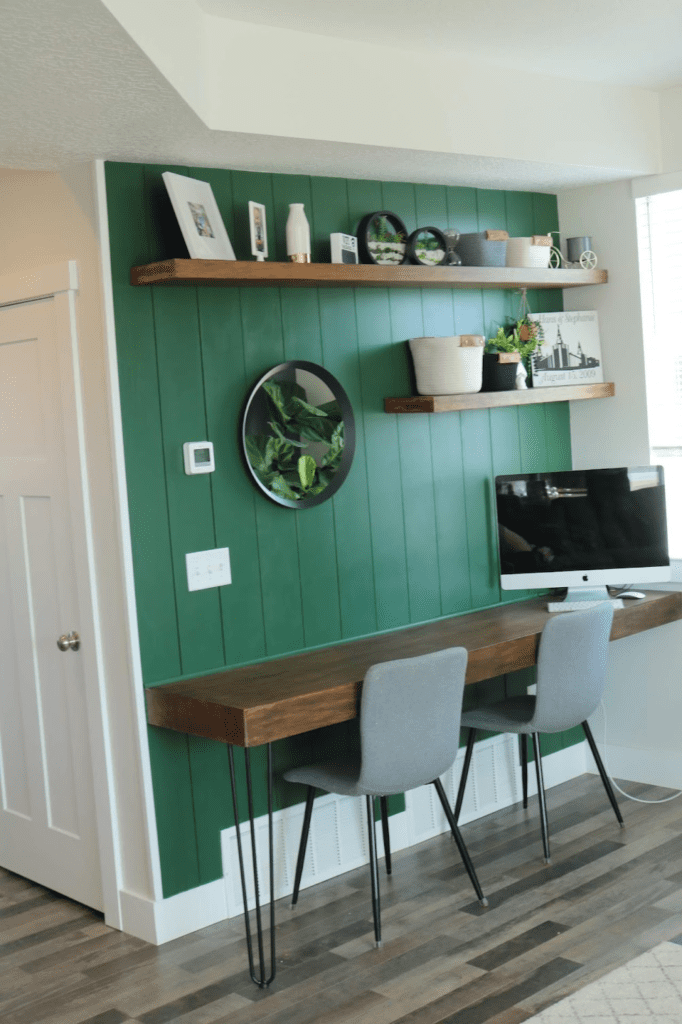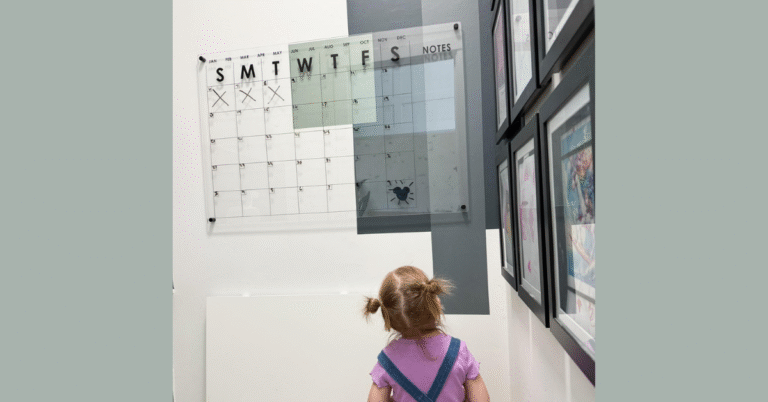
Reimagining Empty Space with a Built-In Desk & Floating Shelves
When we first moved into our house, there was a corner in our living room that was just an empty space. I decided we could get the best use out of that space by turning it into a built-in desk/command center. Here’s how I did it!
Note: This post contains affiliate links. I may earn a commission at no extra cost to you. Thanks for supporting my content!
Supplies:
Shiplap Wall:
- Pre-Made Shiplap
- Battery-Operated Nailer
- Jigsaw
- Spackle
- Sandpaper
- Caulk
- Caulk Gun
- Painter’s Tape
- Your Choice of Paint (I went with Vine Leaf by Behr)
Built-In Desk:
- 2x4s
- 3-Inch Screws
- Desk Leg
- Plywood
- Miter Saw
- Sandpaper
- Wood Conditioner
- Stain
- Polyurethane Top Coat
Floating Shelves:
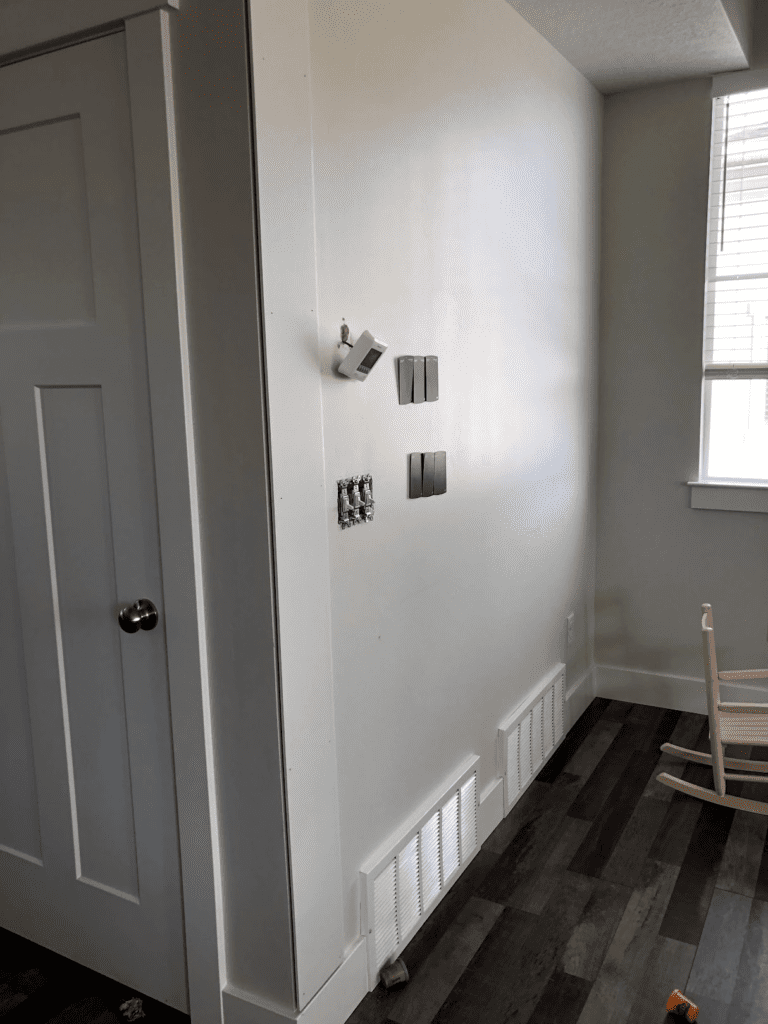
Before
Step #1: Install Shiplap
I love the look of shiplap and the extra character and texture it gives a room. You can find pre-made shiplap at Lowe’s or Home Depot. In my opinion, it’s well worth the extra cost to get the pre-made and pre-primed shiplap. I installed it on the wall using a battery-operated brad nailer.
There were a few tricky cuts, which I needed a jigsaw for. This is the one I have and love!
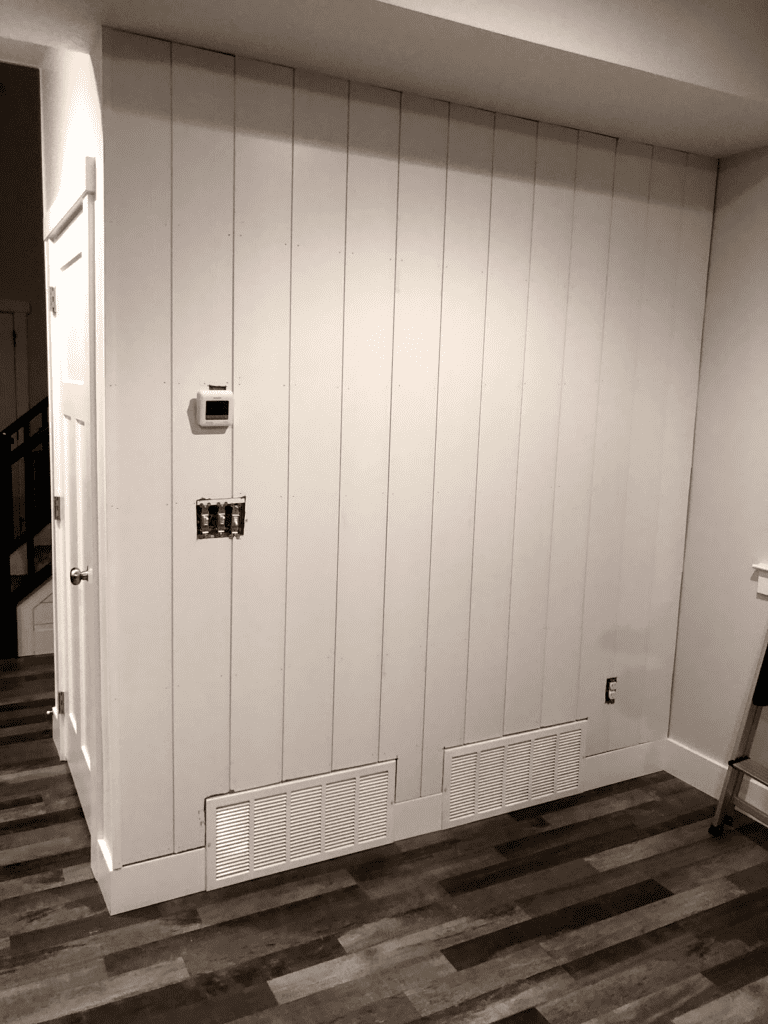
Measuring where the shiplap would go.
Next, I filled in all the nail holes with spackle, then sanded and caulked around the edges. Watch the video below for the realities of being a DIYer with little kids around!
After the shiplap was up, I taped everything off and painted the wall “Vine Leaf” by Behr. That being said, do yourself a favor and paint the sides of the shiplap before you install them. You will save yourself a LOT of time!
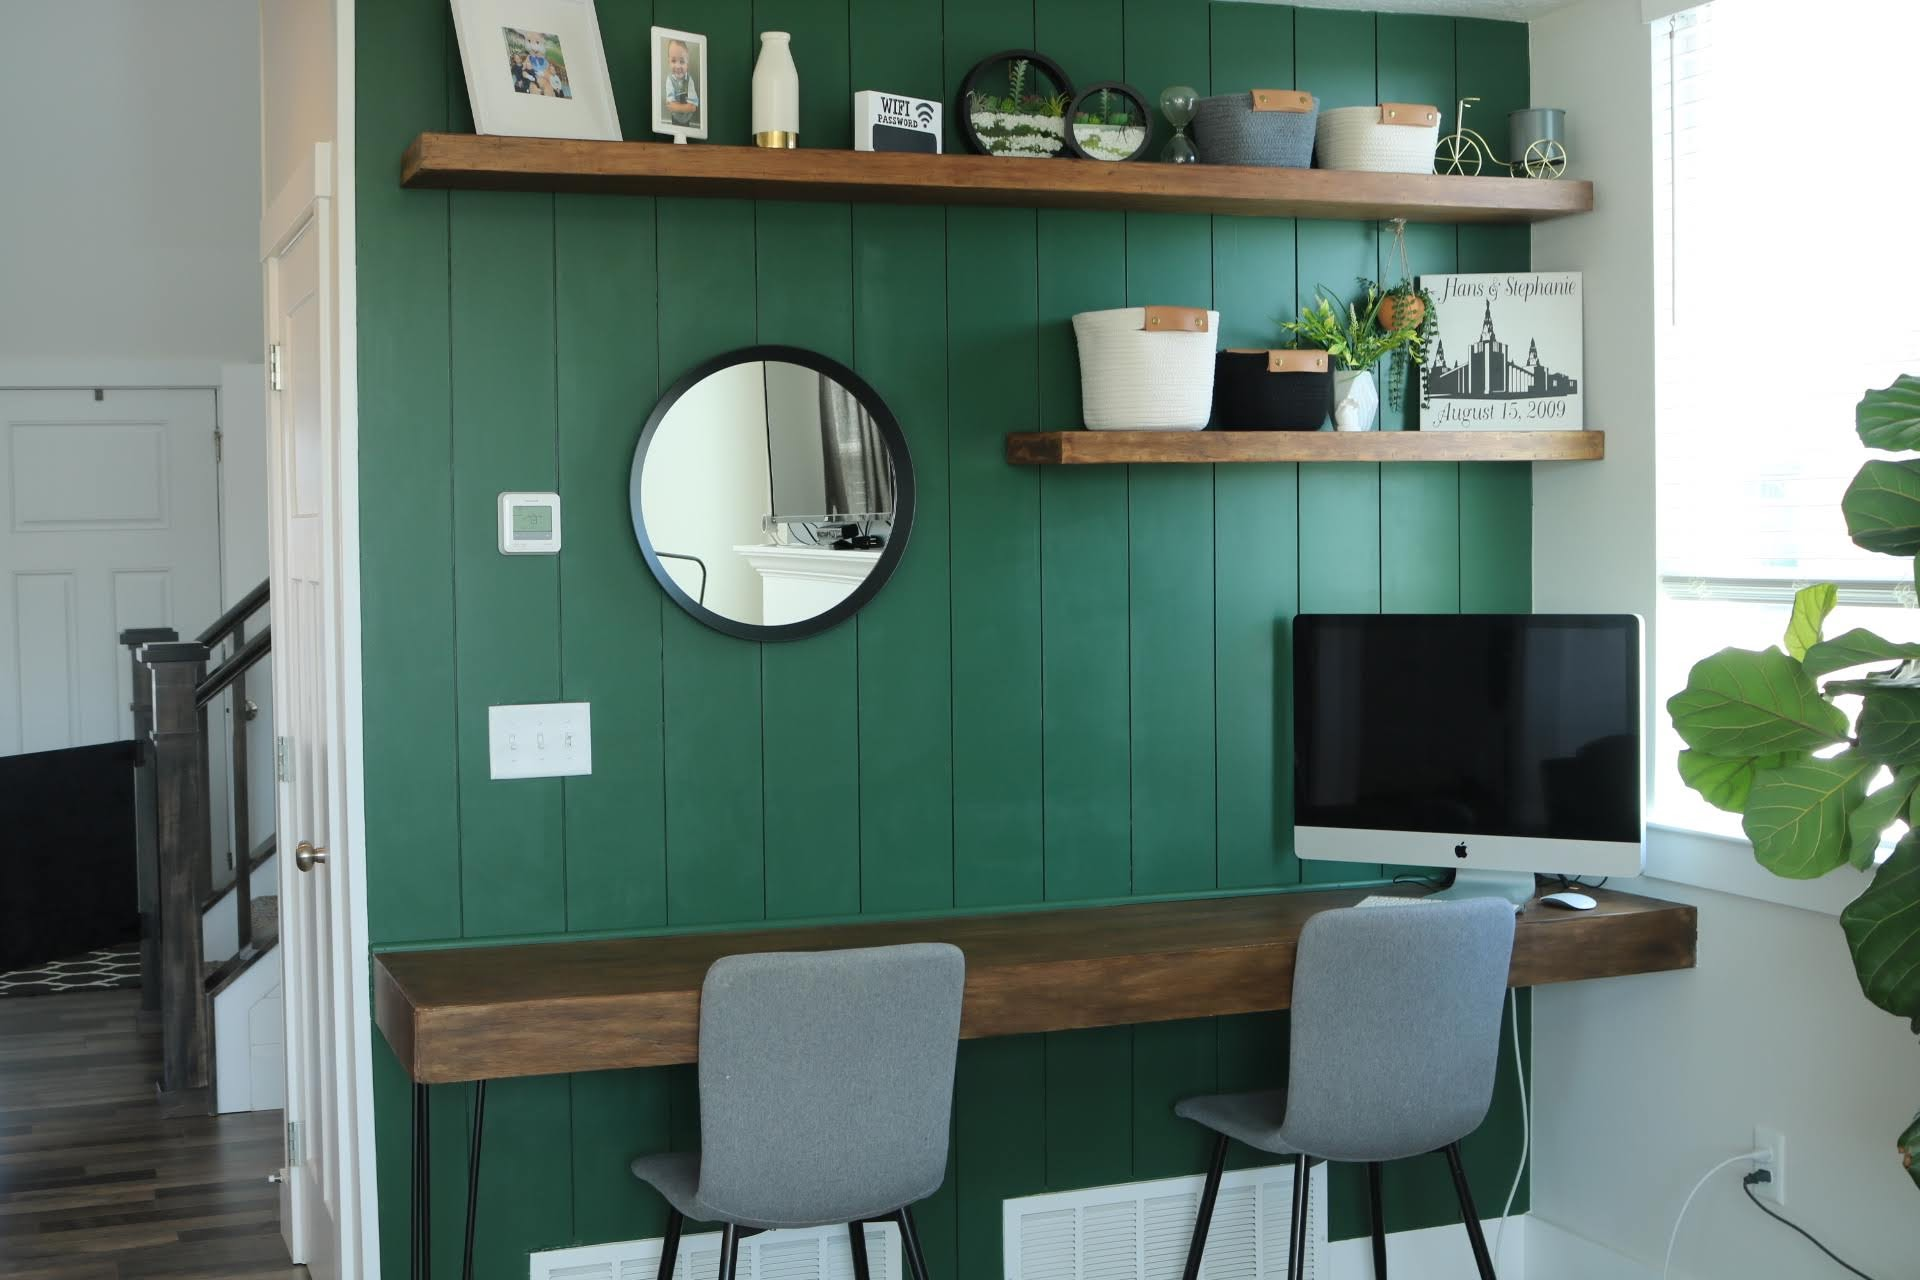
Step #2: Make the Built-In Desk
The next step was building the desk. I used 2x4s and created a rectangular box in the size I wanted the desk to be. Inside the “box,” I added supports (like ladder rungs). I mounted the frame for the desk to the shiplap wall using 3″ screws, which I screwed into the studs. One of the corners of the desk needed additional support, so I added a desk leg to that corner.
For the desk top, I cut a piece of plywood to size and mitered the edges. Then I added front pieces to the desk and also mitered them. When assembled, the mitered corners made the desk look seamless.

Lastly, I sanded the wood with 220-grit sandpaper and added wood conditioner, stain, and a polyurethane top coat.
Step #3: Build the Floating Shelves Above the Built-In Desk
Since we’re maximizing this space, I also wanted to add some floating shelves for additional storage and decor. I used 1x2s as supports and created a hollow box to slide over the supports.
Finally, I sanded, conditioned, stained, and added a top coat using the same materials as I did for the built-in desk.
And with that, this awkward space is now functional and beautiful!
It was a bit of a process, but in the end it was worth it. We use this space all the time!