How to Update Cabinets on a Budget: Where to Save vs. Splurge
Cabinets are one of the biggest “visual elements” in a kitchen, bathroom, or laundry room. And because of that, replacing them can cost quite a bit of money! But the good news is, there are a lot of ways you can modernize your cabinets without starting from scratch. Some are easy weekend projects, and I won’t lie, some are worth calling in a professional. Keep reading to learn which ones are DIY-friendly and how to update cabinets on a budget!
Note: This post contains affiliate links. I may earn a commission at no extra cost to you. Thanks for supporting my content!
How to Update Cabinets on a Budget: Easy Swaps
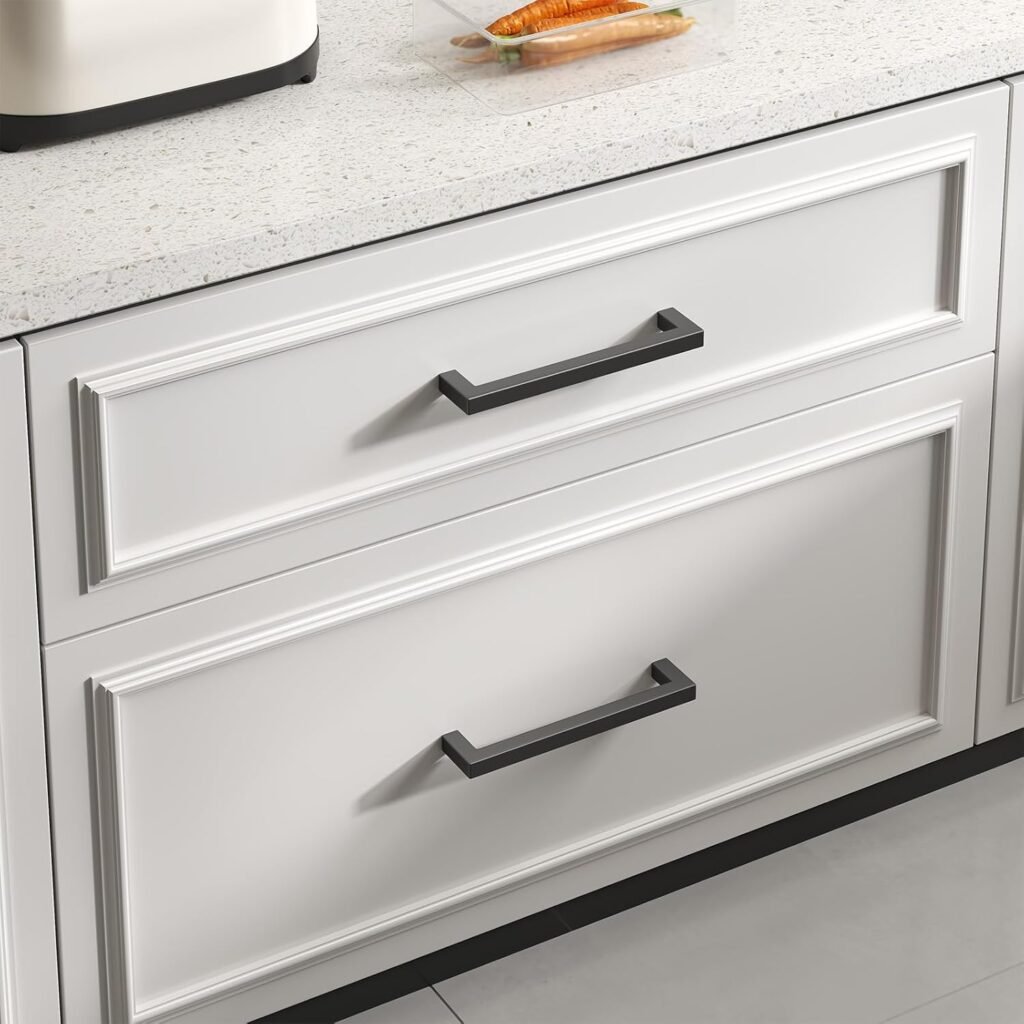
Hardware
If you’re new to DIY updates, this is the perfect place to start! And it’s surprisingly impactful for how small a change it actually is. New pulls and knobs can shift a cabinet from dated to modern. I have a whole post on choosing hardware you’ll love, so be sure to check it out!
Just measure your existing hole spacing before you order. Most pulls are drilled at a standard 3″ or 3.75″ center, but it’s worth confirming before you buy new ones.
Hardware Picks That Work in Just About Any Space
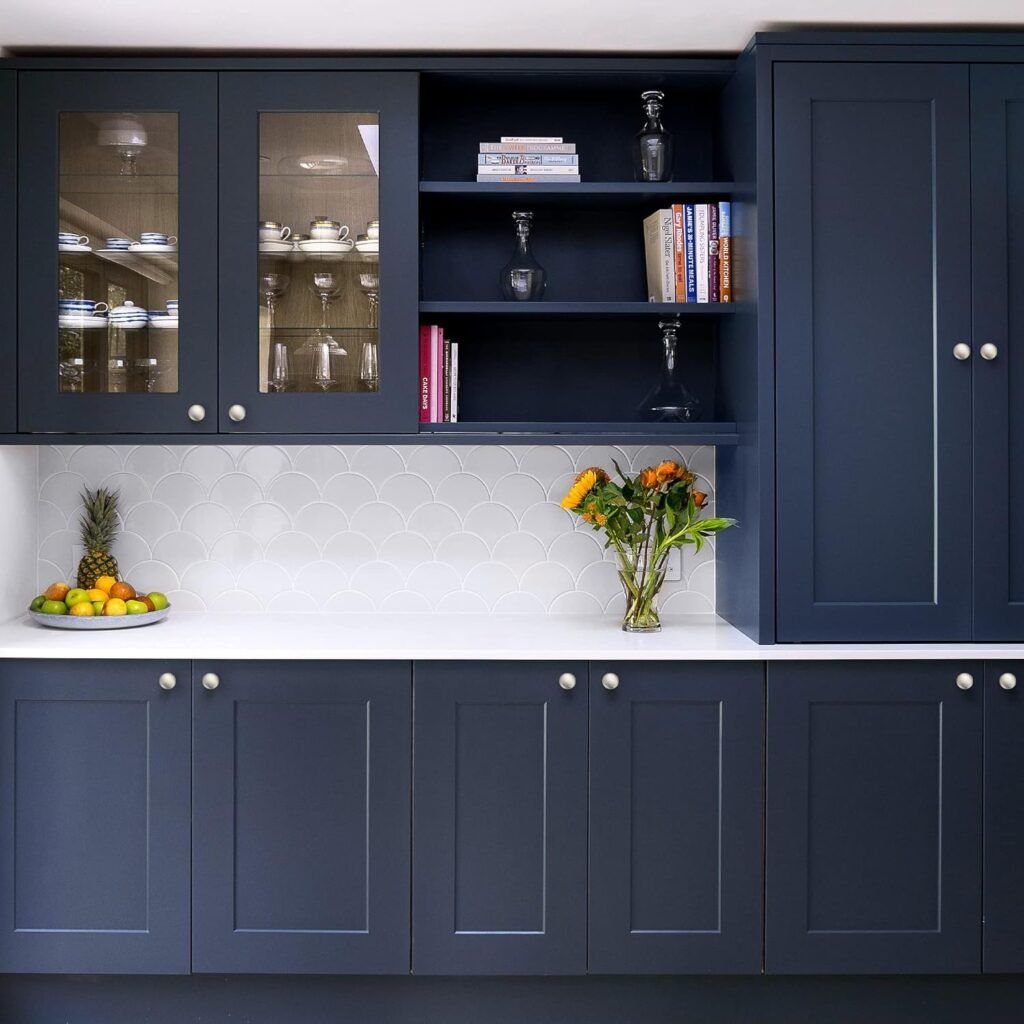
Hinges
You might not notice your hinges on a daily basis, but once you clock how worn or outdated they’ve gotten, it’s hard to unsee it. Switching them out for something new, like matte black, brushed nickel, or whatever fits your style, is a small detail that contributes a lot to that overall “new cabinet” effect.
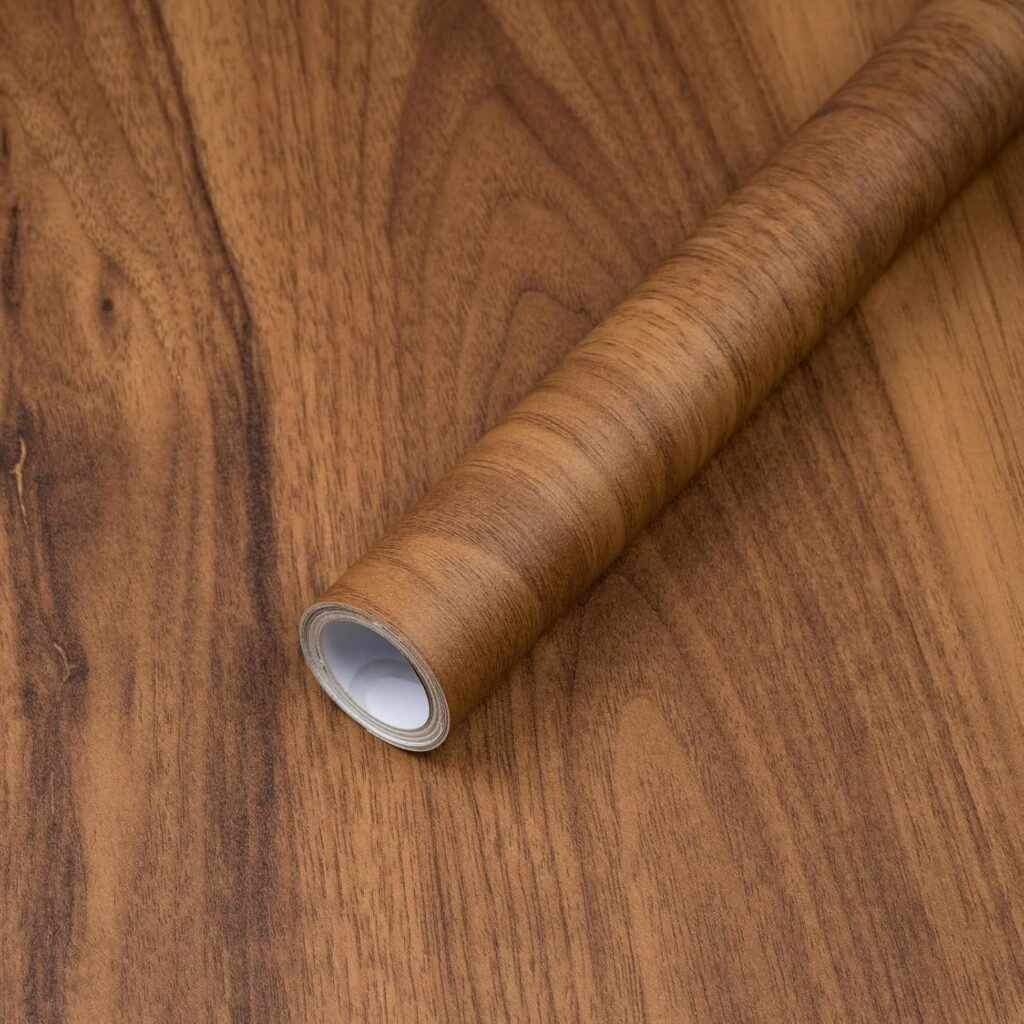
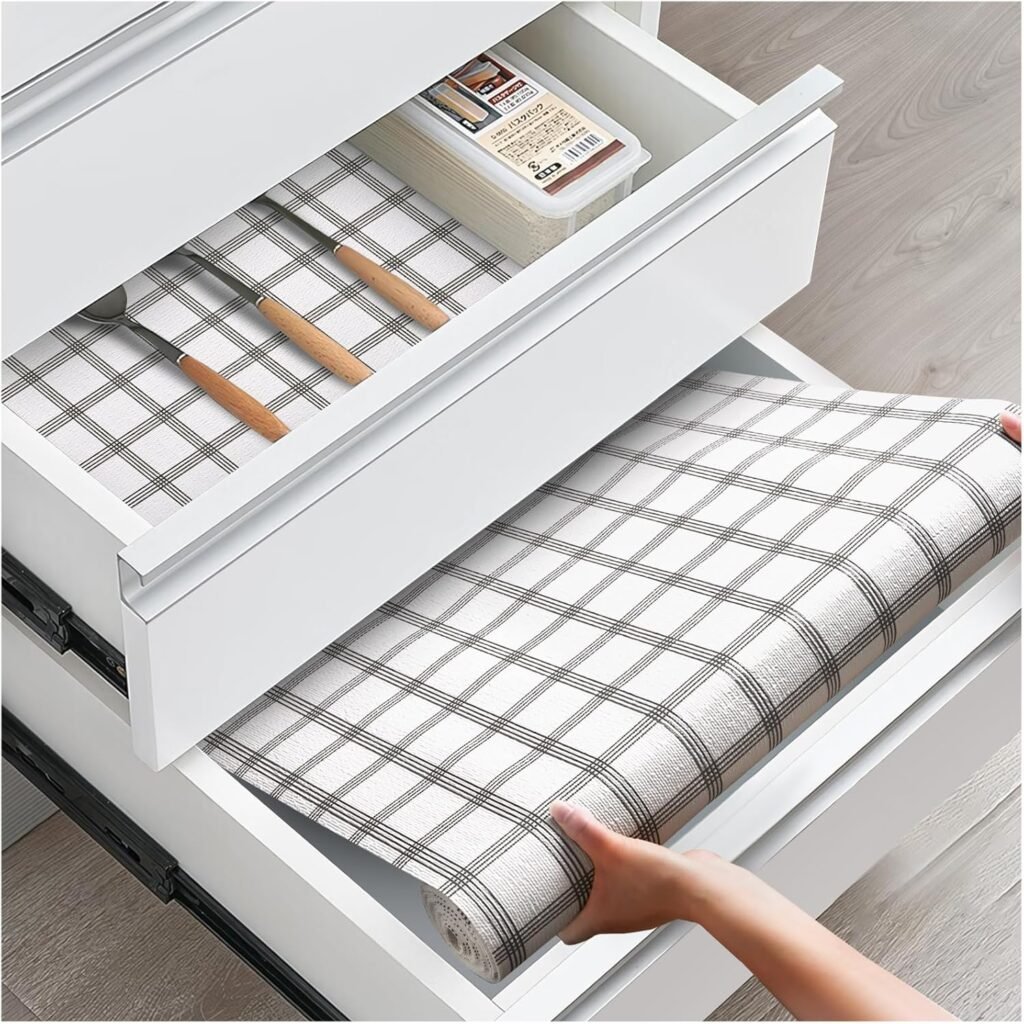
Peel-and-Stick Liner
You already know I love peel-and-stick wallpaper, so it probably won’t surprise you that I think it belongs inside cabinets, too. 😂 Contact paper or peel-and-stick liner protects the interior surfaces and adds a little personality, which is especially nice if you have glass-front doors or open shelving where the inside is visible.
If you already have a liner in your cabinets that’s seen better days, it’s worth removing and replacing. You’re already making the other upgrades, so you might as well commit to the details!
Shelf Liner & Contact Paper Picks

Faux Marble Peel-and-Stick Shelf Liner (Other patterns are available too!)
How to Update Cabinets on a Budget: Medium-Sized Projects
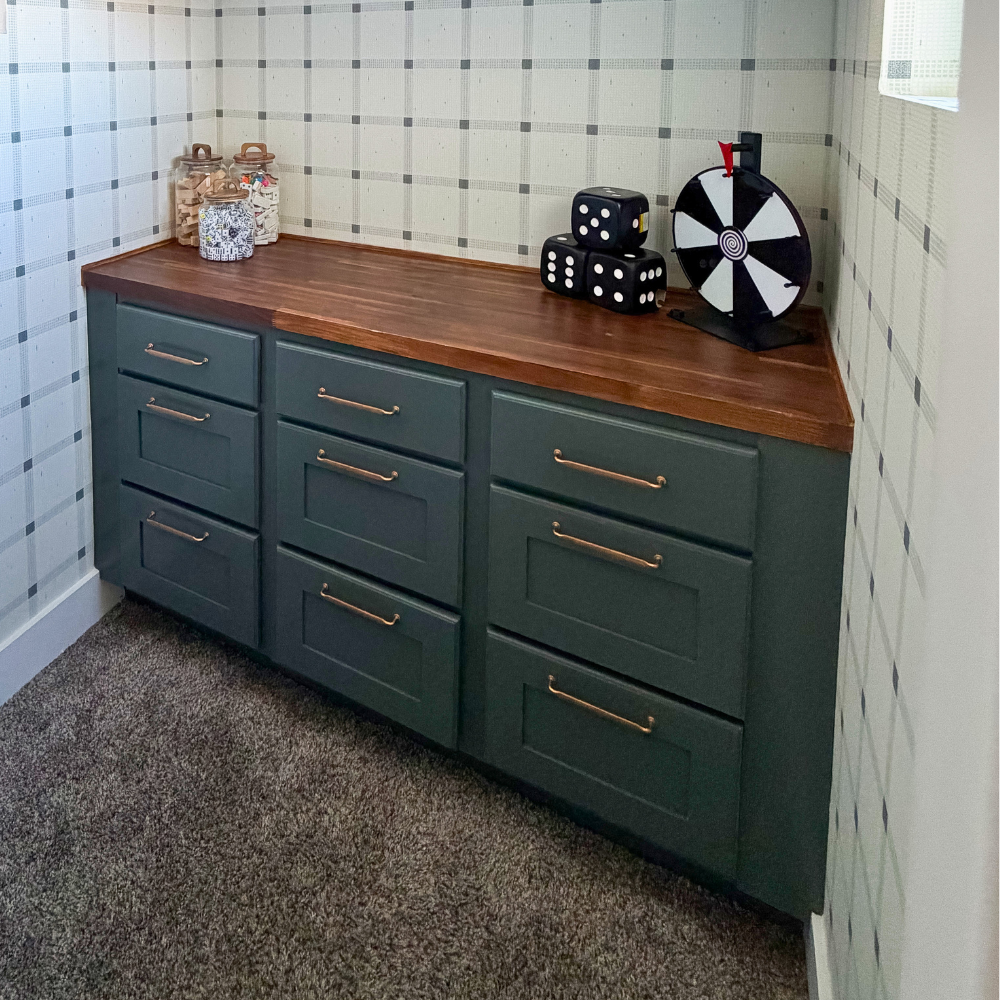
Add or Replace Cabinet Trim
If you’re going for an upgraded look, try adding molding to the front of your cabinets. A flat-face cabinet can look like something out of a custom kitchen with this one change!
Measure and cut trim pieces to fit the face of each door, then attach them with wood glue and clamps (make sure the clamps fit the depth of the cabinet with the trim on!). Let them dry fully before moving on. Fill any gaps with wood filler, sand smooth, and paint. The result looks far more expensive than the materials actually are!
Pro Tip: Paint your trim pieces before attaching them. It’s a lot easier than trying to cut in around them once they’re on the door.
Remove Doors for Open Shelving
This idea can be a bold move in the best way! Plus, it costs next to nothing and changes the entire feel of a space. Removing a few upper cabinet doors instantly makes a kitchen feel more open.
It works best when you’re willing to put a little thought into what’s on display. Styled dishware, matching canisters, or a few plants go a long way.
How to Update Cabinets on a Budget: Bigger Updates
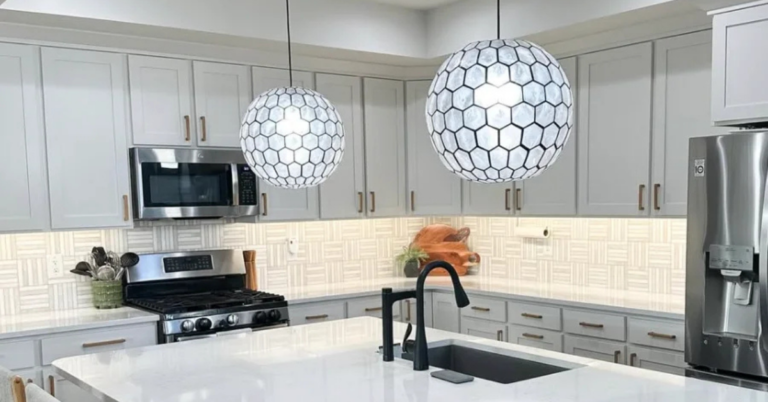
Painting Cabinets
You might be wondering why painting hasn’t shown up on this list yet. And honestly, it’s because this is one update where hiring a professional is usually worth it, especially for a high-visibility space like a kitchen! I’ve painted cabinets myself a few times, but those were in closets and a laundry room (spaces I’m not staring at all day…even though sometimes it feels like I’m in the laundry room a LOT 😅). For the main cabinets in your home, a professional finish is going to look better and hold up longer, and you won’t have to worry about buying equipment, taping everything off, or removing the doors yourself.
That said, if you’re set on doing it yourself, I do have a few tips!
Sand First
Start by lightly sanding all of the cabinet surfaces before priming. This helps the primer grip better, which means the paint holds up better long-term. Once you finish priming, go back over everything with 400-500 grit sandpaper to get the surface really smooth before painting. And don’t forget to wipe off the dust with a clean cloth before moving on!
Paint Sprayer vs. Paint Roller
If you have a paint sprayer, use it. The finish is much smoother than rolling or brushing, though it does require more prep work to protect surrounding surfaces from overspray. Honestly, avoiding the prep work alone is sometimes worth hiring the pros!
If you are using a roller or paintbrush to paint the shelves, sides, or other areas, I like mixing in some of this clear additive to the paint. It helps prevent brush and roller marks and is self-leveling.
What to Do About Drips
And if you end up with drips (it happens!), don’t panic. Wet a piece of 500-grit or higher sandpaper and gently sand the drip until it disappears. In most cases, you won’t need to touch up the paint afterward, but you can add a little if needed.
How to Update Cabinets on a Budget: Don’t Skip the Details
Okay, so you *can* skip these details, but I really love the extra touch they add. When you’re done with the other updates, try adding under-cabinet LED lighting, replacing your existing faucet with a new one to match the hardware, or installing a backsplash (head here for my no-demo, tile-over-tile backsplash tutorial!). The little details make a big difference, and sometimes you don’t know what a space needs until you’re already mid-project.
Not sure where to start?
My advice: begin with hardware, or head to the store and grab some paint chips or samples. Either way, sometimes just seeing the possibilities is enough to get the ball rolling! And you’ll be surprised how quickly a few small changes can make your cabinets feel like a completely different set.