Royal Retreat: Creating a Luxurious Princess Closet
A few years ago, I started a room renovation for my daughter. Soon after I started, I found out I was pregnant and stopped. Now, three years later, I am getting back to that room to give my girls the ultimate bedroom. I decided to start with the closet, because if I did not, I would be too tempted to just skip it. And boy am I glad I started there. Because this tiny little closet has so much love and personality! Who knew a closet would be such an exciting place? Follow along as I build this princess closet, and hopefully, you will get the inspiration to try something like this for yourself!
Princess Closet Step #1: Build a Base and Ikea Pax Units
Whenever I build something like this, and I want it to look built in, I always start by removing the baseboards where the units will go and then building a base for the cabinets to go on. This will raise them to allow you to install baseboards, giving the “built-in look”. The size of your space, ceiling, cabinets, and baseboards will determine how big and tall you need to build the base. I built a 1-1/2 inch tall base.
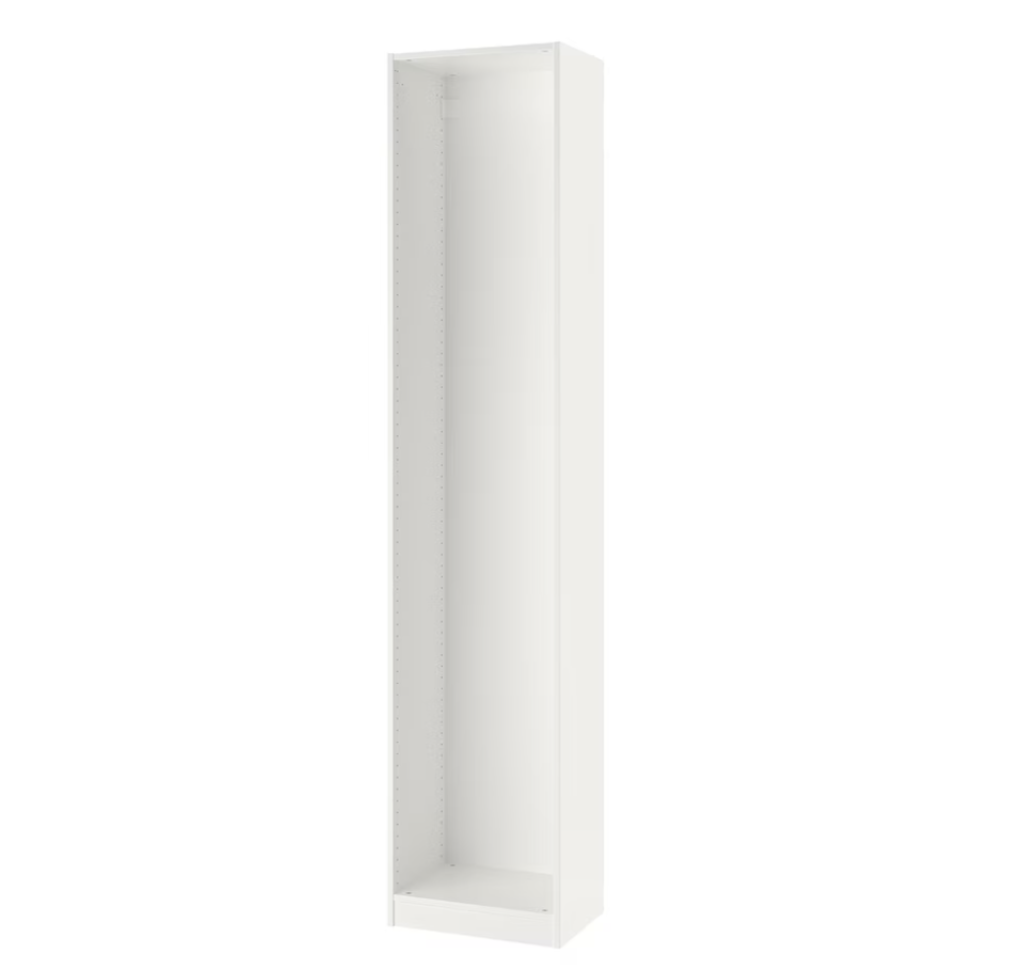
I got three Ikea Pax Units for the closet. You could build them from scratch, but I decided to go this route to save money and time. If you want to build them, you can follow the tutorial I did for the original mudroom lockers. You can view that HERE.
Anyway, I assembled the three units and positioned them on the base I had built.
Step #2: Secure the Units and Add Shelves and Drawers
Once the units were all in place, I secured them to the walls and each other. I screwed them to the studs on the side and back walls and I screwed them to each other. I added a piece of wood at the top so that I could secure it to the ceiling.
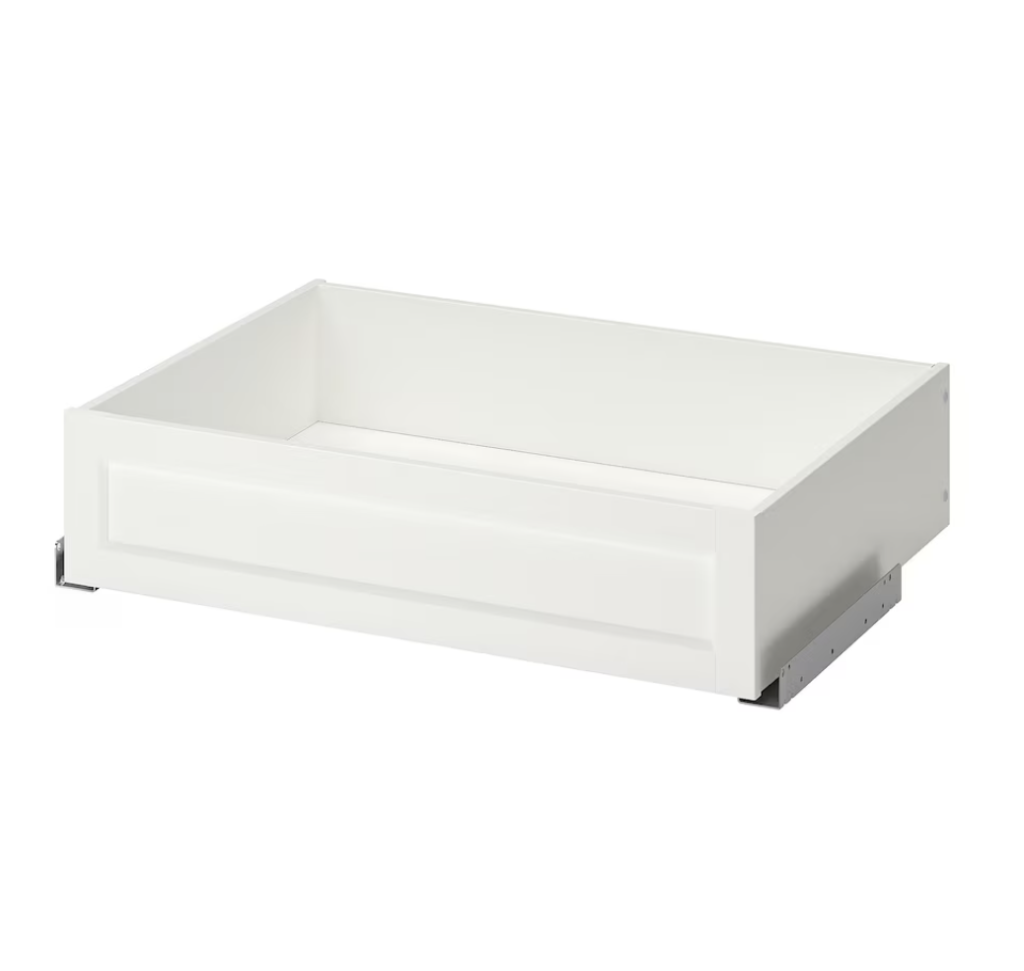
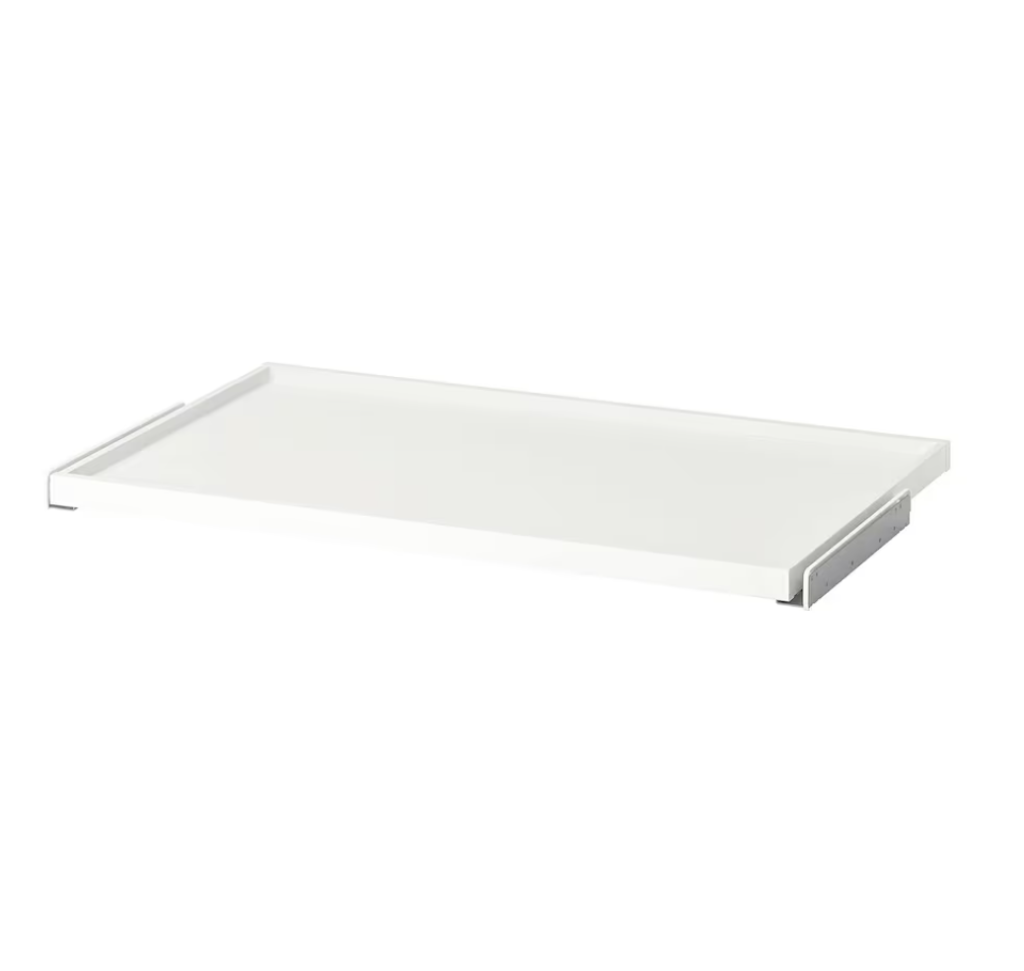
It is now time to add the shelves and drawers. This is what I did, but you do what works best for your space. I made eight drawers on each of the two outside cabinets and five shoe slide-out shelves on the middle cabinet. I bought them all from IKEA, assembled them, and installed them according to the instructions. Which, if you have seen IKEA instructions, were hardly instructions. Haha!
I then added one shelf on each unit towards the top for boxes, and one above the drawers on the two sides.
Step #3: Trim it All Out
Now, we are ready to trim everything. You will need to use a trim that fits your space. I used 1×2 trim for between the units and the wall, to the face of the units where they meet, and the fronts of the five pull-out shelves. For the space at the top of the units, I used 1×5, and for the baseboards, I used 1×6. I also added a nicer face frame to the drawer fronts to give them a more substantial look.
Step #4: Finish Work
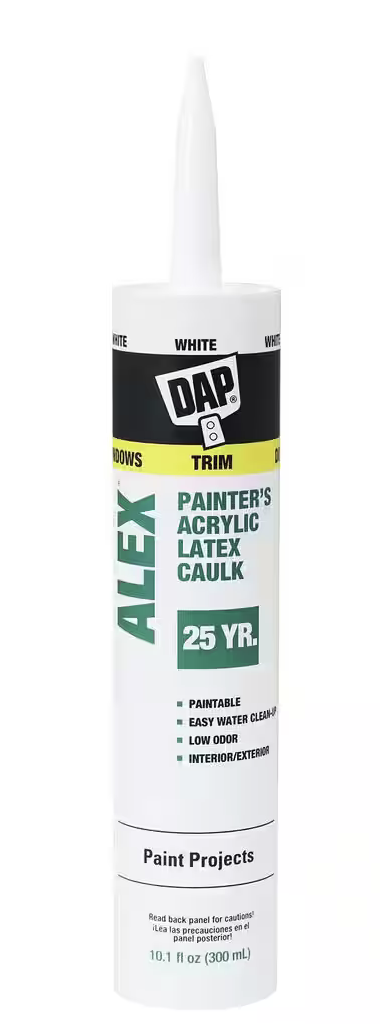
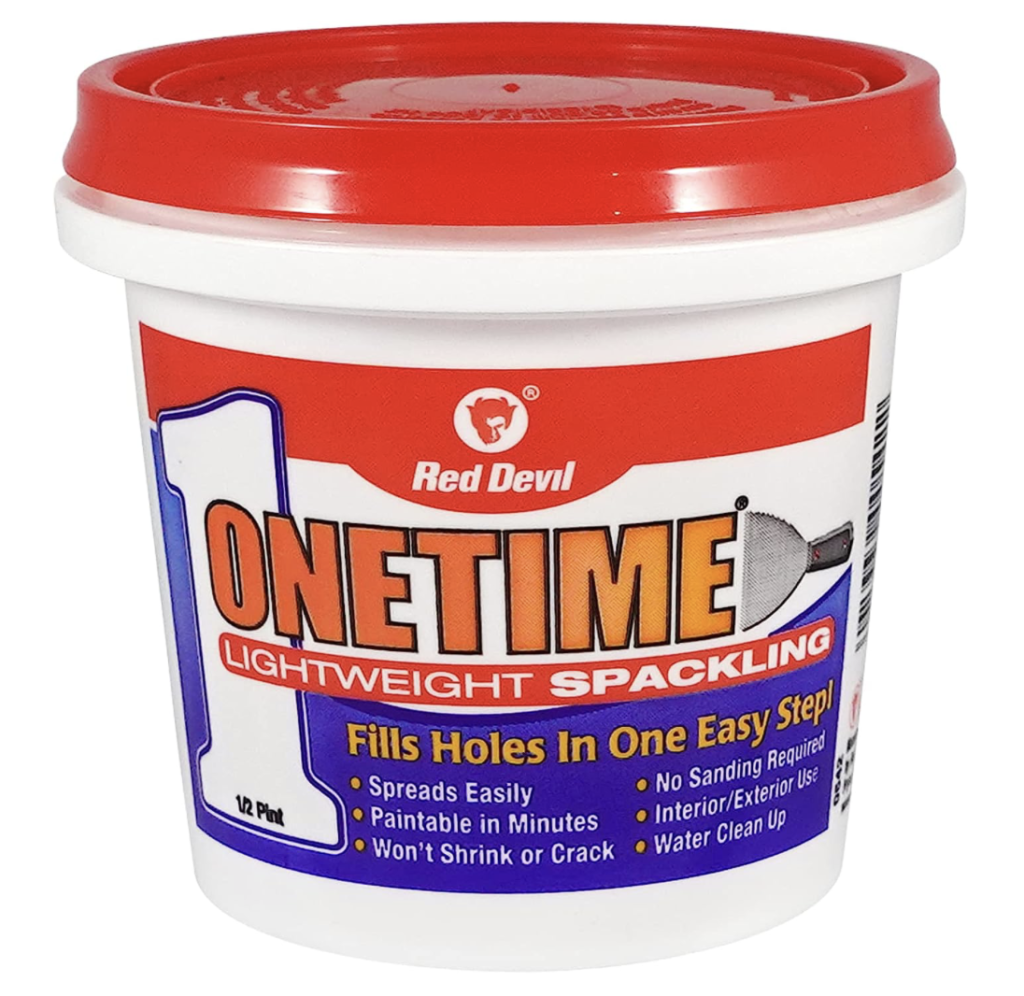
Time to do the tedious work. Caulk all the seams, and wood fill all the holes. The IKEA units come with all the little holes for you to install shelves with. I like to fill those all in. I use THIS spackle. It is easy to apply and you can wipe it off with a wipe or wet rag instead of sanding it.
This step is tedious and kinda takes a while, but it is what takes your project from meh to WOW! So don’t skip it!
Step #5: Primer and Paint
You know how IKEA units have that glossy, plasticy feel? If you just use any old primer on that (or worse, no primer), the paint will just peel off! Always use an oil-based or shellac primer. THIS is my favorite primer.
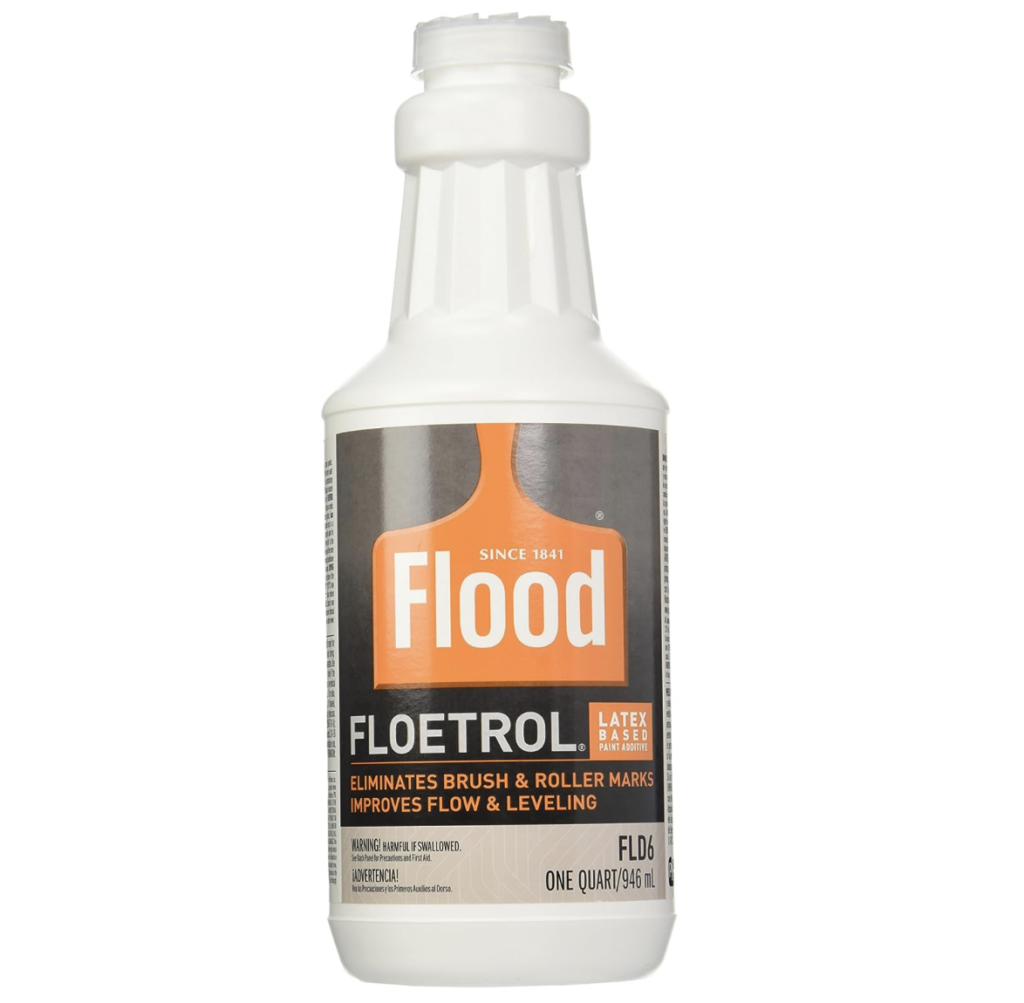
Before painting it, I added THIS to the paint and mixed it in. It helps to not have brush and roller marks, and is self-leveling. I then used a foam roller to paint everything: the shelves, drawer fronts, sides, etc. It all needed two coats.
Step #6: All the Extras
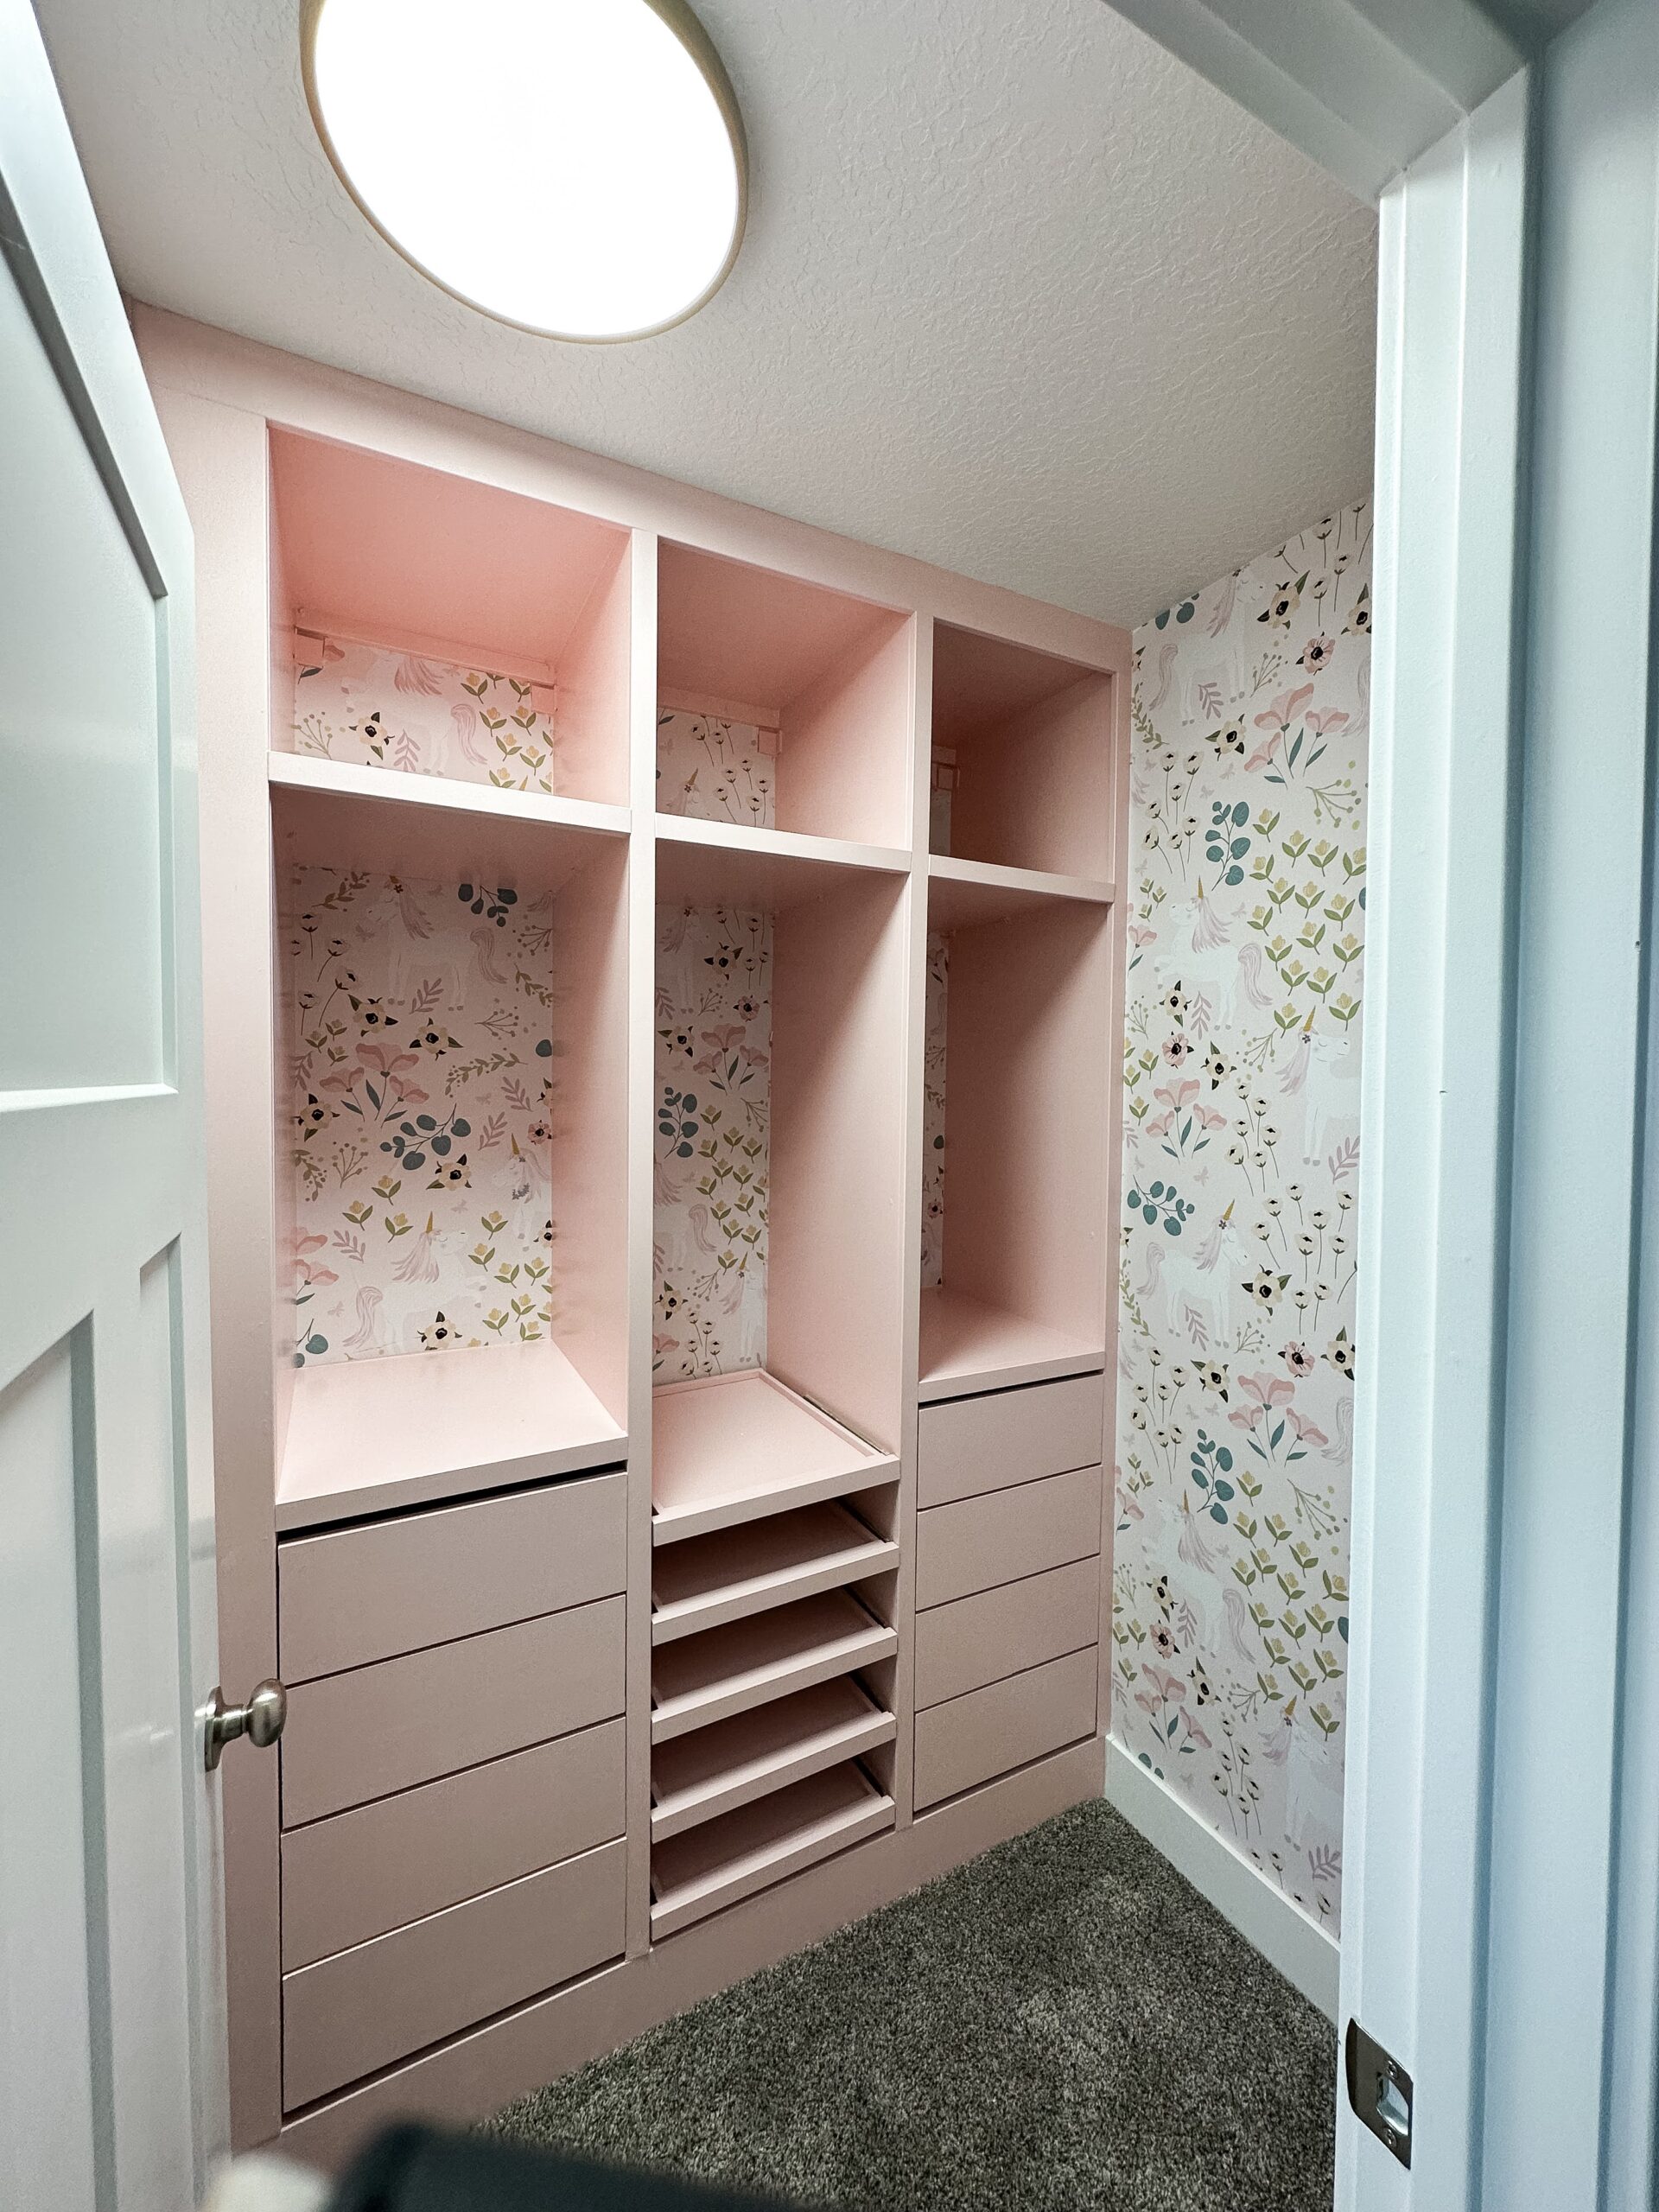
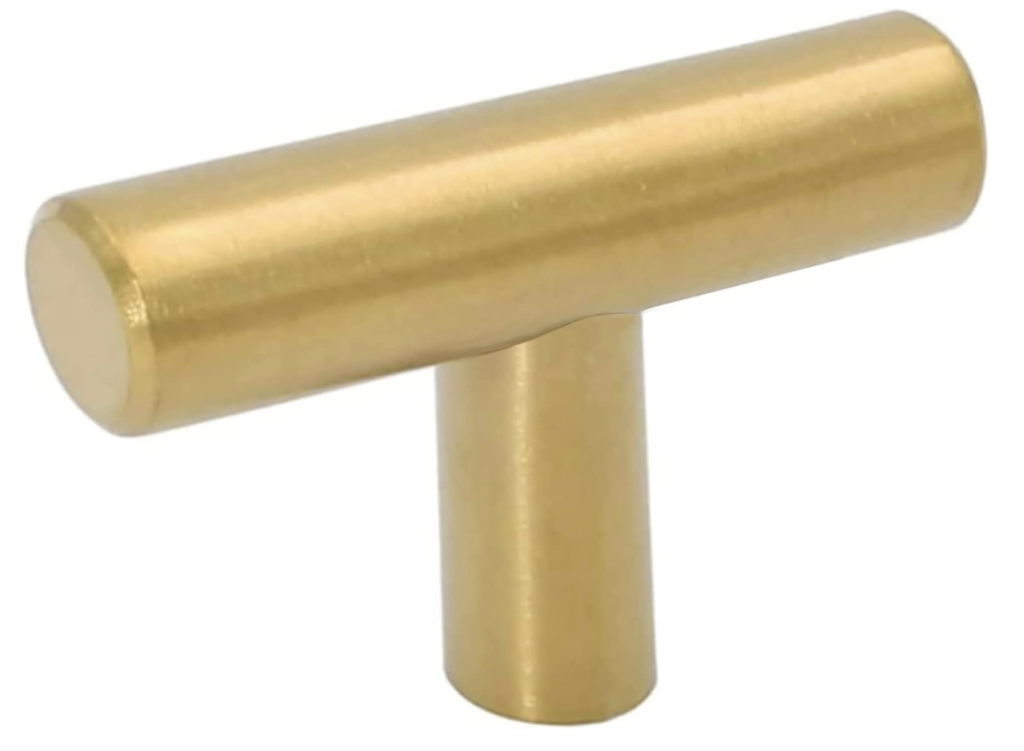
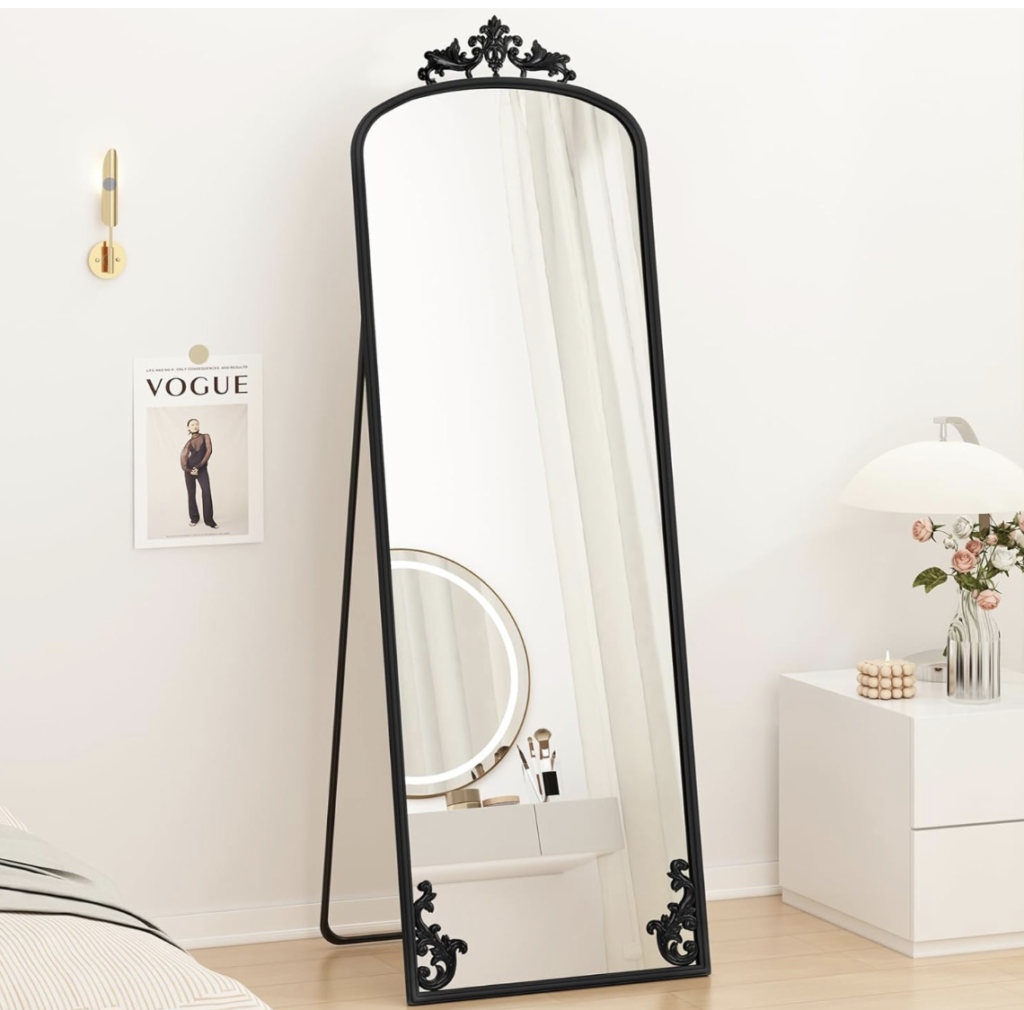
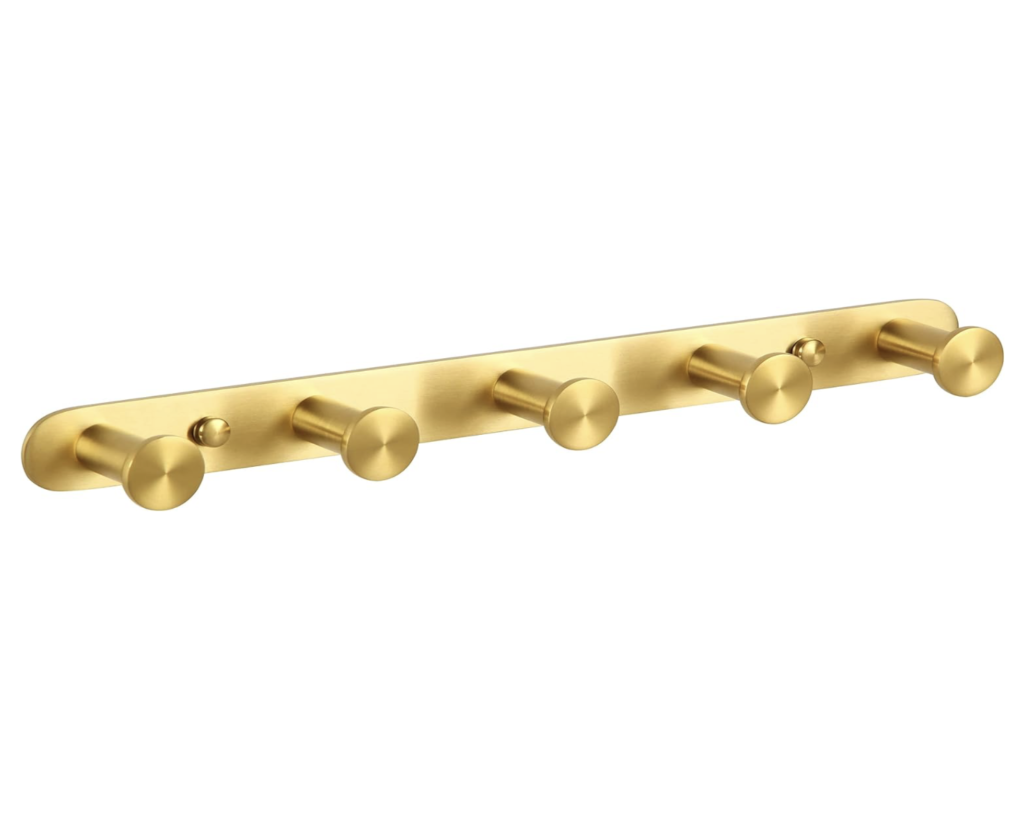
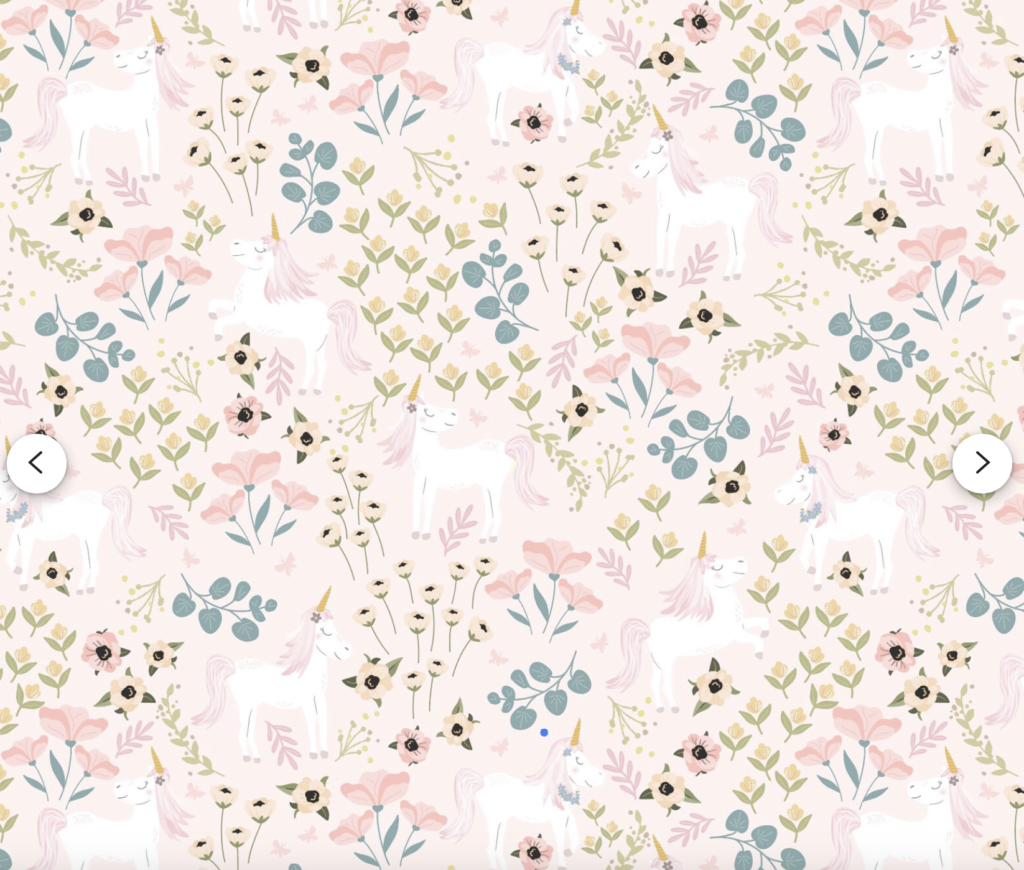
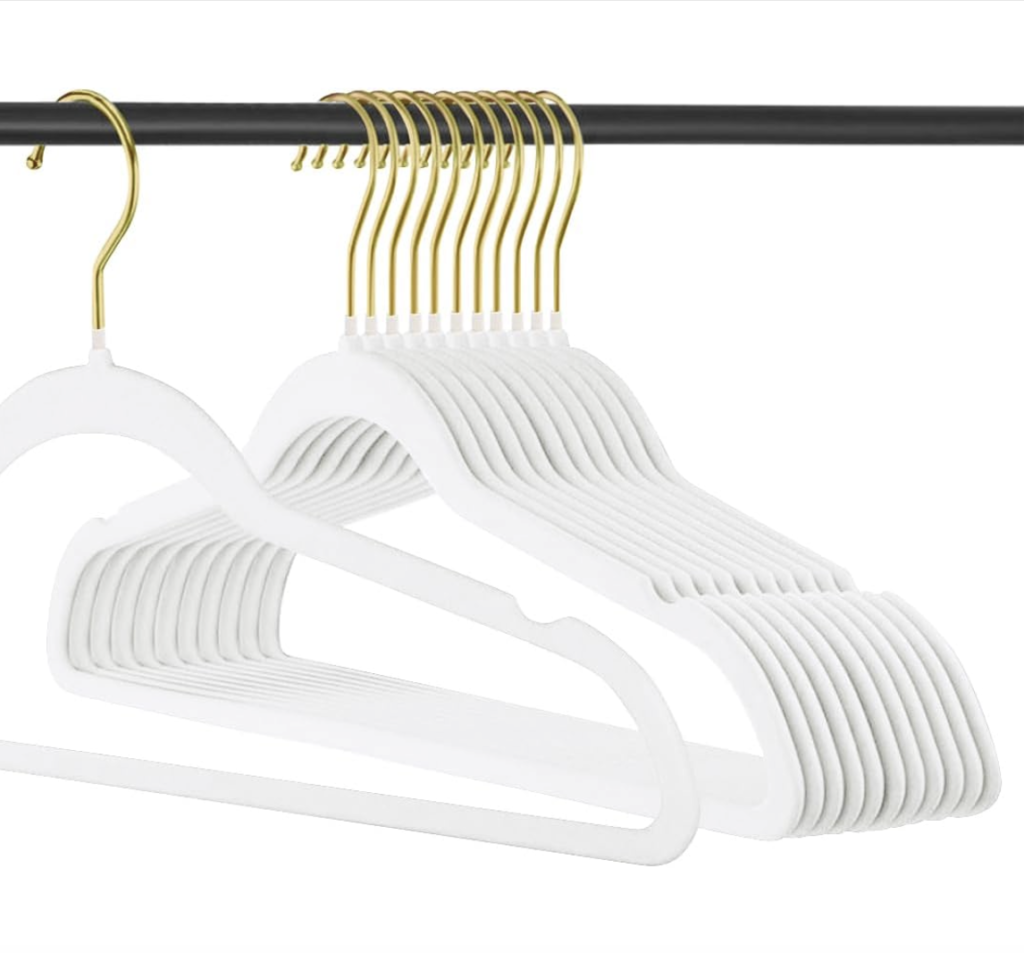
Time to wrap this project up! I started by installing this darling wallpaper on the other walls in the closet and the backs of the units. It was the most magical wallpaper and really took the closet to the next level! I got THIS mirror and hung it, and finished it with a few other touches, like drawer pulls, matching hangers, a new light fixture, and clothing rods. Lastly, I also touched up the paint on the baseboards and added a few other decor pieces.
Finally, my project was complete! I absolutely love the way it turned out, and my girls do too! Check out the links below for all the supplies and tools I used on this project!
Links to everything I used in the Princess Closet are below!


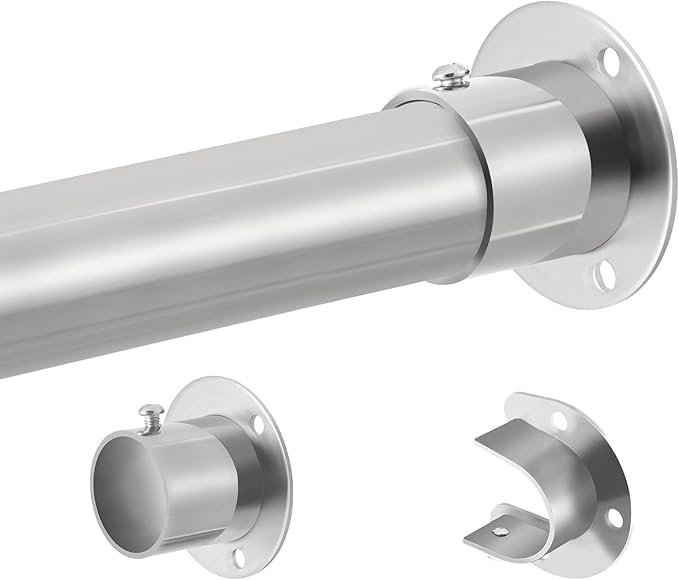
Clothing Rods (The ones I used are sold out, but I linked some that are similar!)
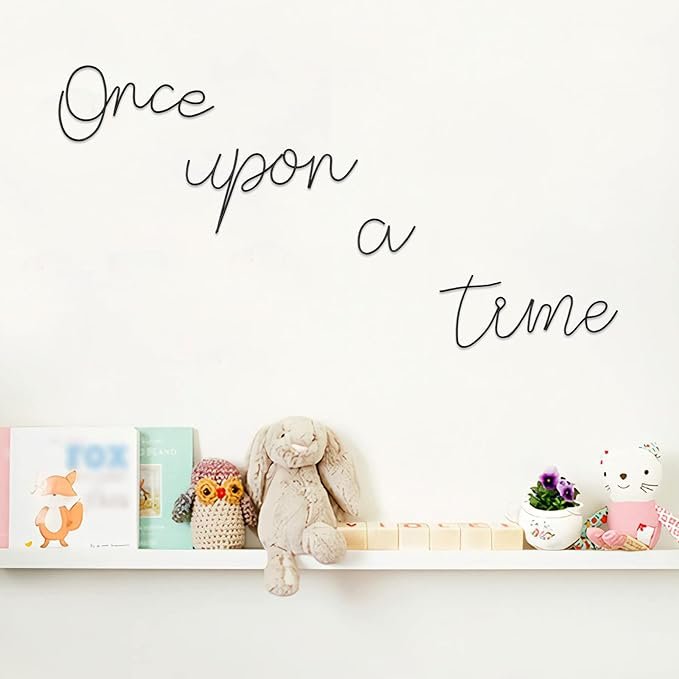
Once Upon a Time Sign (The sign I used is sold out, but I linked a similar option!)


PRINCESS CLOSET TOOLS

Check out the most precious video of the final reveal of the space and my girls enjoying and exploring their new PRINCESS CLOSET!
Follow along for more DIYs and fun at…


One Comment