IKEA Furniture Hacks: Budget DIYs that Look High-End
When it comes to saving money and time on cabinets, IKEA is the GOAT. I’ve used their products in closets, transformed them into built-in dressers, and even created custom mudroom lockers. With so many ways to transform a basic IKEA cabinet into a high-end piece, I’ve decided to round up my favorite projects and top tips into one post. These IKEA furniture hacks are budget and beginner-friendly, and proof that you don’t need to be a pro to get a custom furniture look!
Note: This post contains affiliate links. I may earn a commission at no extra cost to you. Thanks for supporting my content! 🙂
IKEA Furniture Hack #1: Creating Custom Closets
There’s some variation of the IKEA Pax line in nearly every closet in my house! I’ve used them to create the walk-in primary closet of my dreams, an outer-space themed organization system for my boys, and a princess-worthy wardrobe for my girls. I even added a Pax storage frame in my pantry (the pantry is technically a closet, right?) to house my broom, mop, and other cleaning supplies.
These Pax units are so easily customizable to any space. I’ve painted all of them, and the finish has held up great over the years! Some more of my favorite ways to tailor the IKEA Pax system to your style: installing wallpaper on the inside, attaching wood drawer fronts to give them a truly custom feel, adding hardware, and finishing the edges with trim for a built-in look. I go into detail on how to add these extra touches in each of my closet project blog posts!
- DIY Master Closet Makeover Using IKEA Wardrobe Units
- Mission Organization: Space-Themed Closet
- Royal Retreat: Creating a Custom Princess Closet
- From Chaos to Calm: A Jaw-Dropping Pantry Makeover
Another must-do when it comes to IKEA furniture hacks: filling in the holes with spackle. Yes, it’s an extra step, but it makes everything look so much nicer! And when you use this kind, you don’t have to sand afterward.
IKEA Furniture Hack #2: Creating Built-Ins from Dressers
Building built-ins from scratch is both time-consuming and labor-intensive. (Trust me, I’m still recovering from my office built-ins.) But using IKEA dressers makes the process so much smoother!
In my kids’ art closet, I used two RAST 3-drawer dressers to build a functional and beautiful art supply cupboard. One important step when installing built-ins is to always remove the baseboards in that area. If you don’t, the units will stick out slightly and ruin that flush, seamless look you’re going for.
Another top tip for getting a true built-in look is adding baseboards to the front of your dressers. To do this, you’ll likely need to raise the dressers on a platform so the baseboard doesn’t block the drawers from opening. You can get my full step-by-step tutorial on that process here!
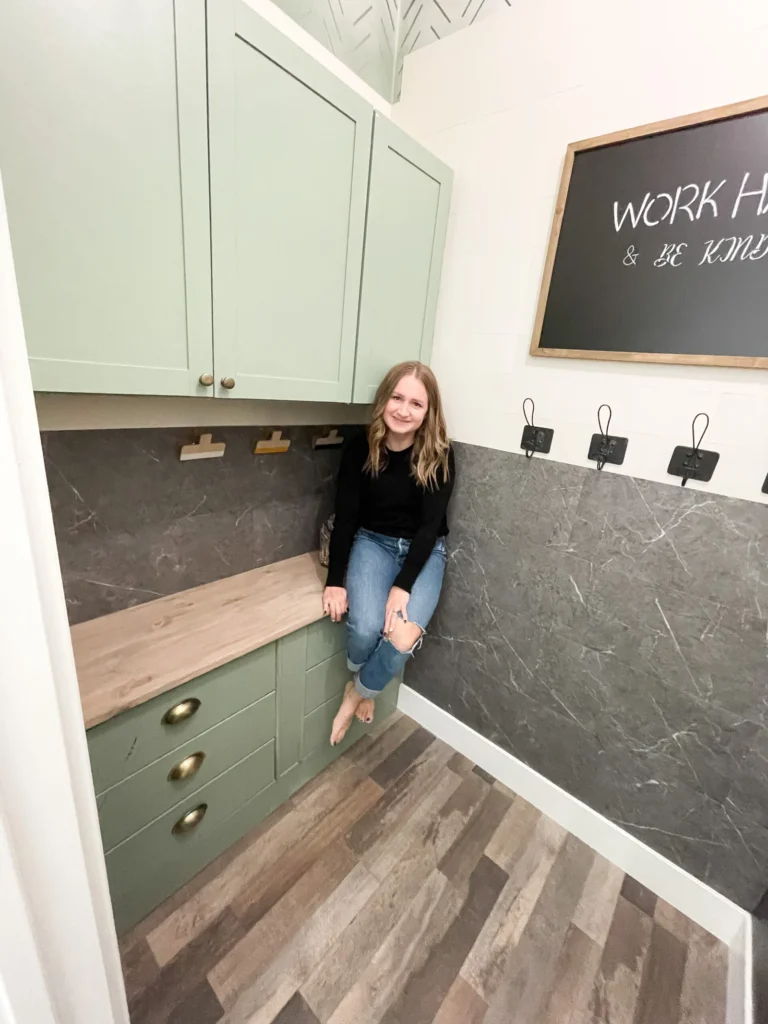
IKEA Furniture Hack #3: Updating Mudroom Lockers
One thing I’ve learned from my time DIYing: it’s okay to outgrow projects you once loved. That’s what happened with my original mudroom lockers. After a few years, my family’s needs changed, so I updated the space with closed-door lockers that better fit our latest chapter (and my home’s current style).
I went back to my trusty IKEA Pax line for this project. Their variety of sizes makes it easy to find a cabinet that works in almost any space. I used many of the same tricks from my closet and built-in projects: creating a base, adding trim, caulking where two boards meet, and painting everything for a polished, custom look. I also added doors to hide the inevitable mess and installed handles for easy access.
Your turn!
Have you ever upcycled IKEA furniture in your home? I’d love to hear your favorite IKEA hack. Share it in the comments below! And don’t forget to follow along on Instagram for more affordable DIY projects!