Your Budget-Friendly Porch Makeover Guide
Curb appeal is about how your home looks from the street, but your porch is the first real glimpse of personality. It’s the space that sets the tone before anyone even steps inside, and depending on where you live, it’s a place you spend time in throughout the year. I love decorating mine for different seasons and holidays, and while this post covers that, it goes beyond seasonal decor. This is about creating an entrance that feels warm and intentional, without spending a lot to get there. Here are my tips and tricks for a budget-friendly porch makeover!
Note: This post contains affiliate links. I may earn a commission at no extra cost to you. Thanks for supporting my content!
Porch Makeover Tip #1: Clean It Up
There’s only so much a new welcome mat can do when the porch is covered in leaves and dust. Before you get started creating the porch of your dreams, take some time to tidy things up. Power-wash the concrete (I use this one all the time!), clear the cobwebs from ceiling corners, wipe down the front door, and clean the front porch windows. You’ll see an immediate difference, and it’s always nice to have a fresh start!
Porch Makeover Tip #2: Add a Fresh Coat of Paint
Painting your front door is one of the highest-impact/lowest-cost changes you can make to your porch. Our front door has lived a couple of different lives, including when it was purple (which my girls loved) and most recently, when I added gel stain to make a faux wood door. Whatever paint route you choose, my advice is to pick a color that won’t clash with seasonal decor (we’ll talk about that more in a minute!) in a formulation that will hold up outside. Exterior, multi-surface acrylic, or urethane paint are the way to go!
A couple of notes:
- You’ll want to paint on a surface that’s as smooth as possible, so after wiping off the door, use Bondo to fill any holes, then sand it down.
- I have a whole blog post about painting doors, including tools that make it so much easier, like a painter’s tape dispenser, liquid masking tape, and a foam roller, so if that’s a project on your list, definitely check it out!
Porch Makeover Tip #3: Roll Out the Welcome Mat
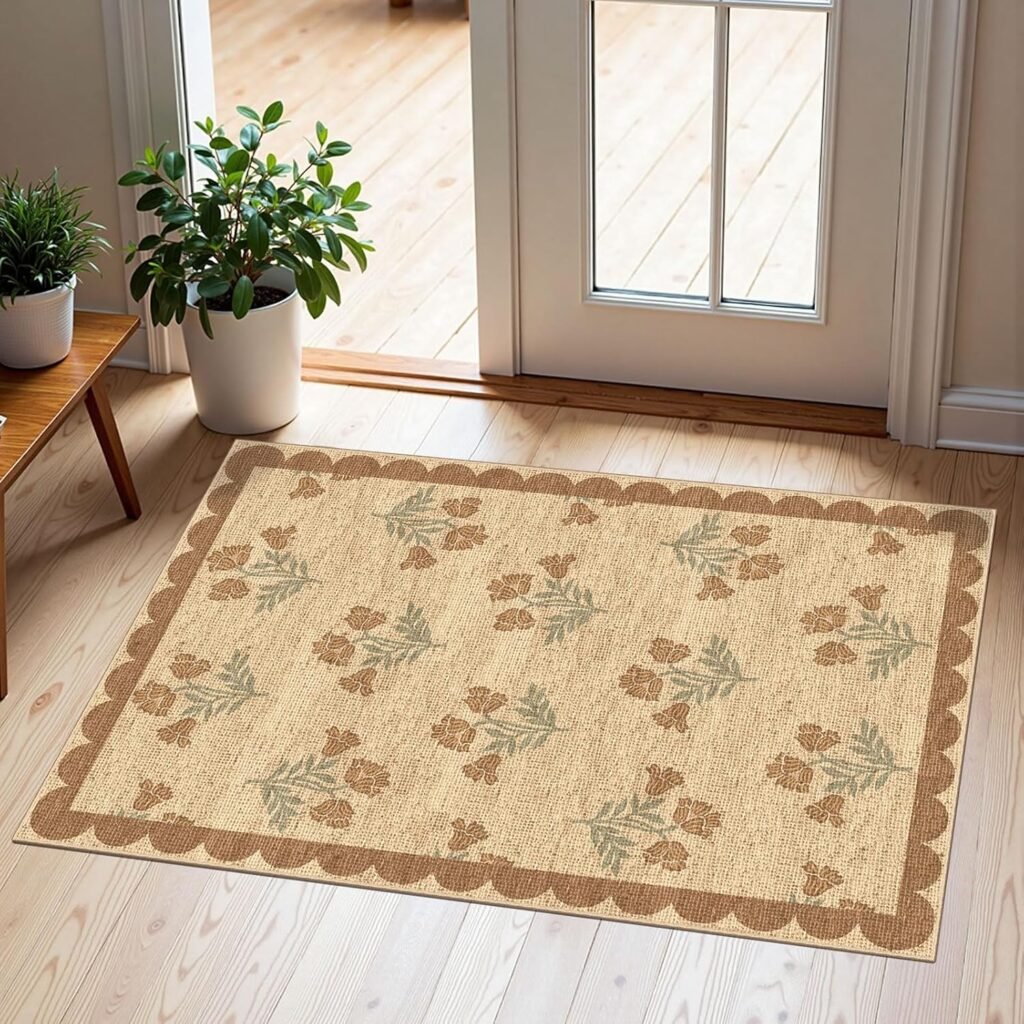
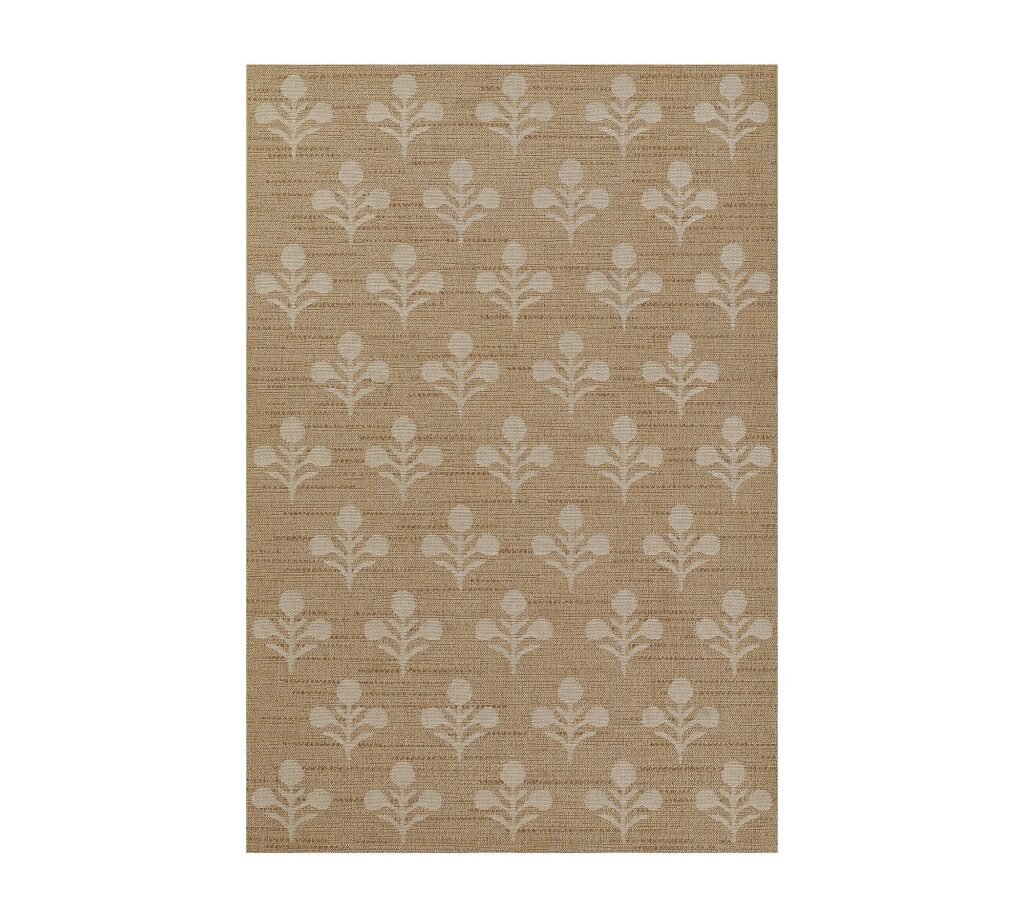
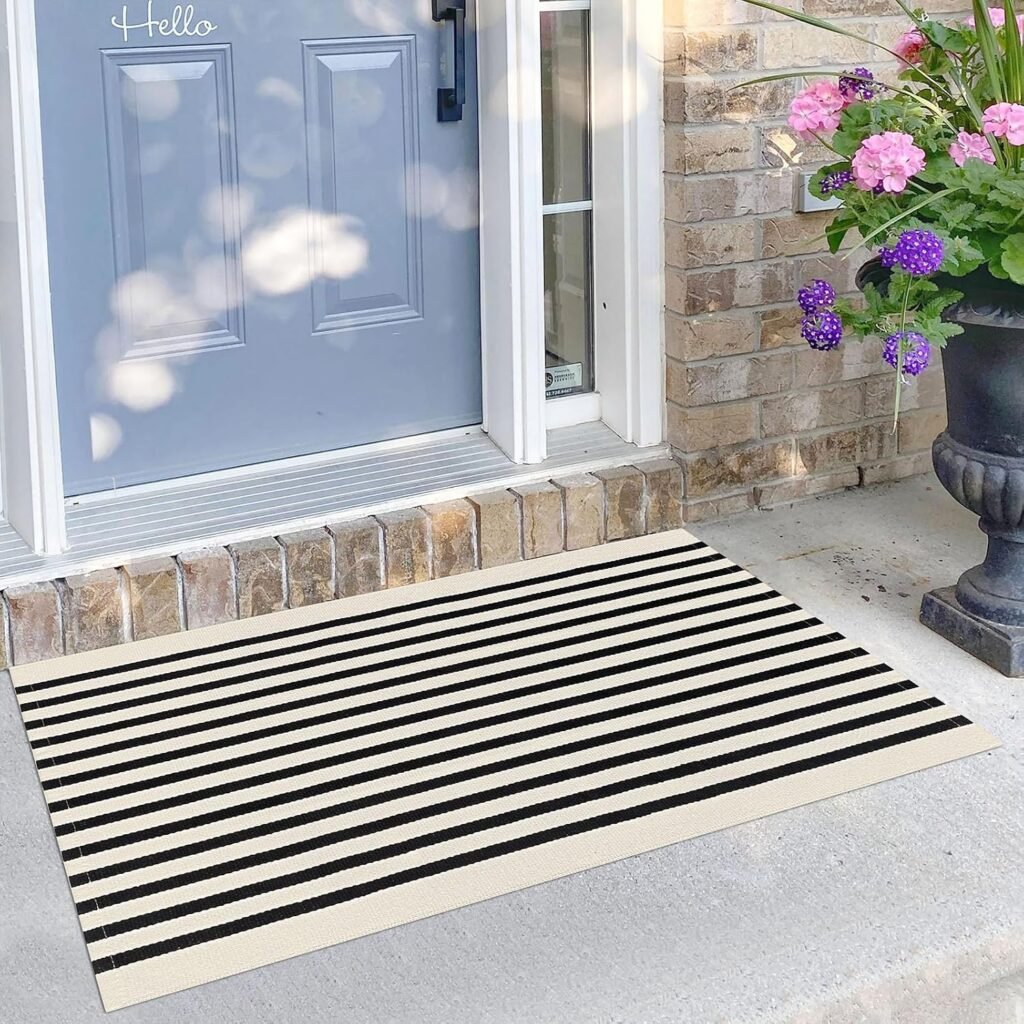
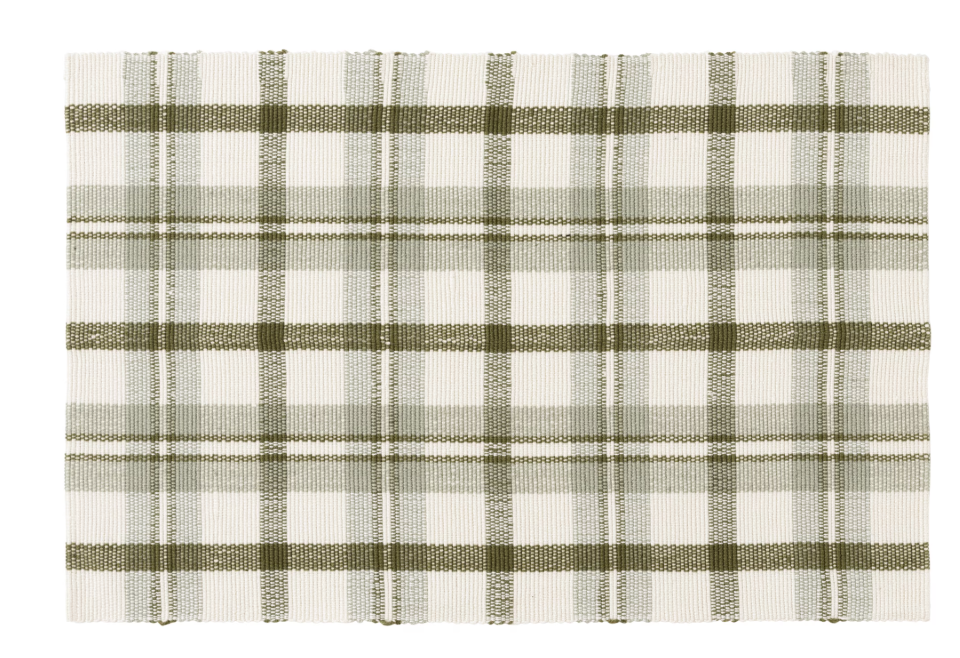
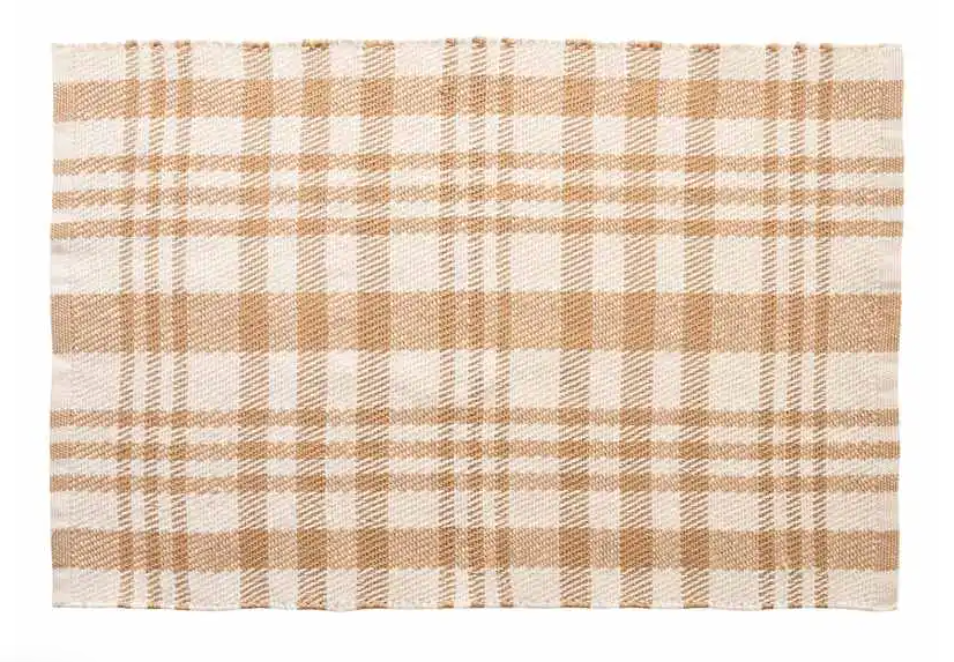
If your welcome mat has seen better days, consider this your sign to replace it. Making your own is surprisingly easy, but if you’d rather order one, I’ve linked some of my favorites below.

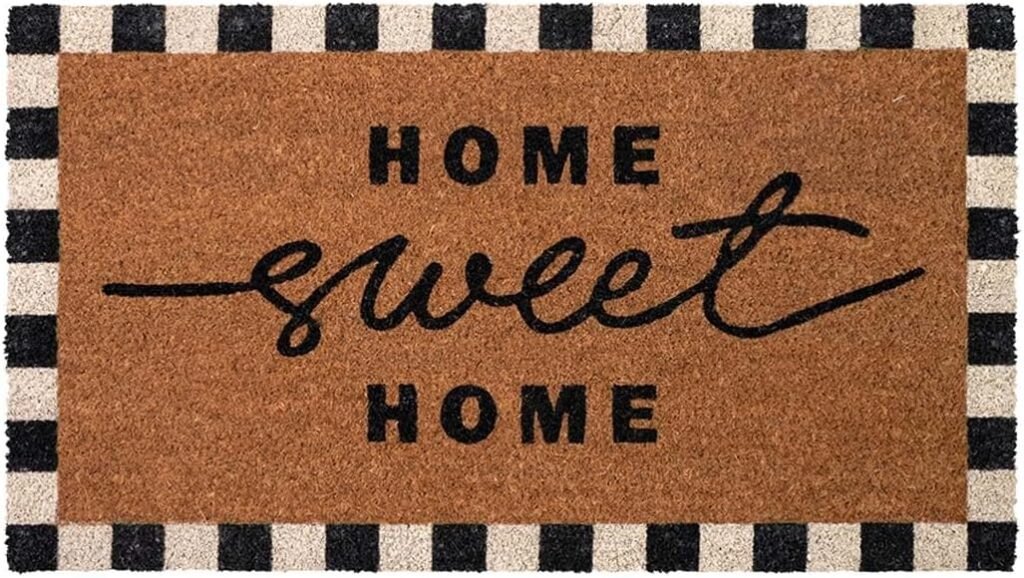


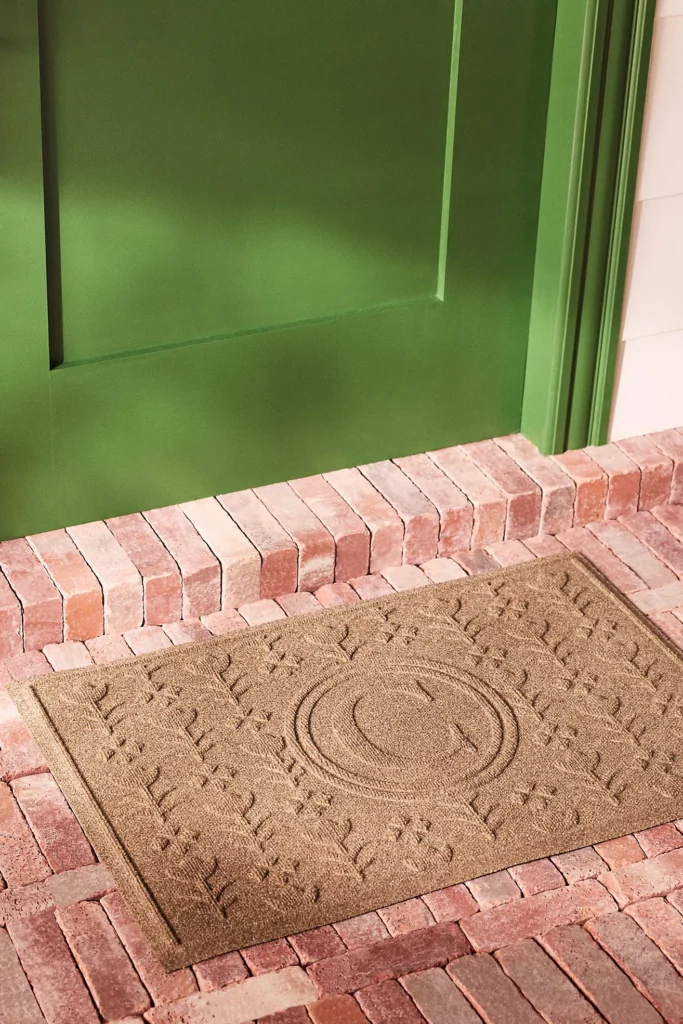
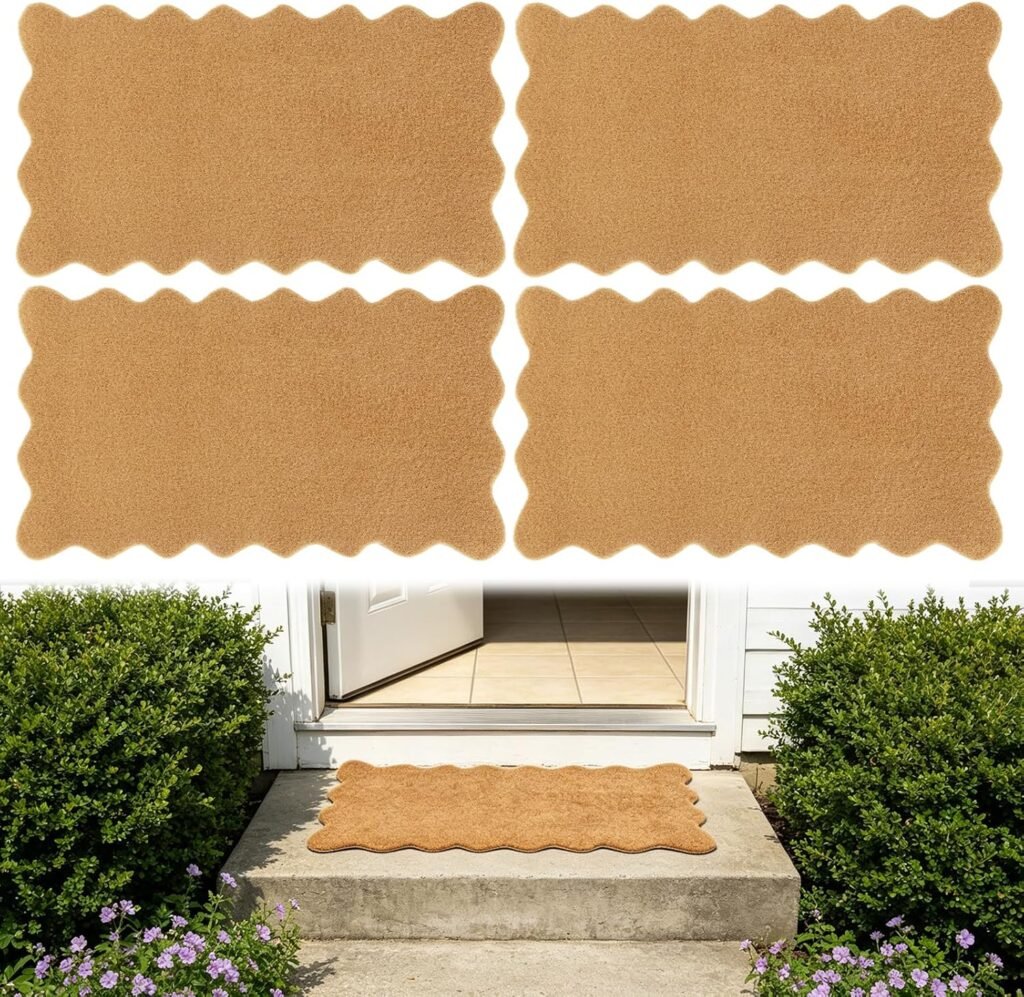
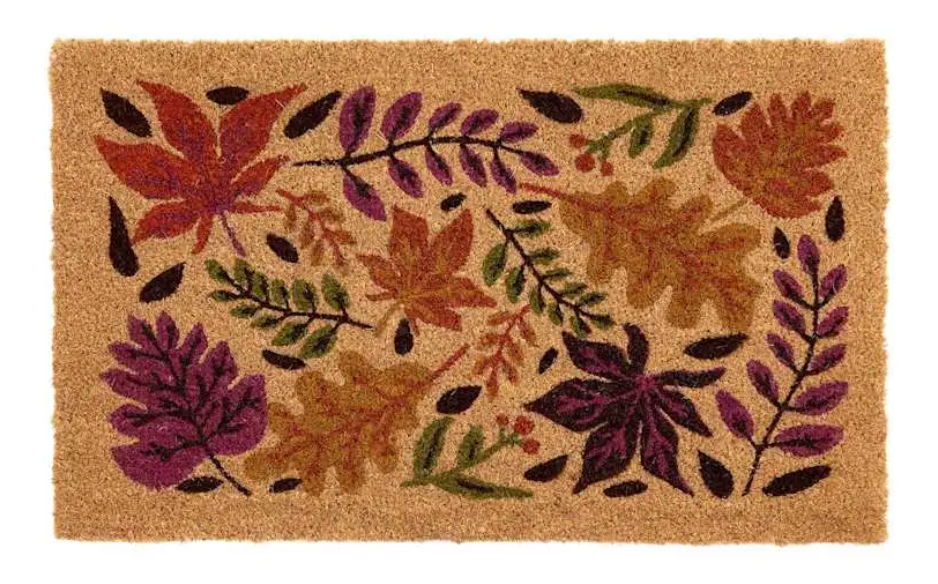
I’m also a big fan of layering mats. They add texture and warmth to the porch in a way a single mat just doesn’t. A good neutral base mat works year-round, and you can swap in a smaller holiday or seasonal rug on top without replacing the whole thing to keep it on-budget.

Porch Makeover Tip #4: Say It With a Sign
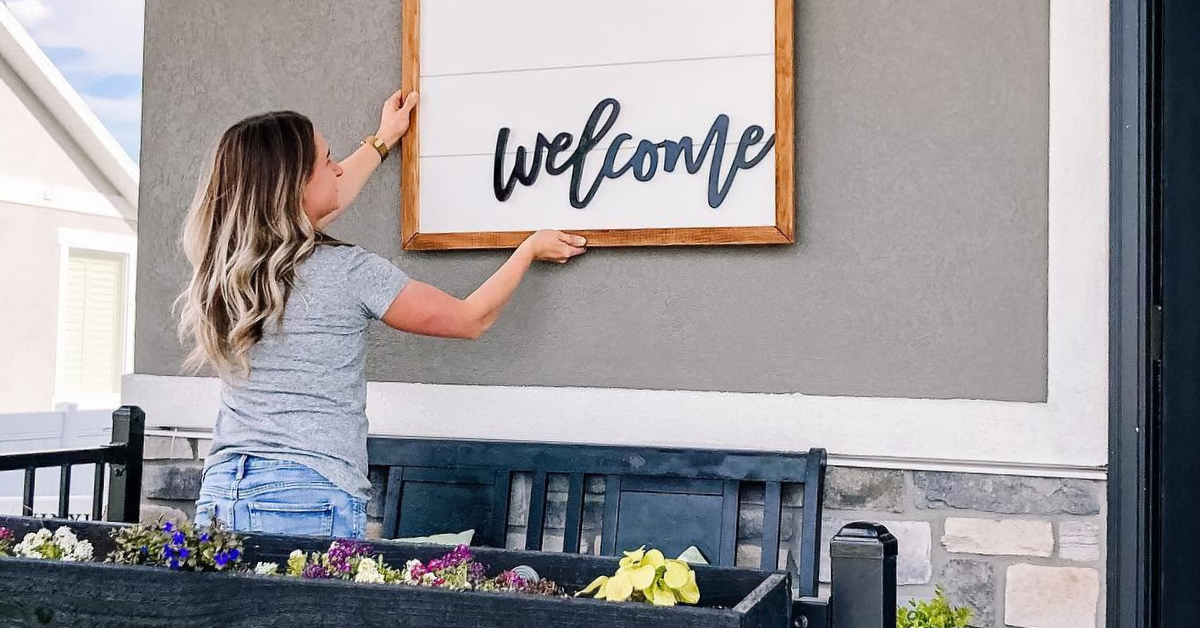
Porch signs are a fun way to add some DIY character to your entrance, and the best part is that one wood base can take you through each season with just a few swaps. Here’s how:
- Start with a wood board or plank. If it’s not already stained or painted, go ahead and do that first. If you’d rather build something completely custom, follow the building instructions in this post!
Then choose your method for making it seasonal:
- Apply magnetic paint to the board before your top coat of paint or stain. Once it’s dry, you can use festive magnetic decorations, or hot glue small magnets to the back of wood letters to spell out whatever message fits the season. This works best with lightweight letters and decorations.
- One note: I couldn’t find any magnetic paint that wasn’t dark gray or black, so that will be a limitation with colors if you go this route.
- Vinyl lettering is a great option if you have a Cricut. For this method, paint the board a solid color rather than staining it (vinyl sticks best to a smooth, painted surface ). Cut your seasonal words or phrases, apply them to the board, and when the season changes, peel the vinyl off cleanly. It won’t damage the paint underneath, so the same board works over and over!
- Add a small ledge along the bottom of the sign where wood letters can sit and be swapped out. Make the ledge deep enough that the letters slot securely into it rather than just resting on top; that way they’ll be more secure against wind. If you want a little extra hold, try adding some hook and loop tape!
Porch Makeover Tip #5: Find the Perfect Lighting
Lighting can make or break a space, and your porch is no exception. If the budget allows, a new light fixture is one of the more impactful updates you can make. And if electrical work isn’t in your DIY comfort zone, this is one worth hiring out!
If new fixtures aren’t in the budget right now, there’s still plenty you can do. Wiping down existing fixtures, replacing burnt-out bulbs, and switching to a different bulb tone costs very little and makes a noticeable difference. Generally, warm-toned bulbs create a cozier, more inviting feel while cool-toned bulbs lean more modern and crisp, so it comes down to the vibe you’re going for on your porch overall.
Porch Makeover Tip #6: Celebrate the Seasons
Like I mentioned, I love decorating the porch for different holidays. And doing so is a great way to add some charm and cheer to your porch. I’ve included some curations for every time of the year below!
Spring


Summer


Fall

Winter

Porch Makeover Budget Hack
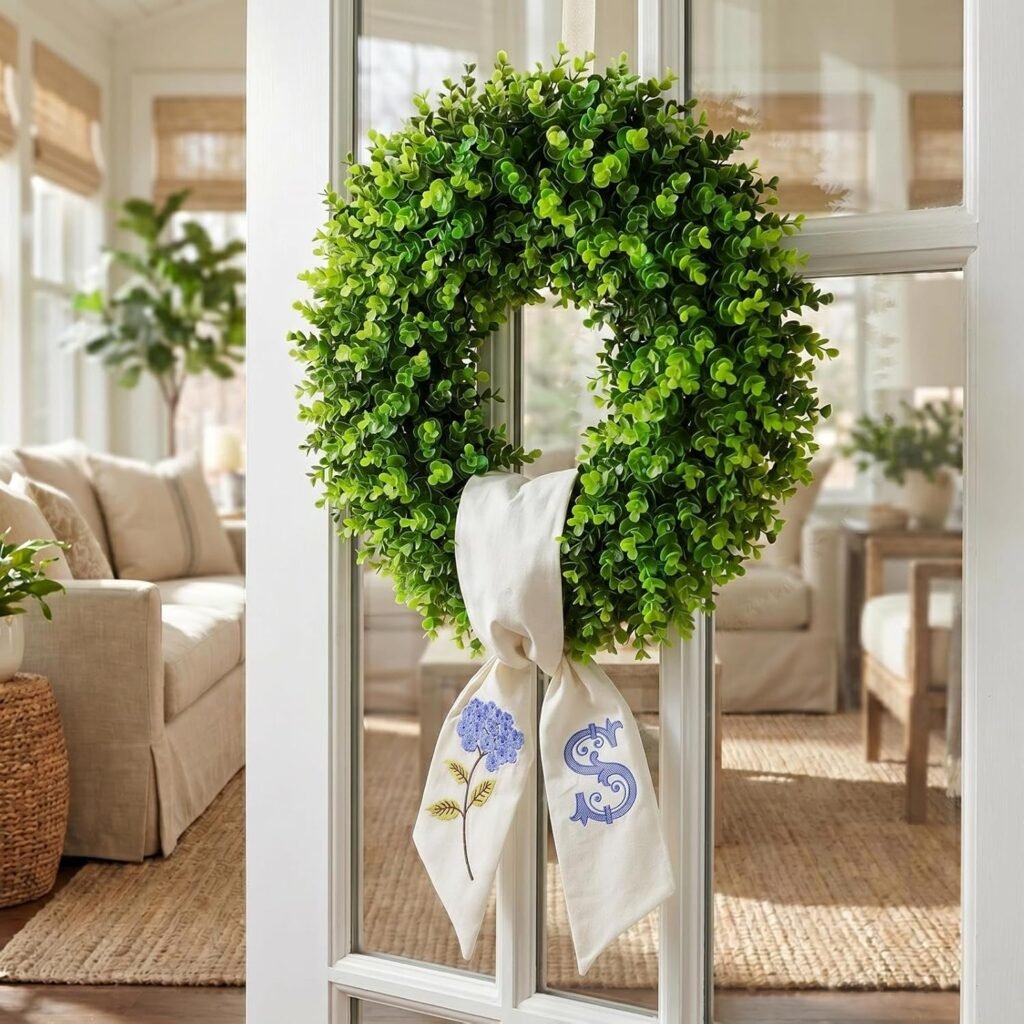
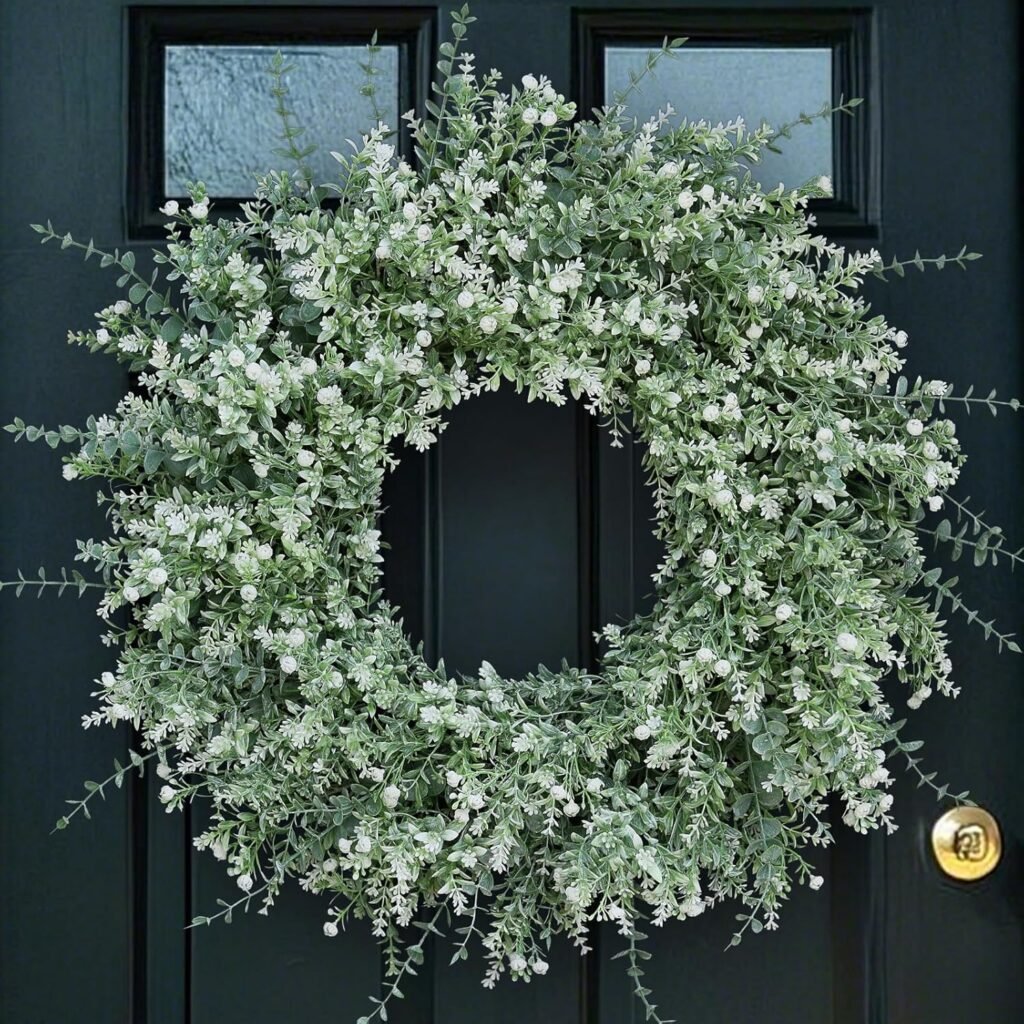
If you want to save extra money (who doesn’t?), get some planters that you can swap seasonal blooms in and out of during the year. These are my favorite! It’ll be like you got new planter pots each time new flowers are added! Another money-saving hack: Use the same wreath throughout the year and just add seasonal ribbons or mini signs to it. It also cuts down on the need for storage space!
Feeling inspired to take on a porch makeover of your own?
Send me the post if you share the before and after on Instagram! I can’t wait to see how you make your front porch shine.