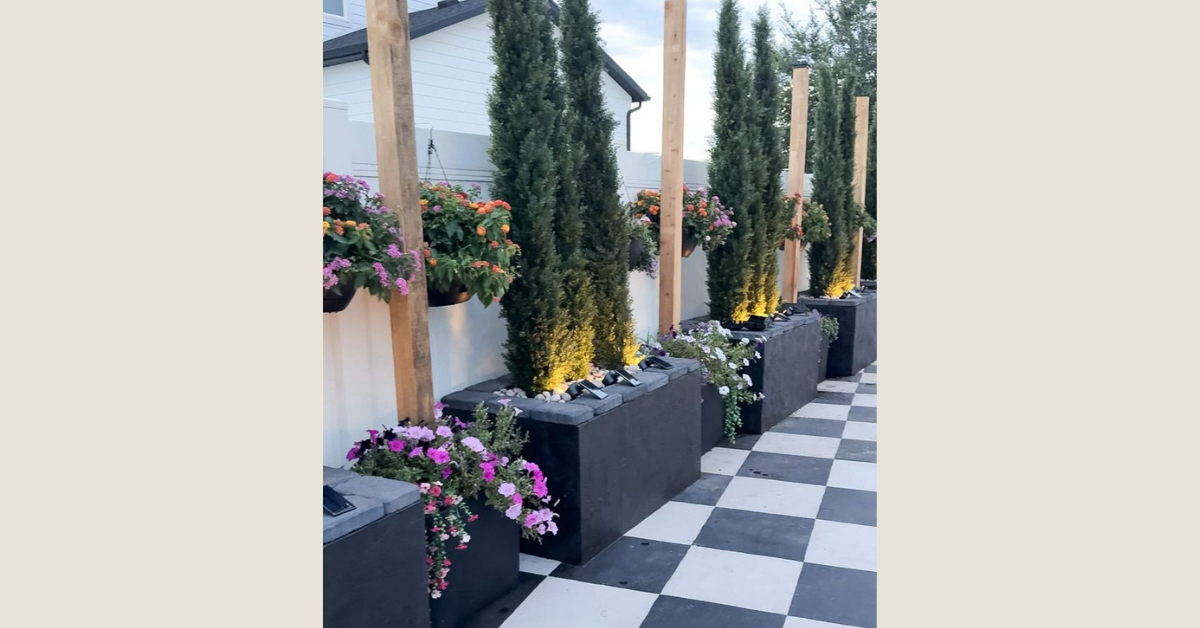
Cinder Block Patio Planters: Side Yard Makeover Part 2
Our side yard patio had two problems that kept anyone from wanting to spend time out there: zero curb appeal and zero privacy. I tackled the aesthetic angle first with a checkerboard pattern painted on the concrete, and now it’s time for phase two: privacy. Since the patio is concrete, digging it out to plant trees wasn’t really an option. That’s what led me to patio cinder block planters! And they solved the problem better than trees would have anyway. The added height meant I could get the privacy I was after without waiting years for something to grow in.
I’ve made cinder block planters before, but never on concrete, so the building process was a bit different than when I built them on soil. Here’s how it all came together!
Note: This post contains affiliate links. I may earn a commission at no extra cost to you. Thanks for supporting my content!
Patio Cinder Block Planter Supplies:
- Work Gloves
- Cinder Blocks
- Mortar
- Spray Foam
- Insulation Foam
- Electric Foam Cutter
- Stucco
- Putty Knife
- Trowel
- Paint (Here’s an Amazon option designed for the outdoors)
- Paint Brush
- Flat Cinder Block
- Cement Colorant
Decorative Elements:
- Faux Trees
- Planters (Here’s an Amazon option too!)
- Rocks
- Vinyl Fence Hooks
- Hanging Planters
- String Light Pole Stand (Doubles as a planter)
Also Featured in this Project:
Cinder Block Patio Planters Step #1: Lay the Cinder Blocks
Start by laying the cinder blocks in your intended shape. For this project, I went with a rectangle, roughly 4 feet long (3 blocks) and 1 block wide, stacked 3 blocks high.
Apply mortar along the top of each base block, set the next one on, and repeat. Some mortar will come out of the sides as you go, which is completely normal. Just smooth it along the seam with a putty knife. It doesn’t need to look perfect!
One thing that’s different about building on concrete versus soil: when I build planters in the ground, I hammer a piece of rebar into each cinder block hole to anchor everything. On concrete, you can skip that step entirely, because the rebar has nowhere to go. Instead, I filled the empty space inside the planters with rocks – but we’ll get to that in a minute!
A couple of things that make this so much easier:
- Get the cinder blocks delivered. Seriously. There’s still some work involved in moving them around once they arrive, but it beats loading them into your car, driving them home, and unloading them yourself.
- Wear gloves. Plastic or work gloves both do the trick! Your hands and nails will thank you later.
Cinder Block Patio Planters Step #2: Fill in the Gaps
In past cinder block planters, I’ve filled the holes with pea gravel. But this time, my goal was to keep any and all bugs and small animals OUT. So I cut down pieces of insulation foam to fit inside the cinder block holes, then used spray foam to fill in any cracks. I repeated the insulation foam/spray foam pattern until I reached the top, where I finished it off with a final round of spray foam.
Step #3: Stucco the Planters
Next, it’s time to add stucco! Mix the stucco according to the package, but only mix as much as you are going to use that day. You can’t save stucco until tomorrow (learned that the hard way on past planter projects!).
Once it’s mixed, add an even layer throughout the outside of the planter with a putty knife. Let it dry for about a day, then scrape off the rough parts. I used a putty knife for the scraping part as well!
Cinder Block Patio Planters Step #4: Paint
This is what really starts to make these cinder block patio planters look finished! Be sure to choose an exterior paint – it will hold up much better than paint meant for the indoors.
Don’t skip painting the inside of the planter either. It’s a little tedious, but if the planter ever sits empty (between plantings or for another reason), you’ll be glad you did it!
Cinder Block Patio Planters Step #5: Add the “Cap”
This step is optional – you could just stucco and paint the top edge and call it done. But I liked the look of a flat cinder block cap better, so that’s the direction I went.
I found solid flat blocks that fit the top rim of each planter perfectly, but they didn’t come in black, so I used a cement colorant to stain them before they went on.
While those were drying, I trimmed off the excess spray foam from step 2 with a serrated trowel so the cap blocks would sit flush. Then it was just a matter of mortaring them into place!
Step #6: Fill the Planters with Trees and Rocks
Time to fill these planters with all the pretty things! In my case, that meant putting the trees and pots inside the planters. Then, after recruiting Hans and the kids for some extra pairs of hands, we spent hours filling our new patio cinder block planters with rocks.
Cinder Block Patio Planters Step #7: Add the Final Touches
This is another optional step, but it’s the details that really take a project to the next level! Once the planters were filled, I added lights to illuminate the beautiful trees. Then, I placed hooks on our fence and hung planters from them.
I went a little overboard in the garden section at the hardware store – but really, is there such a thing when it comes to flowers? After filling every pot with bright blooms, I stepped back and admired my work!
The Reveal
Between all the heavy lifting from the cinder blocks and rocks, and the record-breaking heatwave we’ve been experiencing here, this was a tougher project than I anticipated. But I absolutely love how my vision translated from my Pinterest board to my backyard! And thanks to the planter/tree combo, we now have much more privacy on our patio.
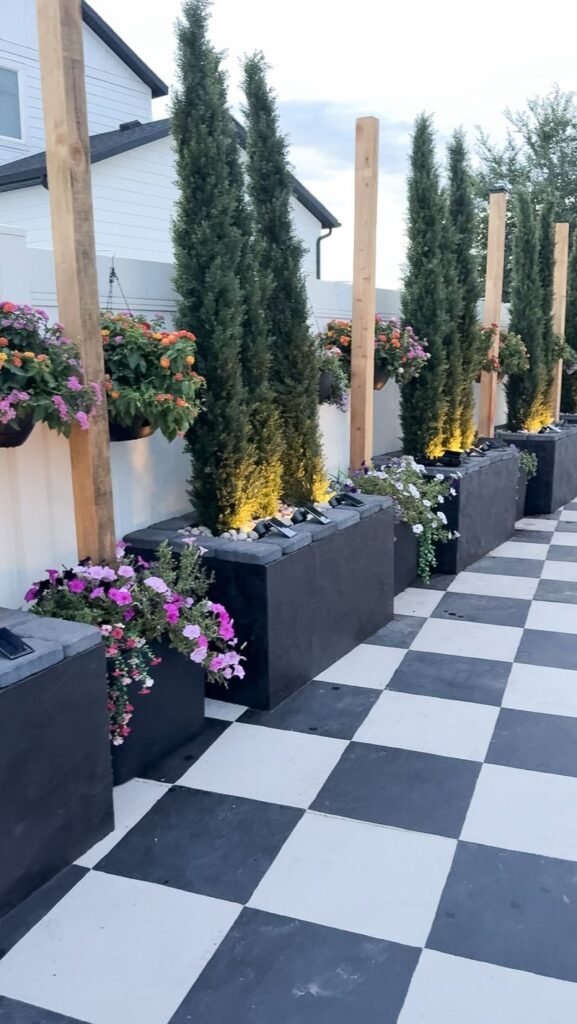
This makeover still has a few steps to go, including adding string lights to these light pole stand/planters, and *maybe* some kind of trellis and fountain on the other side of the patio. I’ll be taking you along for the ride, so stay tuned!