DIY Checkerboard Painted Patio: Side Yard Makeover Part 1
Over the years, I’ve updated just about every corner of our home, from the pantry, to the kids’ rooms, to the garage. But there was one space I kept putting off: this side yard. It had plenty of potential, but somewhere along the way, it became the place where unfinished ideas and good intentions seemed to pile up. I finally decided it was time to give it the attention it deserved, and the transformation was even better than I imagined! If you’ve been dreaming about adding a little personality to an outdoor space, here’s how I created this checkerboard painted patio, along with a few tips I learned along the way.
Note: This post contains affiliate links. I may earn a commission at no extra cost to you. Thanks for supporting my content!
Checkerboard Painted Patio Supplies:
- Stain (AKA paint! I used Versatile Gray and Black Magic)
- Mini Paint Rollers
- Paint Roller Extension Pole
- Paintbrush
- Foam Board
- Frog Tape
- Concrete Sealer
- Knee Pads (Trust me, you’re going to want these)
Step #1: Clean Up the Space
Like I said before, this side yard area was where dreams went to die. So my first order of business was to remove the toys and relocate past DIY projects (I’m looking at you, Halloween tree and lemonade stand).
Next, I power-washed the concrete. The cleaner the surface, the better the stain will stick.
Once that was all set, I told Hans about my side yard makeover plans. His reaction in this video says it all. 😂 But he still supported and encouraged me throughout the project!
Checkerboard Painted Patio Step #2: Outline the Squares
Then the tedious part of the project started… little did I know it was only just beginning! I used a foam board and a pencil to outline the checkerboard pattern on the ground.
But it turns out that freehand painting perfectly straight lines is harder than it looks. So, I decided to change my approach. I taped off sections of the pattern, then added a small paint mark inside each square to remind myself which color belonged where before filling them in.
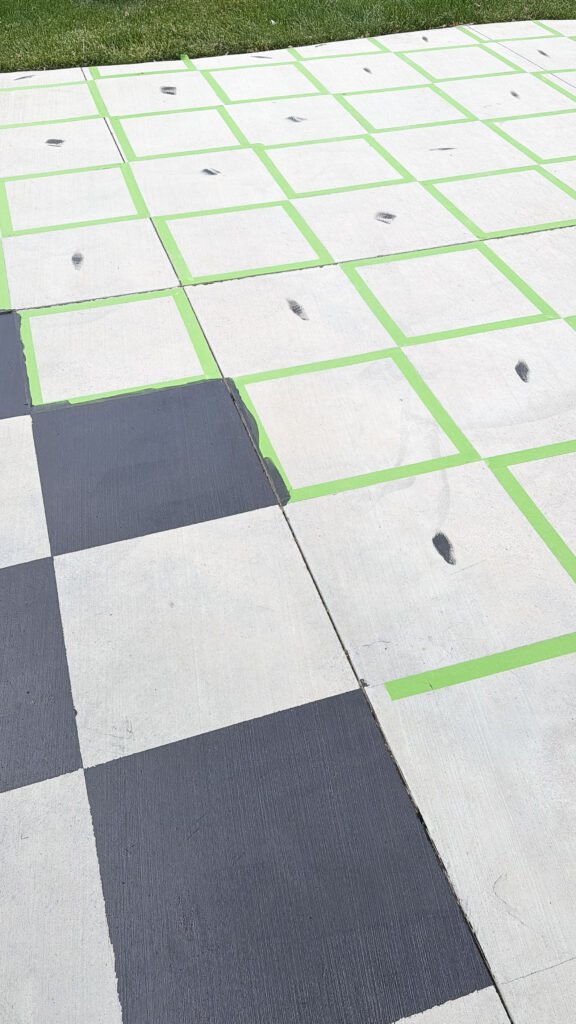
The lines still weren’t quite as crisp as I had hoped, but since I had already taped off a large portion of the patio, I kept going and planned to clean everything up with touch-up paint once the main design was finished.
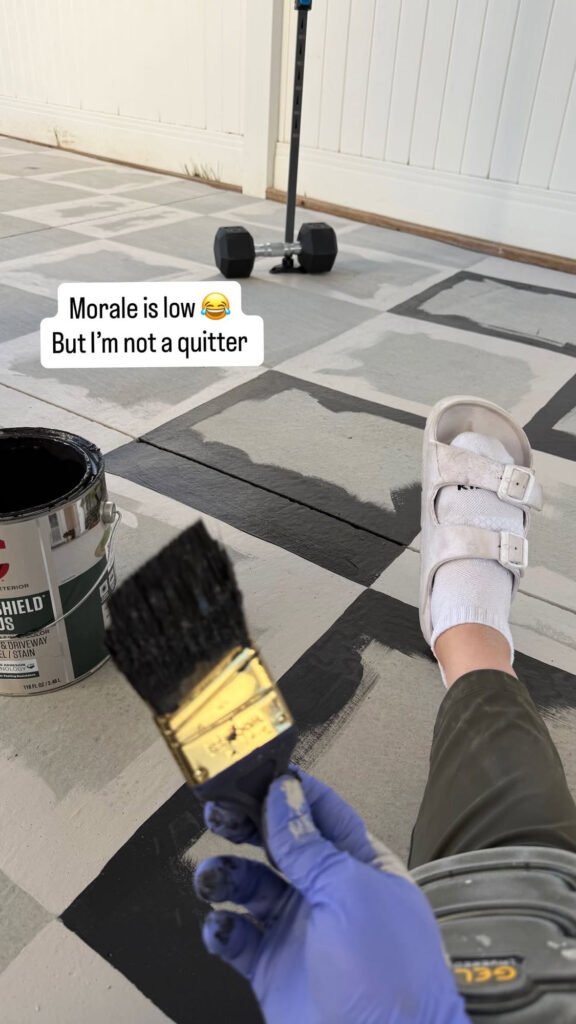
This was also the point that I started wearing knee pads, because my knees were starting to get pretty sore! If I were to do a similar project on this scale again, I’d definitely get a rolling cart like this.
Step #3: Outline and Paint the Squares
I decided to paint the rest of the squares as carefully as I could by hand. I used a paintbrush for the edges and a long paint roller for the inside of the squares.
A few people suggested painting the entire area the lighter gray first and then staining every other square black. It was a smart idea, but unfortunately, the black stain wouldn’t have shown up well over the gray paint. To get the dark color I wanted, I likely would have needed multiple coats of black paint instead.
After the squares were all outlined in paint, I was officially in the home stretch. I decided to switch from my extension paint roller to a mini one, which I wish I had done sooner! It was still painful, but not as bad as using the extension pole was. I knew the result would be worth the pain, though!
Checkerboard Painted Patio Step #4: Add Concrete Sealer
The final step: making sure all that hard work lasts through weather and time. I applied this sealer all over the space to ensure this makeover lasts.
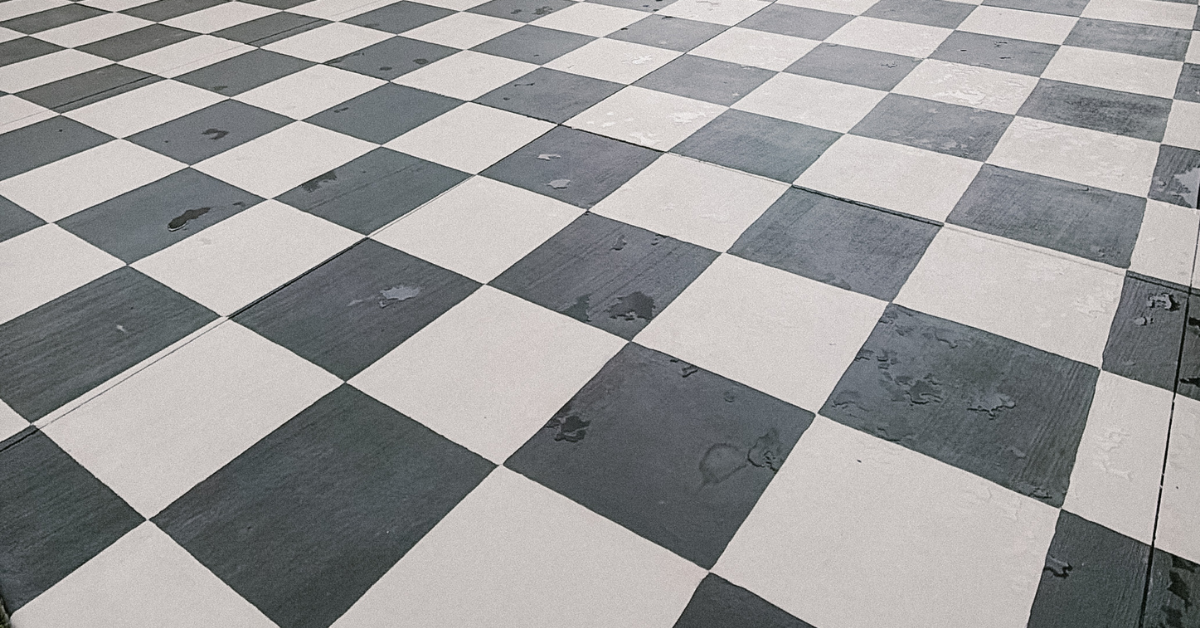
My checkerboard painted patio is done!
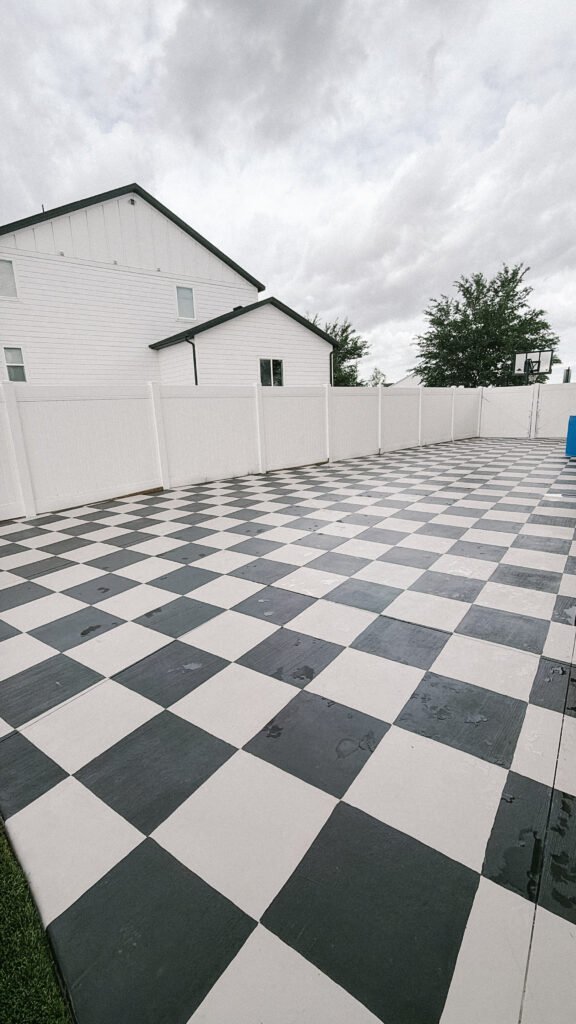
And with that, the first phase of my side yard makeover is complete! I am loving how it turned out, and also so proud of myself for completing it. There’s nothing like the satisfaction of making a space more beautiful and functional. Stay tuned for the next part of our side patio 2.0, which may or may not include giant Chess pieces.