Mission Organization: Space-Themed Closet
I just finished my girls’ total bedroom makeover! If you missed it, click HERE to see the reveal AND links to each of the projects I did in there. I also have two boys who share a room, so naturally, my next project is to transform their room completely. They are so excited to see what I come up with. First up, the closet! They both wanted a space-themed closet, so LET’S GET STARTED!!
Note: This post contains affiliate links. I may earn commission at no cost to you. Thanks for supporting my content! 🙂
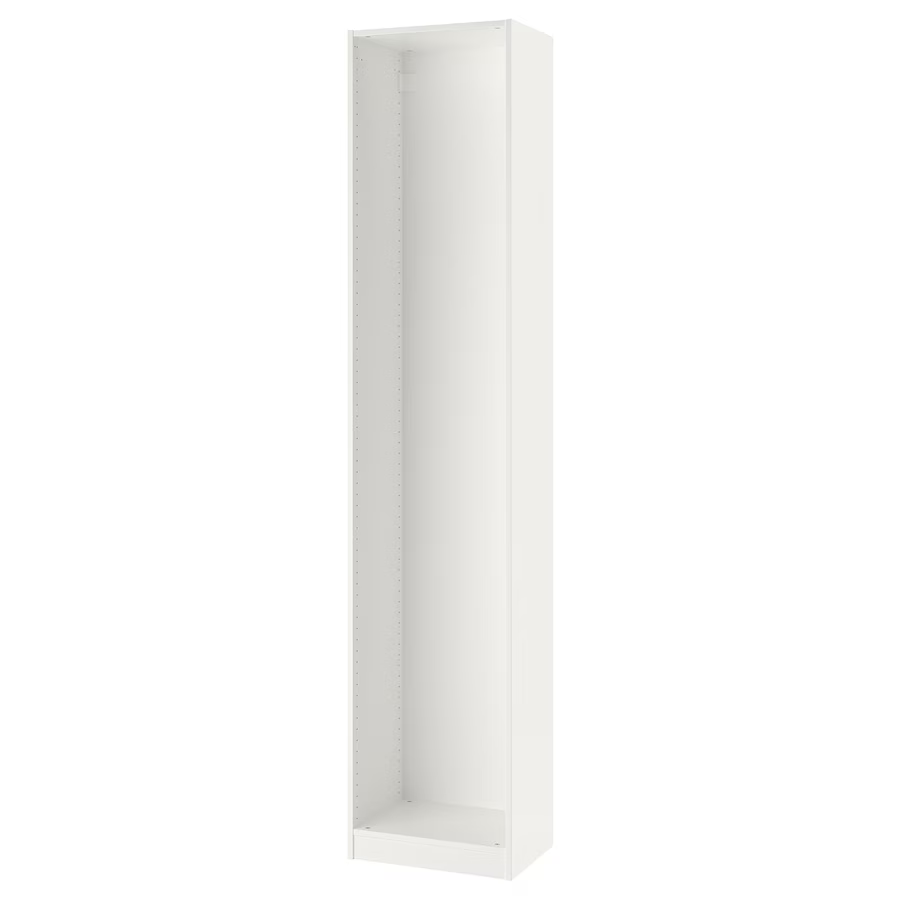
Step #1: Assemble Ikea Pax Units for Space-Themed Closet
By this point, I should not even need the instructions when I assemble these Ikea Pax units, because I have built so many, but alas… I still needed it. The instructions say it is a two-person job to assemble, but I think that is more of a suggestion, haha! I built three of them and set them aside so I could build the base. Speaking of…
Step #2: Building a Base
To make anything look built-in, there are a few things I suggest. First, remove the baseboards and then reinstall them around the item. In order to do that, you will likely need to build a base, so you can raise it up to be tall enough for the baseboards to fit on. You will need to evaluate your situation to determine how tall a base you need.
I used some 2x2s to make my base. Essentially, you make a frame, then add center support pieces in the middle. Once that is assembled, you will put it in place and secure it to the studs.
Put your units on the bases and then start securing everything in place to all the studs, the base, and each other!
Step #3: Trim it Out
Now that we have the basic structure in place, it’s time to trim it out and make it look built-in! In order to add trim to the top and sides, you need to add some scrap wood to the walls and ceiling. This gives you something to nail into. I located the studs and nailed the scrap wood into them in line with the edge of the units.
Then you can take your trim pieces and nail one end to the trim pieces and the other end to the unit. Do this on the top/ceiling, sides, and the bottom with your baseboards.
Step #4: Caulk and Fill
When I built my girls’ closet, I waited until everything was built to caulk and wood fill. It was hard to get it all, so this time, I am going to do it in phases. This is where we do phase one of the caulking and filling. I caulked all the corners and where two pieces of wood meet at an angle.
I wood filled where the two pieces of wood meet flush, plus all the holes. IKEA units come with a bunch of holes for you to determine where you want your shelves, but I don’t move them around once they’re in place and just fill them all. It makes them look less IKEA and more custom.
Step #5: Prime and Paint
When painting IKEA furniture, you want to use a SHELLAC (oil) based primer. It will adhere to the slick, melamine-type surface better and will prevent peeling. This primer smells bad, so I always use a mask and open windows for ventilation.
Once the primer was dry, I painted it with this. When painting black, you always need 2-3 coats. I did three coats for this project and painted the sides, front, and baseboards throughout the entire closet. I am going to put wallpaper on the back of the units, so I did not paint there. Lastly, I also primed and painted the shelves and drawers now, so they are already painted when it’s time to install them.
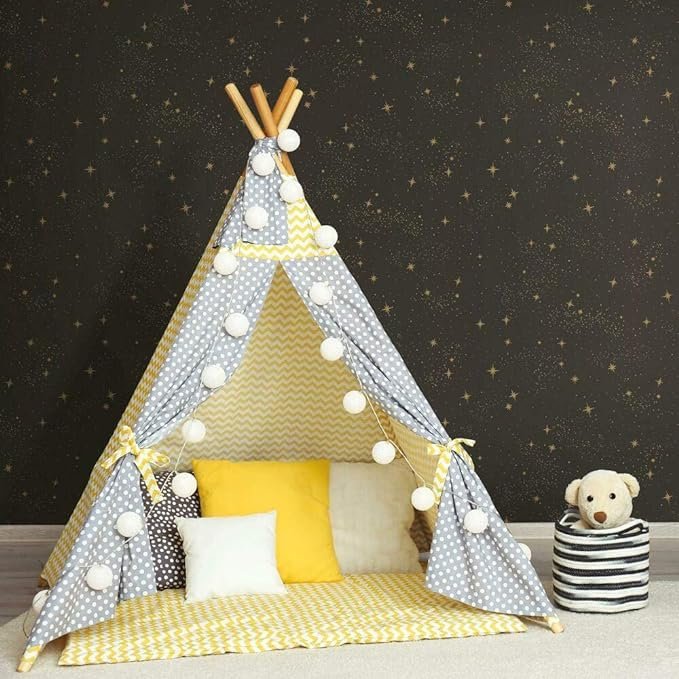
Step #5: Add Wallpaper to the Space-Themed Closet

Time to install the wallpaper! The boys both agreed that THIS wallpaper needed to go in the closet. It is peel-and-stick wallpaper, which takes some time to install, but is not too hard. I installed it on the walls, the backs of the Pax units, AND the ceiling! You can get a full tutorial on how to install peel-and-stick wallpaper HERE.
Once all the wallpaper was up, I noticed that even though the seams were all straight and lined up great, you could still see the seams because it is white on the sides and back. I tried a few different methods to hide the lines, and found that a black colored pencil worked the best. So I simply colored the lines with the pencil and they disappeared.
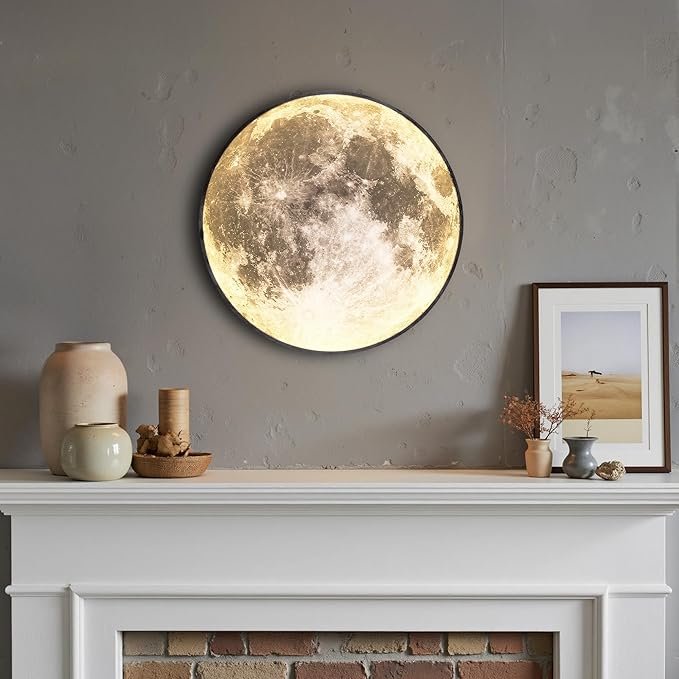
Step #6: Install the Moon Light
The moon light we have is now out of stock, but here’s a similar one!
Doesn’t it look so perfect in the space closet? Click HERE to check out how you should replace a light fixture. It is so much easier than it looks, I promise.
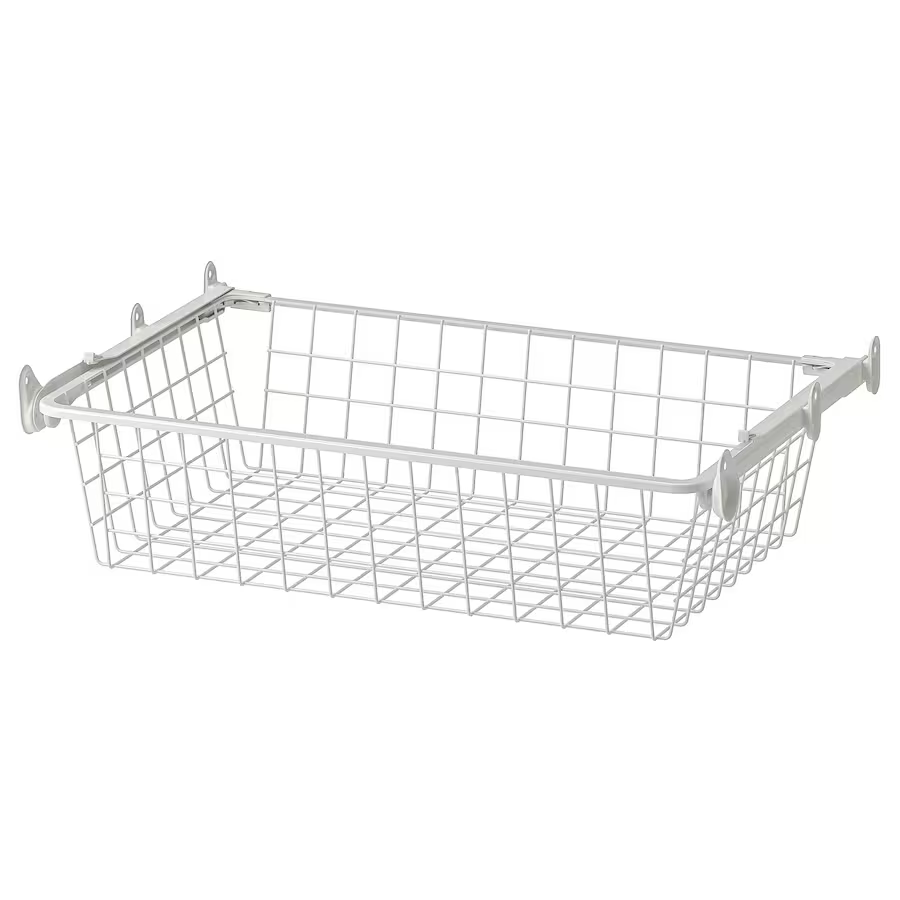
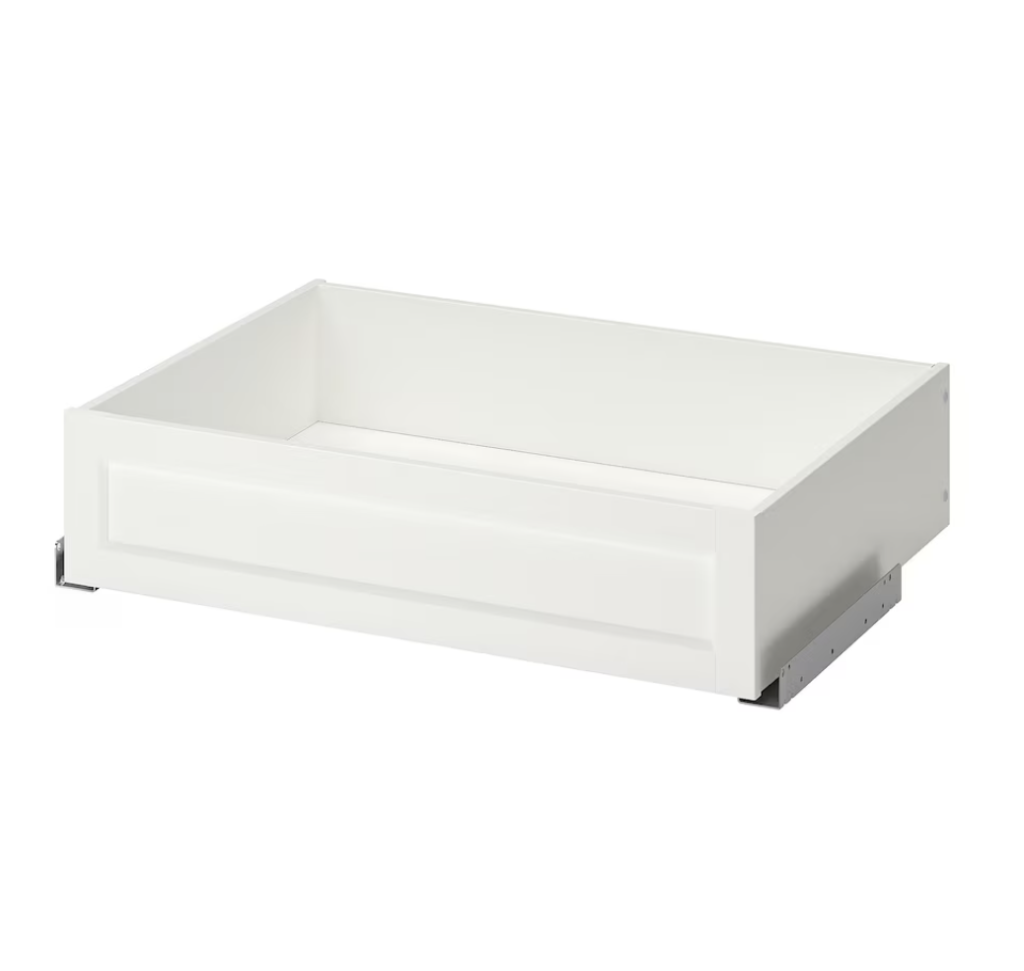
Step #6: Add Drawers and Shelves
We already painted the drawers and shelves, so now it was time to assemble and install them. It’s important that you follow the instructions carefully when you are installing the drawer slides and shelves. I installed mine a little too close together, and I had to redo them.
There was some wallpaper left over, too, so I used it on the bottom of the drawers, and they turned out so cute!
Once everything was installed, I trimmed the fronts of the shelves with 1x2s and added some drawer fronts. All these extra steps give the Pax units a much more elevated look. After that, it was time to caulk, wood fill, and paint everything I just installed.
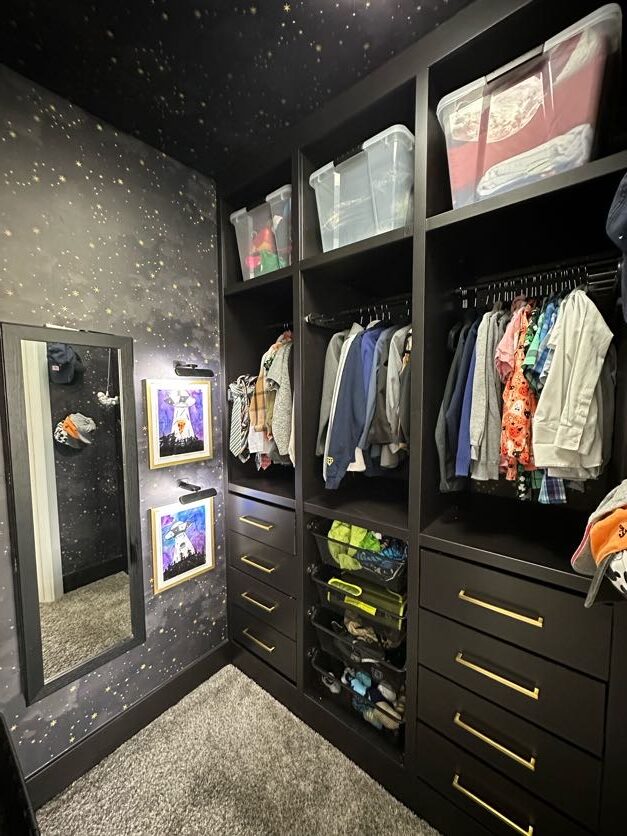
Step #7: Accessorize and Decorate!
And now, the fun part of the project—all the finishing touches that pull the whole thing together. I found all sorts of fun little things to add, lights to highlight their pictures, a cool display case, some hat hooks, hardware on the drawers, and cleaned it all up! See the links below.
Are you ready for the final reveal? I am so excited to show you! Let’s go!
Space-Themed Closet REVEAL!


Space-Themed Closet Product Links


I hope you love the closet as much as my boys do! And now it is time to start on the rest of the room! What do you think we are doing there? Follow along on Instagram so you can keep up to date on what we are doing!
Follow along for more DIYs and fun at…