How to Install Floating Shelves Like a Pro: A Step-by-Step Guide
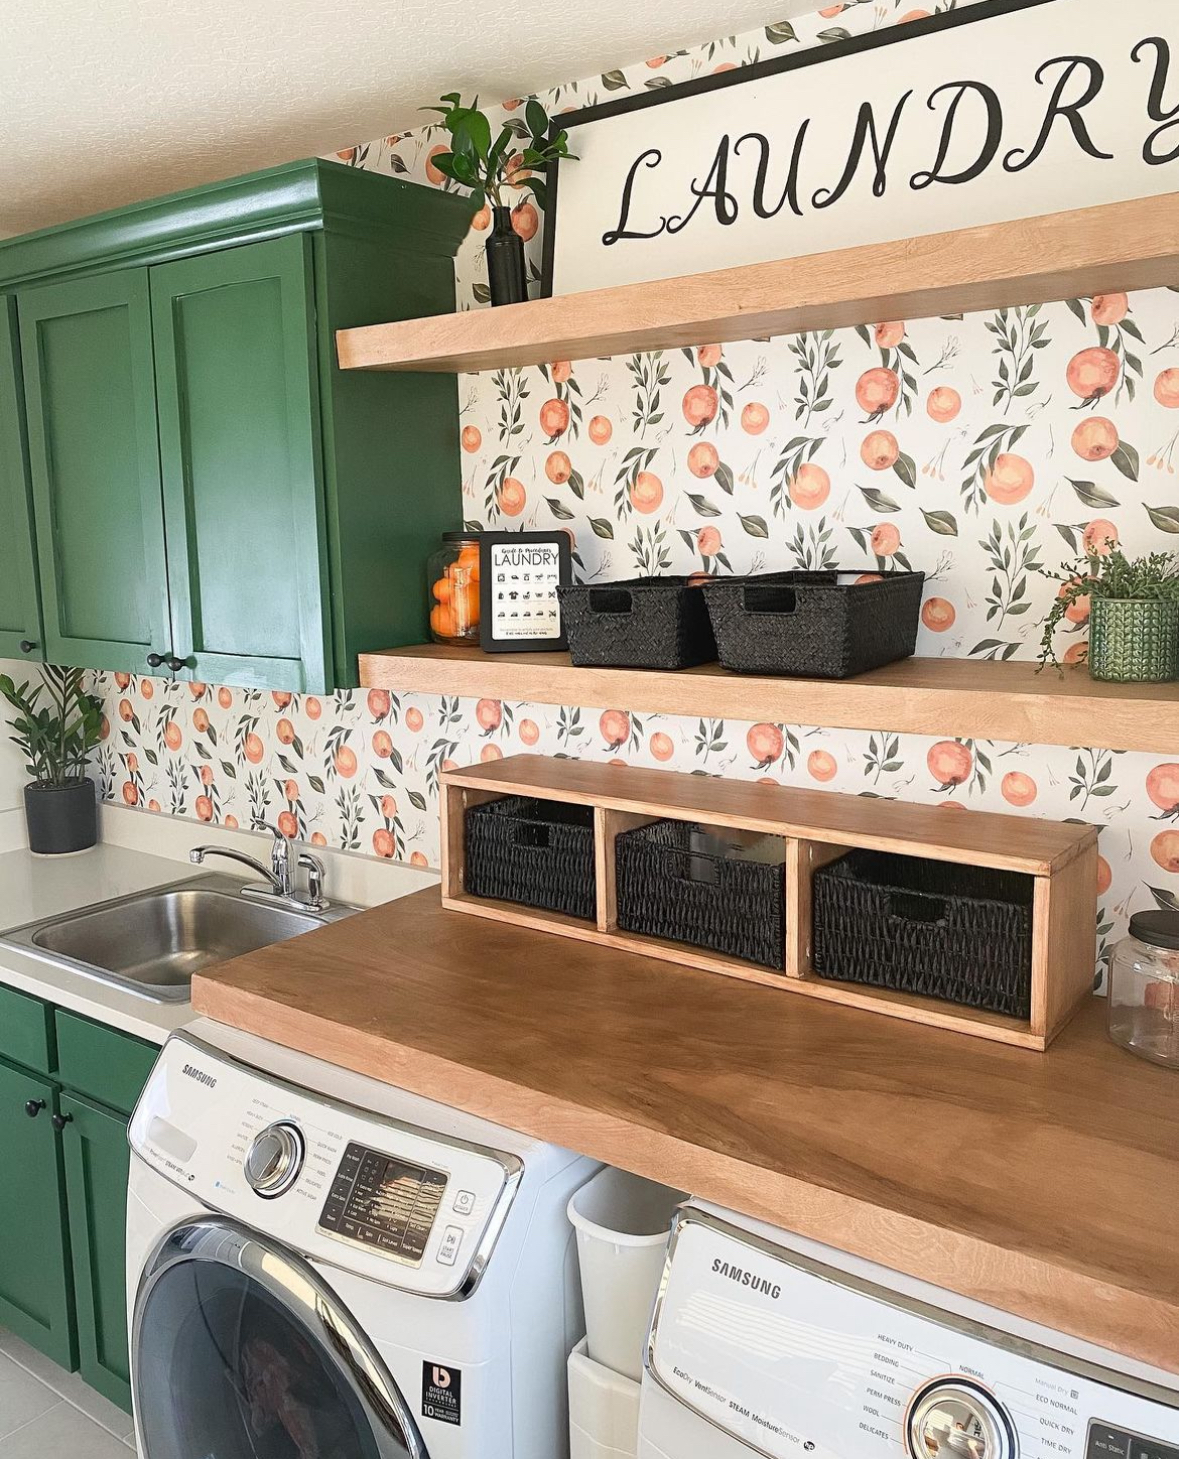
After building a laundry room shelf over my washer and dryer, I had storage on the brain. Enter: floating shelves. Building them is so much easier than you may think! There are a few different ways you can do it. You can build them from scratch, which I will do here. Or you can buy brackets and build the shelf, which I did in my husband’s office, HERE. Follow my super simple instructions below on how to build and install floating shelves!
Step #1: Build the Floating Shelves’ Frame
First, decide how large you want your shelf to be. If you want a bulky look, you can use 2x4s. If you want a sleeker look, you should use 2x2s. I initially built it with 2x4s, then changed my mind and re-made it with 2x2s.
We will start by cutting the back piece of the frame. Determine the length you want the shelf to be. Take that number and subtract the thickness of the plywood you will be using for your shelf two times. For example, if your shelf will be 36 inches long and your plywood is 1/2 inch thick, your back piece will be 35 inches.
Next, we will cut the supports for the shelf. Determine the depth you want the shelf to be. Take that number and subtract the width of your back piece. For example, if you want the shelf to be 12 inches deep, and you are using a 2×2 for the back piece, you will subtract 1.5 from 12. (Note: The actual measurement of wood is different than what it’s called. ie, a 2×2 is actually 1.5in by 1.5in.) So your support pieces will be 10.5 inches each.
Cut one support piece for every 12 inches of your shelf, plus one. For a 36-inch shelf, you will need four support pieces. For a 48-inch shelf, you will need five support pieces.
Take a drill and a screw and screw the support pieces into the back piece. Put one at each end and space the remaining supports over the rest of the shelf. Screw from the back side of the back piece into the ends of the support pieces.
It will look like this (see video) when it’s complete.
Step #2: Find the Studs and Hang the Frame
Remember to always install shelves into the studs to ensure they are the most secure. Find and mark the studs on the wall.
Position the shelf on the wall and use a level to make sure it is straight. Secure the frame to the wall with screws into the studs you marked.
Getting a good stud finder and a long level will help ensure this is straight and secure.
Step #3: Build the Floating Shelves
There are a few ways you can build a shelf. If you have a table saw, you can miter the ends so that the shelf looks like one solid piece of wood. When I made this shelf, not only was my table saw not in the greatest condition, but I also wanted to make these in a way anyone could do it if they did not have tools.
You will cut a top and bottom piece that are the same size, a front piece, and two side pieces. Attach them using nails or screws to form a box with the back side open.
Step #4: Install Floating Shelves & Paint
Slip the shelf over the frame you built. Add a few screws or nails to the back piece to secure the shelf in place. Fill any nail holes. Paint or stain the shelf to finish it off. Super simple!
Have you tried building a floating shelf? I’d love to hear about it! Let me know in the comments. And be sure to follow along on Instagram for more DIY home projects!

Follow along for more DIYs and fun at…