How to Create a Beautiful Decoupage Vase
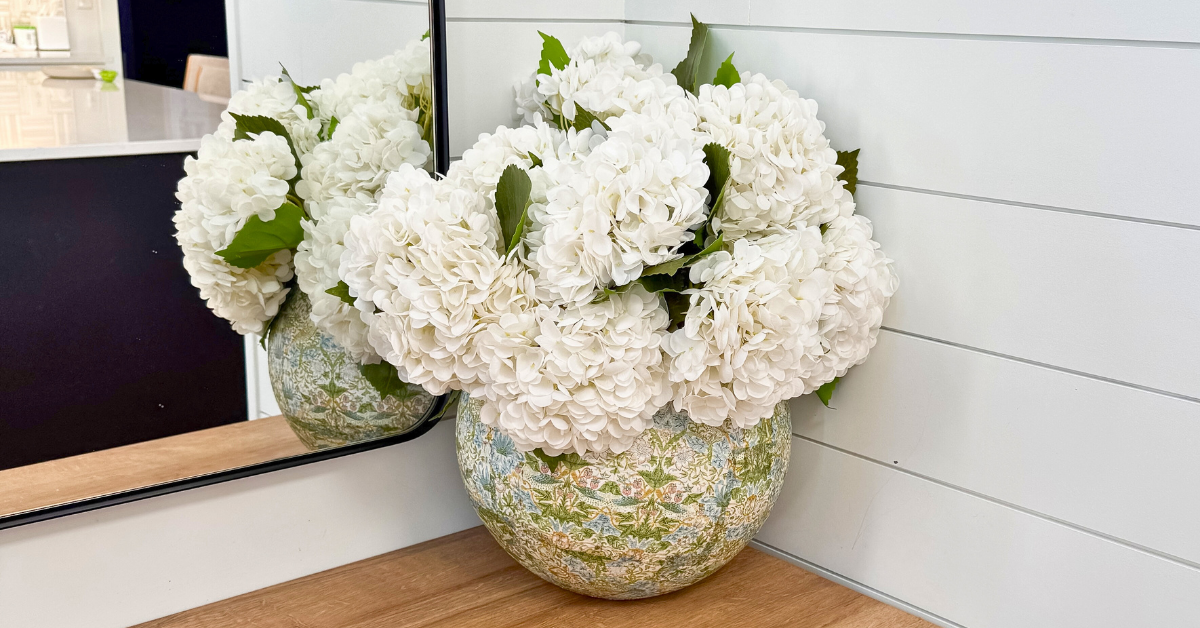
Not gonna lie… this decoupage vase didn’t turn out *quite* how I imagined. The way the napkins overlapped on the vase wasn’t my favorite. But sometimes that’s just the nature of decoupage! Even though my original vision didn’t come together perfectly, I still love how it looks styled with these gorgeous faux hydrangeas.
Like my last decoupage project, the process itself is pretty simple. I’m also sharing a few tips and tricks along the way. Let’s get started!
Note: This post contains affiliate links. I may earn a commission at no extra cost to you. Thanks for supporting my content!
Decoupage Vase Supplies:
- Vase
- Napkins (I’ve included some favorites below)
- Mod Podge
- Foam Paint Brushes
- Primer Spray
- Flowers (I have and love these faux tulips and hydrangeas)
Step #1: Time to Prime
First up, prime the vase! We want to prime it for a few reasons:
- It helps the paper stick better.
- It gives you a clean, bright background to lay the paper on. Because napkins are thin (and even thinner when torn in half), we don’t want to see through the vase when they’re applied to the vase.
- It helps prevent Mod Podge streaks and makes everything look smoother.
This primer spray dries in less than half an hour, so once that time has passed, we can move on to step two!
Step #2: Start Decoupaging
After separating the napkin layers, I cut them into thick strips to place on the vase. If I try a similar project again, I might tear the napkin pieces instead. A few followers suggested this in the video I shared, and some research I’ve done since mentioned that softer, torn edges can help the decoupage blend more organically.
Using smaller pieces can help, too! They fit the curve of the vase better, which makes them easier to smooth out. It can also help prevent so many overlaps as you work your way around the surface.
Once the pieces were cut/torn, I added a thin layer of Mod Podge to a section of the vase and started placing the napkins on it. I rotated the vase as I went, working section by section and folding the napkin pieces near the top over the vase’s edge.
Decoupage Vase Step #3: Seal It With More Mod Podge
After the vase was covered in paper, I added another thin coat of Mod Podge to seal it all. If you want, you can also apply a couple more coats of Mod Podge. Just be sure to let each layer dry in between!
All done!
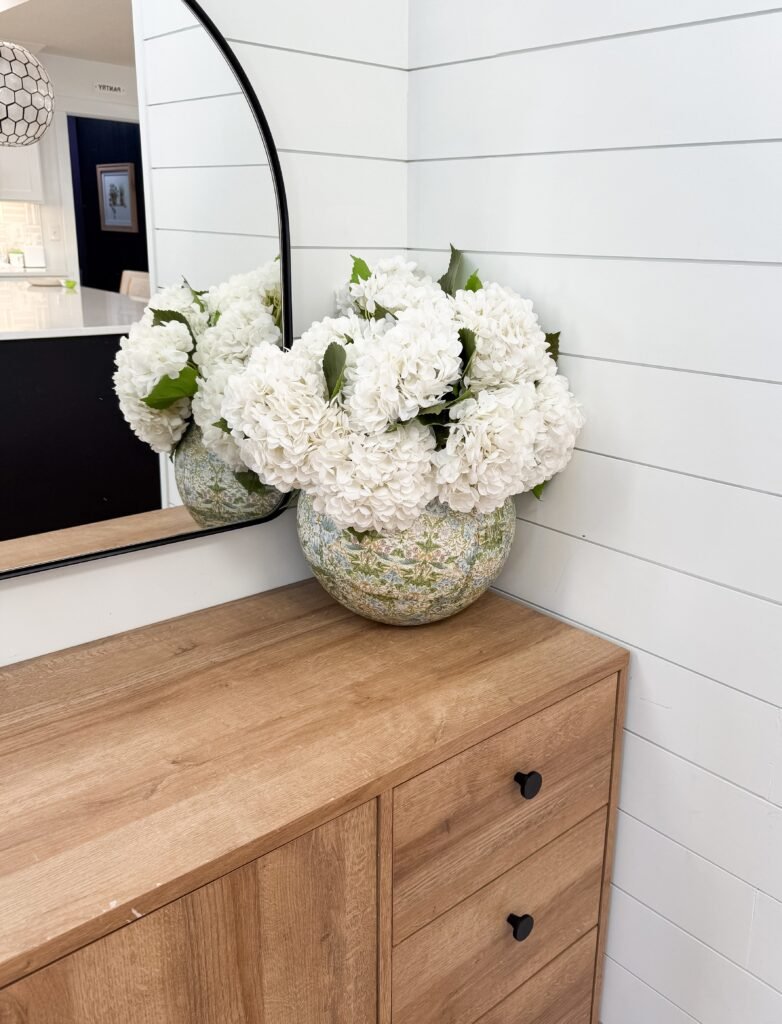
What do you think? Like I said, this wasn’t my exact vision, but I do love that it’s completely unique! Are you going to try this project too?