
Easy & Affordable Bathroom Updates
Do you love watching HGTV’s home renovation shows? Do you love all the huge transformations? The ones where they rip everything out and start from scratch? Since you are here, I’m guessing you do. Now, do you ever watch them and feel pumped up and ready to take a sledgehammer to your walls? Then reality hits, and you realize if you rip it apart, you have to put it back together, and you know that is a bad idea, so instead you stay on the couch hating your house… and then you repeat that every day for the rest of your life? Ya, I get it! I have been there too! But I am here to tell you, it does not have to be like that forever! I have a solution: easy and affordable bathroom updates! And if you’re looking for budget-friendly kitchen updates, head here!
Note: This post contains affiliate links. I may earn a commission at no extra cost to you. Thanks for supporting my content!
Affordable Bathroom Updates #1: Paint the Fixtures

I love this one because it is not something most people would think of doing, but you can update old or dated fixtures for less than $20. There are a couple of important things to remember when painting your fixtures… 1. Use automotive primer and 2. You must sand it before you start. Here’s a step-by-step tutorial on how to successfully paint your fixtures!
Idea #2: Tile ABOVE the Shower Insert
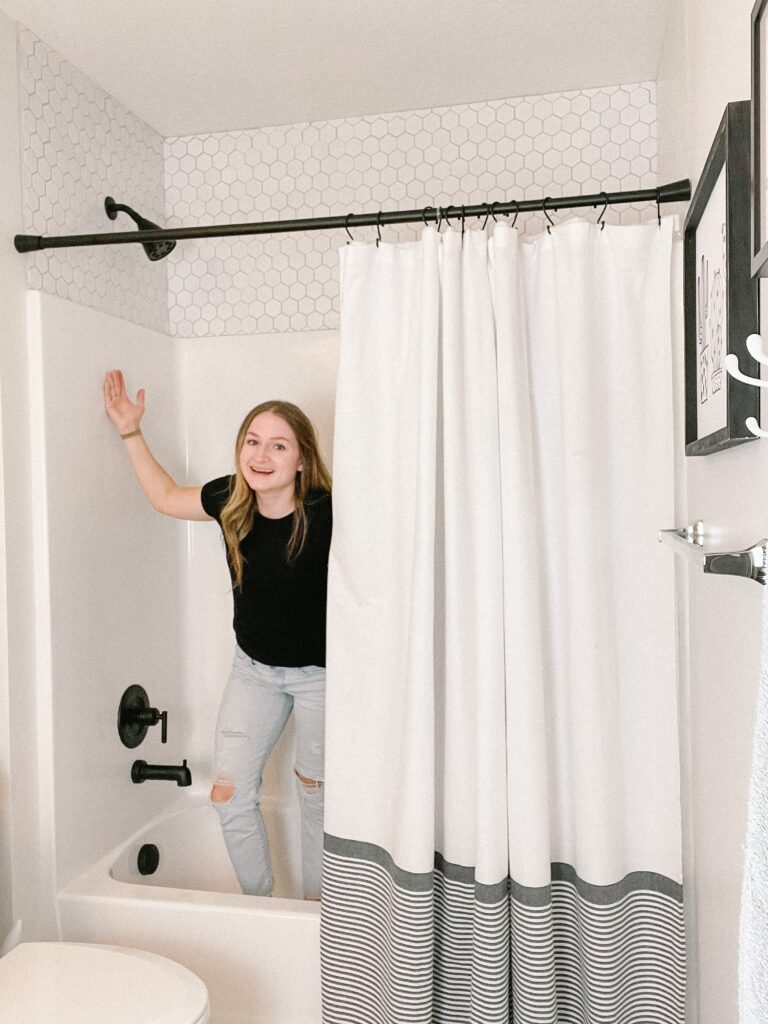
Do you have a standard shower insert? I think we often forget that just because we are not putting in a completely custom tile shower surround, we cannot do anything to customize the shower. That is not true! What about the space ABOVE the shower insert? You can customize that all you want! Paint it, stencil it, or my favorite… TILE IT! Check out how I did this HERE!
Tile CAN be expensive. It CAN be hard. And it CAN be overwhelming! But there are also shortcuts and tricks to making it less expensive and less scary.
You can use MusselBound instead of mortar. It’s a little more expensive, but it’s way easier. You can also shop tile sales!
Even if you don’t get a discounted tile, you can still get a good tile for $5-$6 per square foot. The space above the shower is only 20-ish square feet (depending on your shower). So, at $5 per square foot, you are at $100 for the tile. Not as much as the hundreds, if not thousands, of dollars that you may have been thinking it would cost.
Affordable Bathroom Updates #3: Peel-and-Stick Tile
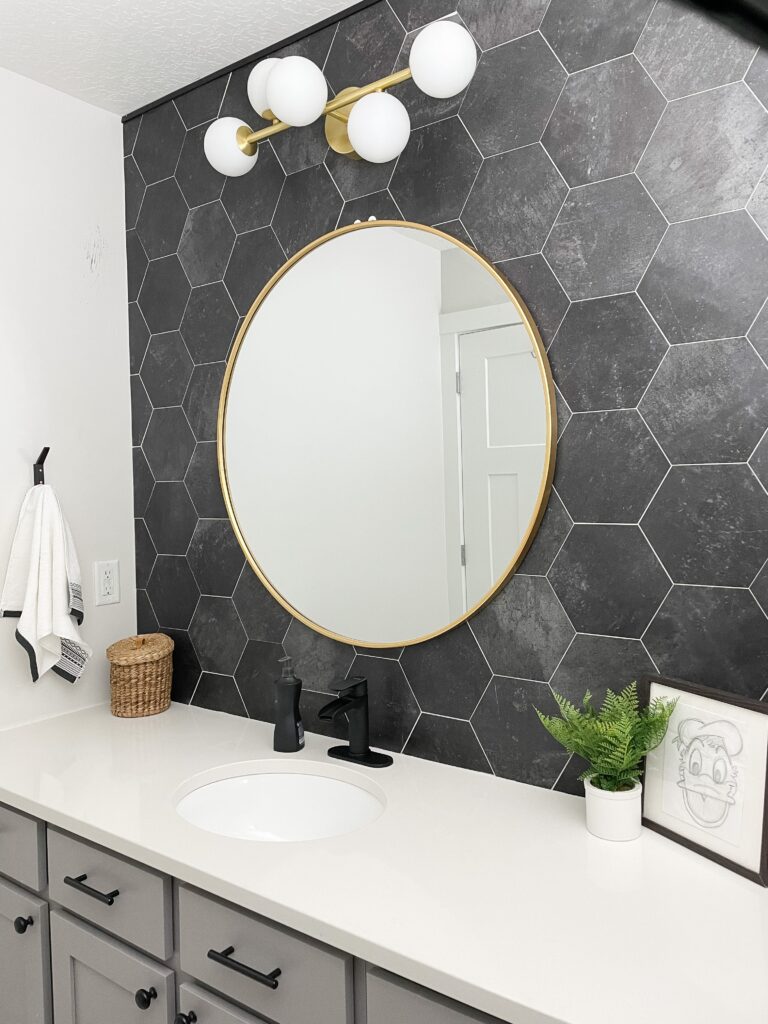
Your home should absolutely be a place you love NOW, not a place you deal with until you can afford to make it perfect. All these changes are perfect examples of making the space something you love until you can save enough to rip into the walls or make that huge change you are dreaming of. Or maybe these simple updates are all you need to do to make the space feel perfect!
Adding peel-and-stick tile is the perfect example of this. It can be a band-aid fix until you can save to buy a whole wall’s worth of tile, but it also looks so incredible that it may be just the thing your space was missing.
Check out how to install peel-and-stick tile HERE. At $1.50-$3 per square foot, peel-and-stick tile is an incredibly cost-effective way to give your space a glow-up! The original tile I used is no longer available, but you can click HERE to browse other peel-and-stick tile options at Lowe’s.
That’s it! Easy and affordable bathroom updates that you can do to make your bathroom a spa-like space you love.
Which of these three ideas is your favorite?
PS: Want to shop the products I used in these affordable bathroom updates? Find them here!
Follow along for more DIYs and fun at…


