DIY Home Improvements for a Custom-Built Look
When we first bought our current home, it was a true blank canvas. As a new build, it was missing some of the character and custom charm that comes with more established homes. And while it was beautiful to begin with, I knew I had big dreams for the space! It turns out, many of the features that make homes feel thoughtfully designed are actually simple upgrades you can tackle yourself, that don’t have to be completed all at once. These DIY home improvements can be added little by little as you and your home move through different seasons of life, gradually making your space feel more personal and uniquely “you”. Here are some projects to help you get started!
Note: This post contains affiliate links. I may earn a commission at no extra cost to you. Thanks for supporting my content!
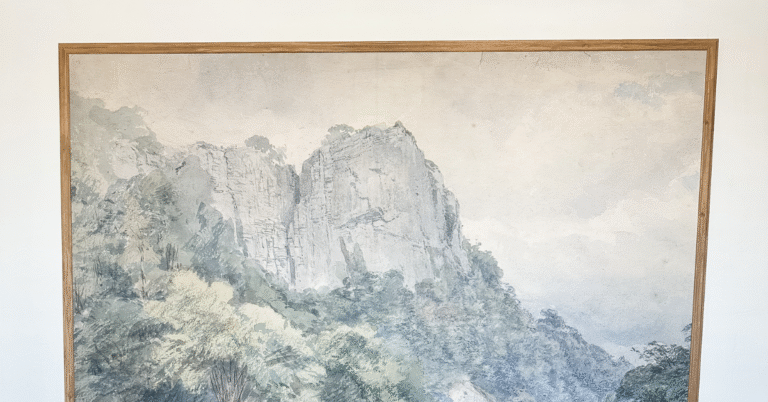
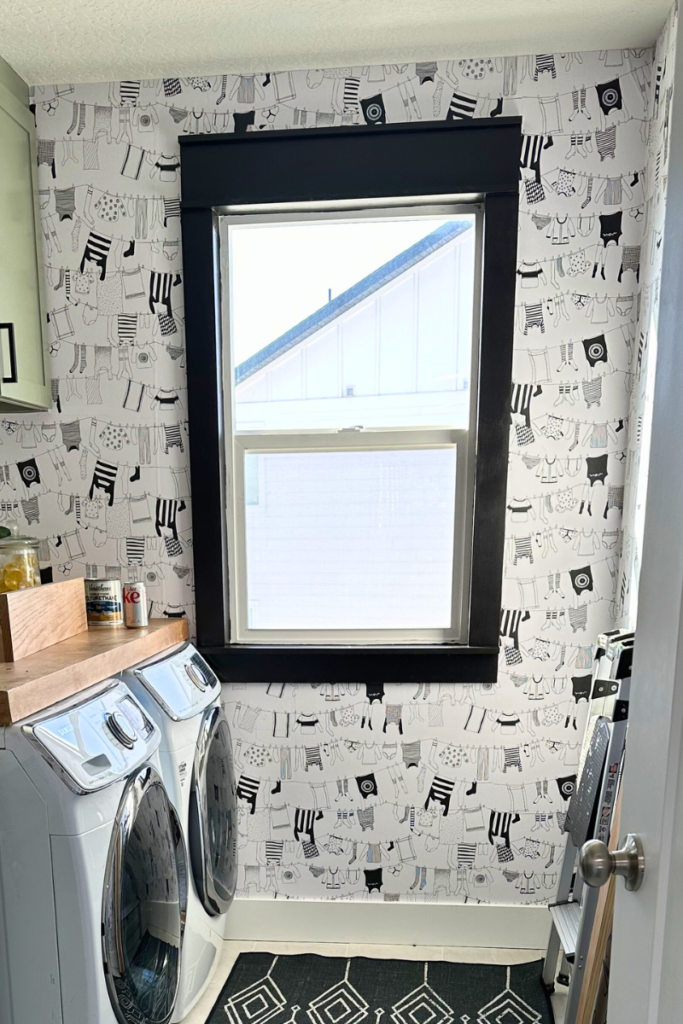
DIY Home Improvements #1: Add Trim Around Windows
Installing trim is a theme throughout these projects, because it truly elevates a room and does so fairly cost-effectively! Trimming out windows makes them feel like an intentional focal point. And it’s pretty easy to do! I walk you through it in this step-by-step tutorial.

DIY Home Improvements #2: Install Thicker Baseboards
Taller baseboards help a space feel more grounded while also drawing your eye upward, which is especially nice if you have higher ceilings you want to highlight! A good rule of thumb is to choose baseboards that feel proportional to your ceiling height. In rooms with standard 8-9 foot ceilings, baseboards in the 5-7 inch range usually look balanced and intentional. Generally, the taller your ceilings are, the higher your baseboards can be.
If removing your old baseboards sounds like a headache, there’s a shortcut: you can sometimes install the new, taller boards slightly higher on the wall and patch and paint the strip below. Just be sure to securely anchor them into studs (use this stud finder for help!), and don’t skip the finishing details. Caulk along the top seam and fill nail holes before painting for a professional-looking finish.
DIY Home Improvements #3: Add Moulding to Walls
Wall moulding adds character and texture that new builds sometimes lack, and I’ve installed it throughout our home and my parents’ home (with help from my mom on the latter project!). The key to this is even spacing and proportion. Measure your wall and sketch your layout first, so panels are evenly sized. A laser level is super helpful here!
Before and After at My Parents’ House!
DIY Home Improvements #4: Frame Out Builder-Grade Mirrors
Those big, wall-to-wall vanity mirrors are really common, but adding a wood frame can totally change a bathroom’s look. Plus, it’s a beginner-friendly project you can knock out in an afternoon!
Just measure carefully and build the frame slightly oversized so it overlaps the edges of the mirror. Paint or stain the frame before attaching it, then use mirror-safe or heavy-duty construction adhesive to secure it.
Or, if you’d prefer a new mirror entirely, learn how to remove a builder-grade mirror with step #1 on this blog post. You can even upcycle it into a new floor-length mirror like I did!
DIY Home Improvements #5: Add Casing Around Openings & Pass-Throughs
You didn’t think you’d seen the last of the trim work projects, did you? 😉 Like I said, adding trim is one of the fastest and most affordable ways to make your home look like a custom build. And because openings between rooms often have finished drywall but no trim, they’re the perfect place to add it to make the spaces feel cohesive.
Pro Tips:
- Use a miter saw for clean corners.
- Wood filler plus caulk will hide small gaps.
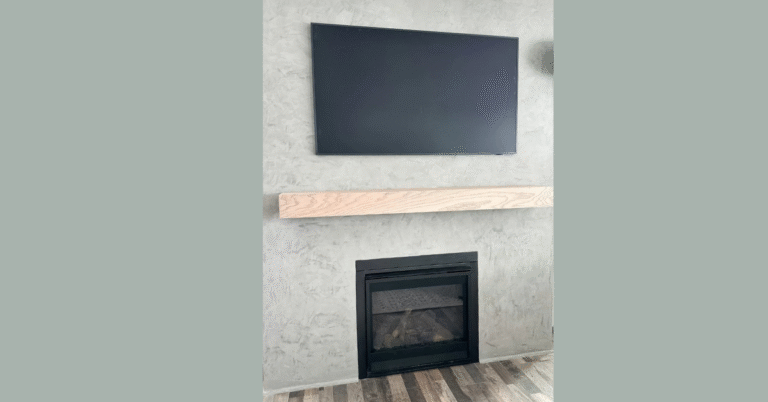
Bonus Idea: Upgrade Shelving
I’m calling this idea a “bonus” because if you really want to make the most impact with these DIY home improvements in high-traffic areas, I’d start with one of the earlier projects! However, if you love a beautiful, functional closet like I do, this is a project you don’t want to skip.
Many homes come with wire shelving units in closets, pantries, and laundry rooms. They can look temporary, but adding a wood shelf cover instantly gives them a built-in appearance. You can also make DIY shelf covers with wood, wood glue, a nail gun, and jig saw!
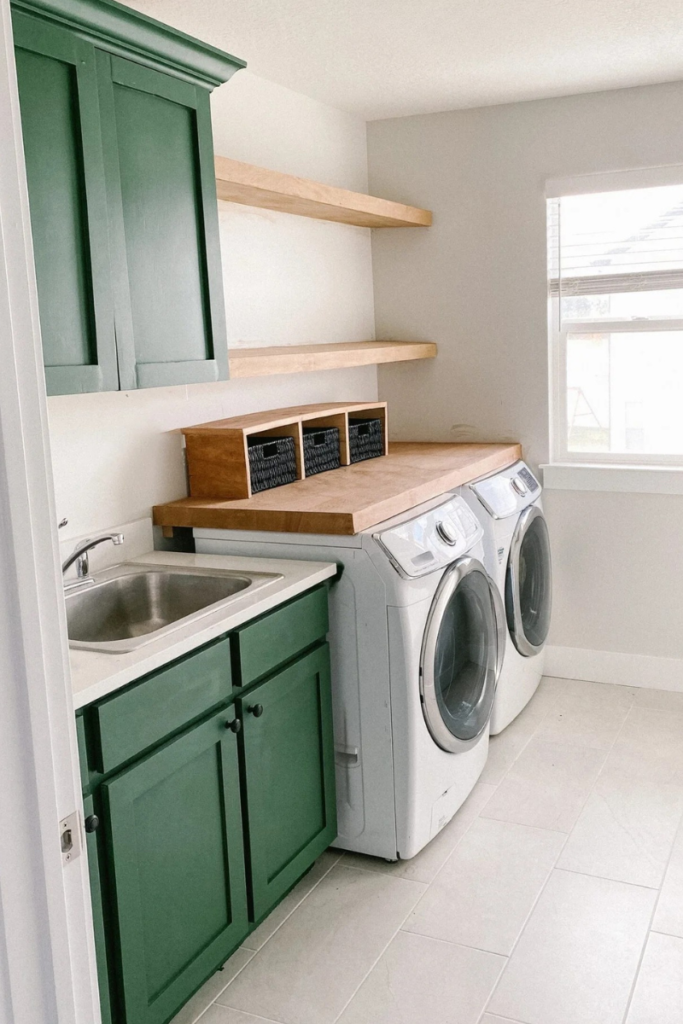
I made this shelf to go over my washer and dryer, but you could adapt the plans for other areas, too!
Which DIY home improvements are you going to do first?
I hope this gave you some ideas to help you personalize your home to your family’s individual style and needs! The beauty of DIY is that you don’t need a huge budget to create the home of your dreams; just some imagination, hard work, and often, a good sense of humor. 😅 Follow along for more DIY home improvements and hacks!