DIY Grid Wall: A Beginner-Friendly Project with a Big Impact
I love the way accent walls look. They are one of those DIY projects that completely change the look of the room! I did this grid wall in my bedroom, and I still love it today. Here are the easy-to-follow steps so you can make your own!
Supplies Needed:
- MDF Board (I used primed 1x4s, but you can use any size you’d like.)
- Nail Gun
- Large Level
- Miter Saw
- Jig Saw
- Digital Angle Finder
- Caulk Gun
- Caulk
- Wood Filler
- Paint (I used Homburg Gray by Sherwin-Williams.)
Step #1: Paint the Wall
The first step is to paint your entire wall. You don’t have to spray your wall; you can use a roller, but spraying does give it a nice finish.
Step #2: Paint the Boards
I know it might seem weird to paint your boards before you put them up, but just trust me. It really is easier! Plus, it was so easy to paint these outside, and there was a lot less prep work! Painting hack: Use thumbtacks under each board so that it holds it up slightly for the sides to get painted.
Step #3: Framing the Wall
Next, I framed the wall. I use boards to cover the whole border of the wall. It gives it a nice, clean, and symmetrical look.
Step #4: Spacing the Boards
The question I got the most when I did this was, “How do you evenly space your boards?” I have a simple way to figure it all out!
Width of the Wall: Width of boards (mine was 3.5″) x the number of boards you want on the wall. Here’s a video that explains it. 🙂
Also, here is a video that explains how to figure out angles with an angle finder!
Step #5: Attach the Boards
Now that you have all of your measurements, you can cut and attach the boards to the wall. I know that some people choose to use Liquid Nails, but I did not do that. I just angled my nails up and down so that the nails stuck in the sheetrock better, and this method hasn’t ever been a problem for me. I do use a large level to make sure the board is straight.
Step #6: Finishing Touches
Time to fill all those nail holes and caulk. I always use wood filler when filling wood on wood and caulk when I fill gaps in wood on the wall. I only caulked around the border of the wall this time, but I have caulked every spot before. I just didn’t feel it was necessary. You will need to sand down the wood filler before you can touch up the paint.
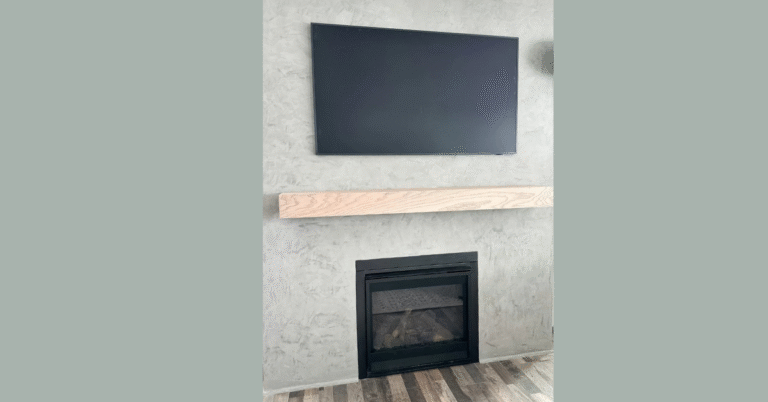
DIY Grid Wall Reveal
That’s it! I love the way it makes this room look. It’s a simple design, but it looks incredible as an accent wall. I hope you found these instructions and videos helpful. Follow me on Instagram for more home projects!