DIY Christmas Porch Sign

I loved the welcome sign I made so much, I knew I would have to make one just for Christmas too! This is a beginner-friendly project that can be as simple or elaborate as you want to make it. Follow my tutorial, and you can make a DIY Christmas porch sign too!
DIY Christmas Porch Sign Supplies:
- Maple Plywood
- Poplar Wood (For the frame)
- Black Spray Paint
- White Spray Paint
- Your Choice of Stain (I chose Early American water-based stain)
- Painter’s Tape
- Berry Stems and Tree Picks
- Your Choice of Ribbon
- Screws
- Pocket Hole Jig
- Nail Gun
- Brad Nails
- Wood Letters to Spell JOY
Step #1: Assemble the Sign
First, I started by assembling the porch sign. It was actually two pieces of plywood that I pieced together because it wasn’t as big as I wanted. I just used pocket holes to put them together. There was a seam, but I painted it the right way so you can’t even tell!
Step #2: Stain the Board
Next, I stained the entire board. After that, I used painter’s tape to divide the areas I needed to paint in order to disguise the seam. I’ll paint the rest of the board a few steps ahead!
Step #3: Cut the Frame & Paint
I did mitered cuts for my poplar board frame around the plywood, and I painted the frame and my wood letters black. I chose the saying, “Joy“, but you can use whatever saying you want for your board. There are so many good options!
Step #4: Paint the Rest of the DIY Christmas Porch Sign
After my sign was stained and taped off, I painted the rest of the sign the colors I wanted. I ended up using some white spray paint and left the middle with the natural stain color. Make sure you tape it off really well to avoid overspray. I did not tape mine off well enough and had some overspray I had to fix, but it all turned out fine!
Step #5: Attach the Frame to the Plywood
Next, I laid all the frame pieces flat on the ground and attached them to the plywood. At first, I tried to use my nailer, but the nails wouldn’t go all the way in because the poplar wood was so hard. Then I tried using a pocket hole jig, but it ended up breaking my jig! So I decided to just drill pilot holes and use screws. I painted the screws black to blend in better.
Step #6: Add Letters and Greenery
After it is all assembled, you can attach your letters. I used brad nails to attach them to the sign.
I also added some berry stems, tree picks, and a large ribbon.
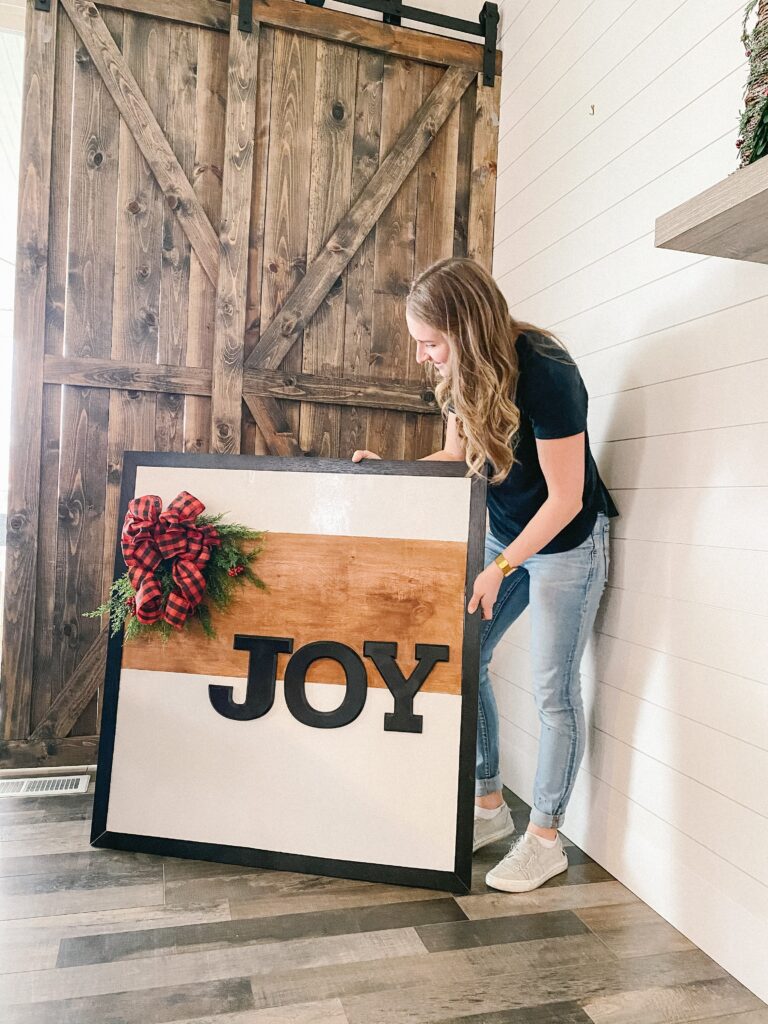
DIY Christmas Porch Sign Reveal
I love the way this holiday sign turned out! Leave me a comment below letting me know what Christmas word you’ll put on your sign!