Creating a Functional Mud Room – Part 1 – Shoe Cabinet
Welcome to my mudroom! This is another space in my home that has gone through a couple of rounds of updates as our family grows and our needs change. This was the first renovation I did to this space. We had the builder-grade mudroom that came with the house, and I updated it to this! I have since updated it again (which you can check out the most recent Mudroom Project HERE). But this version of our mudroom worked so well for us while we had it! I am going to break this project up into two posts: the shoe cabinet and the lockers. Let’s dive into the shoe cabinet tutorial now!
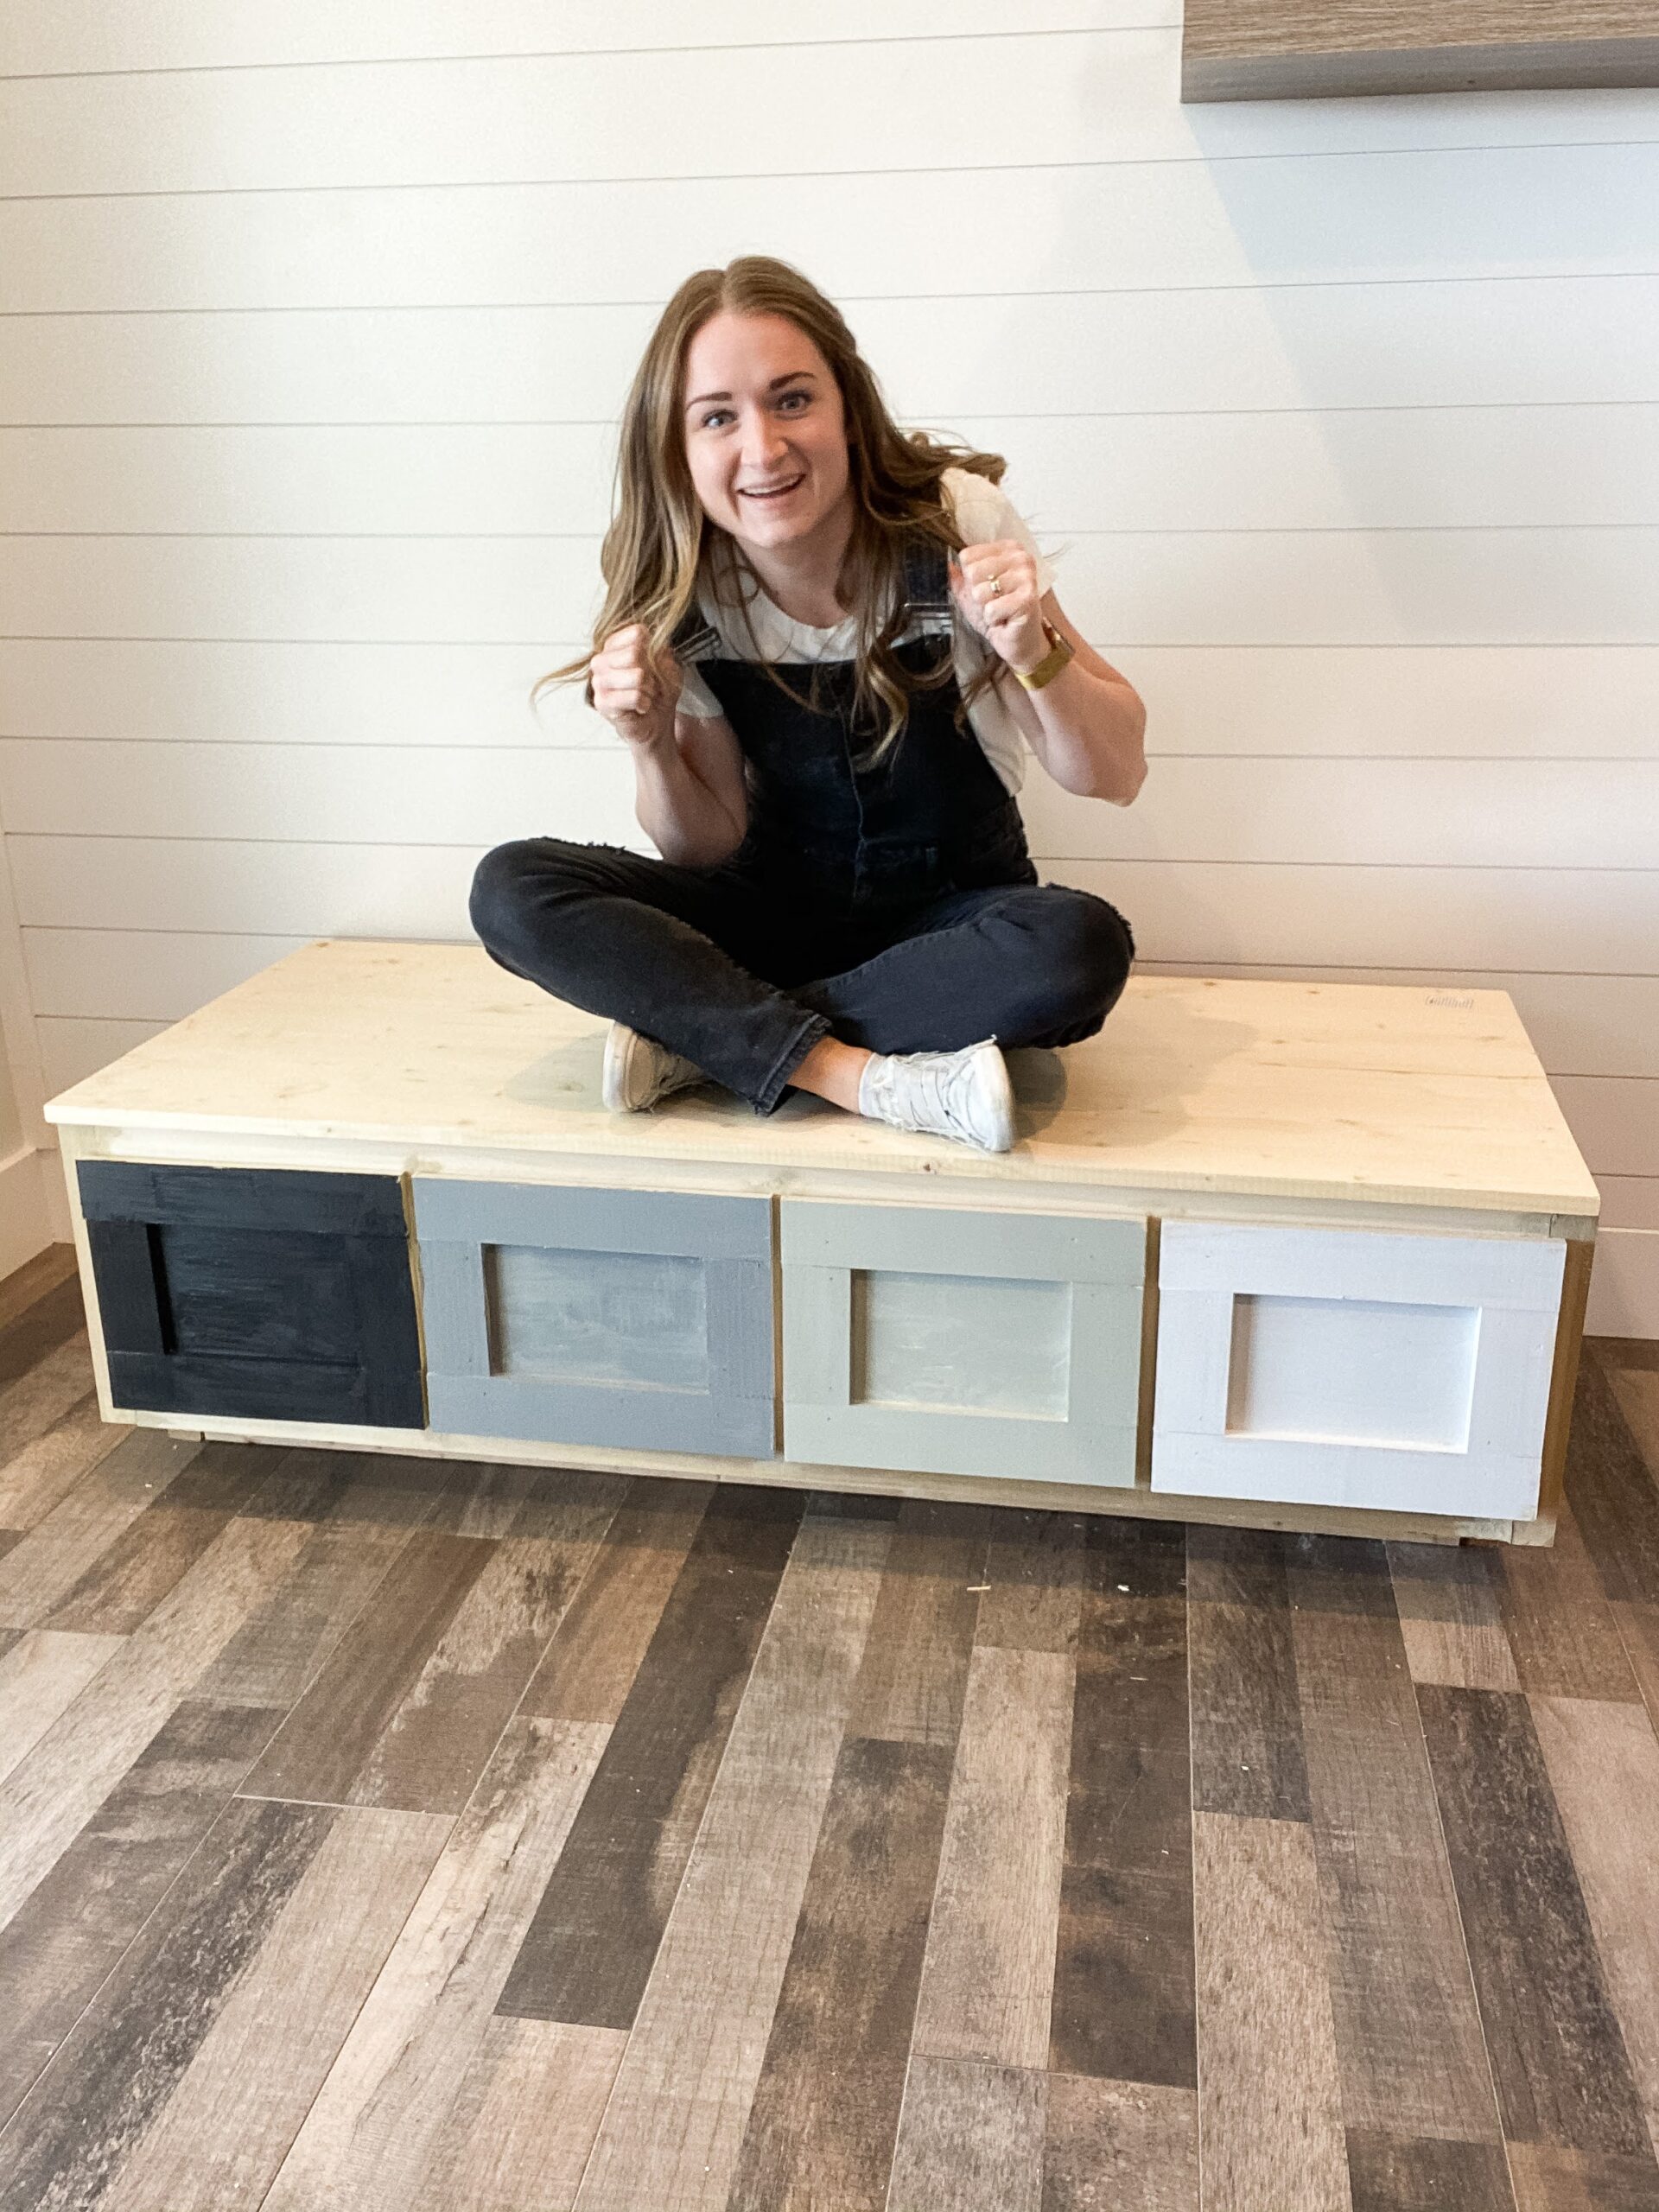
What is a shoe cabinet?
Glad you asked! In my case, it’s the drawers for shoes at the base of the lockers. It is a cabinet that the lockers will be attached to, but I wanted there to also be a small bench for you to sit on. There are several versions of a shoe cabinet, but this is my iteration. Something to note: I will not be sharing measurements. This is partially because my space is different than yours, so you will need your own measurements. But also because I don’t have the measurements anymore. 🙂
Shoe Cabinet Supplies:
- Plywood
- Screws
- Pocket Hole Screws
- Drawer Slides
- Face Frame Trim
- Drawer Face Trim
- Wood Filler
- Sandpaper
Tools for the Shoe Cabinet:
- Pockethole Jig
- Drill
- Nail Gun
- Table Saw OR Jig Saw (OR have your hardware store cut your plywood)
- Miter Saw
- Orbital Sander
Step #1: Shoe Cabinet Shell
The first thing I did was build the cabinet shell. To do this, you will need some plywood – enough for a back piece, two side pieces, and a bottom piece. You will also need two strips of plywood for the top.
To assemble these, you can either nail directly through one piece of wood into the other (which will leave exposed nail heads) or you can do pocket holes, which will be easier to hide. Where you put this will determine which direction you go. I did a little of both. On the side that will be exposed, I did pocket holes, and for the rest, I just nailed straight through.
First, you will attach the two sides to the back piece. Then, attach the top pieces to the sides. I put one along the back and the other towards the front. Check out the video for more details!
Step #2: Drawer Slots
This is a quick and simple step. I cut out three pieces of the plywood to be the “walls” dividing the four drawers. From there, I attached it to the shell on the back and bottom. I also put a screw through each of the top pieces to secure them to the drawer dividers.
Step #3: Toe Kick/Base
I’m installing drawers, which means I need to raise the cabinet, so the drawers do not slide on the ground. AND, because I’m building it in, I need the bottom of the cabinet to line up with the baseboards, so I can continue it around. I took a few 2x4s and secured them to the cabinet base and each other with screws. No need to get fancy here. This will all be covered.
Step #4: Trim
Next, I trimmed out the face frame of the cabinet to hide all the raw edges. To do this, I got some nice 1x2s. I cut them to fit all the way around the front of the cabinet. Then, I nailed directly through the trim into the raw edge of the drawer “walls” with a brad nailer. Thankfully, these holes can be covered quickly and easily with wood filler!
Step #5: Build the Drawers
I always remind people who are building drawers not to overthink it. You are just creating a box with an open top. Easy peasy!
For this, you will need two sides, a bottom, and the front and back. Be sure to measure your drawer openings and account for how the drawer slides will attach. In my first attempt, I made the drawer too large, so I had to cut it down and make it smaller. That’s okay!
I used pocket holes on the drawers. Put the pocket holes on the OUTSIDE of the box. You want to make sure all your exposed edges, pocket holes, and other not-so-pretty things are on the front, back, and bottom – NOT the sides. The front, back, and bottom will be covered or hidden, so we want to try to keep the sides “clean”. Be sure to plan and cut your wood accordingly.
Repeat that for all the drawers.
Step #6: Install the Shoe Cabinet Drawers
I’m not going to go into much detail about how to install the drawer slides here, mainly because not all slides are made the same, and they all have their own way of being installed. I recommend reading the instructions or watching the manufacturer’s videos on how to install them.
I will say, make sure everything is super level and even. You may even need to install a bump-out. Just make sure it’s super straight and level!
Step #7: Drawer Fronts
There are so many ways to make a drawer front. I decided to do it the easy way, because they still look great and it’s way less difficult. We will be using the front of the drawer you already created as the center of the drawer front, and we will attach a “frame” to it to look like shaker cabinets.
First, get 1×3 trim pieces. You will cut two long and two short pieces. The long pieces go on the top and bottom of the drawer, and the short pieces go on the sides. Using your nail gun, secure the top and bottom pieces directly to the front of the drawer. We are doing the overlay method, so the backs will rest on the front of the drawer face frame. See the video for a visual on what I mean! After the top and bottom pieces are on, secure the sides in place the same way.
Step #8: Finish Work
By this point, I was ready to be done. If you feel this way too, that’s okay! This is why it is important to break projects up into smaller, more manageable sections.
To complete the shoe cabinet, I did all the finish work, spending time filling holes and imperfections in the shoe cabinet. Then, go over it with a sander. I did not paint it yet, because I was still deciding which color to to with, but the hard part is now done!

Next up: Part 2 of my mudroom makeover!
Follow along for more DIYs and fun at…


2 Comments