Personalize Your Entryway With a DIY Welcome Sign
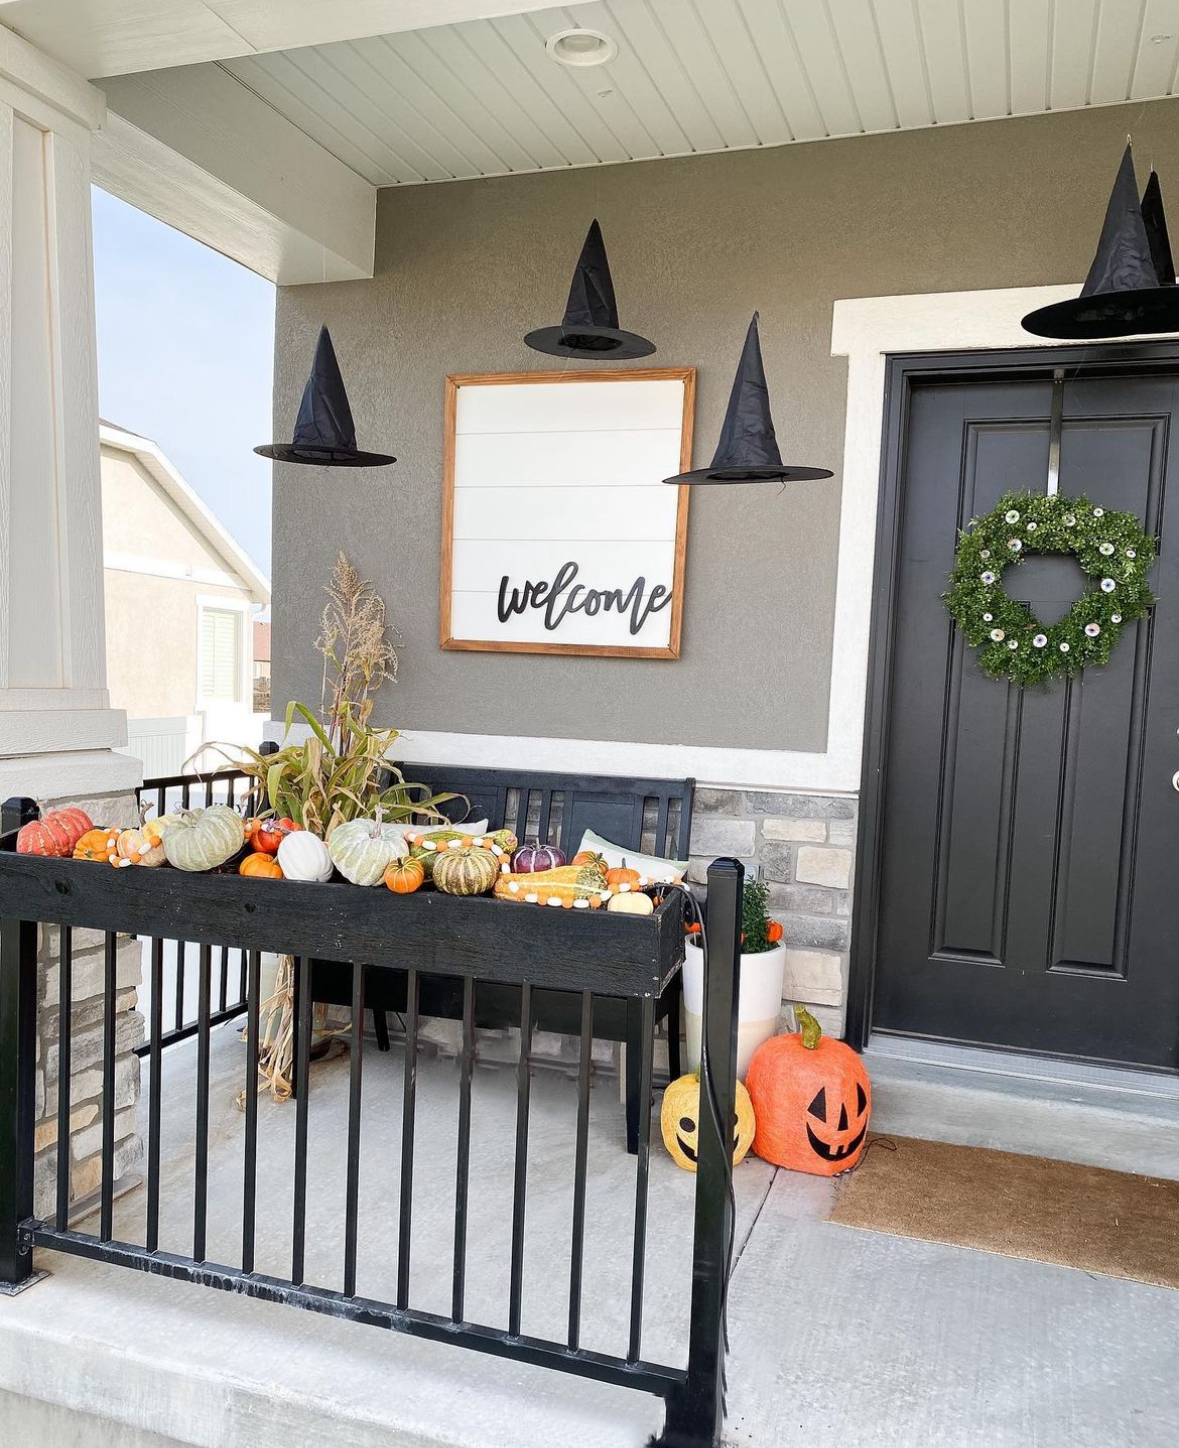
This DIY welcome sign is the perfect beginner-friendly project. It is so cute, simple, and fun! You can place this shiplap welcome sign outside or inside, and you can customize it to any shape or size you prefer. The only tools you need are a nail gun and a miter saw. It’s easily a naptime project!
Note: This post contains affiliate links. I may earn a commission at no extra cost to you. Thanks for supporting my content! 🙂
DIY Welcome Sign Supplies:
DIY Welcome Sign Step #1: Prep the Shiplap Backing
First, cut your shiplap to your desired size and shape. I cut mine into five 30-inch strips to fit the frame of my sign. Next, place the strips upside down and connect them. I used three pieces of scrap wood and nailed them to the back of the shiplap to do this, but you could also use a piece of plywood or something similar.
Then, sand down the shiplap and give it a fresh coat of paint.
Step #2: Make a Frame
To make a frame, take a 1×2 and miter the ends to 45-degree angles. This allows them to connect smoothly. After that, stain the wood (I love using this stain/poly combo!).
Once the frame is dry, nail it directly into the sides of the ship lap with a nail gun.
Step #3: Add the Finishing Touches to Your DIY Welcome Sign
Finally, it’s time to paint and add some custom touches, like paint, wood cutouts, or anything your heart desires! I painted my welcome sign black with acrylic paint and glued it to the front of the sign. And with that, your welcome sign is complete!
This is such a simple but fun project. And the best part is, you can adapt it to any season or holiday you want! If you make one, I would love to see it! What other words would you put on it? Let me know in the comments!

Follow along for more DIYs and fun at…