
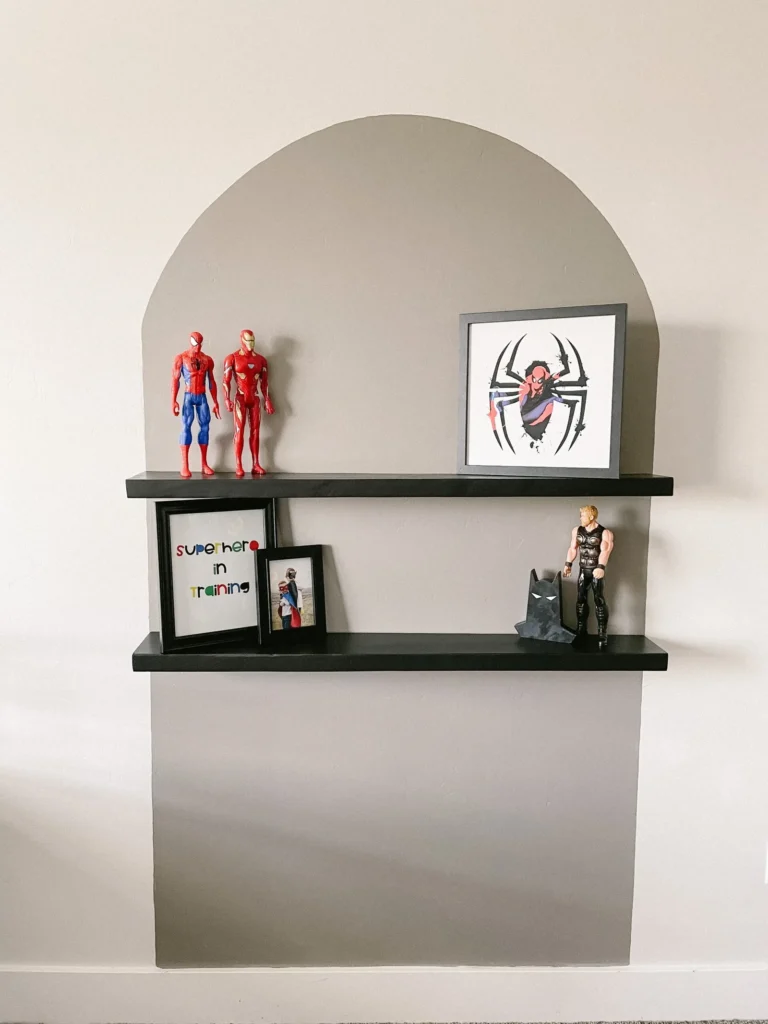
Simple Arch Display Wall
Are you looking for a simple way to add some character to your room? This easy arch display wall is perfect! It’s a great starter project, and it doesn’t require a lot of tools or materials. I made this arch wall in my boys’ bedroom, and I love it! Follow these steps to make your own!
Note: This post contains affiliate links. I may earn a commission at no extra cost to you. Thanks for supporting my content!
Arch Display Wall Supplies:
- Thumbtack
- Pencil
- String
- Paintbrush
- Paint (I just used a sample size of paint, and it was perfect for this spot!)
- Spray Paint (I used this for priming.)
- Drill
- Level
- 1×6 Boards
- Floating Shelf Brackets
- Stud Finder
- Sandpaper
Arch Display Wall Step #1: Find the Studs & Outline the Arch
I started by finding out where my studs were (I used this stud finder), because I wanted to make sure there were studs inside my arch for the shelves. So once I knew where they were, I could decide where I wanted the arch to go.
I took a thumbtack and attached a string to the end. Then, I put the thumbtack in the middle of where I wanted the arch to be. I took the other end and attached my pencil to it. Using the string, I outlined the top part of the arch. I made straight lines down the sides using my level.
Step #2: Paint the Arch
I cut in with an angled brush and then painted all the rest. Two coats were all I needed, and they used all of my sample paint. But how amazing is it that I only needed a sample paint size?
Step #3: Attach Shelf Brackets
After painting, I needed to find the studs again for the shelf brackets. I simply predrilled holes in the spots where I needed the brackets. Then I took out the drill bit and put the bracket into my drill.
Next, I screwed the bracket into the wall and unscrewed it from my drill. I used my long level to make sure all of the supports were at the same height. Then I put a little bit of paint on the ends of the supports and pressed my wood on it. That way, I knew exactly where I needed to drill in my wood. I did a dry fit to make sure it worked!
Step #4: Paint the Shelves
After getting all of the holes drilled into my wood, I sanded the shelves and prepped for paint. I ended up doing two coats of primer and two coats of paint. Spray paint turned out to be a perfect primer for this project!
After priming, I sanded all the rough spots with 220-grit sandpaper. I put the shelves on, but didn’t push them all the way to the wall, so that I could paint them more easily!
Step #5: Attach the Shelves & Decorate
Once the shelves were dry, I pushed them all the way to the wall and decorated them with all things superhero for my boys. I love the way it adds character to their room, and they love it too!


One Comment