Transform Your Space with a DIY Wood Accent Wall
My friend wanted a DIY wood accent wall in her home and asked if I could help. And of course I said yes! Being a work-from-home mom is so rewarding and so fun, but it absolutely can get lonely. When friends ask for help with their projects, I always say yes. Not only do I get to hang out with my friends (and my kids get to play with their friends), but I also get the privilege of having DIY be my job, so when we are doing projects, I am working! It’s a win-win!
This is not the only time I have done a slat wall project. I did it in my kitchen HERE and in my pantry HERE. Check those projects out too! It is a simple but very impactful project with minimal tools!
Note: This post contains affiliate links. I may earn a commission at no extra cost to you. Thanks for supporting my content! 🙂
DIY Wood Accent Wall Supplies
DIY Wood Accent Wall Step #1: Prep the Room & Paint
We are painting the whole room black, so we taped everything off: the ceiling, baseboards, corners, windows; all of it. Then, we covered the floor with THIS painters’ tape and plastic in one. It’s so convenient to use! Just tape it on, and then the plastic pulls out, and you can cover the carpets.
Because we are painting the entire room, we brought out the big guns: My 18-inch paint rollers.
Whenever you paint black (or other dark colors), you will need to do a couple of coats. Also, if you paint back and forth in multiple directions, and NOT load your roller too much, it helps avoid lines in the walls.
We did two coats on all the walls and then let that dry!
Step #2: Cut & Stain the Boards
The walls in my friend’s home are 9 feet high. It is hard to find 1x2s that are longer than 8 feet, so we got 1x4s that were 10 feet and cut them in half the long way. If you do this, you will need a table saw. But depending on your space, you may be able to just get 1x2s.
Next, we measured the walls and cut the slats to size. Once everything was the correct size, we stained them all. We used this stain and polyurethane in one.
Because we planned to nail the wood on the wall, we only stained the sides and fronts of each piece.
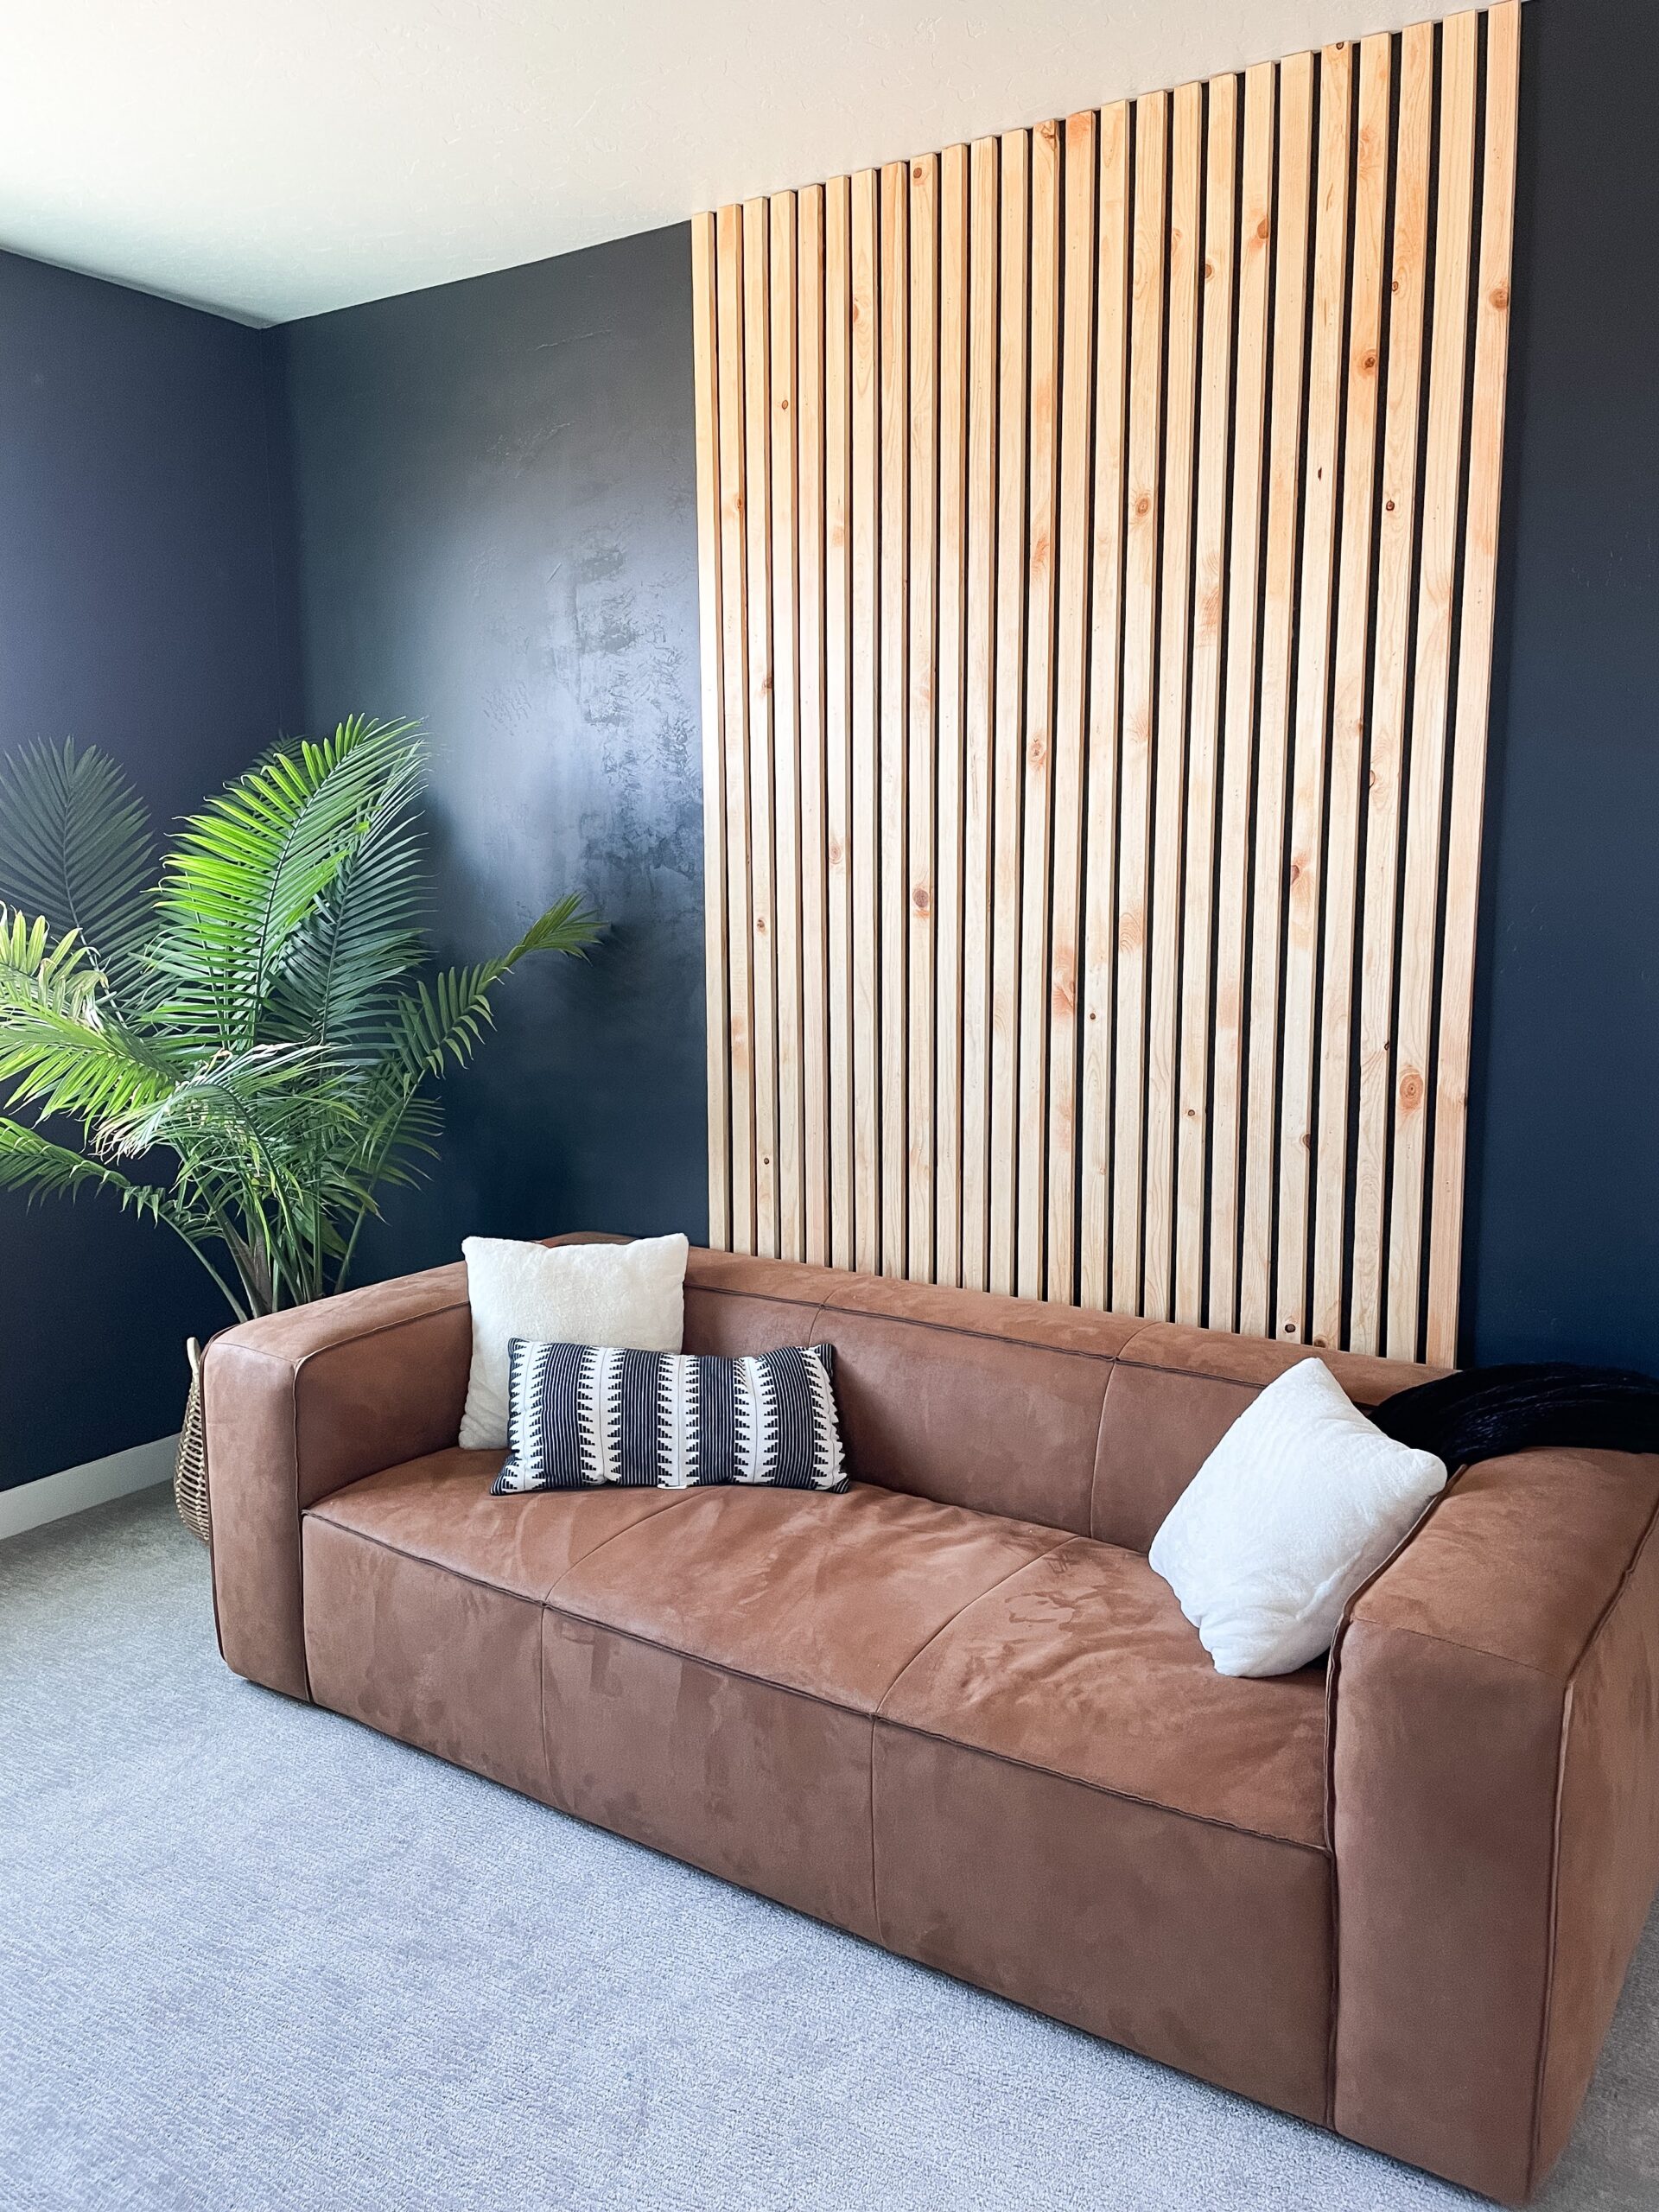
Step #3: Install the Boards on Your DIY Wood Accent Wall
We are installing the boards on a small portion of the wall to act as an accent wall. We measured the wall and found the center, and installed the first board there. To evenly space each slat, we used a scrap piece of the same trim as a guide, sliding it along the first slat while securing the next one. Then we repeated that process until all the boards were in place.
AND THAT’S IT! So simple, so impactful, and SO beautiful!
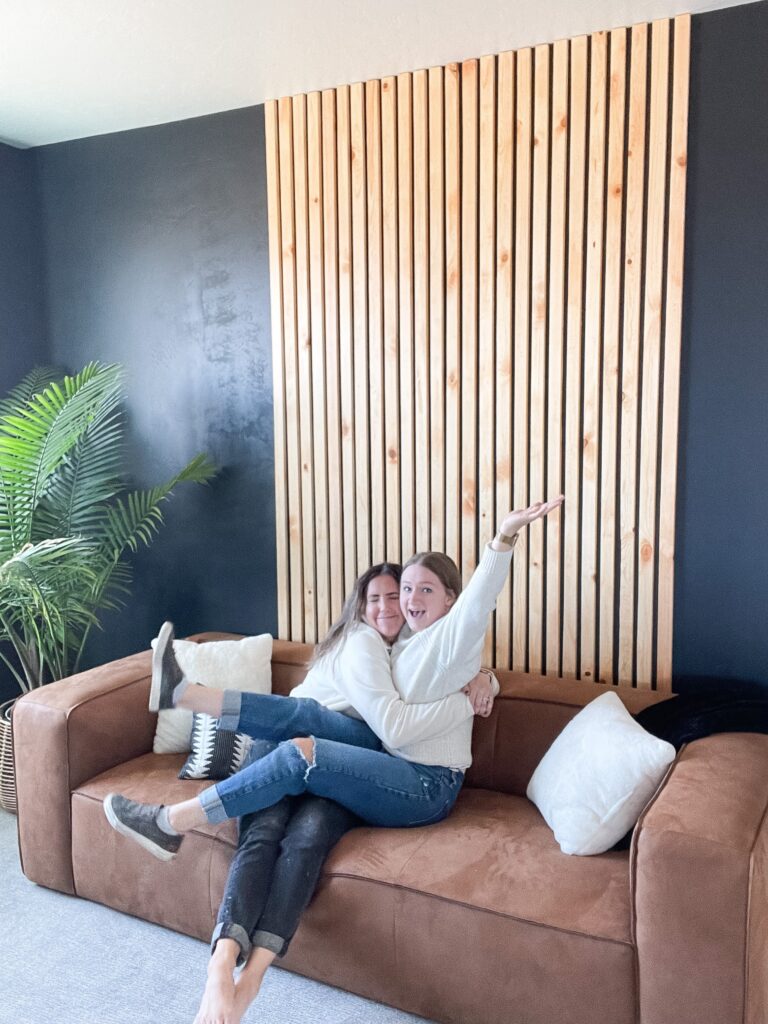
Is this a project you would try? I would love to know.
Follow along for more DIYs and fun at…