Garage Makeover Part 3: Garage Deck Upgrade
If you missed parts ONE and TWO of the garage makeover, go check them out! Part three is the garage deck upgrade! Like most garages, we had a mini deck that was just not cutting it. One of my plans with the garage makeover was to make the storage space more intentional. The space surrounding the deck was already wasted space that was just gathering clutter, and I had a brilliant idea of how to fix that.
This was not the first time I built a deck. I also extended my back deck a few years ago. You can read about it HERE. I followed basically the same process to extend the garage deck.
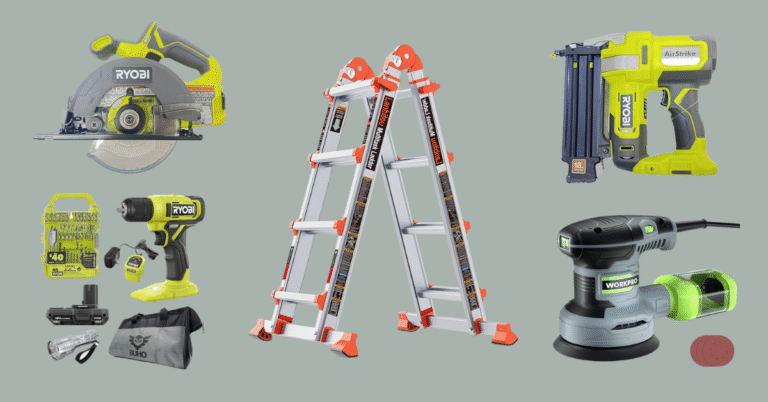
Garage Deck Upgrade Supplies


I used Everbilt 2 in. Zinc-Plated Double-Wide Corner Braces from Home Depot, but they’re now unavailable. You can find similar ones here!


The Deck Upgrade Tutorial
To get a more thorough, step-by-step tutorial on how to extend a deck, check out my Back Deck DIY Guide HERE.
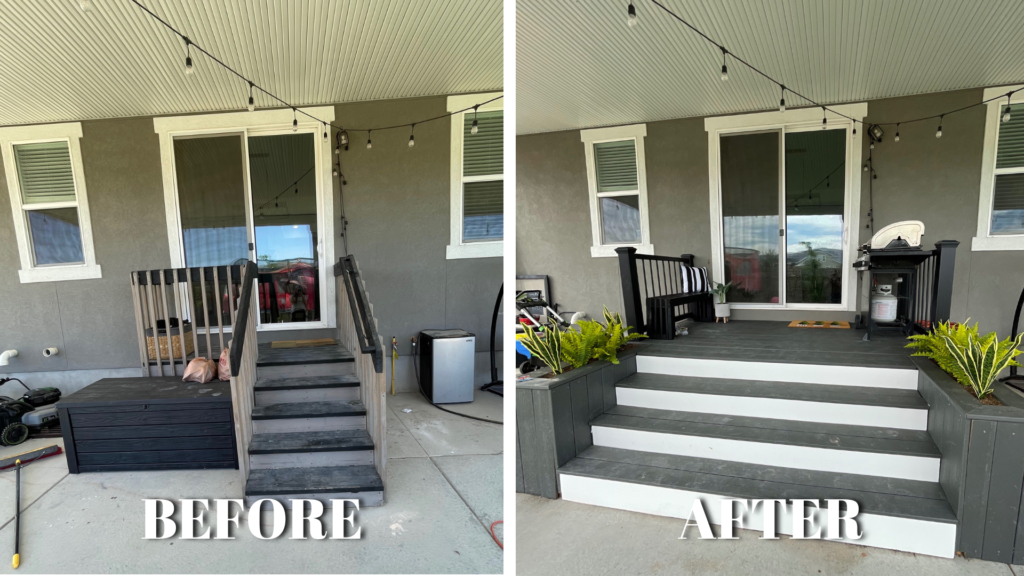
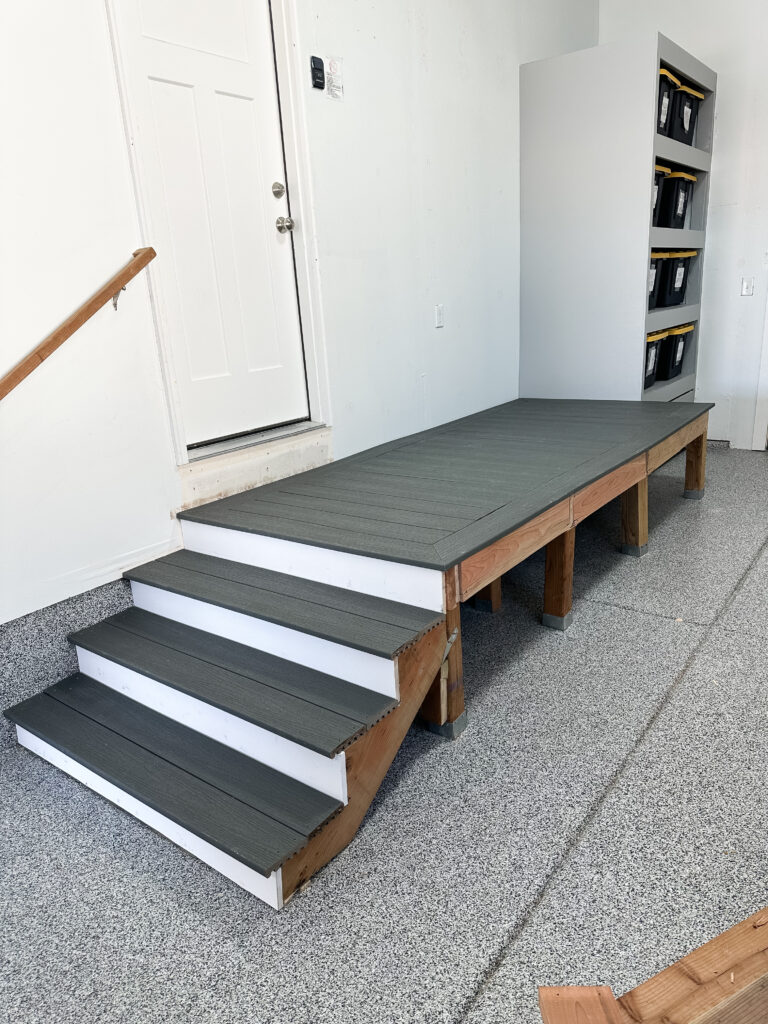
Here is the quick version of what I did on this deck upgrade. I started by removing anything that I did not want on the new deck, like the railing, stair treads, and decking. Then, I built the extended substructure and covered it with new Trex Decking and new stair treads. I had a hard time removing the original materials because the compacted screws were buried under dirt. However, once it was all off, it was smooth sailing installing the new materials.
Under Garage Deck Storage
What is a garage if not a big storage unit? As a family of six, we have a lot of stuff, so my main goal in this garage refresh was to create as much functionality and storage as possible. The hanging storage rack helped accomplish that, but I wanted to fill any negative space with organized storage. This garage deck upgrade was going to open up some additional space beneath it. So naturally, I built sliding drawers to go under the deck to hold camping chairs and sports equipment.
Building these drawers was so easy. I just screwed a box together, added wheels to the bottom, painted it, and attached handles. I made sure to build it to fit three in the space perfectly. It turned out so good!
Gorgeous Railing
The last thing I needed to do on the deck was install a railing. And if I learned anything when I extended my back deck, it was that some things are best left up to the professionals. I hired out a local company to measure and build a beautiful custom railing. They did a fantastic job, and it turned out absolutely beautiful.
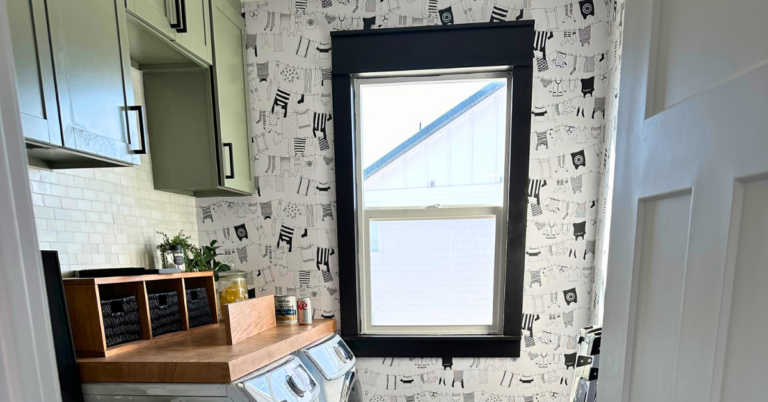
Door Facelift
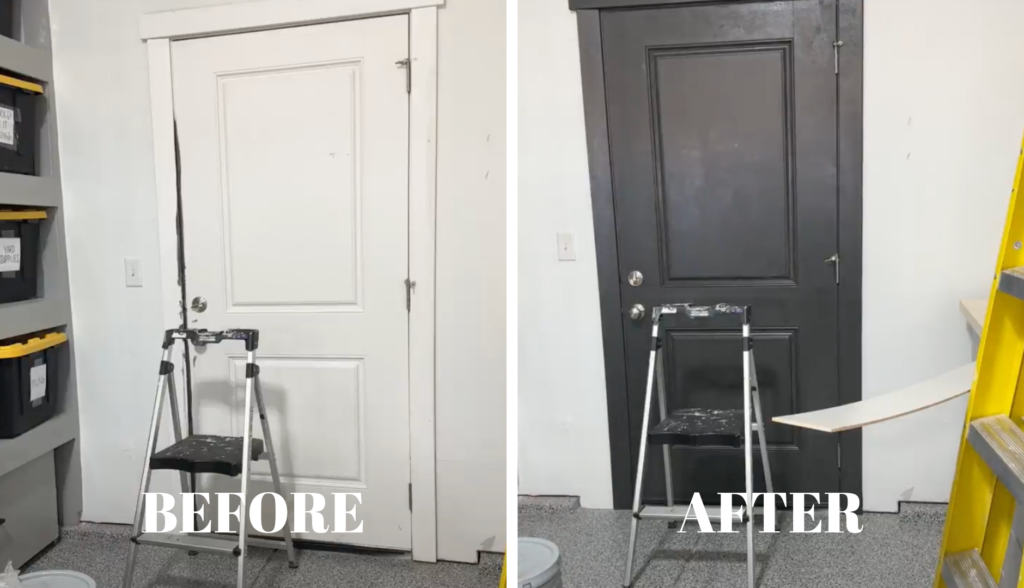
The final element of this phase was painting my doors black to match the deck and storage drawers. Adding extra touches to your project, like painting doors, is a great way to add a level of customization to a project, making it look more thought-out and finished.
Are you ready to see the final deck reveal? It looks so amazing!
FINAL GARAGE DECK REVEAL!

Follow along for more DIYs and fun at…