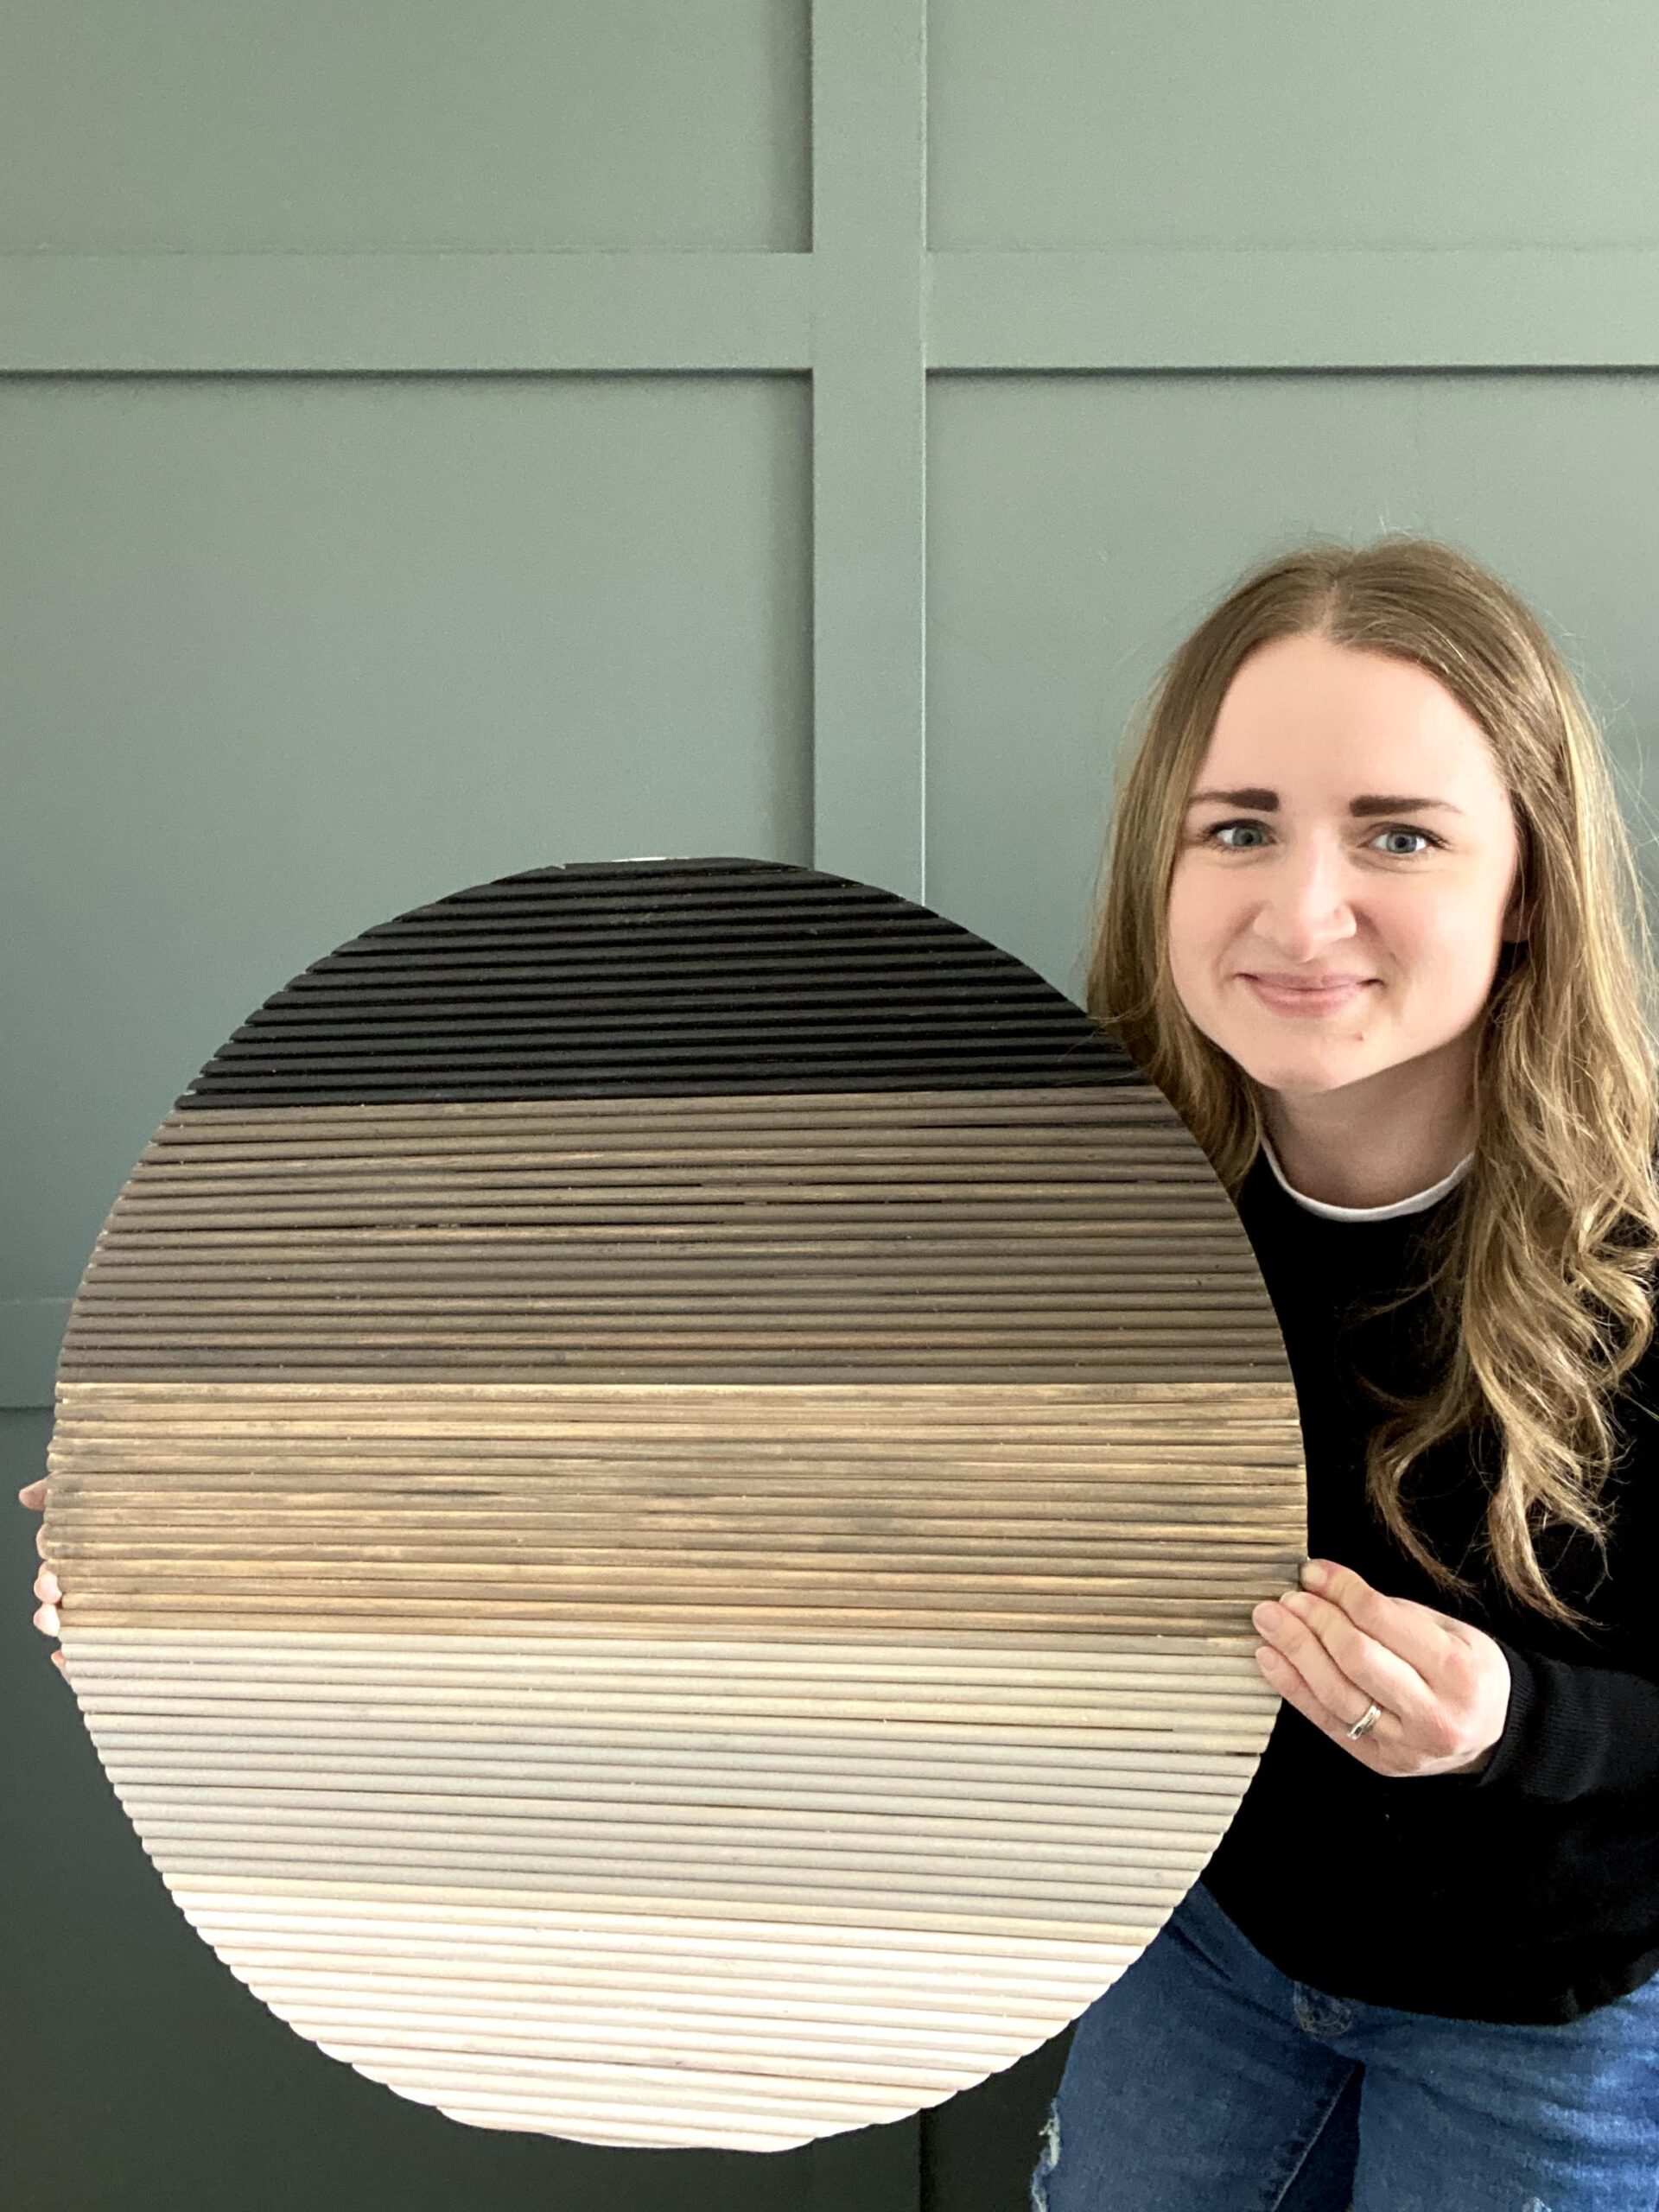
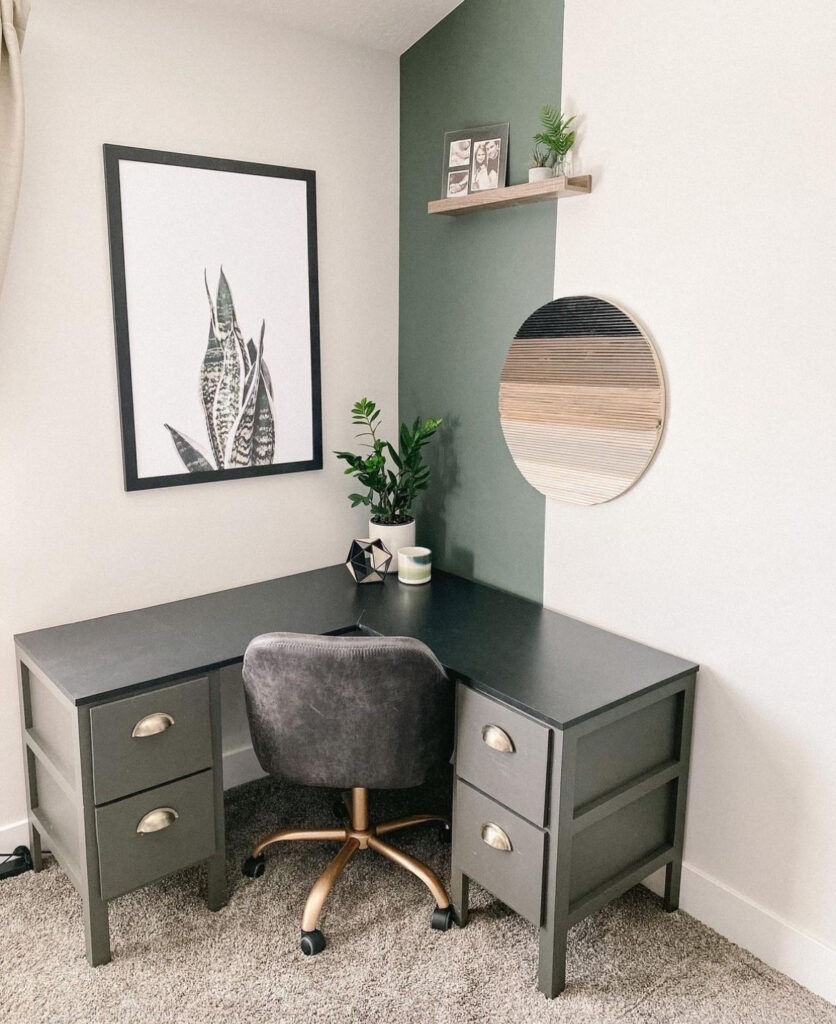
Easy Craft Decor Idea: Circle Dowel Art
Are you looking for a DIY statement piece? Or a simple project that really throws a punch? Do you want to make a piece of art but do not have all the tools? Look no further: This circle dowel art is just the thing! It is simple, creative, and can be customized into anything you want!
Dowel Art Supplies:
Step #1: Make a Circle
Make a circle on the back of a 1/2 inch piece of plywood. The best way to make a perfect circle is to take a piece of string and attach a thumbtack on one end and a pen to the other end. Place the thumbtack in the center of the wood and extend the string until it is tight. Draw a circle with the pencil, keeping the string tight as you move around the thumbtack.
Step #2: Stain the Dowels
Next up: Staining the dowels in the various colors you’ve chosen. You can do a gradient of colors, a rainbow of colors, random colors, or even all the same color. I did a gradient of colors, and I will be honest, I did not realize how many dowels I would need (the total is around 70, if you’re wondering). Staining them all was pretty tedious.
Step #3: Attach Dowels to the Front of the Plywood
On the front of the plywood (opposite the circle you drew), add wood glue to the plywood in sections. Make sure the glue is on most of the circle.
Start adding the dowels to the plywood, covering the entire length of the sheet with them. Continue adding glue and dowels until the plywood is completely covering the plywood.
Place another sheet of plywood on top and use clamps or weights to apply pressure to the dowels as they dry.
Step #4: Cut Out the Circle Dowel Art
Once the glue is completely dry, it’s time to cut the circle out. I covered the dowels in painter’s tape to secure them while I cut them. I probably went a little overboard on the tape, but I did not want them to come off.
Next, turn the wood upside down and use your jig saw to cut the circle out. Sand the edges to clean it up. And with that, you’re done!
Super simple, easy, and impactful art! If you try it out, I would love to see it!
Follow along for more DIYs and fun at…