DIY Bow Storage
Do you have a little girl in your life? If you do, chances are you have an excessive amount of bows, as our house does. I’m all for organizing and having accessories easy to grab. After looking around for different types of bow storage, I decided to just make my own. It was super easy to do and very affordable (my favorite combination)! Follow these simple steps to make your own DIY bow storage.
Note: This post contains affiliate links. I may earn a commission at no extra cost to you. Thanks for supporting my content! 🙂
DIY Bow Storage Supplies:
- Two 1″ by 48″ Wooden Dowels
- Curtain Rings with Clips
- Rod Holder
- Your Choice of Stain (I used Early American)
- Water-Based Wood Conditioner
- Water-Based Polycrylic Top Coat
- Small Brush to Apply the Top Coat (These paintbrushes are my favorite!)
- Stain Applicator (I used a lint-free cloth)
Tools Needed:
DIY Bow Storage Step #1: Cut the Dowels
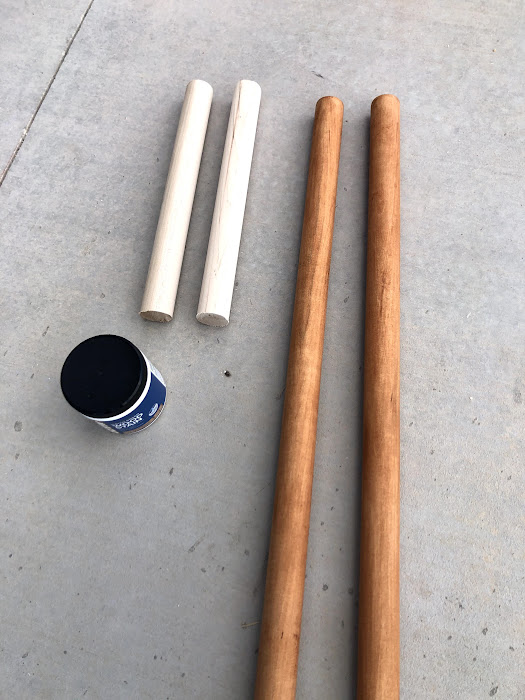
Now that you’ve got your supplies, you’re ready to start! The first step is to cut your dowels to size. I measured the space I wanted to put it in and decided to make mine 18″ long. I used my miter saw to cut two dowels at 18″, but you can always have them cut to size at Lowe’s or Home Depot if you don’t own a saw.
Step #2: Stain the Dowels
Next, it’s time to stain! I always use wood conditioner before I stain. It helps to make the staining more even and less splotchy.
After you have applied the wood conditioner and let it dry (about 15 minutes), you can stain. You can choose whatever color of stain you want. I chose to use Miniwax Early American. It’s a water-based stain, and I love it! It’s really easy to clean up after, and it doesn’t smell horrible. I just used a lint-free cloth that I had to apply the stain to the dowels. I put the stain on with the cloth and then quickly wiped it off with another clean cloth so the stain didn’t saturate too much.
Once the stain dried, I used a brush to put the polyacrylic topcoat on to seal it.
Step #3: Install the Dowels
Next, I got the rod holders and measured exactly where I wanted them to be. I just picked up my drill and screwed one side into the wall. I temporarily put one of the dowels in place so I could use my level and make sure the other rod holder was where it needed to be. Then I screwed the second side into place.
DIY Bow Storage Step #4: Add the Curtain Rings
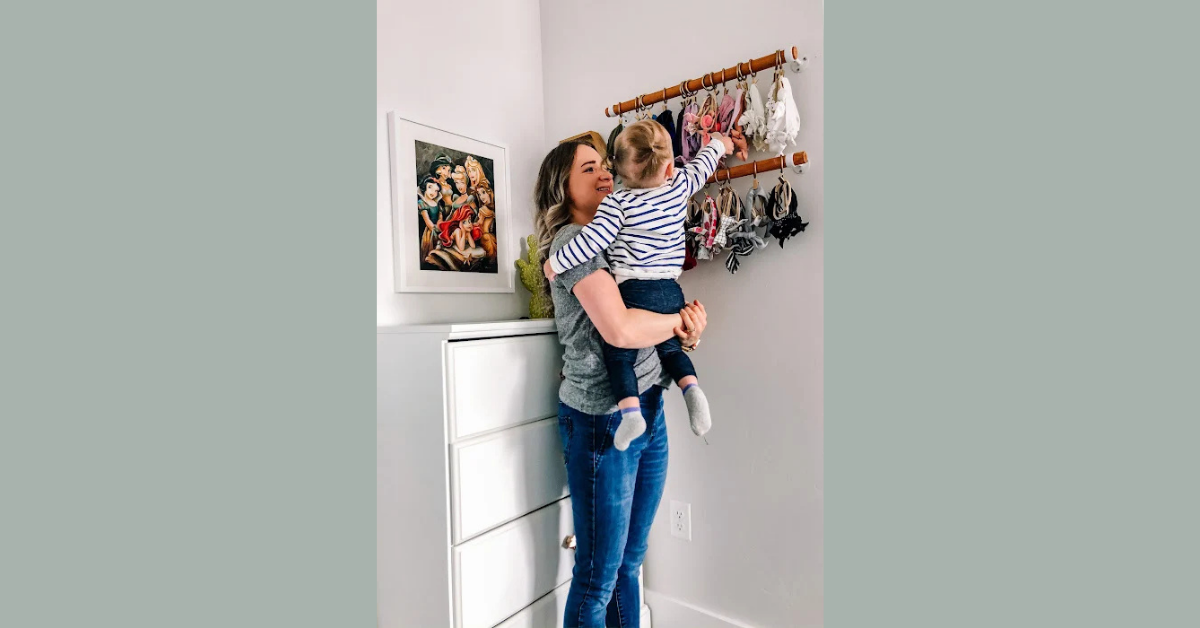
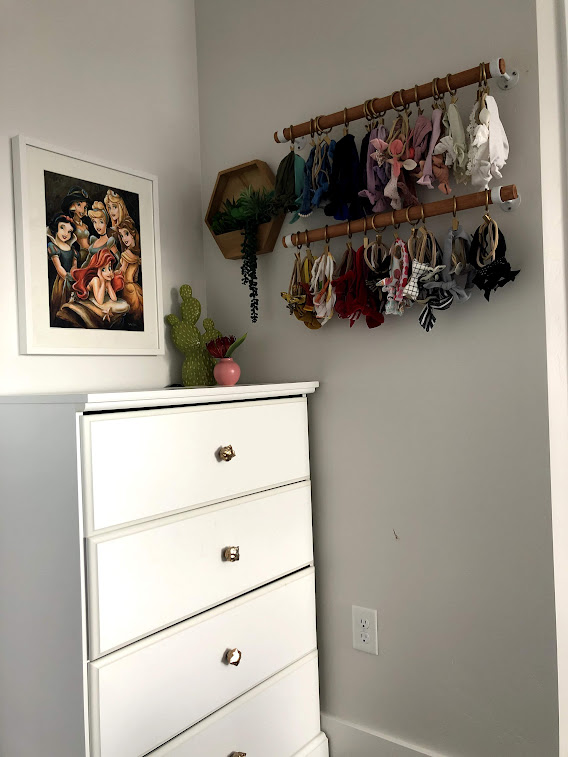
After you have all the rod holders up, you can slide the curtain rings onto the dowels. Then just put the dowels in place and TA-DA! Instant DIY bow storage.
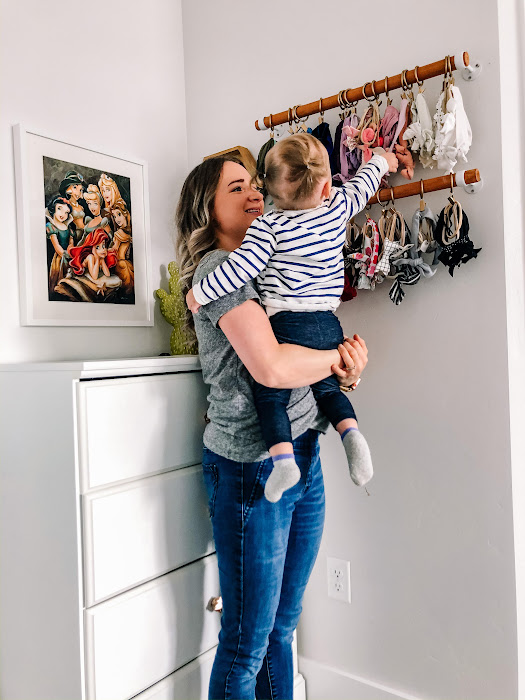
Step #5: Hang Up the Bows
The last step is just clipping all those fabulous bows and headbands on. It looks great and feels great to have all those accessories organized!
If you liked this project, follow me on Instagram for more budget-friendly home projects!