Create a Mini Lowe’s Lumber Cart for Your Little Helper
I cannot even count how many times the viral Home Depot Lumber cart reel was sent to me. I decided to put my own spin on it by making my cute little Sadie her own mini Lowe’s lumber cart! It was so simple, and she LOVES using it when she accompanies me on my (many) Lowe’s trips. Here is how I did it!
Note: This post contains affiliate links. I may earn a commission at no extra cost to you. Thanks for supporting my content!
Mini Lowe’s Lumber Cart Step #1: Build the Bottom
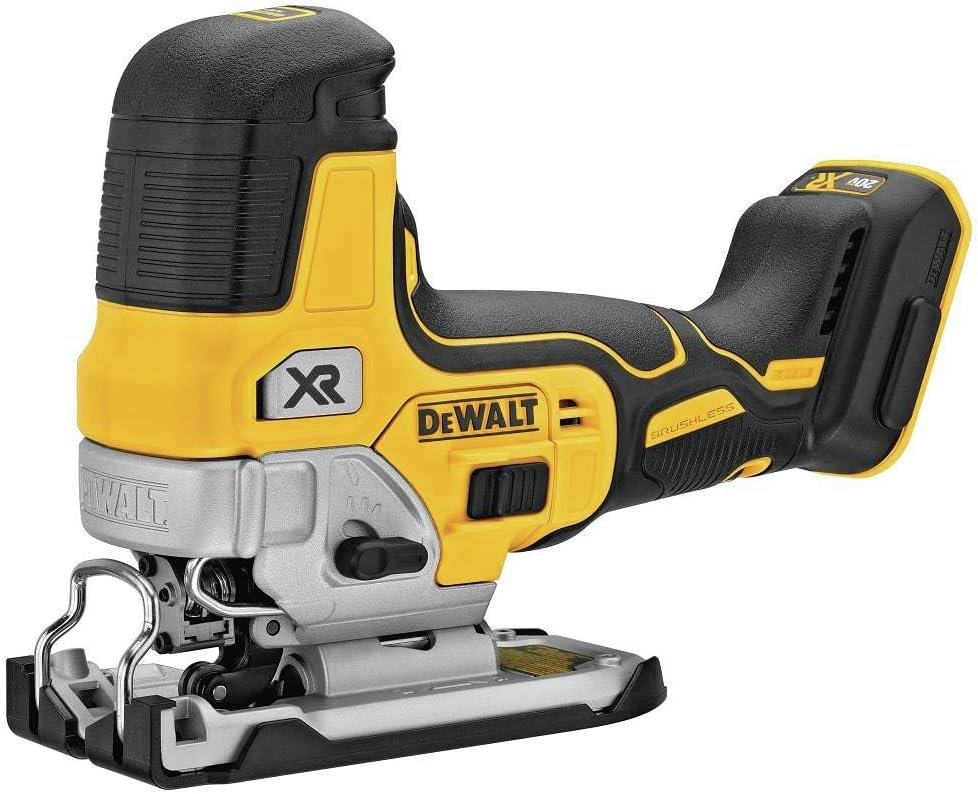
I started by getting some 1-inch plywood and cutting it to size. I also cut two smaller pieces for the bottom sides to act as additional support where the wheels were going.
Step #2: Attach the Wheels & Cut Holes for the Bars
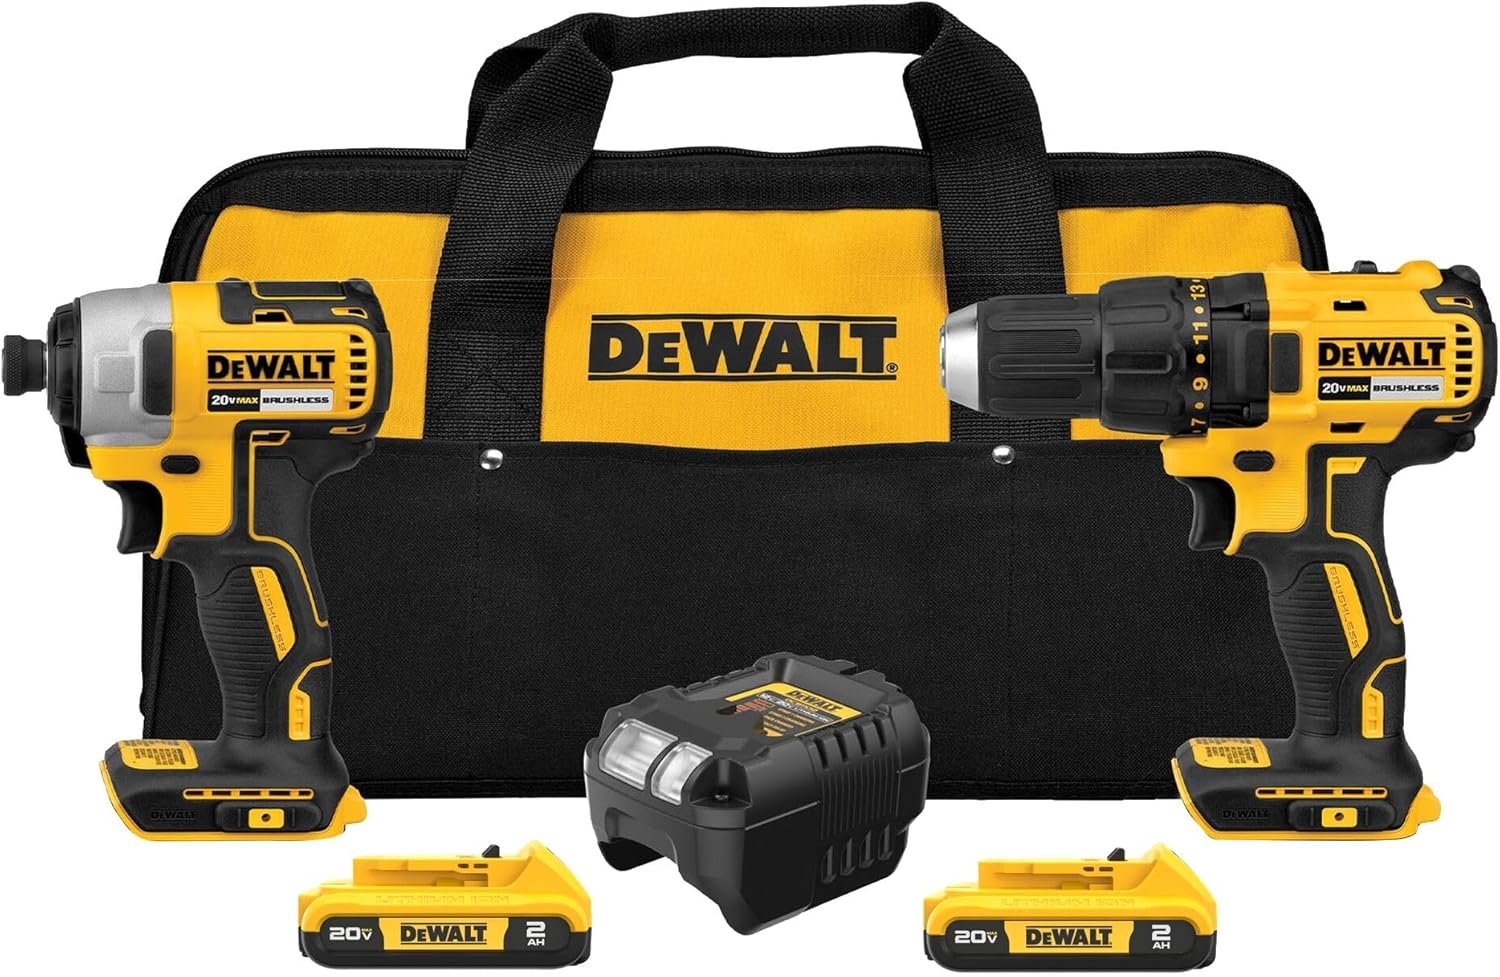
I determined where I wanted my bars to go and drilled holes for them. I put four on each side. Once the holes were made, I then attached the wheels to the bottom. I got these wheels and just screwed them on!
Step #3: Glue It All Together
I put E6000 in each of the holes and then put the PVC pipes in to shape the bars that the full-size carts have.
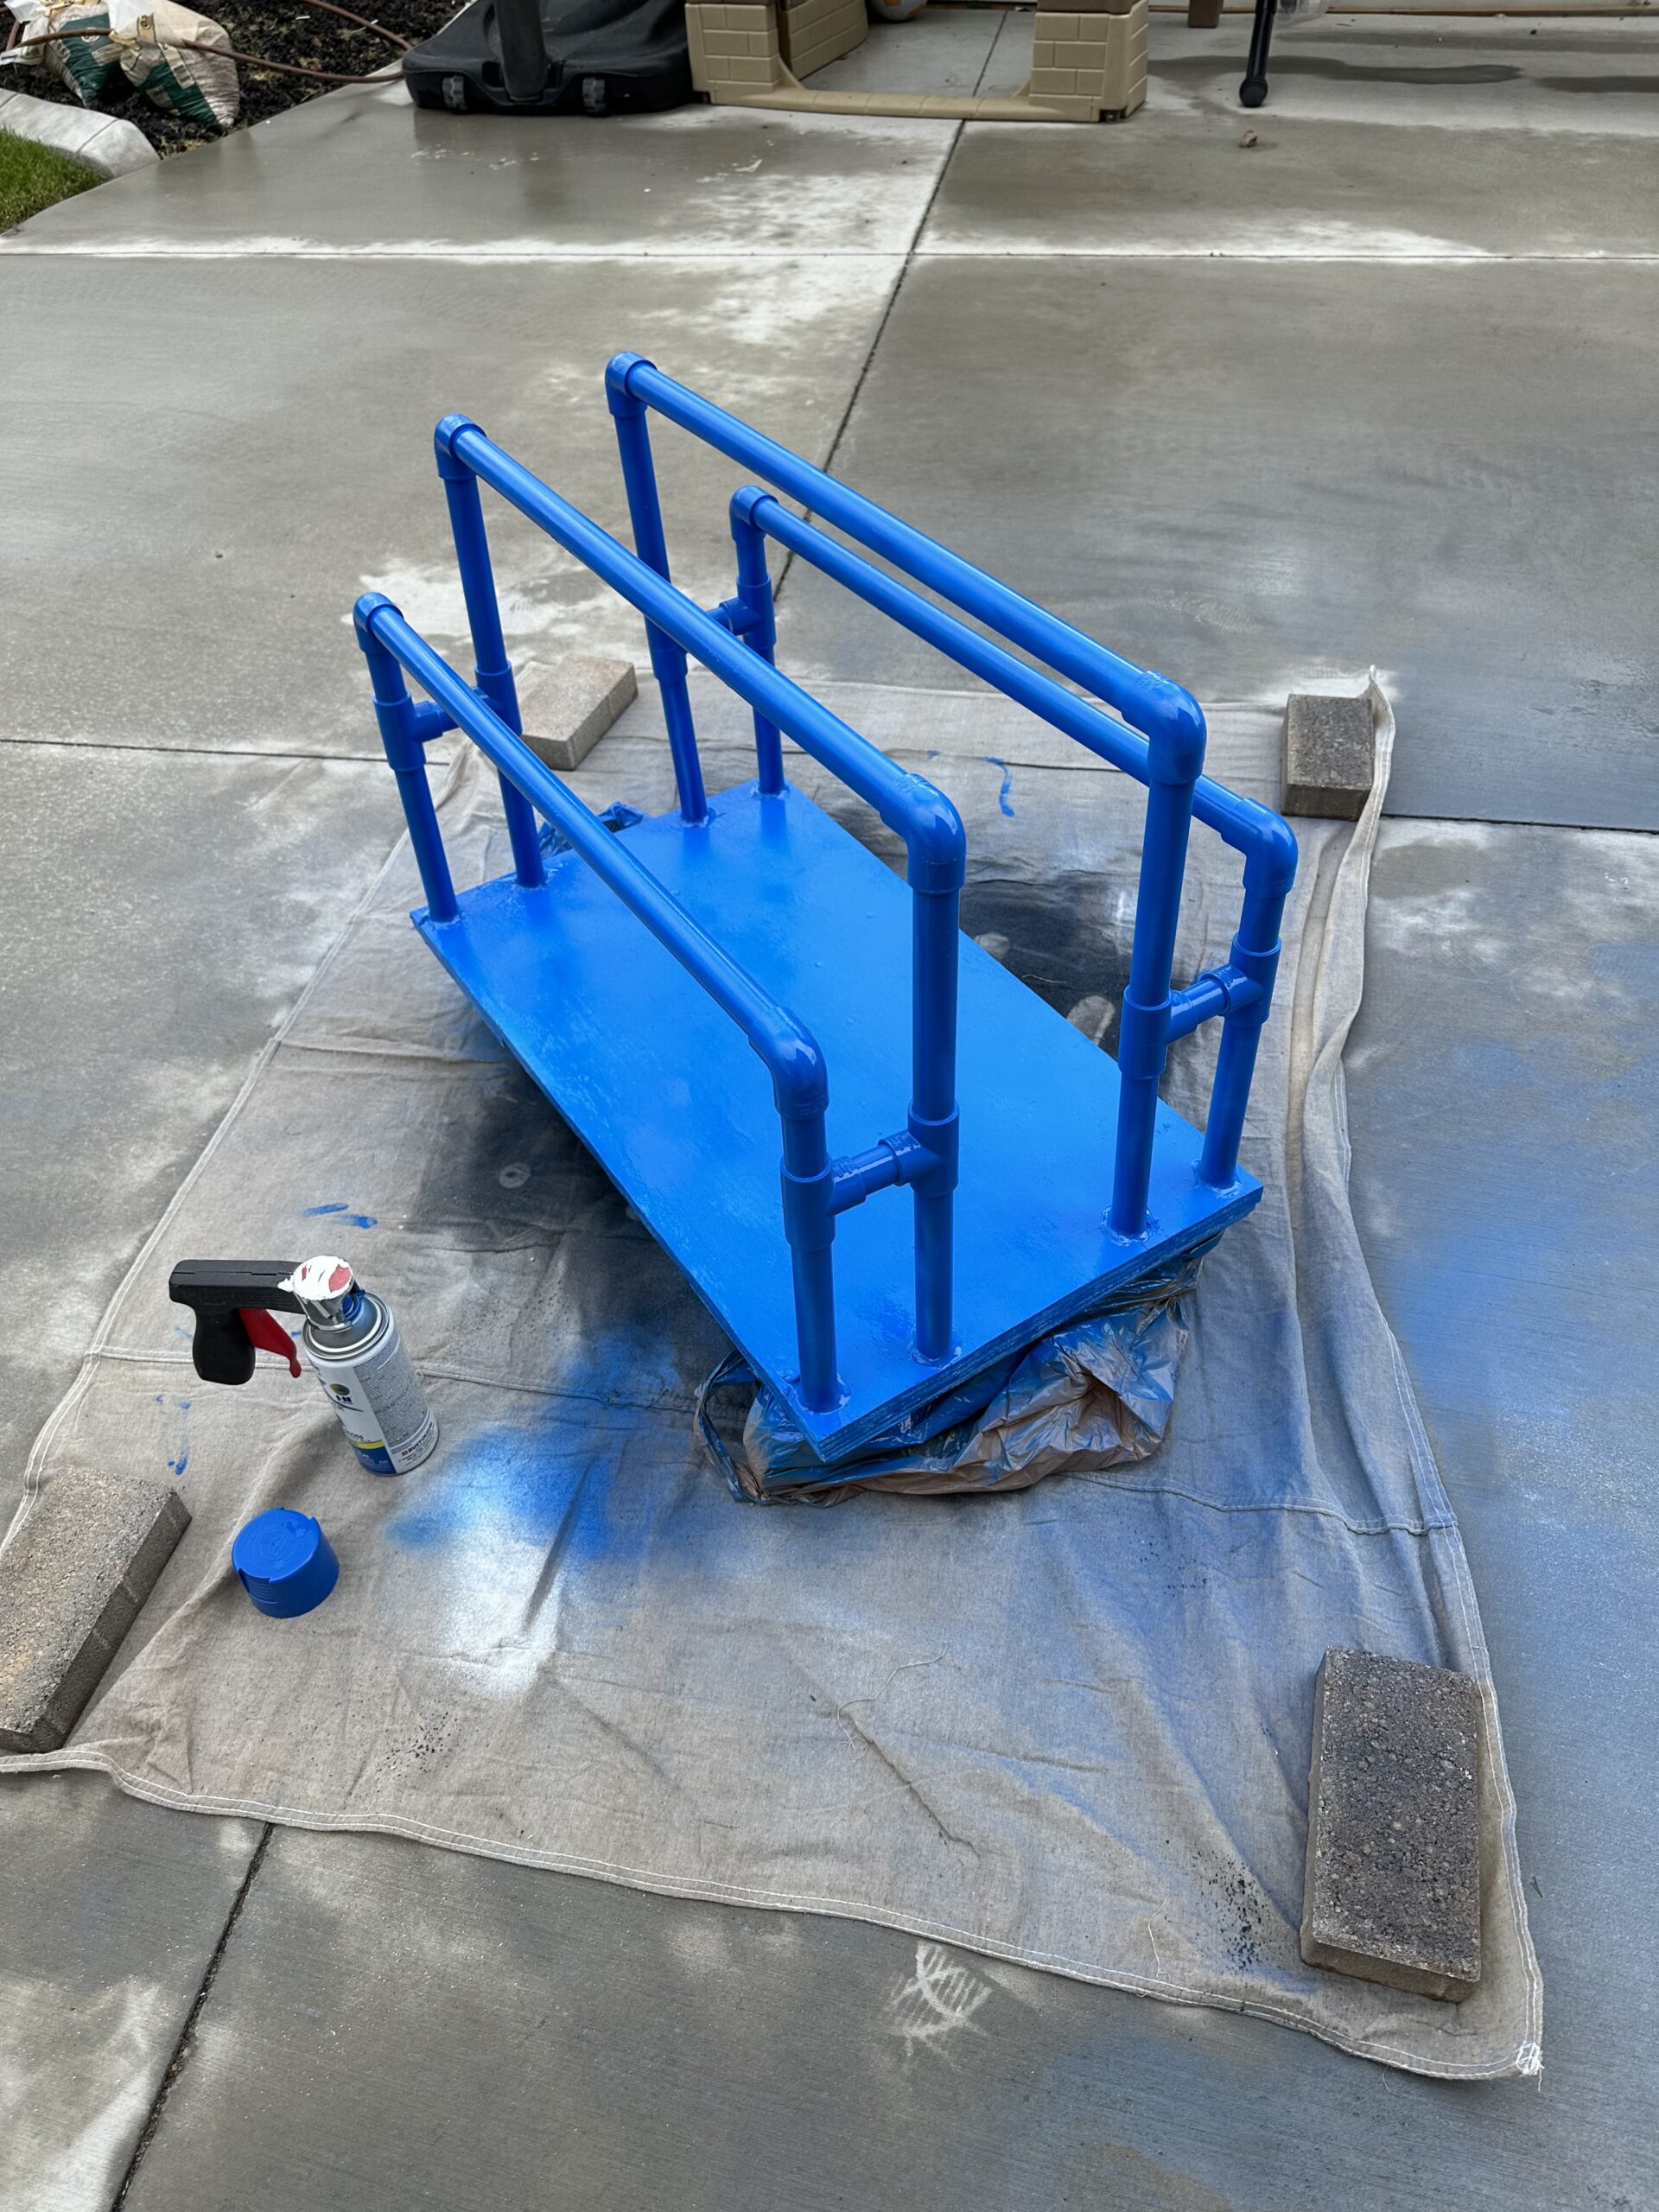
Step #4: Prime & Paint Your Mini Lowe’s Lumber Cart
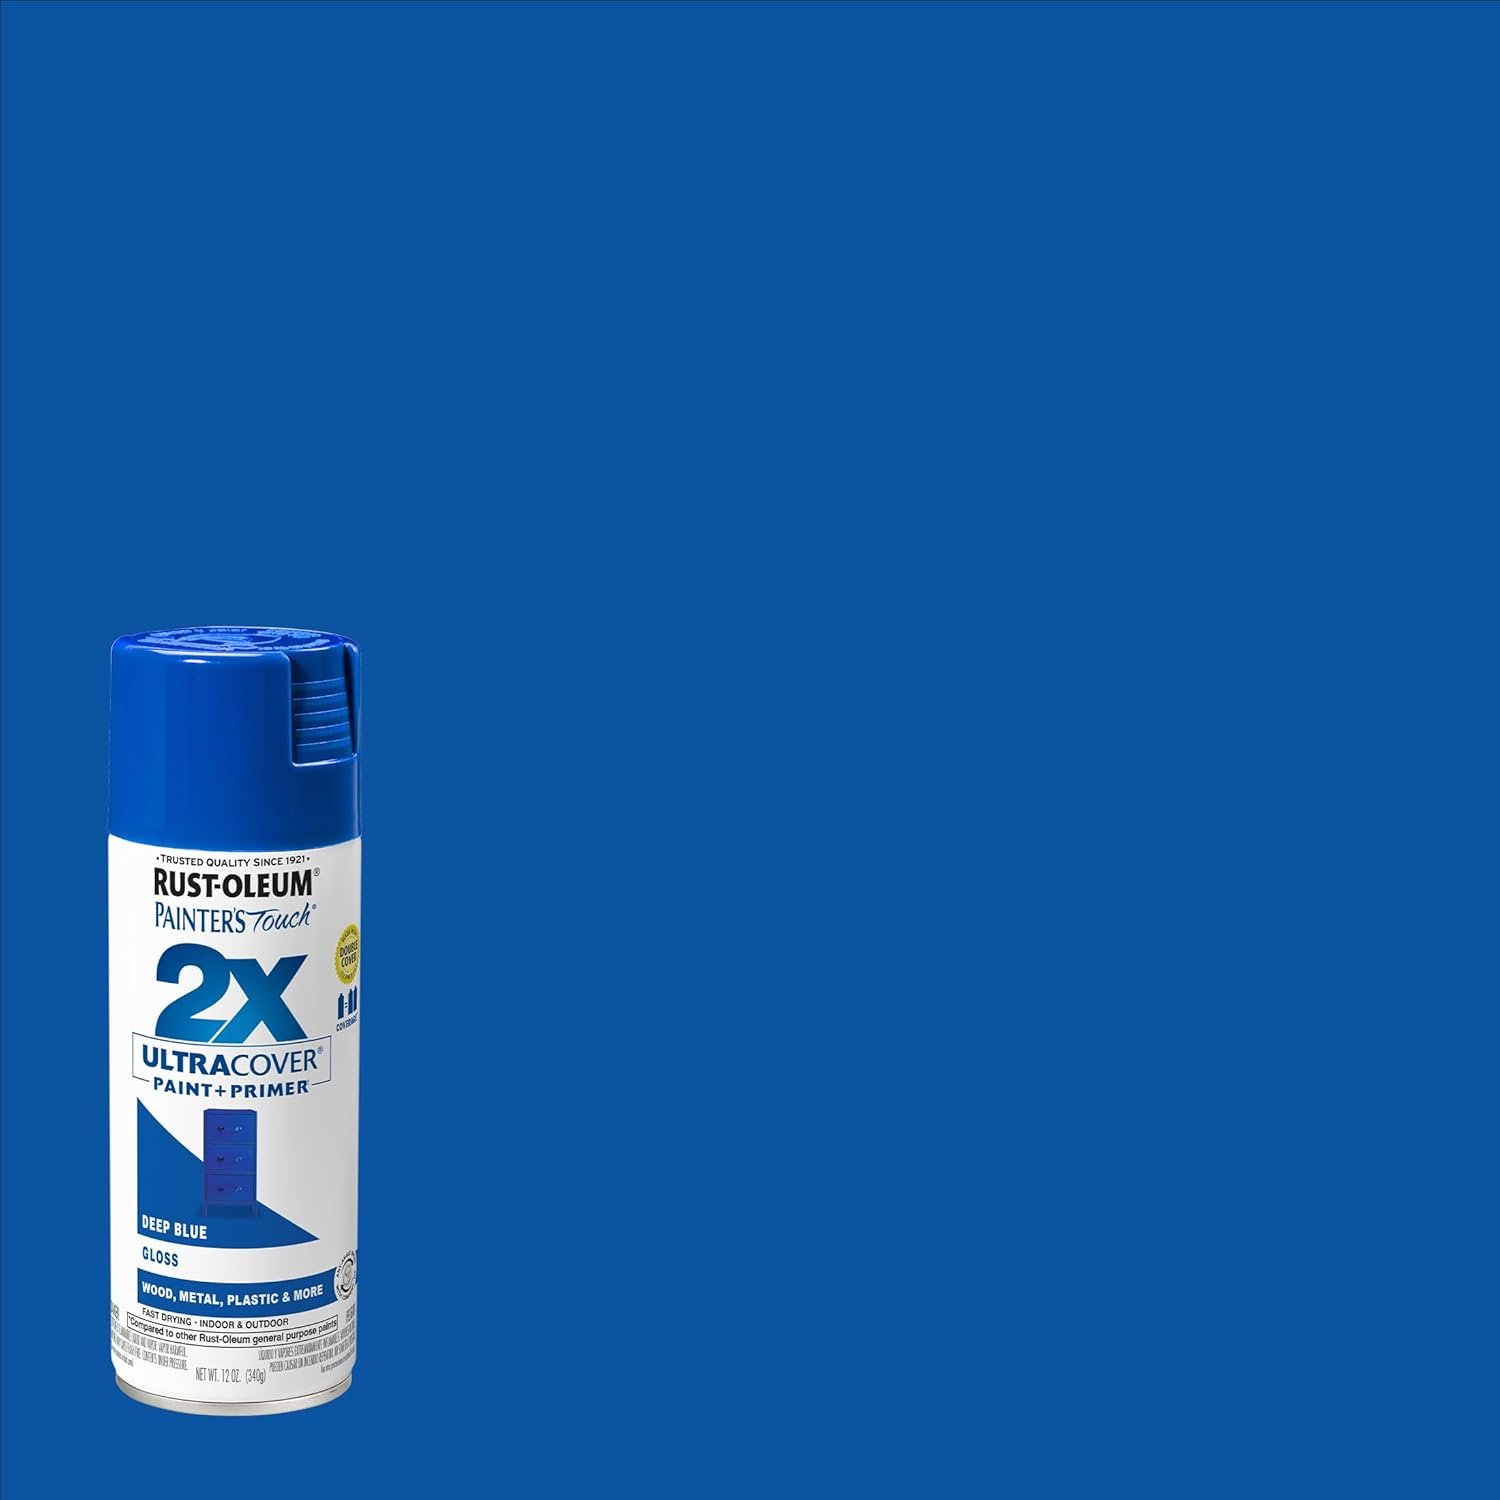
I used spray primer and paint because it was easier. But you can use whatever kind of paint and primer that you want. If you use the spray paint and primer, you can get this attachment, so your arms and fingers don’t hurt as badly from spraying. I love using it!
Let it dry, and it’s all done! My daughter LOVED it!
Mini Lowe’s Lumber Cart Supplies:


If you make one, I would love to see your finished cart. What do you think? Isn’t it so cute!?
Follow along for more DIY’s and fun at…