Crafting Magic at Home: The Ultimate DIY Castle Project – Part 1
I started renovating my little girl’s room three years ago. The first thing I did was build this amazing DIY castle! And then I got pregnant, and I decided to put the rest of the room on hold. Now, I’m finally coming back to finish it. But before I get into what we are doing now, I wanted to give you the full tutorial on how I built this incredible CASTLE!
This castle is truly what dreams are made of. My little girls love it. It is so incredible that you can dream something up, and then put in some work and watch those dreams become a reality! The things worth having do not always come easily. But man, it sure is rewarding when you can step back and admire the work you did!
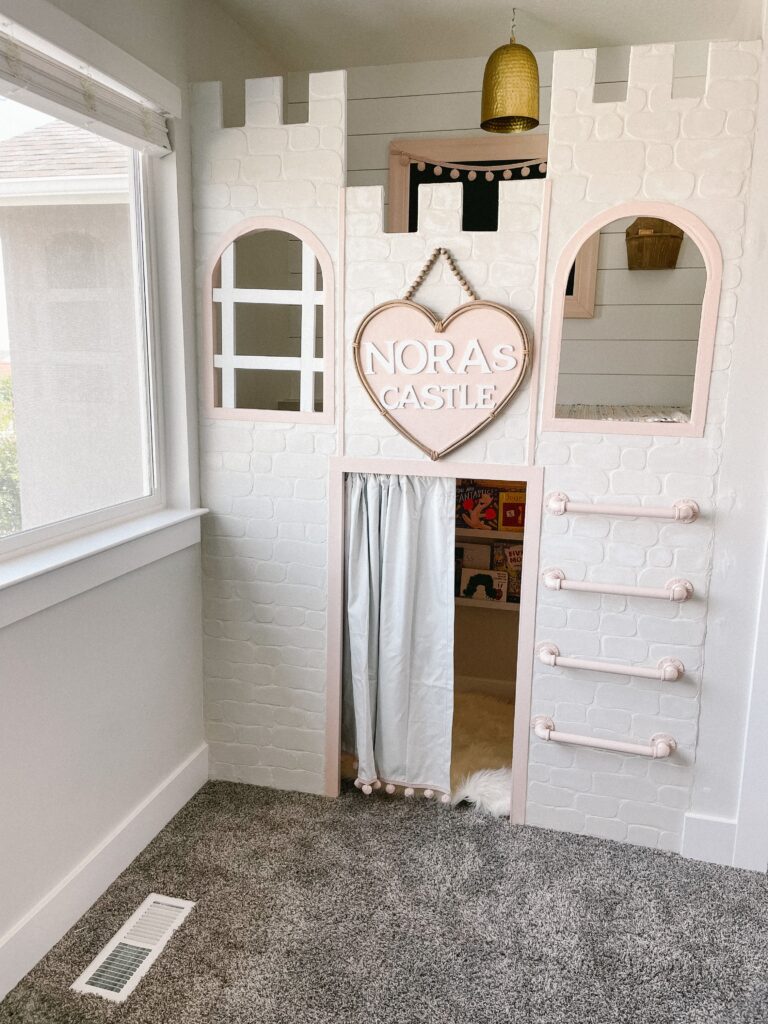
When you look at the FINISHED castle, it is so easy to get overwhelmed with all the work it will take to build it. So break it down into smaller, more manageable phases, then celebrate along the way! For phase one, I built the platform and did round one of decorations. This post is all about phase one. Check out phase 2 HERE!
DIY Castle Supplies:
- 2×4’s
- Screws
- L Brackets
- Plywood
- Caulk
- Wood Filler
- Baby Wipes
- Spray Paint
- Primer
- Paint
- Ladder Rungs
- Decorations!
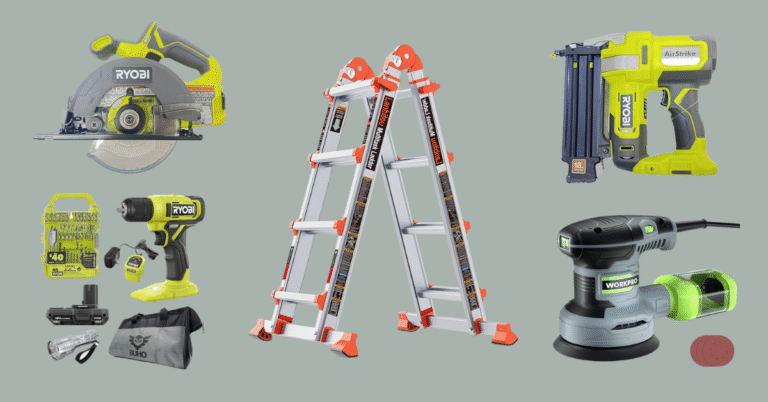
Tools Needed for the DIY Castle:
Step #1: Build the DIY Castle Platform
I started by locating the studs in the wall and marking them. Once they were marked, I took 2x4s and screwed them into the studs to form the back and sides. Then, I started on the front and center support pieces, securing them to the back and sides with screws.
I got L Brackets and attached them to the 2×4 frame and the studs. These gave the platform extra support. That made my mom heart happy knowing the platform was completely secure.
Once the frame was complete, I took sheets of plywood and cut them to fit the top and bottom of the frame, which covered it. Then I screwed them into place. This is probably a two-person job, but I managed on my own. When you do not have help, you have to get creative! That is what I did! 🙂
*Note: I put a piece of trim in the front of the platform to “clean it up”, but that was strictly for photographing purposes. You do not need to do that. 🙂
Step #2: Finish Work and Painting the Platform
Once the frame was complete. I began the finish work. I filled all the holes and gaps where two pieces of wood meet flush with wood filler, and caulked where two pieces of wood met at an angle or at the seams along the wall. PRO TIP: Get wood filler you can wipe off instead of sand. Then you can use a baby wipe to clean it up and not have to sand it! ALSO: Baby wipes for cleaning up the caulk are so helpful, too!
Step #3: Add a Ladder to Get to the Top
I got THESE ladder rungs. I started by spraying them with automotive primer and letting that dry fully. Then I went in with Rustolium Metallic spray paint (this link is for a 6-pack, but you can get individual cans at the store) and covered them.
I was planning on hanging them on the wall so she could get to the platform through the hole I made. However, I wanted them screwed into studs, and that was not going to be possible. So I had to get creative.
I took a piece of plywood and painted it. I attached the plywood to the studs, then attached the ladder rungs to the plywood. This made it so the ladder was more secure and not relying on drywall to hold it up.
I then got thin trim pieces and put them around the sides of the plywood to finish it off. It looks great!
Step #4: Decorate Your DIY Castle and Celebrate
Now it is time to start decorating the space. You can find all the links for what I used to decorate here!
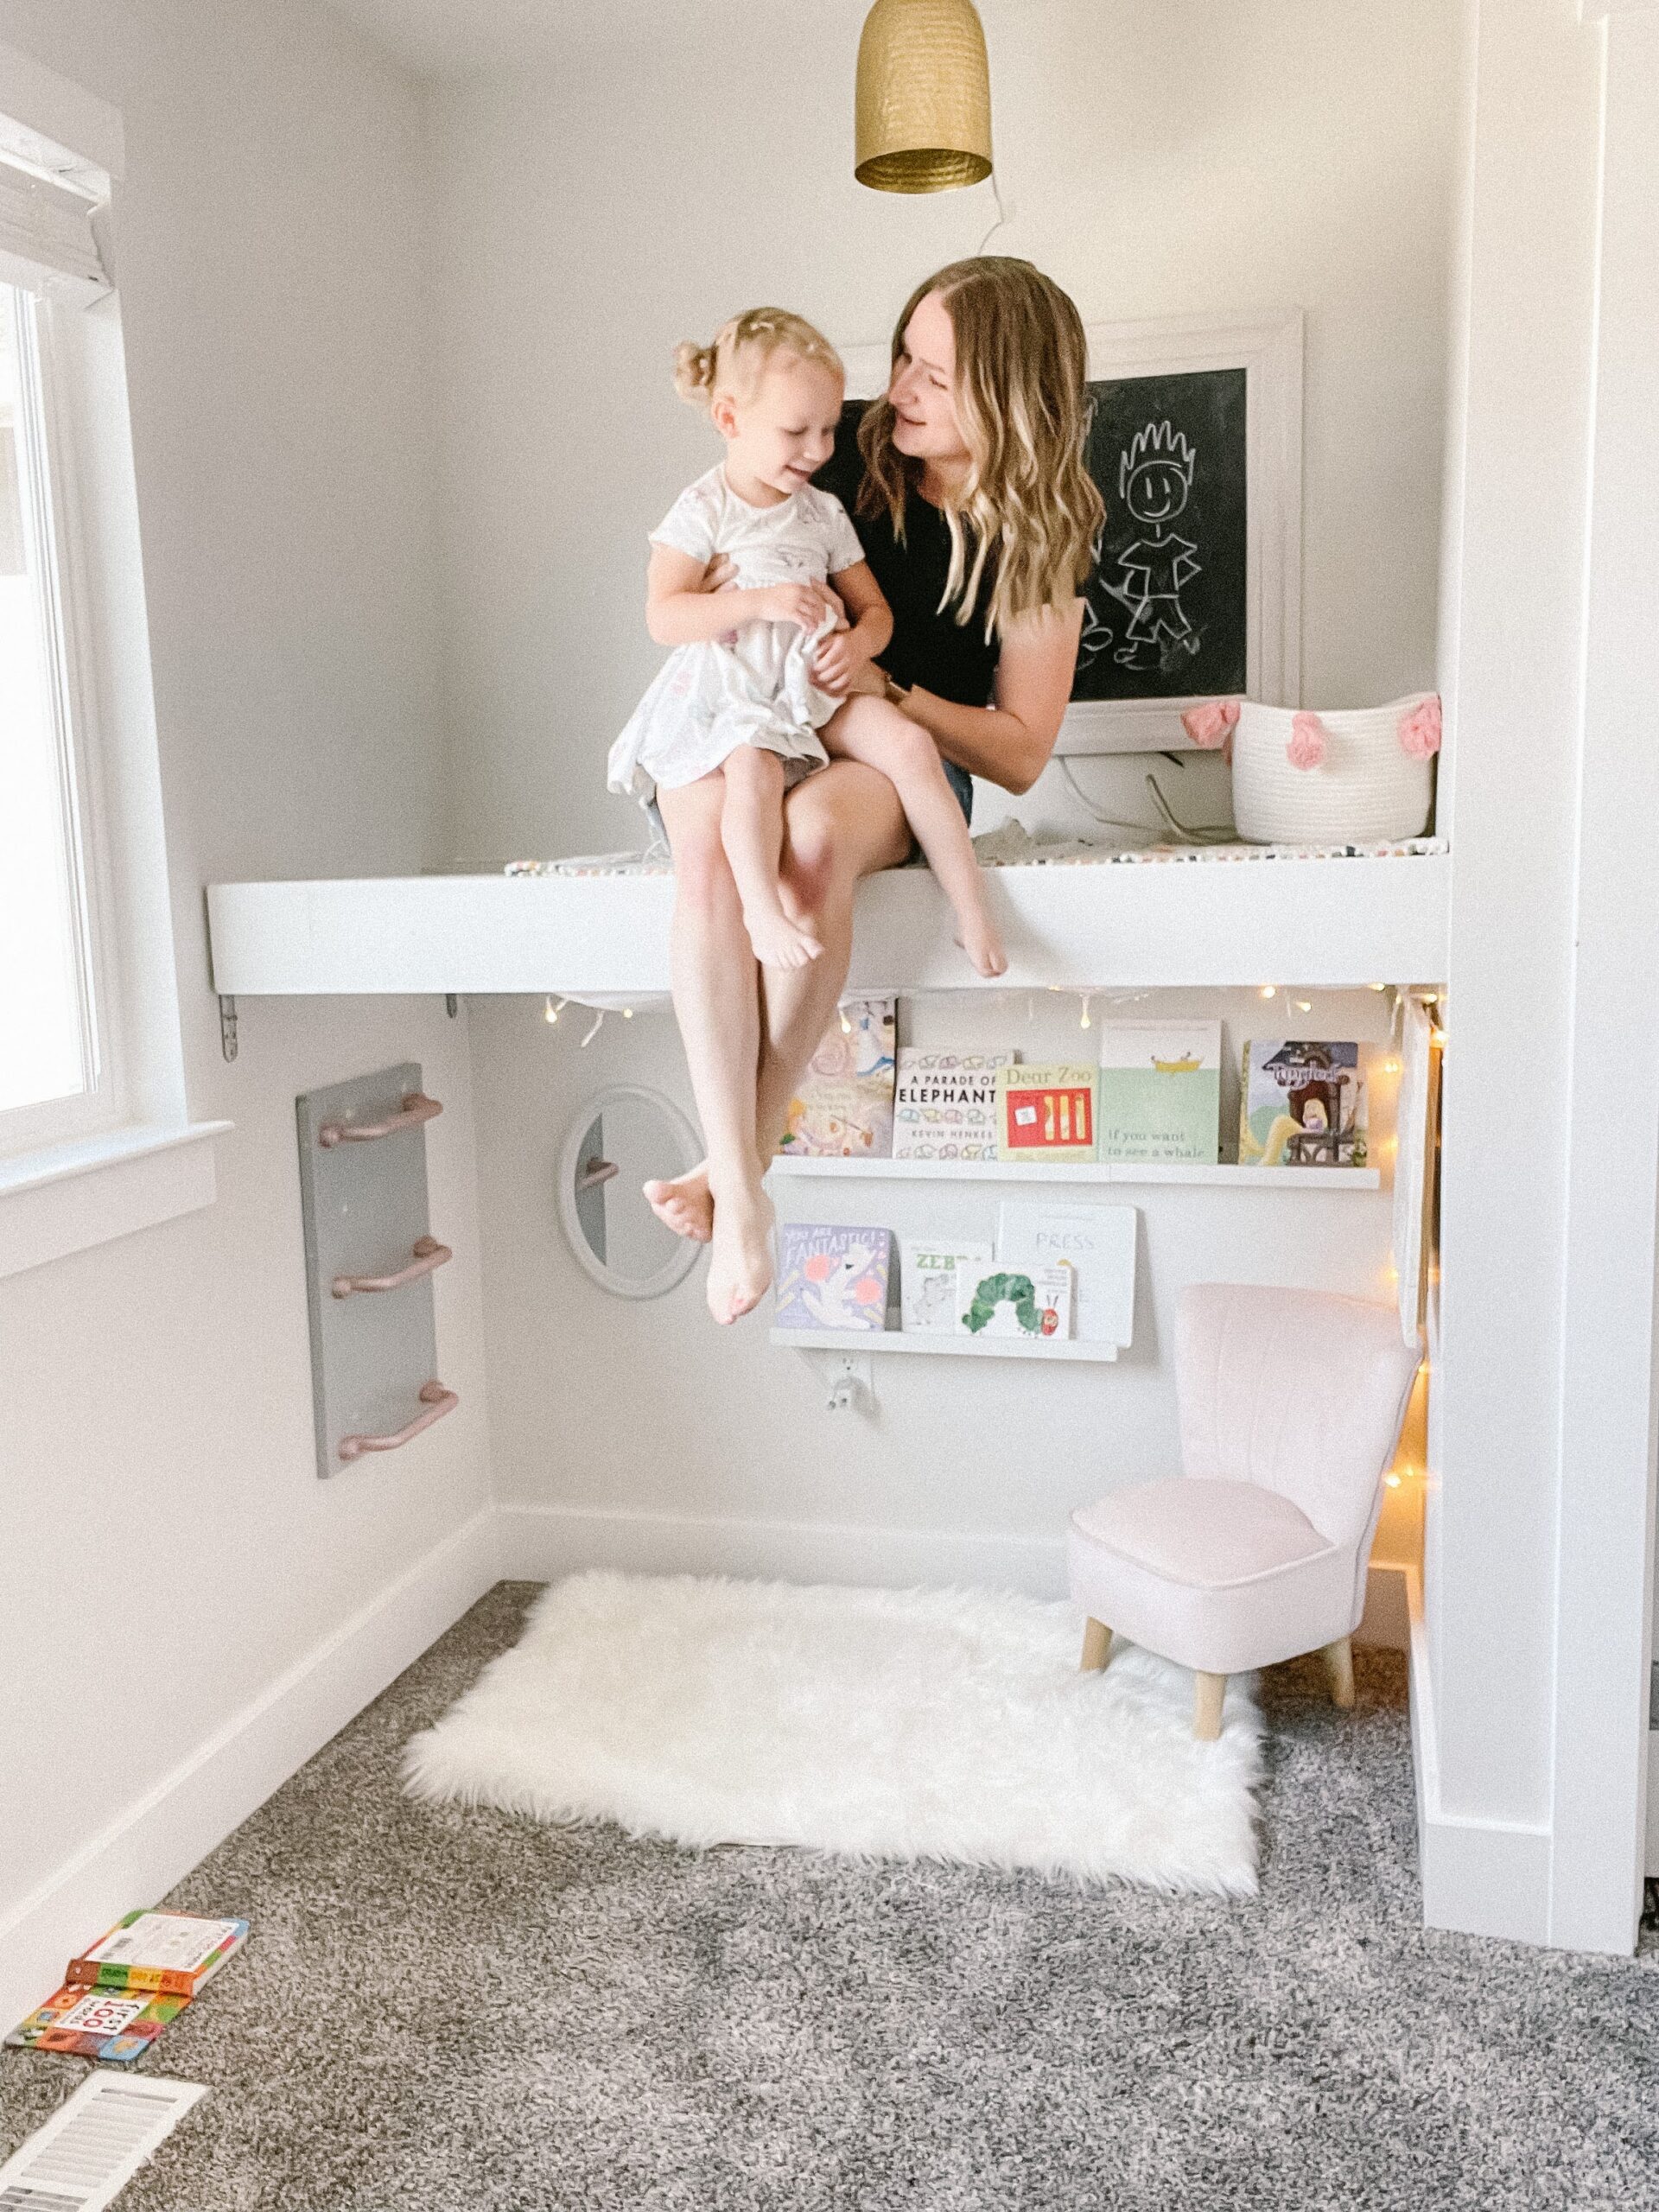
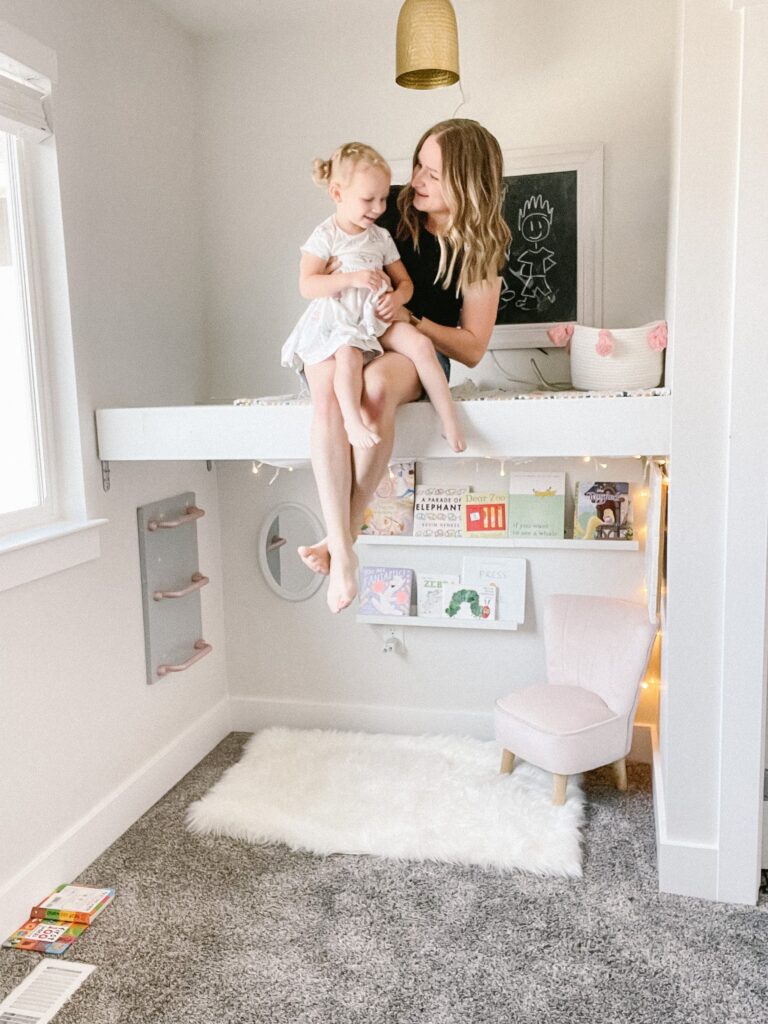
Finally, I installed lights. I put fairy lights on the “ceiling” of the bottom of the platform, and that made it so much more magical! I also got a light. This space is not hard-wired for a light, but I knew it needed one. So I got creative again! I cut out the wires that came installed in it, and I glued a puck light in. It is controlled with a remote, so I just hung it on the wall with a Command Strip, and she can turn it on and off easily!
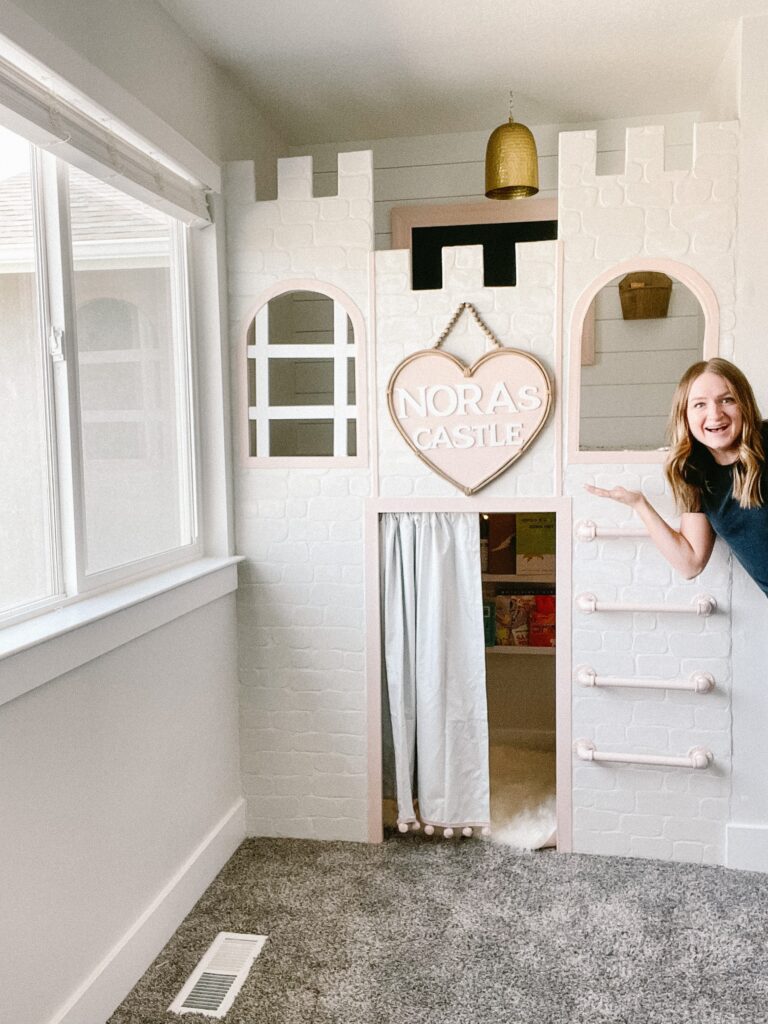
Once all that was installed and decorated, it was time to CELEBRATE THE WIN! I mean, isn’t she the cutest?! She loves the space!
Just wait until you see the rest! Come back for part 2 of the castle build, where things get REAL!
Follow along for more DIYs and fun at…