Refreshing the Guest Bedroom with a Bamboo Accent Wall
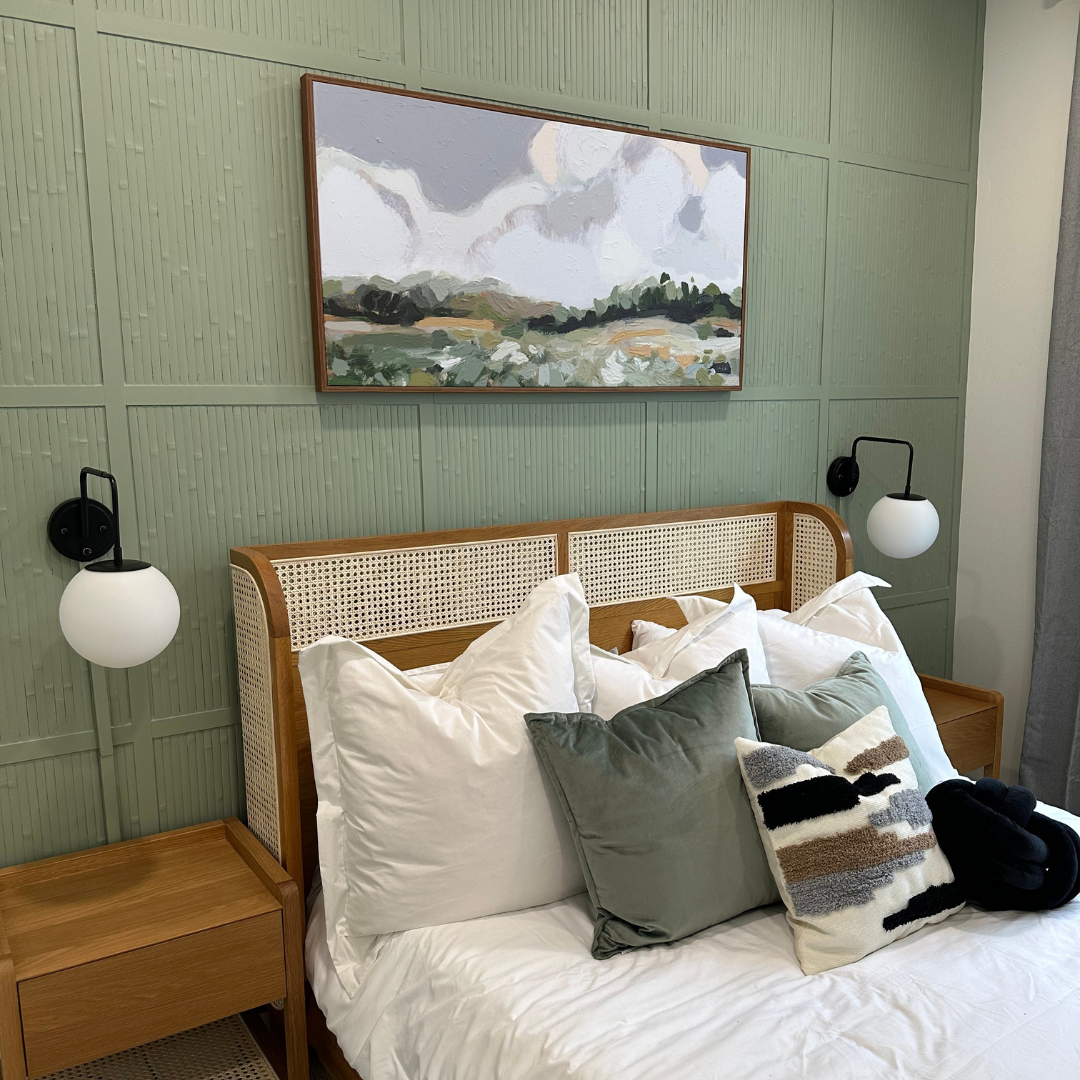
Have you ever walked into a room and instantly felt its lack of personality? That’s exactly how I felt every time I stepped into my neglected guest bedroom. It sat empty and uninspired for far too long, but with a vision in mind and tools in hand, I decided it was time for a change. The centerpiece of this makeover is a DIY bamboo accent wall, paired with refreshed decor that brings warmth and character to the space. Follow along as I share the full transformation and how you can create a welcoming retreat for your guests!
Bamboo Accent Wall Tools:
- My Favorite Measuring Tape
- My Favorite Paint Brush
- Painter’s Tape (This kind is my favorite!)
- Nailer
- Primer
- Miter Saw
- Wood Filler
- Caulk
- Bamboo Paneling
- Your Choice of Paint (I chose Coastal Plain by Sherwin-Williams)
- Trim
- Razor Blade
- Glue
Furniture & Decor:
- Bed
- Nightstands (Out of stock, but I linked another cute option)
- Lights
- Cord Hider
- Curtains
- Blackout Window Shade
- Artwork
Bamboo Accent Wall Step #1: Do the Math
To make the bamboo-paneled wall, we will be installing trim pieces in a grid pattern over the entire wall. Then, we’ll put bamboo paneling in each of the grids.
The most complicated step is figuring out where the trim pieces should go. Get your paper and pencil out… We are doing algebra! Don’t worry, it’s not as hard as it looks!
First, measure your walls. Get the following measurements…
- Inches from one wall to the other = A
- Inches from baseboard to ceiling = B
- Width of boards = C
- # of boards that you want from side to side = D
- # of boards that you want from top to bottom = E
Now plug and chug!
A-DxC/D = side-to-side square inches
B-ExC/E = top to bottom square inches
Here is my math…
139in – 6 x 1.5in / 6 = 25.2inches – side to side
109in – 5 x 1.5in / 5 = 25.75inches – top to bottom
Once you have your measurements, take inexpensive painter’s tape and tape out where everything will go. This is a very easy, inexpensive way to make sure it all looks balanced before you start putting a bunch of nail holes in your wall.
Step #2: Install the Grid
Now that you know where the trim should go, it’s smooth sailing. Measure, cut, nail, repeat… I start with the vertical boards, extending from floor to ceiling, then go back in with the smaller horizontal boards.
Step #3: Add the Bamboo Panels
Next up: adding the bamboo! This bamboo paneling is similar to pole wrap, but it is made of bamboo (hence the name, haha) and has a more natural texture and movement. Once it is painted, it will look beautiful!
This paneling is so easy to cut. Simply score it between the strips with a razor blade, and then roll it up and cut it with a miter saw.
Typically, I do not use glue on accent walls, but I did use glue and brad nails here to ensure the paneling does not fall off.
Step #4: Fill the Holes & Caulk
This is quite possibly the most tedious part of the project, but just do it! Turn on your favorite podcast, or binge-watch your favorite show, and just caulk and wood fill until it’s done.
Bamboo Accent Wall Step #5: Prime & Paint
It is super important to always prime raw wood. I used an oil-based primer on the bamboo because it helps with adhesion to ensure the paint does not peel off later.
For paint, I went with Coastal Plain by Sherwin-Williams. It is the perfect sage green! To get into all the cracks and grooves, I used a brush for the first coat. Once the first coat was done, I was able to roll the other coats. Oh, it looks so beautiful!
Step #6: Put Everything Back Together
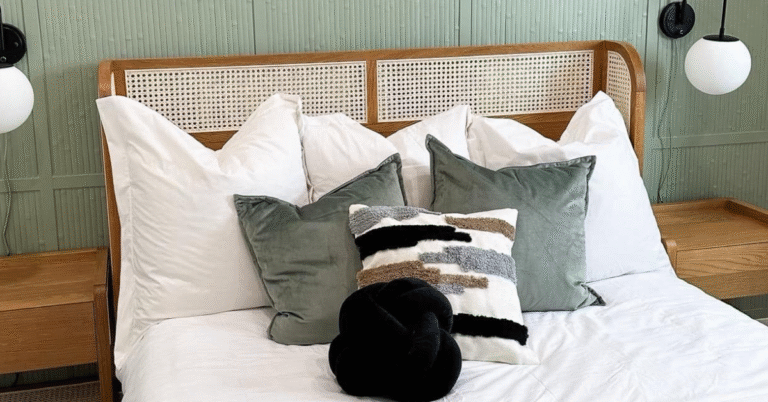
The final step is to add your furniture and hang your curtains and decor (I linked all of the guest bedroom furniture and decor above).
And with that, you have the most cozy and inviting guest room with all the texture you could ever want! If you were to create this textured grid wall, what color would you paint it?
Follow along for more DIYs and fun at…


