
How to Change a Light Fixture in 4 Easy Steps
One of the most common questions I get asked is, “How do you change a light fixture?” Today, I’m going to teach you how to do that. I have replaced so many light fixtures that I have lost count. Changing a light fixture is honestly one of those jobs that seems so much more scary and difficult than it really is, I promise! I think the only drawback to changing your lights for the first time is that once you change one light, you’ll want to change all the lights in your house. It makes a huge difference! Ok, let’s get started!

Note: This post contains affiliate links. I may earn a commission at no extra cost to you. Thanks for supporting my content!
Step #1: TURN OFF THE POWER Before You Change a Light Fixture!
The first thing you must do anytime you replace your light fixtures is turn off the power to that light. Not just flip the light switch, but turn the power off at the breaker box. You can get one of these voltage testers to ensure the power is truly off, so you don’t start touching live wires.
NOTE: If you use the voltage tester pen to make sure the power is off, I recommend that you test it on an outlet or wire that is ON AND LIVE to ensure that it is working properly and accurately detecting the power. Then test it on the wires of the light you are changing after the power is off.
Step #2: Remove the Existing Light
All lights are different. Some have a decorative screw that holds it in place, others simply twist on/off of the plate that is secured to the ceiling, and others may be more complicated. When you remove the existing light from the ceiling, you will see the wires. Carefully disconnect them from each other. Be sure to support the light as you do this, so you do not drop it.
Take note of how the old fixture was wired. Identify the live or hot, neutral, and ground or earth (typically green) wires. Refer to the manufacturer’s instructions to determine which color wire is which.
Remove the existing light plate from the ceiling.
Step #3: Install the New Mounting Bracket and Connect the Wires
Install the new mounting bracket that came with the new light. Be sure to feed the wires through it and secure the new plate in place. Connect the existing wires to the corresponding new wires. Be sure to connect the wires the same way the previous light was connected.
Step #4: Mount the New Fixture and Test It
Using the instructions from the new light fixture, install the new light to the new mounting plate. Once everything is connected and secure, turn the power back on to the light and make sure everything is functioning correctly.
Congrats! You now know how to change a light fixture!
You did it! Was it as scary as you thought? Did you catch the bug? I would love to see what you did!
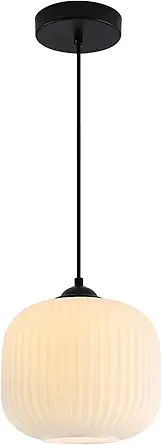
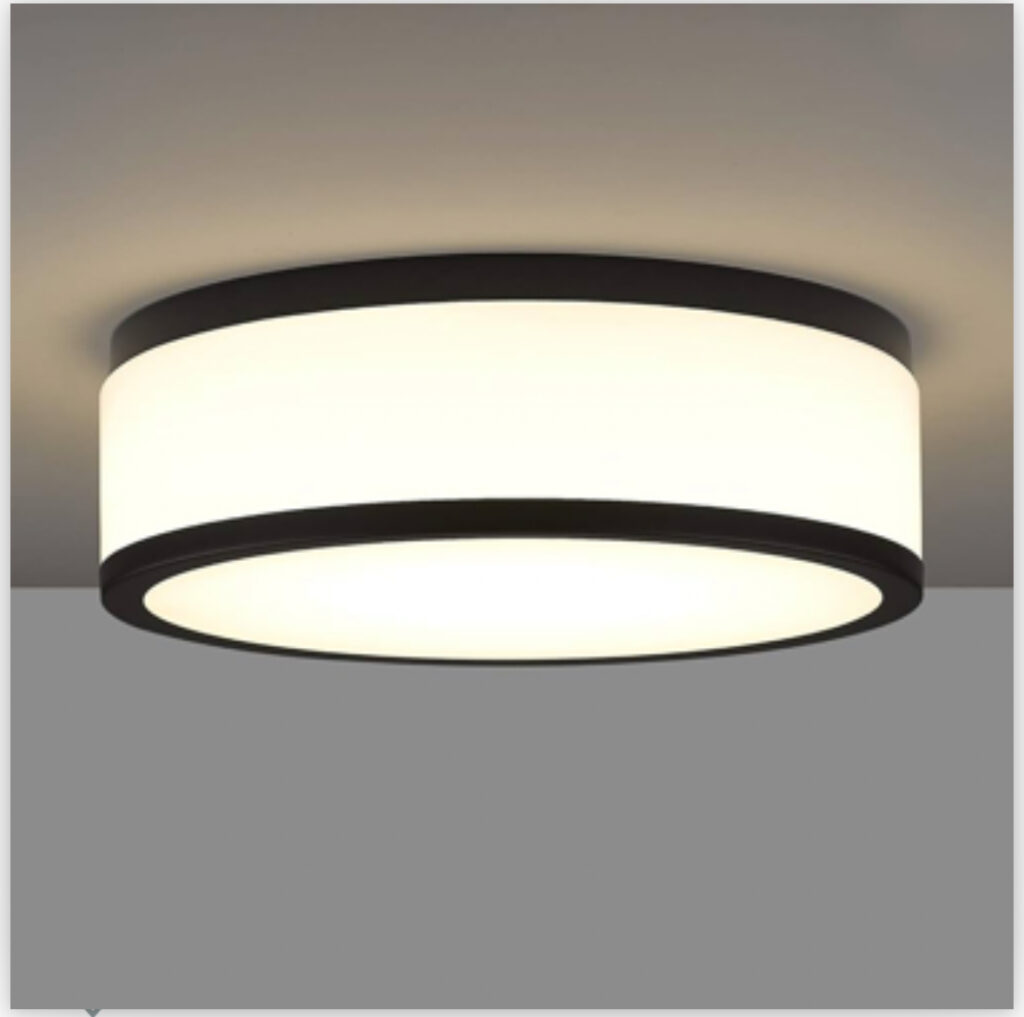
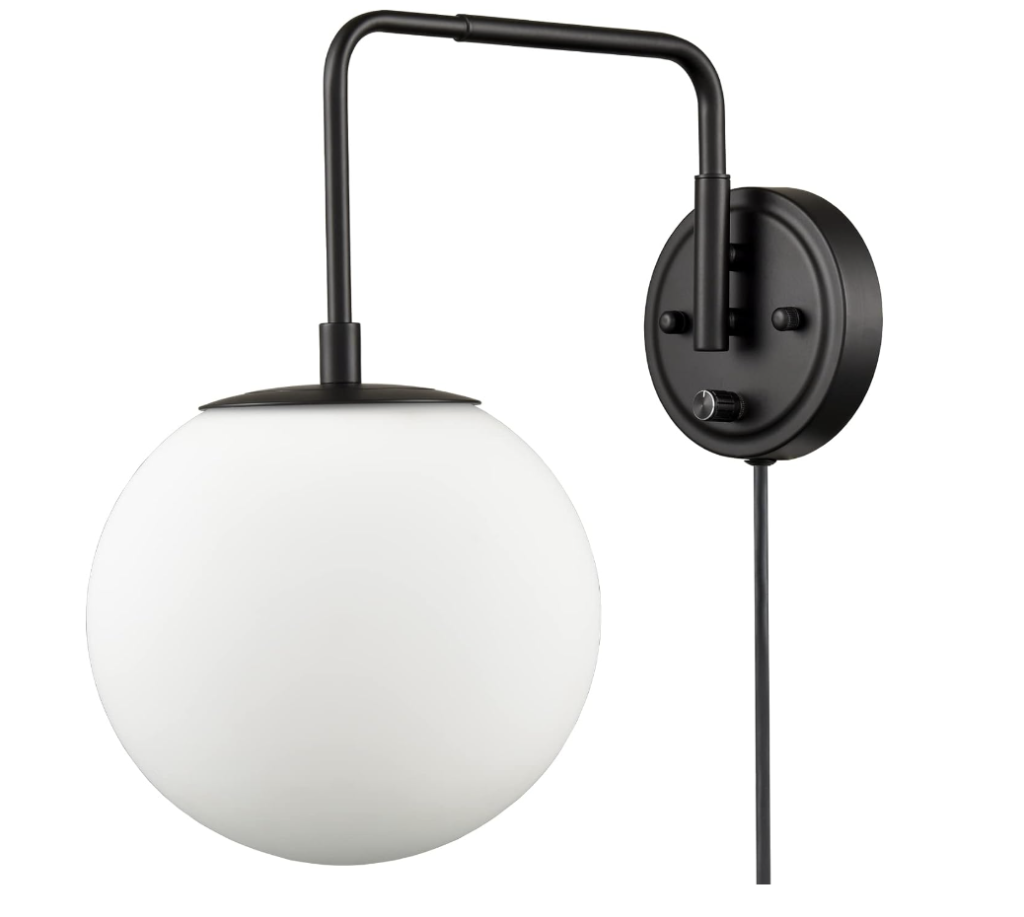
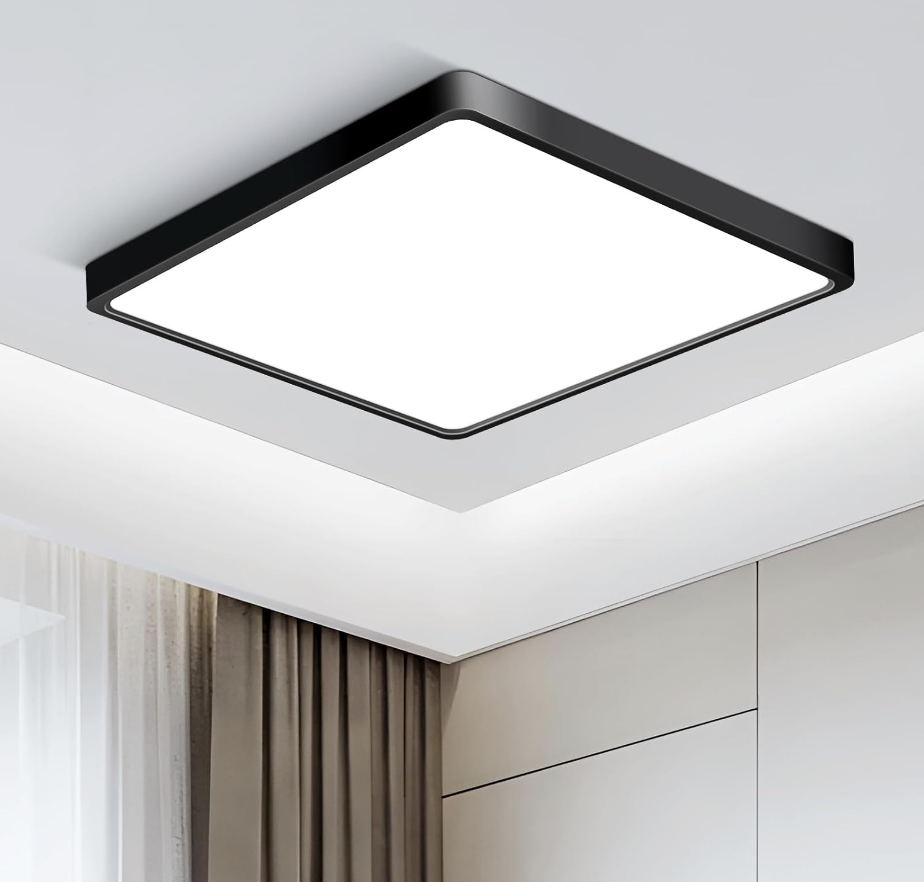
Shop the lights in my home by clicking HERE or the images below!
All images are clickable! If you buy something, I might earn a small commission (but it won’t cost you anything extra!).

Follow along for more DIYs and fun at…


One Comment