Christmas Countdown: How to Make a DIY Advent Calendar
‘Tis the season for one of my favorite traditions: the Advent calendar! Of course, you can buy one (I’ve linked some of my favorites here), but if you want a completely custom DIY Advent calendar that can double as Christmas decor, you’ve come to the right place! Keep reading to learn how to make your own family heirloom that will be cherished for years to come.
Note: This post contains affiliate links. I may earn a commission at no extra cost to you. Thanks for supporting my content! 🙂
DIY Advent Calendar Supplies:
- Plywood
- Trim Pieces
- Ultra Thin Trim for Shelves
- Brad Nailer
- Wood Glue
- Saw Guide
- Circular Saw
- Miter Saw
- Stain
- Paintbrush
- Primer
- Paint (I used dark green, soft sage green, and black)
- Acrylic Paintbrushes
- Sandpaper
Step #1: Cut & Stain the Board
First up, we’re making the base for our DIY Advent calendar! I started by giving the plywood a quick stain, letting it dry, and sanding it. Once that was done, I grabbed my circular saw and saw guide to cut the board down to the size I wanted (the guide helps keep everything nice and straight!).
Step #2: Make the Houses
Next up: the mini shapes for my Advent calendar! I like to think of them as little houses. It makes the whole thing feel like a tiny Christmas village. I used scrap wood I had on hand, but trim pieces would also work great for this. I cut all my shapes with my miter saw, then arranged them on the board. (Enjoy the power tool ASMR below, haha!)
Step #3: Prime & Paint the Houses
Once I had the houses in a layout I was happy with, I marked their places on the board. That way, I’d know where to put them after they were painted and where to nail the tiny “shelves” each house would sit on.
After that, I primed and painted the houses. Tip: Whenever I have a lot of things to paint, I like to mark each piece with a small dot of the color it’s going to be. This helps me visualize how it will look and make changes before I’ve painted everything, and I can avoid having to prime and paint for a second time.
Step #4: Make the Shelves
Next, I cut the shelves to the width of each house that would be sitting on them and glued the bottom of the house to the shelf. When each house had a shelf, I used more wood glue to attach them all to the board. This is where you’ll be glad you marked their places back in step three!
Step #5: Don’t Skip the Finish Work
I stained some leftover trim, then added it to the top, bottom, and sides of the board to give it a more complete look. I left a bit more trim along the back of the board to provide a way to hang the Advent calendar on the hooks that were already on the wall. You can see this in the video below!
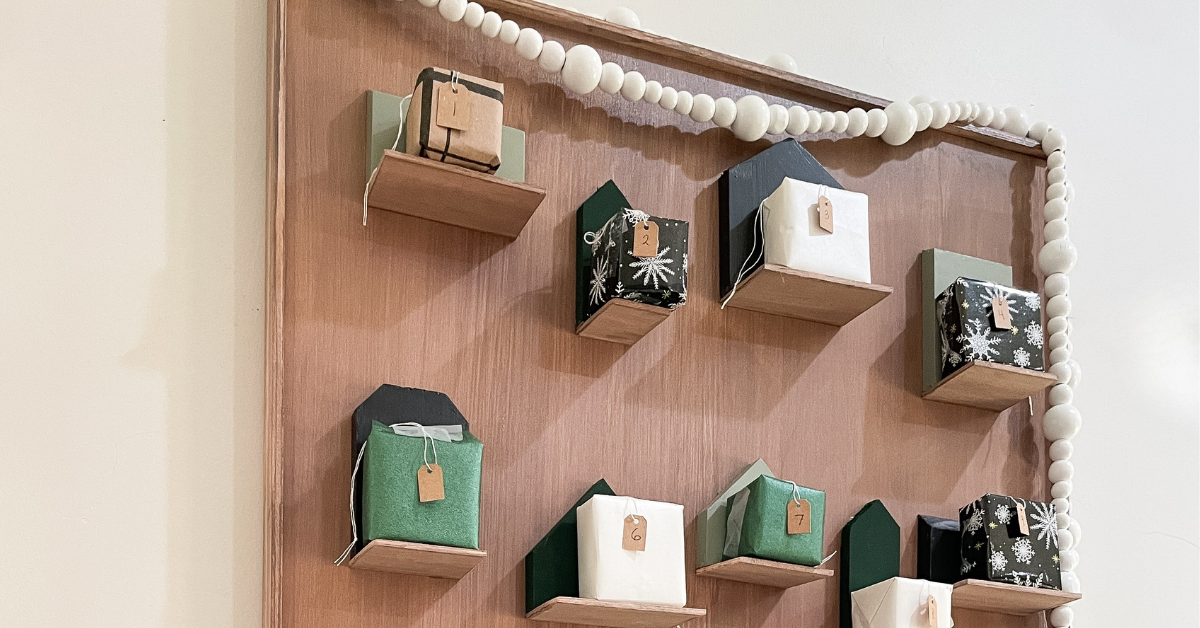
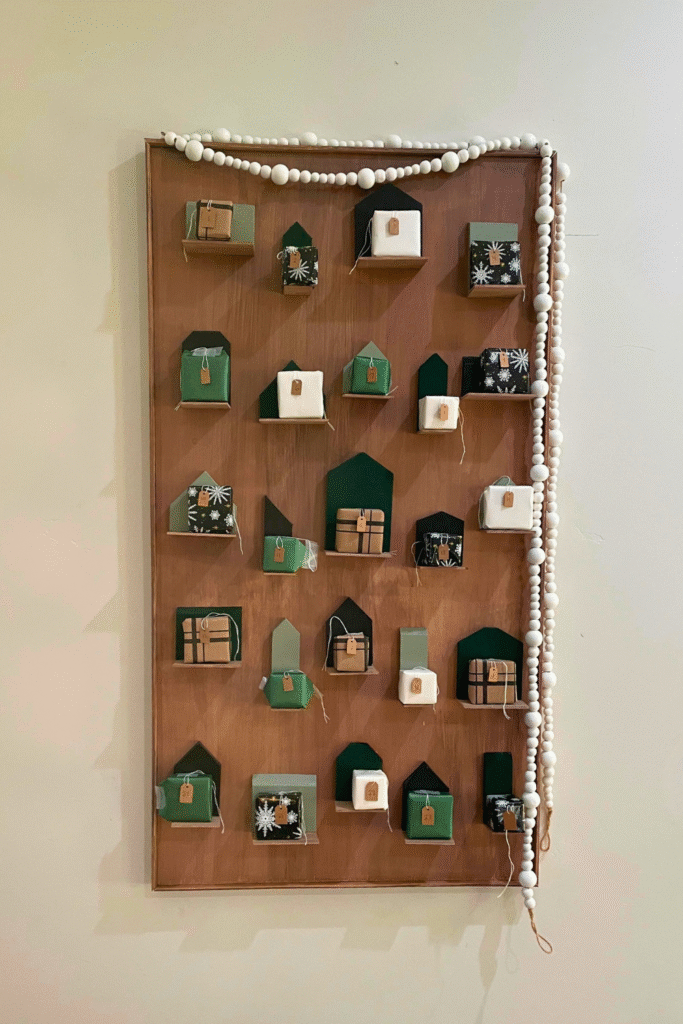
DIY Advent Calendar Reveal
After I wrapped up some mini gifts for my family (in these adorable little boxes), the project was complete. But the Advent calendar fun was just getting started! And now we have a timeless Christmas decor piece that we love. Keep scrolling for filler ideas to include with your DIY Advent calendar (because everyone knows that’s the most fun part!).

Advent Calendar Filler Ideas
There are so many directions you can choose to go with your advent calendar fillers—kid-centric trinkets, religious symbols, tiny treats for different members of the family—the list goes on and on! I’ve included a few fun ideas below, but if there are any that your family does each year, be sure to tell me in the comments! I’d love to know.


Follow along for more DIYs and fun at…