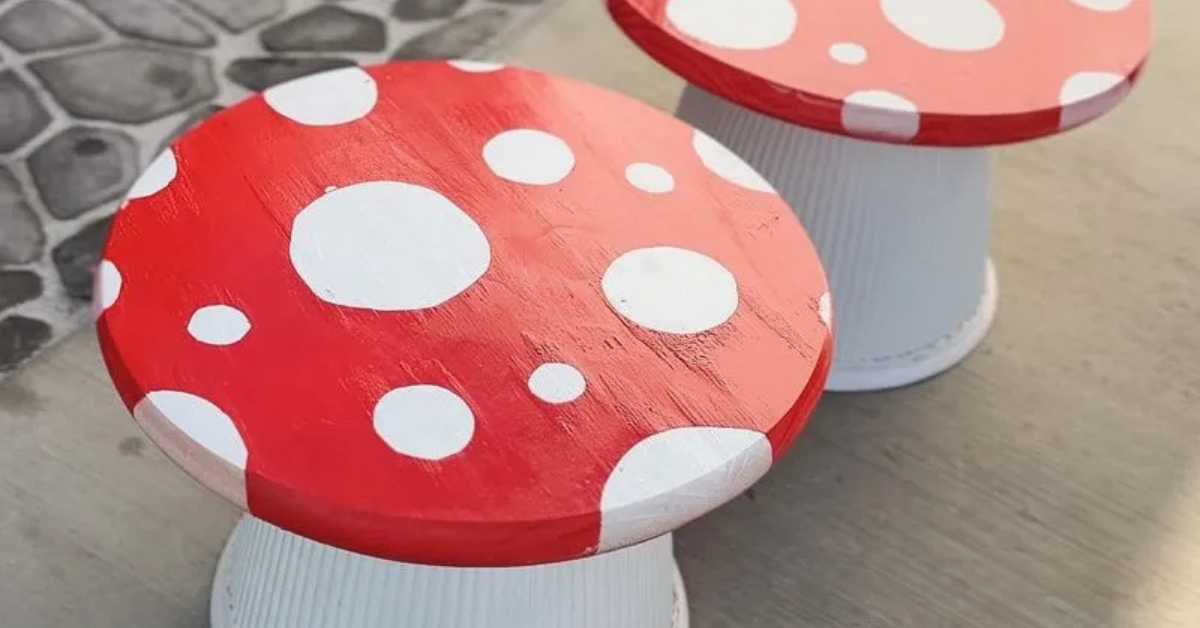
DIY Toadstool Tables: A Whimsical Backyard Addition
Lately I’ve been loving whimsical projects. Playful, low-stakes builds that transport me back to childhood and make the everyday feel a little more magical. My kids love the mud kitchen corner that these tables are part of, but if I’m being honest, I think I might have had even more fun creating it! And one of the final finishing touches for the space is these DIY toadstool tables. Affordable and easy to make, they’re the perfect addition if you’re also curating a whimsical backyard.
Note: This post contains affiliate links. I may earn a commission at no extra cost to you. Thanks for supporting my content!
Supplies
- Round Planters
- Wooden Circles
- White Spray Primer
- Frog Tape
- Utility Knife
- Red Spray Paint
- Gloss Finishing Spray
- Liquid Nails
DIY Toadstool Tables Step #1: Prime and Paint
First, grab the planters and wooden circles. It definitely helps if your planters are already white (like these!), because then you don’t have to paint them. That left me with only needing to prime the wooden circles. I chose a white spray formulation so I could prime and paint in one step.
Step #2: Make the Circles
Toadstools are famous for their white spots, so that’s exactly what we’re going to replicate!
Use Frog Tape to make circles on the painted wooden circles. And yes, use Frog Tape specifically if you can! It’s my favorite because it’s less likely to remove the paint beneath it when you peel the tape off.
Then, use a utility knife to lightly “carve” out circle shapes from the tape.
DIY Toadstool Tables Step #3: Paint the Toadstools Red
Now it’s time to spray-paint those circles red! One even coat should do it, but you can always add another if you want extra coverage. Let the circles dry fully according to the instructions on the spray you’re using. Then, carefully peel the tape off, revealing the white spots underneath.
Step #4: Add a Clear Coat
Because these toadstool tables will be outside, it’s a good idea to give them an added layer of protection. This spray adds a shiny top coat and helps prevent chipping.
DIY Toadstool Tables Step #5: Assemble the Tables
Time for the final step! Apply Liquid Nails to the bottom of the planter, then stick it to the bottom of the wooden circle. Let them dry, then flip them over so they become adorable DIY toadstool tables.
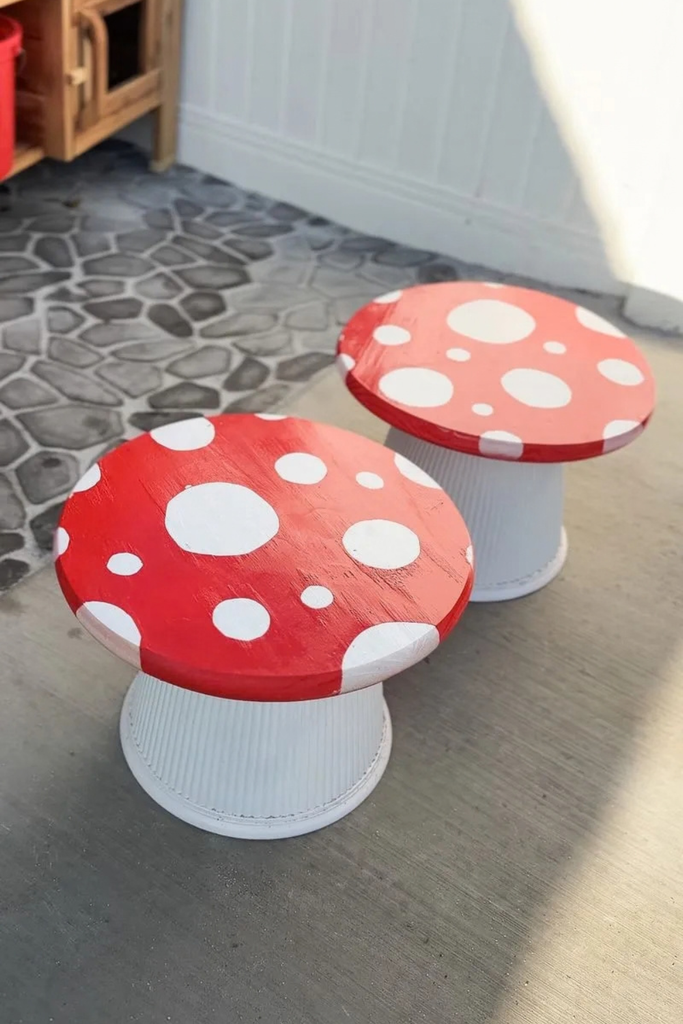
Whimsical, easy, and CUTE! This project is a great place to start if you want to make something special for your kids but are a little intimidated by DIY. Give it a try and be sure to tag me if you share it on Instagram!