Everything You Need for a Magical DIY Mud Kitchen
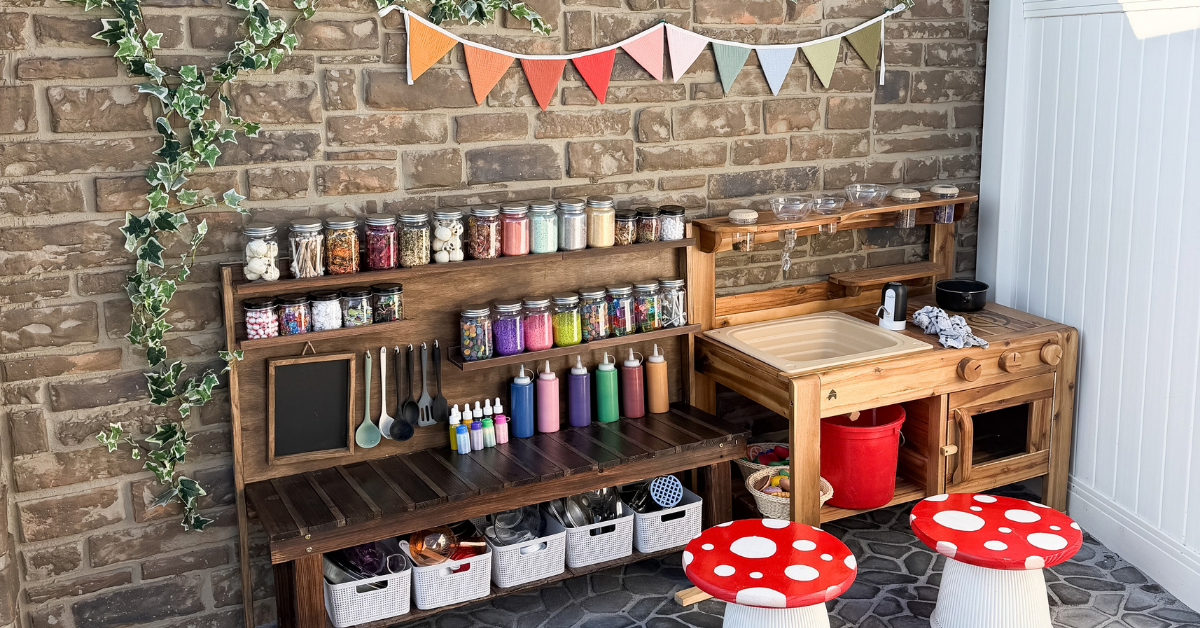
If you’ve been following along this summer, you know I’ve been on a mission to transform the neglected areas of our backyard. I started with the patio makeover, painting a checkerboard concrete design and building cinder block planters. Next, it was on to another area: the awkward corner between the fence and the pergola. It’s a small space, but it’s perfect for a DIY mud kitchen. Here’s how I made it happen – and how you can too!
Note: This post contains affiliate links. I may earn a commission at no extra cost to you. Thanks for supporting my content!
DIY Mud Kitchen Supplies
Each section has links specific to that part of the project if you are adapting it for your own space! 🙂
Pavers
Play Kitchen & Countertop
Painted “Food” Rocks
Toadstool Tables
- Round Planters
- Wooden Circles
- White Spray Primer
- Frog Tape
- Utility Knife
- Red Spray Paint
- Gloss Finishing Spray
- Liquid Nails
Potion Station
- See step 7!
DIY Mud Kitchen Step #1: Install Pavers
The area for the mud kitchen was just dirt, and although that sounds ideal for a mud kitchen 😂, I knew I wanted to add some pavers to make it feel more like a special, designated space.
Laying the pavers was super easy, although that might be because I’m not sure I did it right. 😅 But it works! Here’s what I did:
- Add a fresh layer of soil on top of the existing dirt.
- Rake it smooth and as level as possible.
- Lay the pavers down. One of the things I love about these pavers is the easy install! You can customize them to fit the shape you’re working with by cutting the edge pieces.
- Cover everything with polymeric sand and spread it with a broom, making sure the gaps between pavers are filled.
- Use a gentle mist setting on the hose (not a strong stream) to slowly wet the sand in stages. Let it absorb between passes and try not to overdo it – that can wash the sand out of the gaps.
- Then, let it dry and set for a couple of days. I added a top coat of this polymeric sand that dries harder, so none of the sand would flake away.
DIY Mud Kitchen Step #2: Thrift Mud Kitchen Supplies
I’ll never pass up a good trip to the thrift store. And since I wanted to keep this project budget-friendly, it was all the more reason to go! I found some awesome stainless steel pots and pans, utensils, muffin tins, and other accessories that I know my kids are going to love!
If thrifting isn’t your thing, I’ve also rounded up some additional mud kitchen supplies here!
DIY Mud Kitchen Step #3: Build the Kitchen
I found this adorable kitchen set complete with a sink, stove, and oven. Once it was assembled, I knew I wanted to take it a step further. I added a water pump to the sink, which makes the whole thing feel so much more realistic and has the added bonus of keeping the hose from being left running. The install was pretty straightforward, and since I’d already added an electric water pump to our playhouse that the kids loved, I knew this one would be a hit too.
DIY Mud Kitchen Step #4: Add Additional Counter Space and Storage
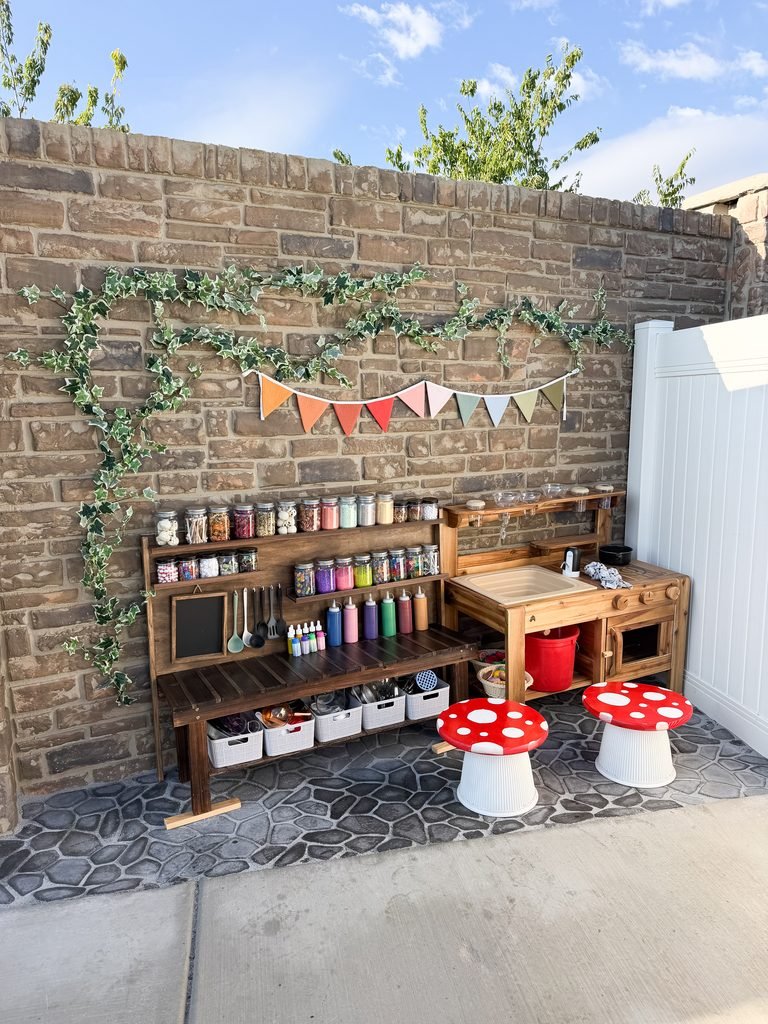
After the kitchen was set up, I noticed it was a little short on counter space, so I found this bench to fill the gap. The open slats weren’t going to work for storage, so I filled them in with wood dowels and nailed craft board along the bottom to create a shelf. Then, I stained the wood.
And because we’re all about the storage around here, I finished this part of the project by cutting and staining a piece of plywood and attaching it to the back of the bench. Once that was done, I secured floating shelves to it to store all the mud kitchen supplies.
DIY Mud Kitchen Step #5: Make Rock “Food”
I couldn’t resist making mud kitchen “food”! I just used some rocks from the garden, sprayed them with primer, then painted on the designs with acrylic markers. Last, I added a coat of polyurethane spray to seal it all. I love how they turned out!
DIY Mud Kitchen Step #6: Build Toadstool Tables
These toadstool-inspired tables are so easy to make! Here’s how I did it:
- Prime and paint the wooden circles and planters.
- Use Frog Tape to make circle shapes on the wooden circles. You can also “carve” out more exact circle shapes using a utility knife.
- Spray-paint the wooden circles red, then carefully peel off the tape to reveal the white spots underneath.
- Because these toadstool tables will be outside, it’s a good idea to give them an added layer of protection. This spray adds a shiny top coat and helps prevent chipping.
- Apply Liquid Nails to the bottom of the planter, then stick it to the bottom of the wooden circle. Let them dry, then flip them over so it becomes an adorable DIY toadstool table.
DIY Mud Kitchen Step #7: Accessorize
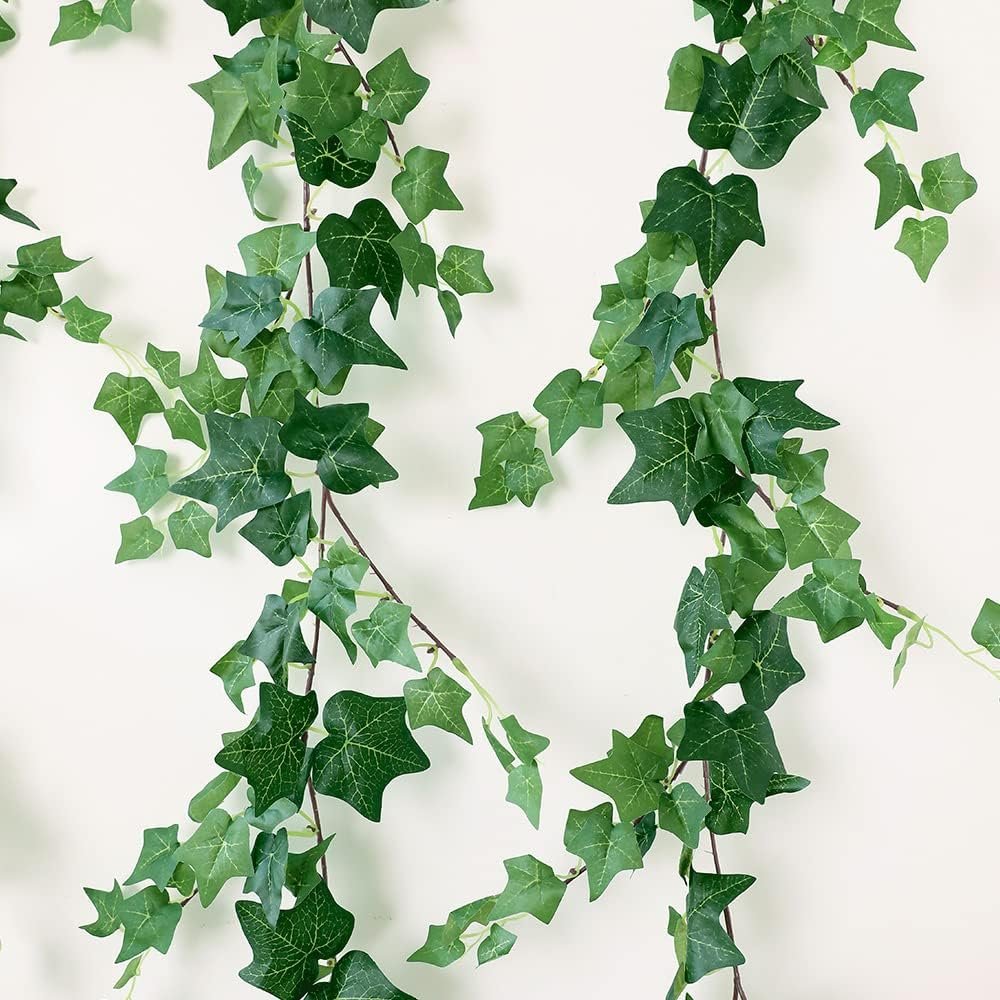
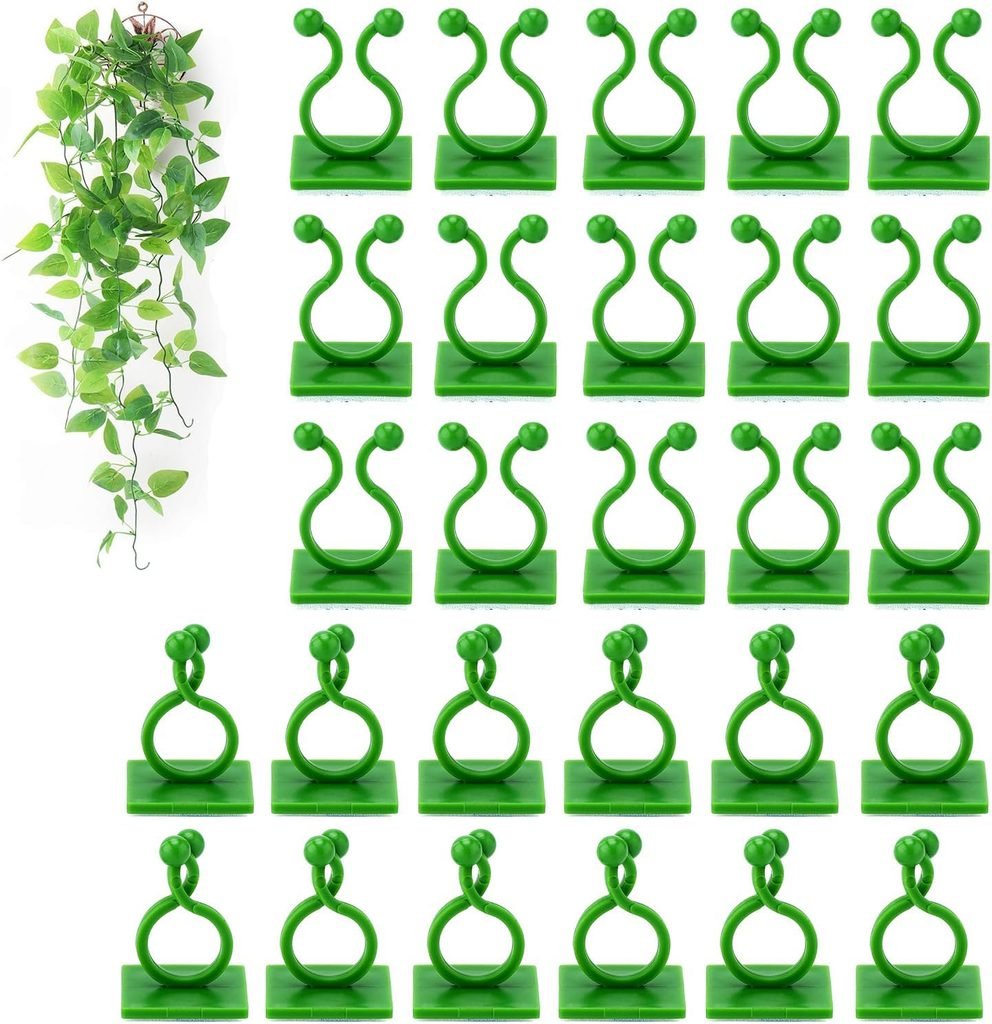
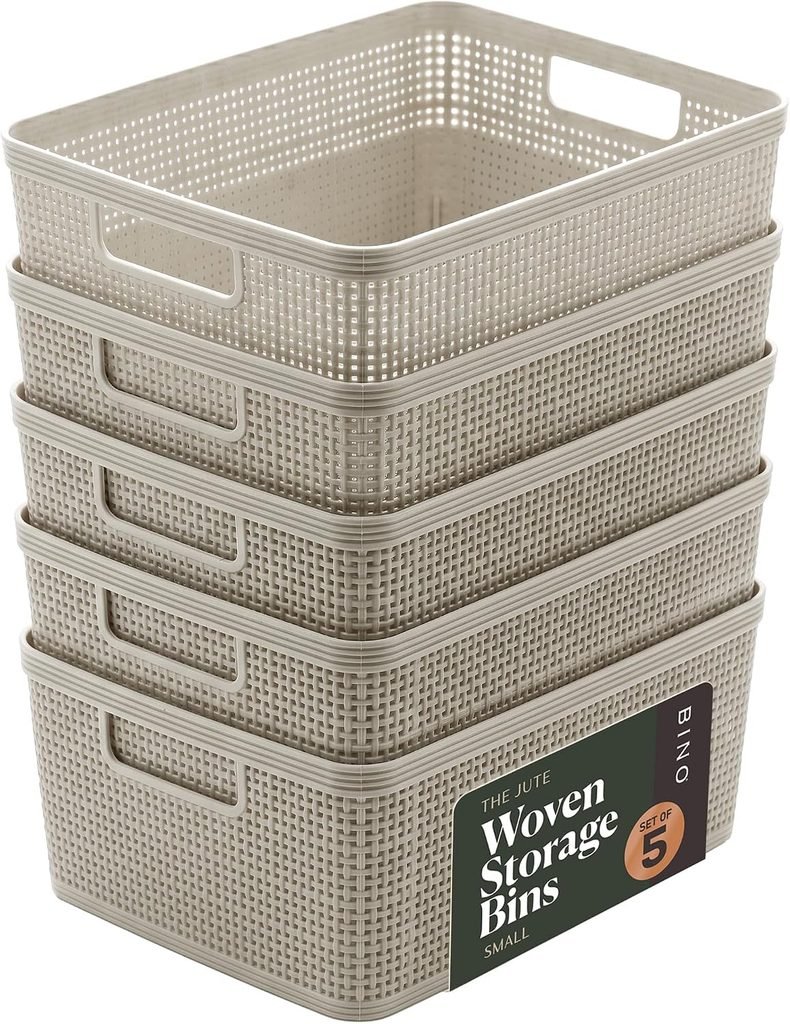
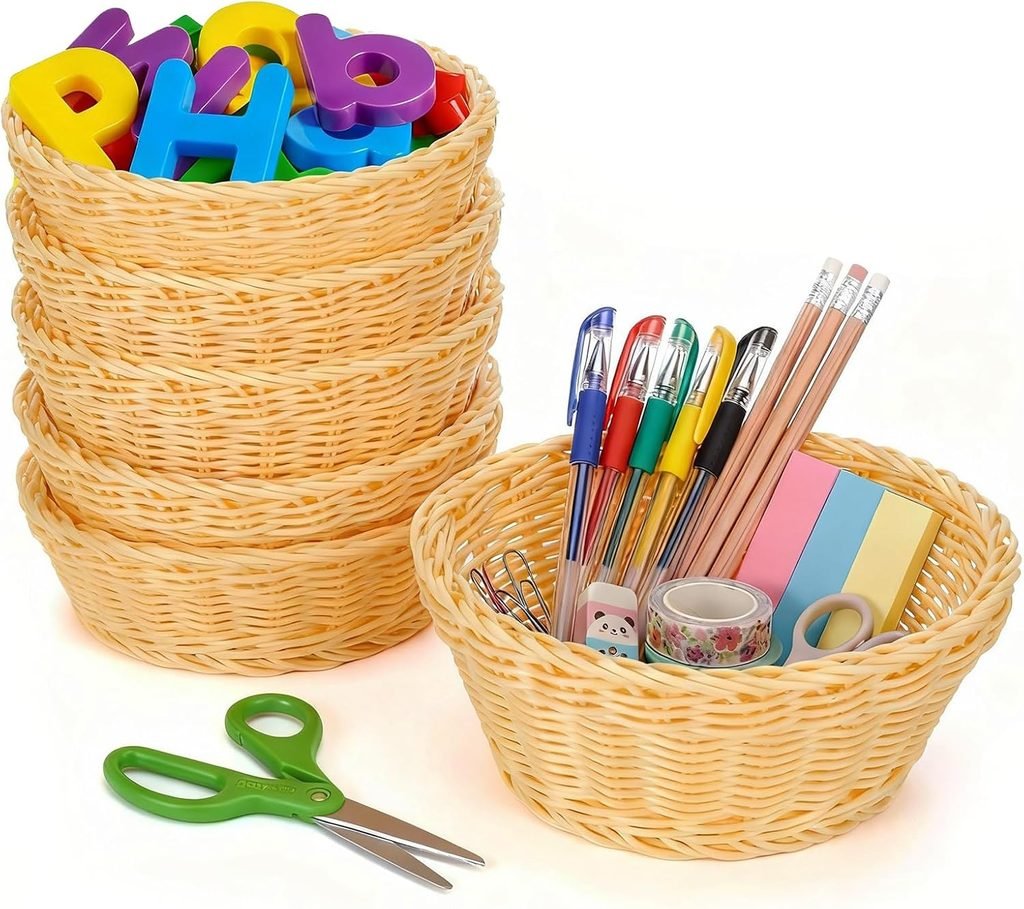
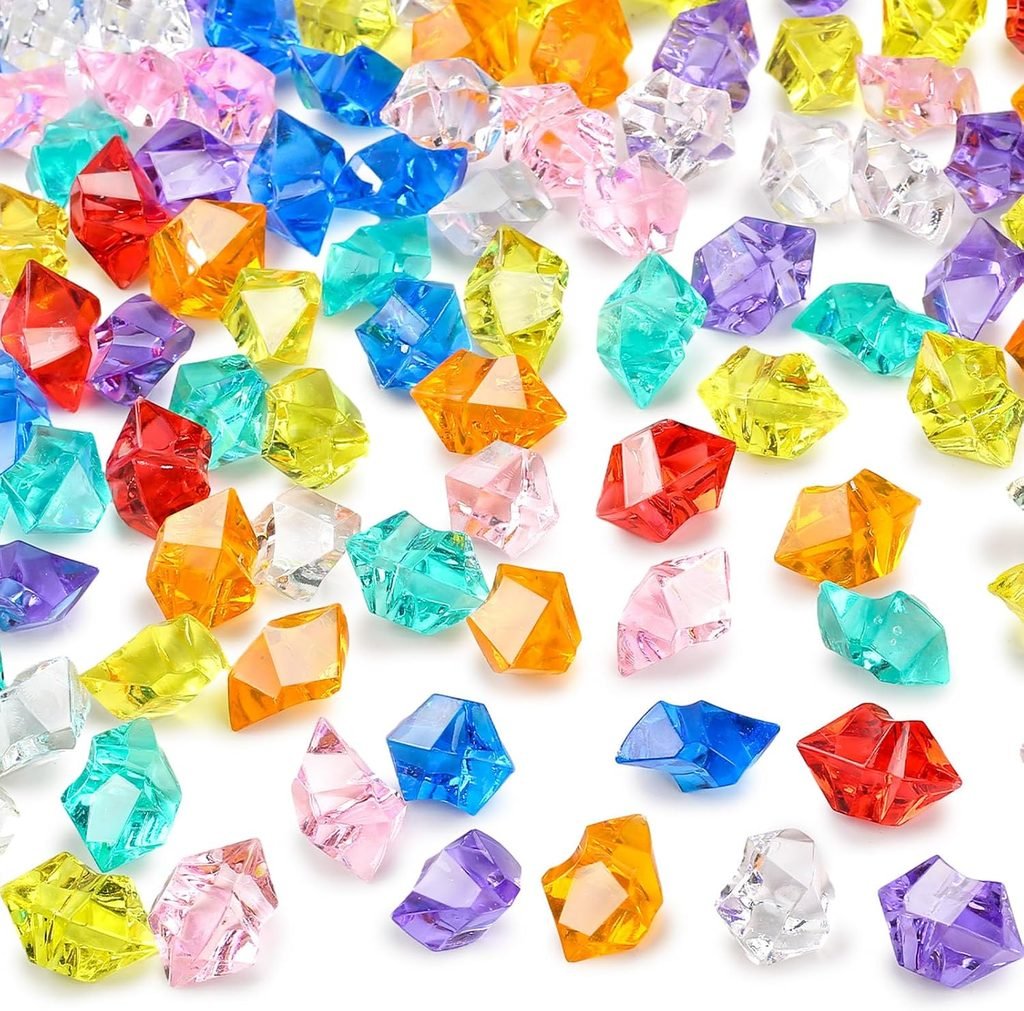
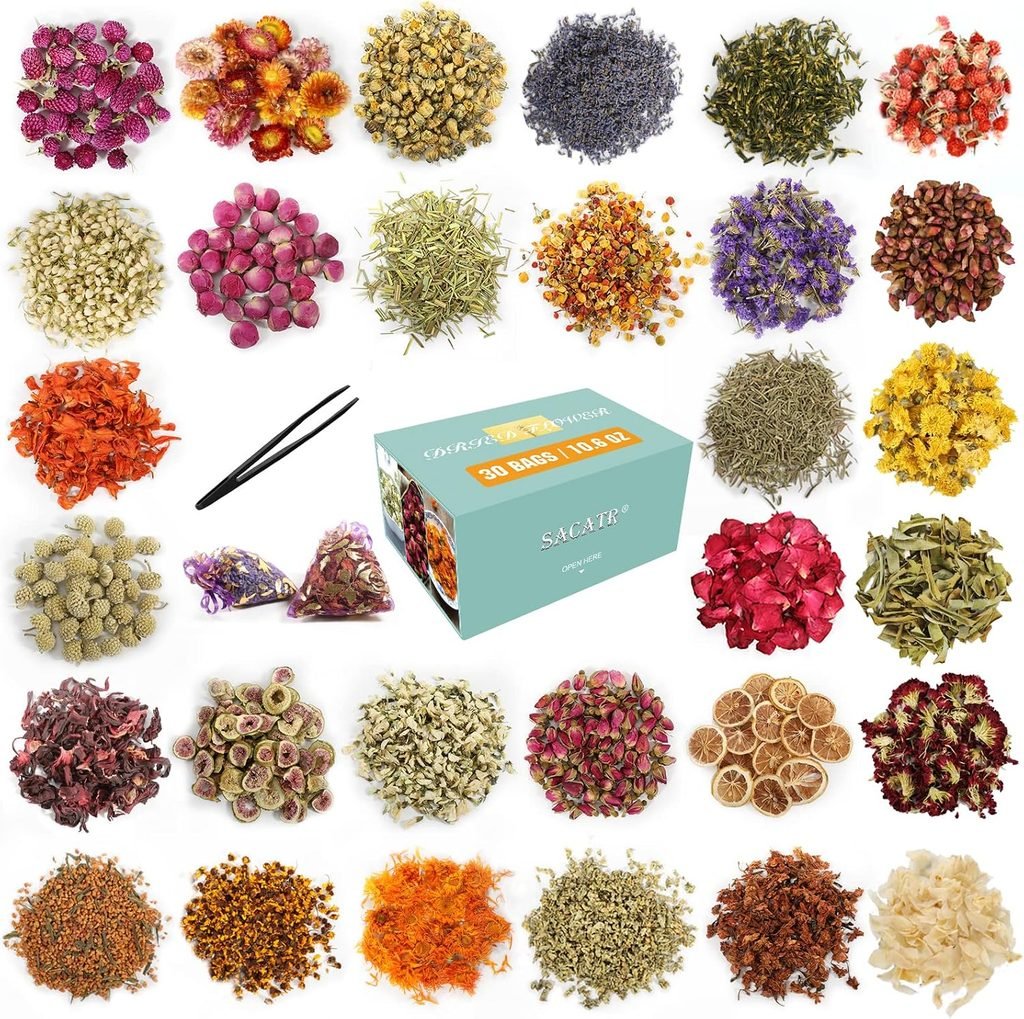
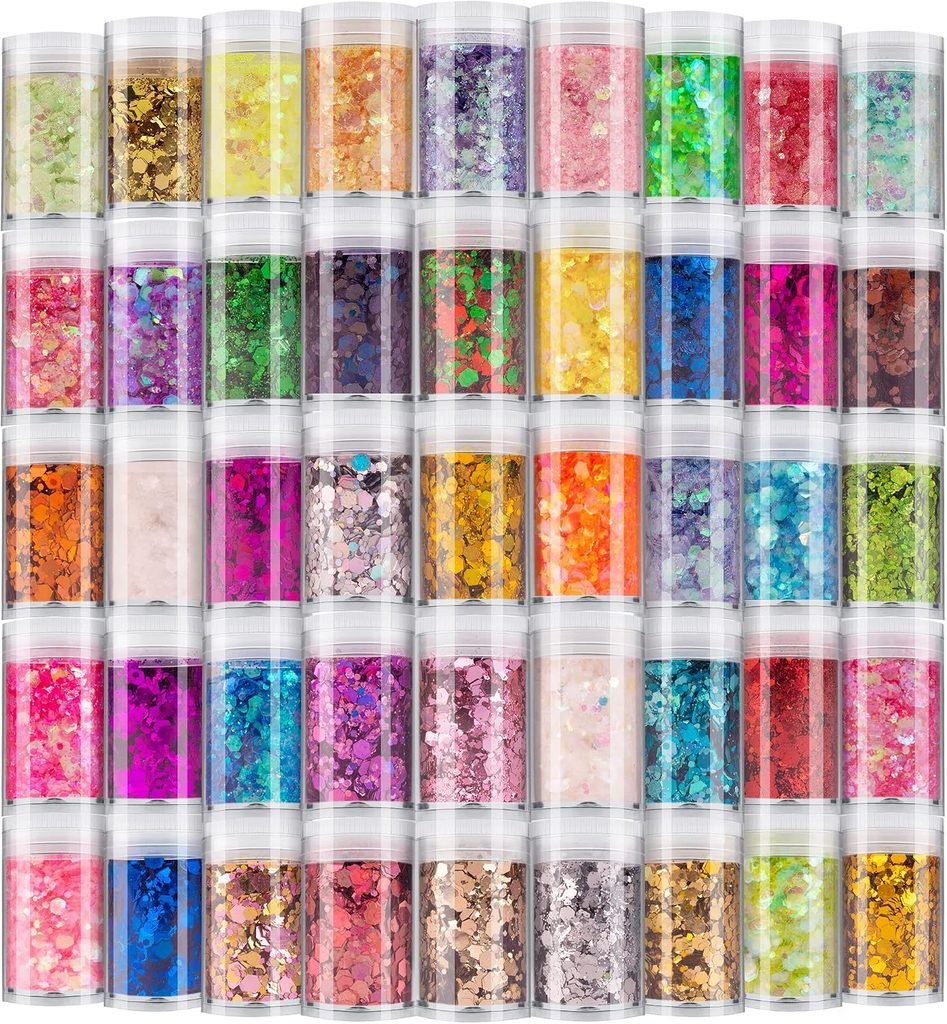
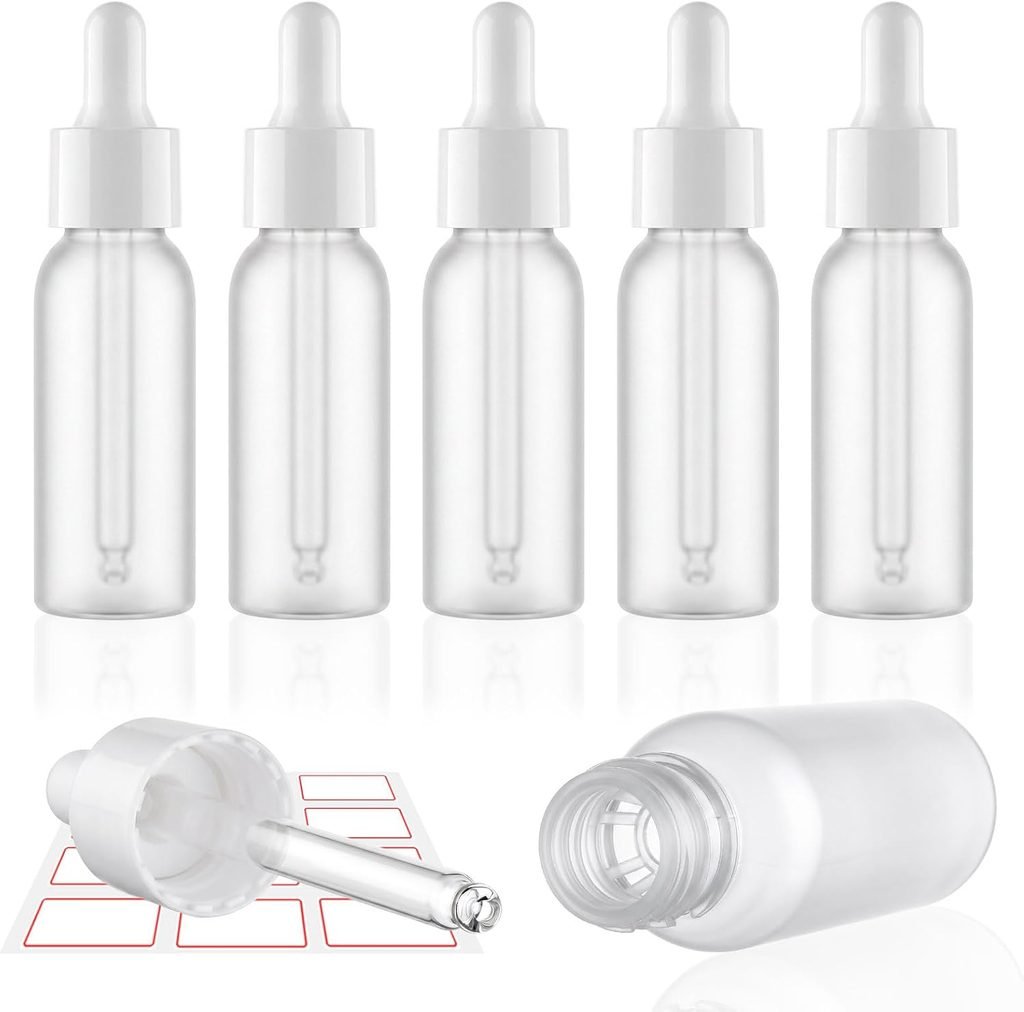
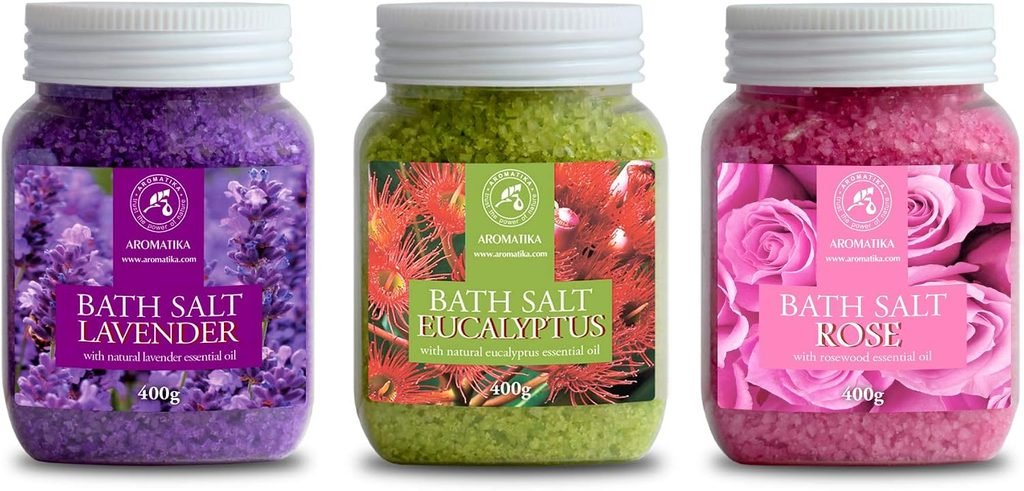
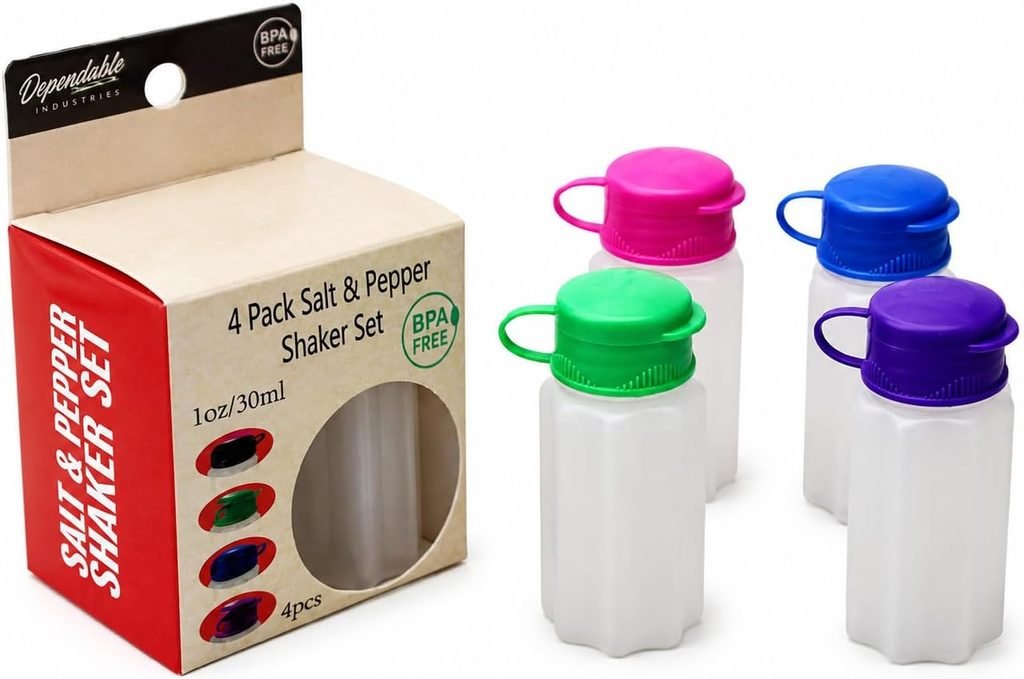
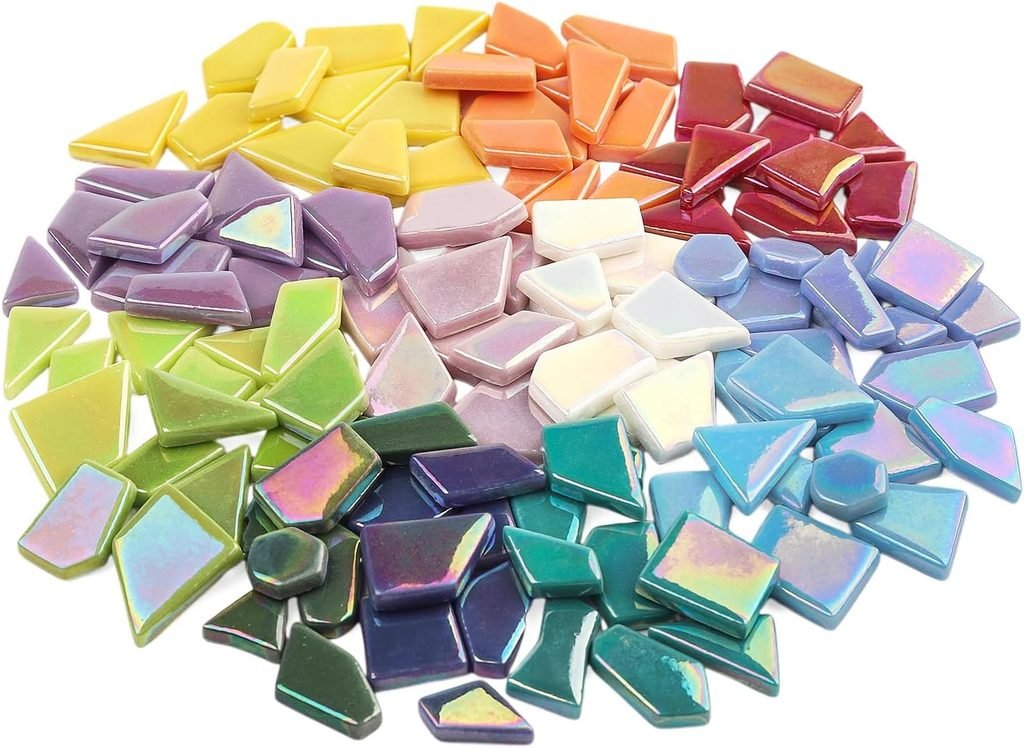
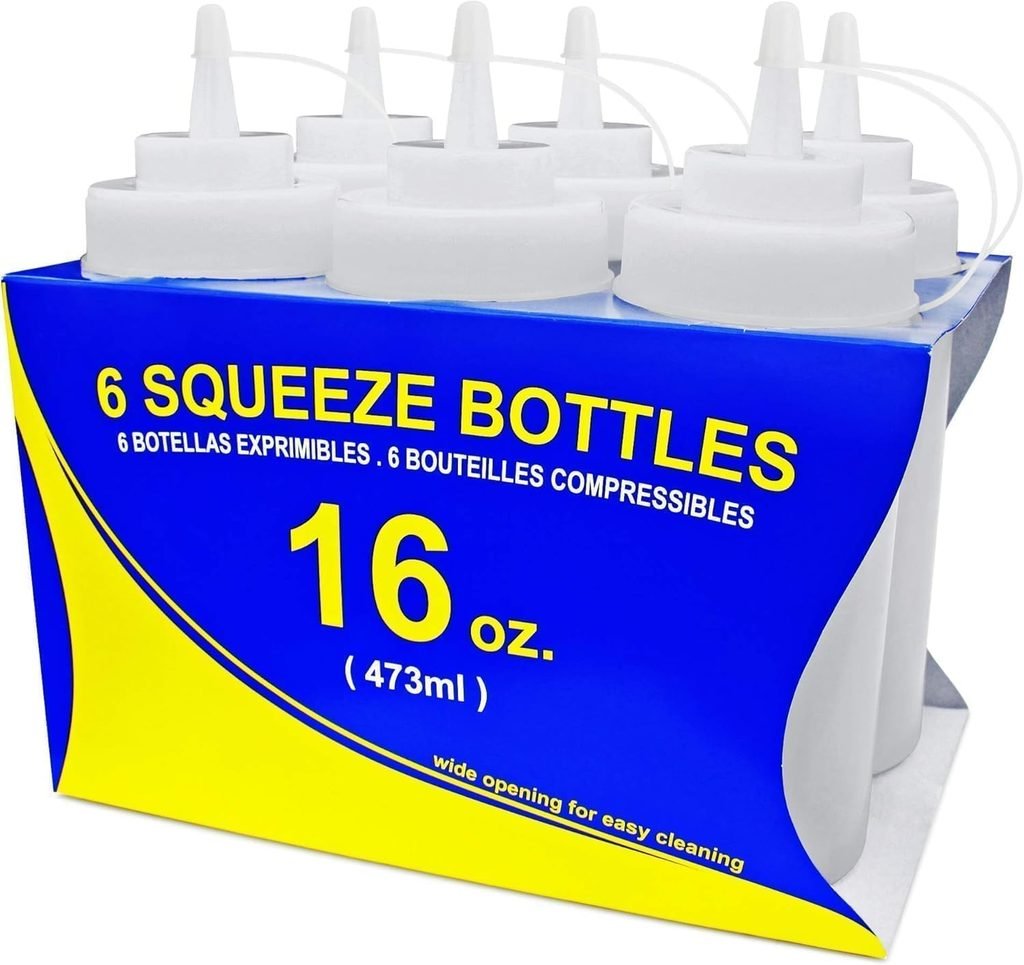
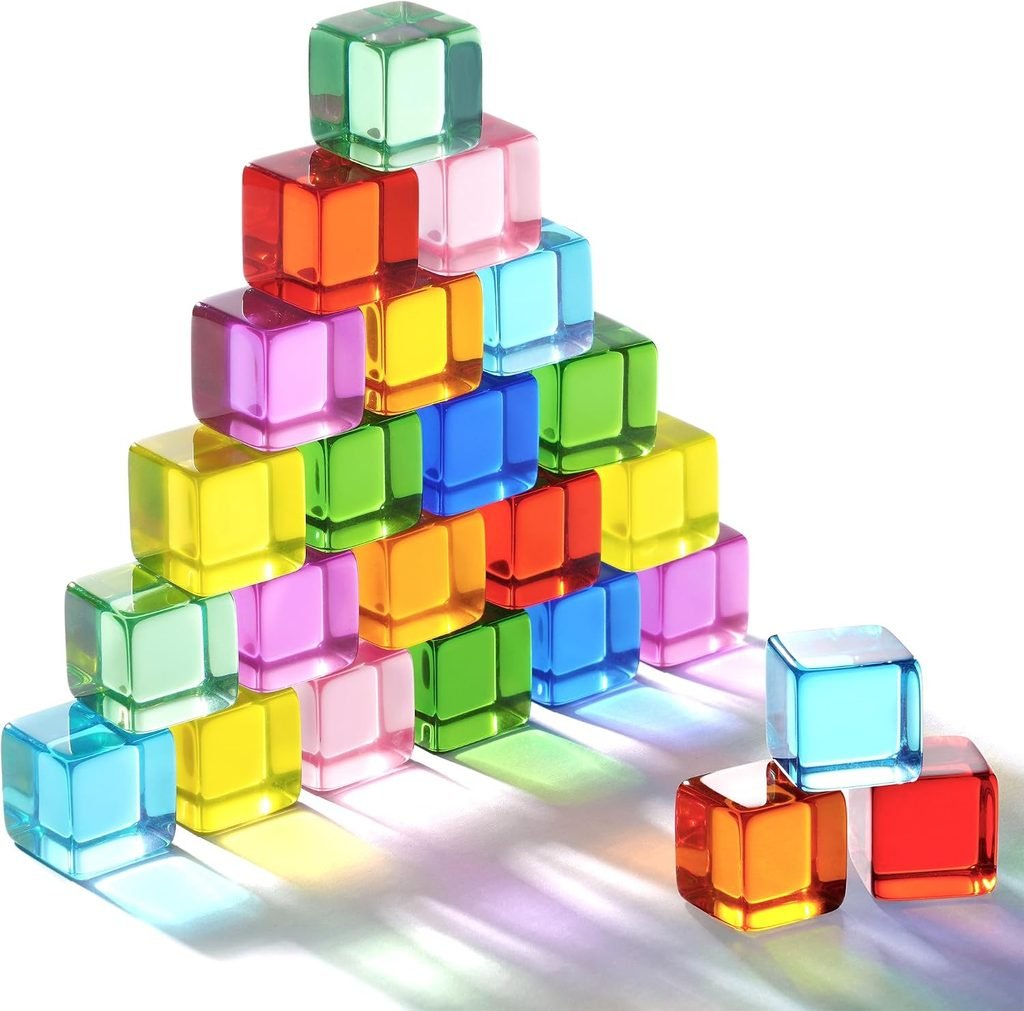
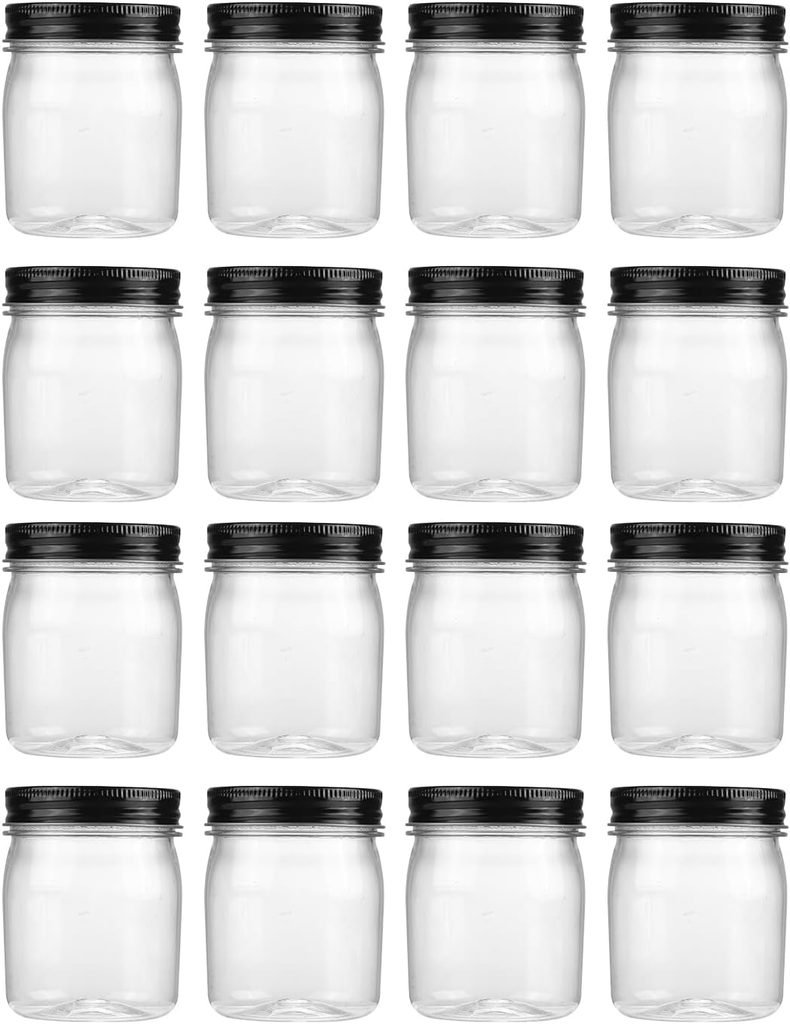
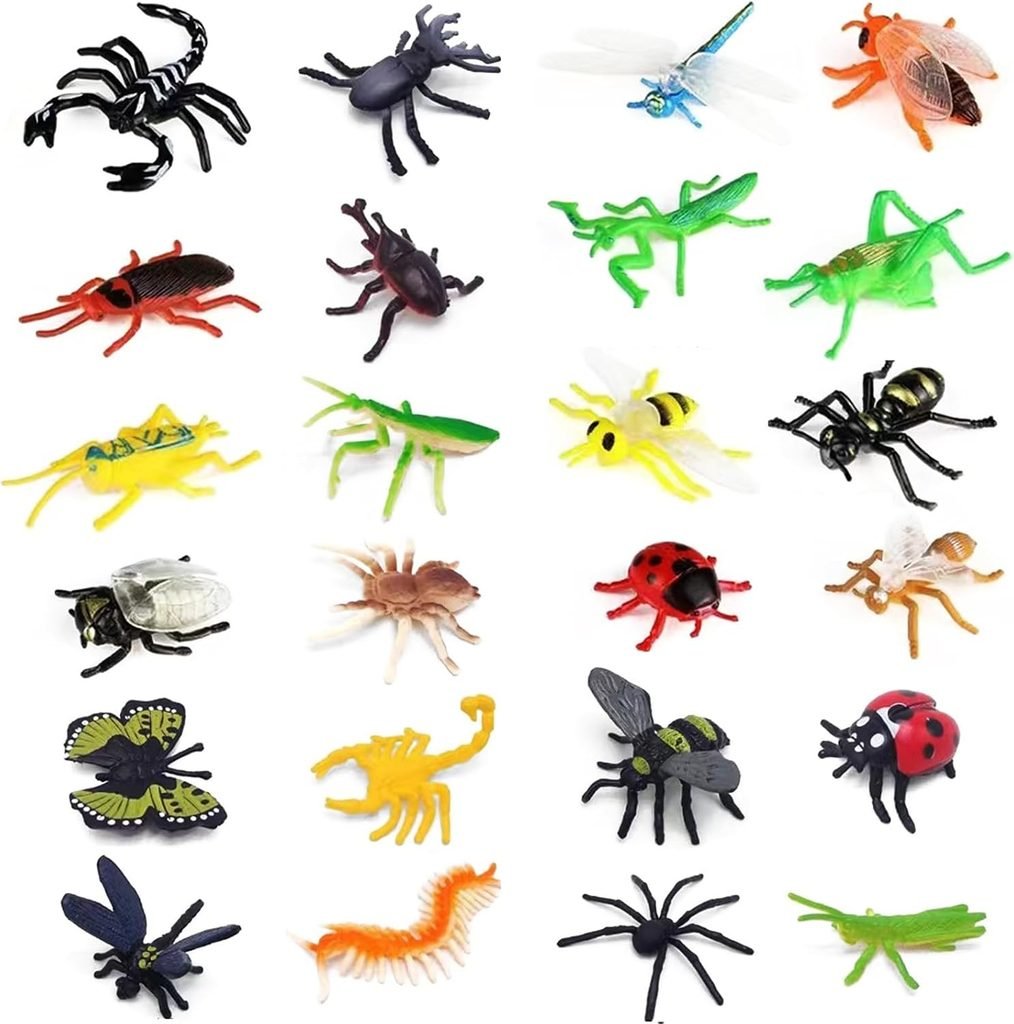
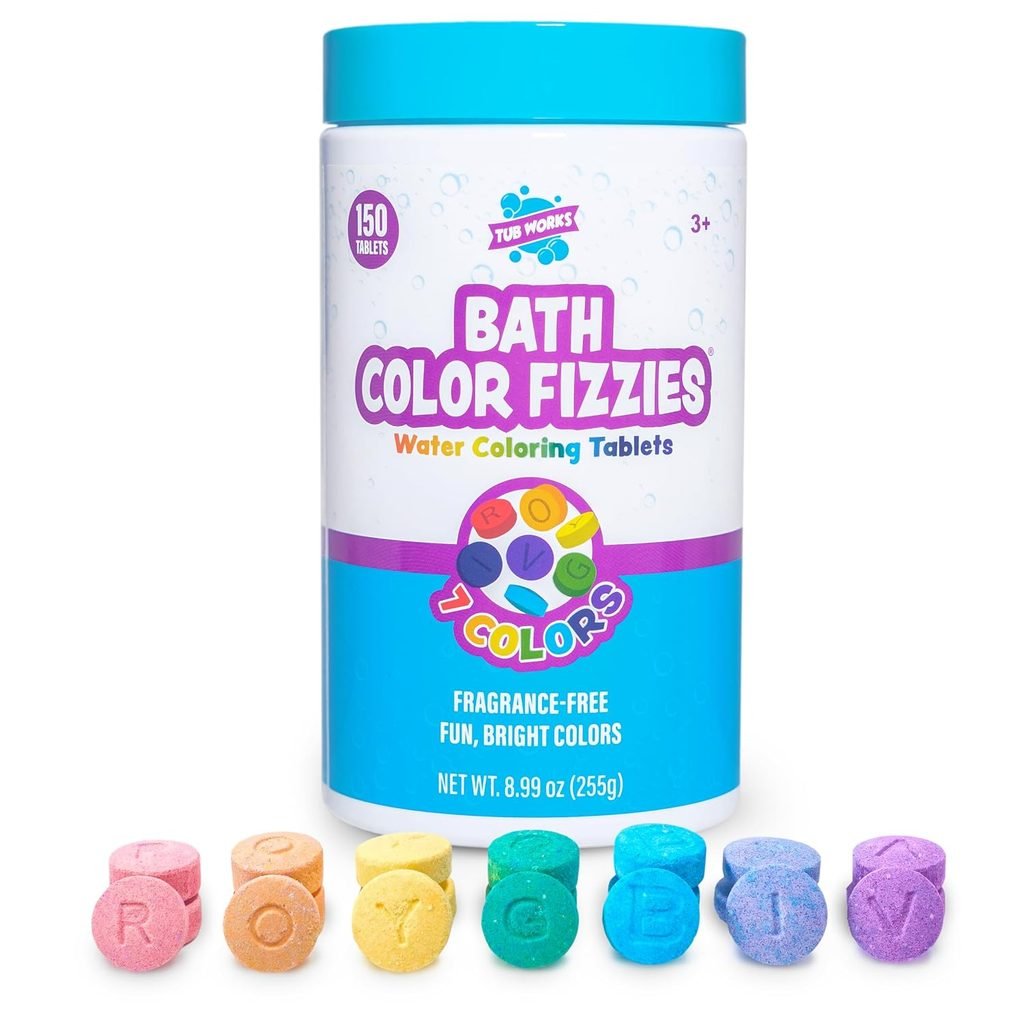
We’re almost at the finish line! I completed this DIY mud kitchen like you complete an outfit – with the accessories. Here are the supplies I gathered for the ultimate mud kitchen setup, including a potion station! Tap each photo for the link.
The Final Reveal
If you’re feeling inspired to create more whimsical backyard spaces for your kiddos, check out this list of nearly free play area ideas and this DIY fairy garden tutorial!